> For the complete documentation index, see [llms.txt](https://unsloth.ai/docs/llms.txt). Markdown versions of documentation pages are available by appending `.md` to page URLs; this page is available as [Markdown](https://unsloth.ai/docs/de/loslegen/install/amd.md).
# LLMs auf AMD-GPUs mit dem Unsloth-Leitfaden feinabstimmen
Erfahre, wie du große Sprachmodelle (LLMs) mit Unsloth auf AMD-GPUs feinabstimmst.
Optimieren Sie LLMs bis zu 2x schneller mit \~70 % weniger Speicher auf AMD-Hardware, ganz ohne NVIDIA. Unsloth unterstützt AMD Radeon RDNA 3/3.5/4 (RX 6000–9000-Serie) unter Windows und Linux sowie Rechenzentrums-GPUs einschließlich der MI300X (192 GB).
{% stepper %}
{% step %}
#### **Einzeilen-Installer**
Um Unsloth auf AMD zu installieren, ist der einfachste Weg, unsere [Desktop-App](/docs/de/desktop.md).
Für Windows herunterladenFür Linux herunterladen\
\
Für die manuelle Installation:
**Linux :**
```bash
curl -fsSL https://unsloth.ai/install.sh | sh
```
**Windows (PowerShell):**
```powershell
irm https://unsloth.ai/install.ps1 | iex
```
Die folgenden manuellen Schritte sind für Benutzer gedacht, die die Unsloth-Python-Bibliothek auf AMD mit den erforderlichen Abhängigkeiten installieren möchten.
{% endstep %}
{% step %}
#### **Neue isolierte Umgebung erstellen (optional)**
Die folgenden Schritte gelten für Linux. Unter Windows verwenden Sie die Desktop-App oder den obigen PowerShell-Installer: Sie installieren für Sie AMDs Windows-Build von PyTorch.
Um keine Systempakete zu beschädigen, erstellen Sie eine isolierte Umgebung. Denken Sie daran, Ihre Python-Version zu überprüfen! Sie könnte `python3`, `python3.12`, `python3.13` usw. Python 3.10 bis 3.13 funktioniert.
{% code overflow="wrap" %}
```bash
apt update && apt install python3.13-venv -y
python3.13 -m venv unsloth_env
source unsloth_env/bin/activate
pip install uv
```
{% endcode %}
{% endstep %}
{% step %}
#### **PyTorch installieren**
PyPI hat nur den NVIDIA-(CUDA-)Build von PyTorch, installieren Sie daher zuerst den ROCm-Build aus dem PyTorch-Index, der zu Ihrer ROCm-Version passt. Prüfen Sie ihn mit `amd-smi version` (die `ROCm-Version:` Zeile), dann:
{% code overflow="wrap" %}
```bash
uv pip install "torch<2.15" torchvision torchaudio \\
--index-url https://download.pytorch.org/whl/rocm7.2 --upgrade --force-reinstall
```
{% endcode %}
Ändere `rocm7.2` an Ihre ROCm-Version an. Verfügbare Index-Tags sind `rocm6.0` zu `rocm6.4` und `rocm7.0` zu `rocm7.2`. ROCm 6.5 bis 6.9 verwendet `rocm6.4`, und ROCm 7.3 oder neuer verwendet `rocm7.2`. ROCm 6.0 oder neuer ist erforderlich.
Oder lassen Sie diesen Befehl das Tag für Sie auswählen:
{% code overflow="wrap" %}
```bash
ROCM_VER="$(amd-smi version 2>/dev/null | sed -n 's/.*ROCm version: \\([0-9]*\\.[0-9]*\\).*/\\1/p' | head -n 1)"
[ -n "$ROCM_VER" ] || ROCM_VER="$(cut -d. -f1,2 /opt/rocm/.info/version 2>/dev/null)"
case "$ROCM_VER" in
6.[0-4]|7.[0-2]) ROCM_TAG="rocm$ROCM_VER" ;;
6.*) ROCM_TAG="rocm6.4" ;;
*) ROCM_TAG="rocm7.2" ;;
esac
echo "ROCm ${ROCM_VER:-unknown}: verwende $ROCM_TAG"
uv pip install "torch<2.15" torchvision torchaudio \\
--index-url "https://download.pytorch.org/whl/$ROCM_TAG" --upgrade --force-reinstall
```
{% endcode %}
{% endstep %}
{% step %}
#### **Unsloth installieren**
Unsloth auf PyPI hängt von `torch`, sodass eine normale Installation das gerade installierte ROCm-PyTorch durch die CUDA-Version von PyPI ersetzen kann. Um das zu verhindern, fixieren Sie Ihr installiertes PyTorch und installieren Sie mit `uv pip` (nicht einfach `pip`):
{% code overflow="wrap" %}
```bash
uv pip freeze | grep -E '^(torch|torchvision|torchaudio)==' > torch-pins.txt
echo "triton ; sys_platform == 'never'" >> torch-pins.txt
echo "xformers ; sys_platform == 'never'" >> torch-pins.txt
uv pip install "unsloth[amd]" --overrides torch-pins.txt
```
{% endcode %}
`torch-pins.txt` sollte eine `torch==...+rocm...` Zeile enthalten. Die letzten beiden Zeilen sorgen dafür, dass PyPIs `triton` Triton daran gehindert wird, über das mit Ihrem PyTorch gelieferte Triton installiert zu werden, und überspringen PyPIs `xformers`, das nur für NVIDIA-GPUs gebaut ist.
**Unsloth aktualisieren**
Aktualisieren Sie nur Unsloth, mit denselben Pins:
{% code overflow="wrap" %}
```bash
uv pip install --upgrade-package unsloth --upgrade-package unsloth-zoo "unsloth[amd]" --overrides torch-pins.txt
```
{% endcode %}
Führen Sie nicht `uv pip install -U unsloth` oder `--force-reinstall` ohne die Pins aus: Beide lösen PyTorch erneut von PyPI auf und ersetzen Ihren ROCm-Build durch den CUDA-Build. Wenn das bereits passiert ist, `import unsloth` meldet eine AMD-GPU, aber keinen nutzbaren HIP-Beschleuniger: führen Sie den obigen PyTorch-Schritt erneut aus, dann diesen hier.
{% endstep %}
{% step %}
#### **Starten Sie das Fine-Tuning mit Unsloth!**
Und das ist alles. Probieren Sie einige Beispiele auf unserer [**Unsloth Notebooks**](/docs/de/loslegen/unsloth-notebooks.md) Seite!
Sie können unsere speziellen [Fine-Tuning](/docs/de/loslegen/fine-tuning-llms-guide.md) oder [Reinforcement Learning](/docs/de/loslegen/reinforcement-learning-rl-guide.md) Anleitungen ansehen. Hier ist auch ein kurzes Beispiel:
**1. Umgebungsvariablen festlegen**
{% code overflow="wrap" %}
```bash
export HF_HUB_DISABLE_XET=1 # Behebt HuggingFace-Downloadprobleme auf AMD
```
{% endcode %}
**2. Modell laden und konfigurieren**
{% code overflow="wrap" %}
```python
from unsloth import FastModel
model, tokenizer = FastModel.from_pretrained(
model_name = "unsloth/gemma-4-26b-a4b-it",
max_seq_length = 2048,
load_in_4bit = True,
)
model = FastModel.get_peft_model(
model,
r = 16,
lora_alpha = 16,
target_modules = ["q_proj", "k_proj", "v_proj", "o_proj"],
)
```
{% endcode %}
**3. Trainieren**
{% code overflow="wrap" %}
```python
from trl import SFTTrainer, SFTConfig
trainer = SFTTrainer(
model = model,
tokenizer = tokenizer,
train_dataset = dataset,
formatting_func = formatting_func,
args = SFTConfig(
per_device_train_batch_size = 1,
gradient_accumulation_steps = 4,
max_steps = 60,
output_dir = "outputs",
report_to = "none",
),
)
trainer_stats = trainer.train()
```
{% endcode %}
***Hinweis:** Flash Attention 2 ist auf AMD-GPUs standardmäßig nicht installiert, daher verwendet Unsloth stattdessen PyTorchs integrierte SDPA-Attention. Die Warnung kann sicher ignoriert werden.*
{% endstep %}
{% endstepper %}
### :1234: Reinforcement Learning auf AMD-GPUs
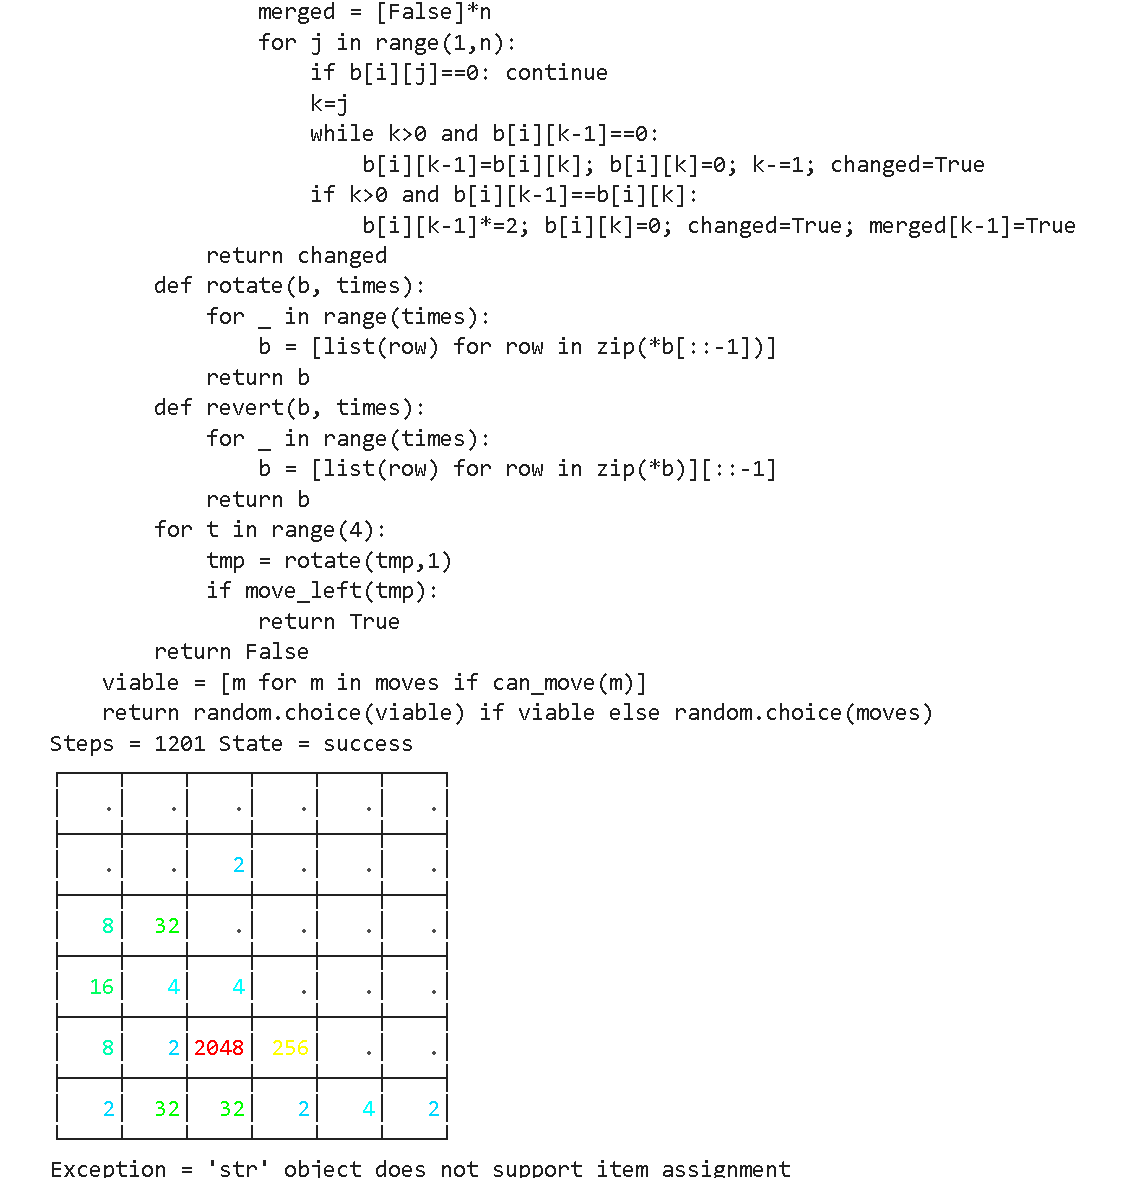
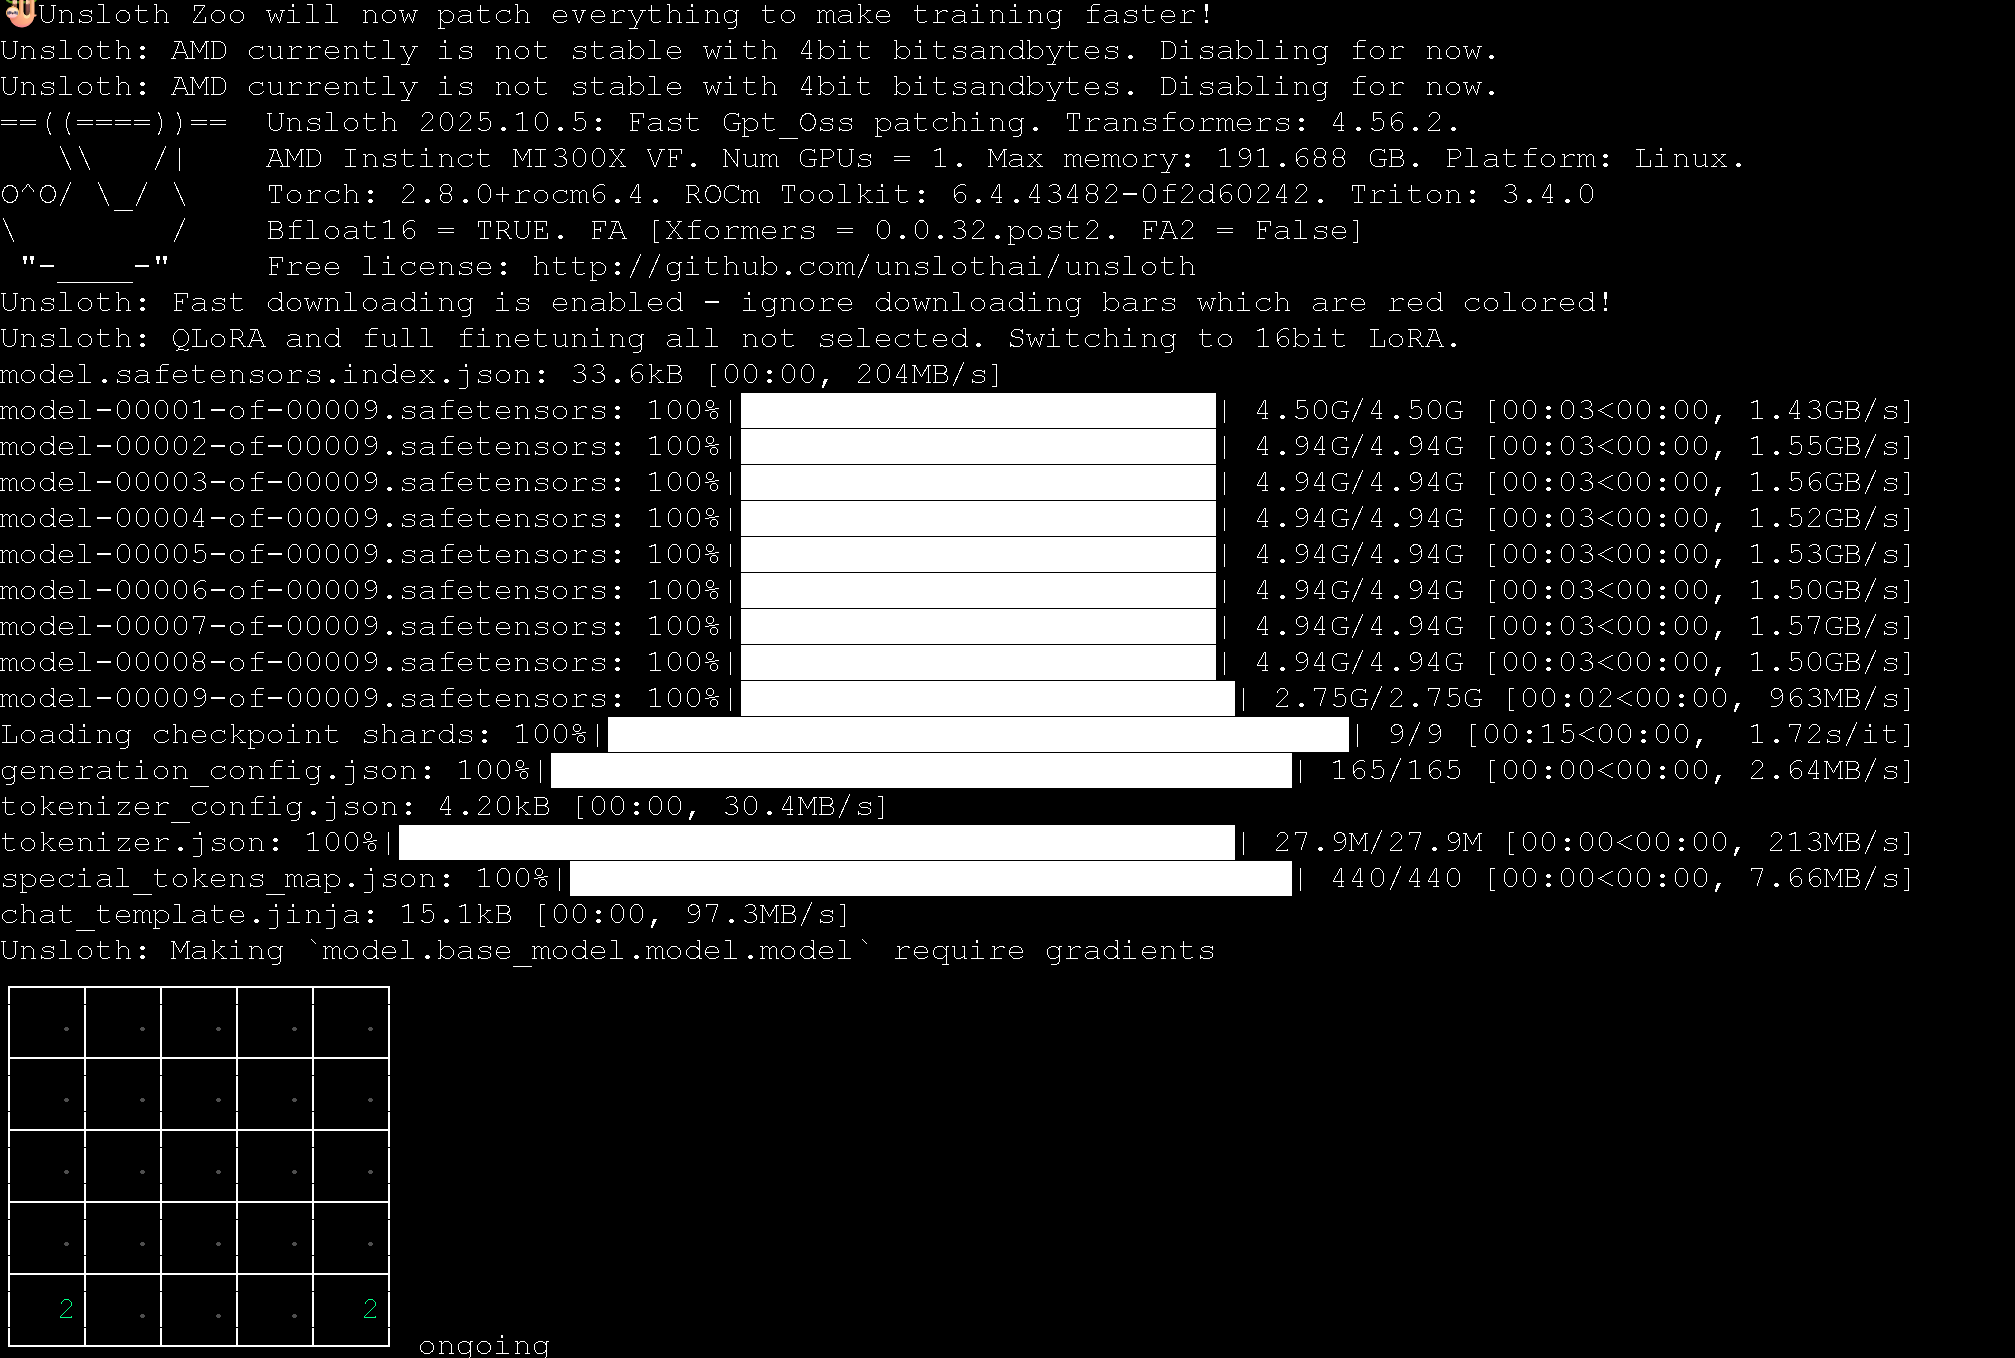
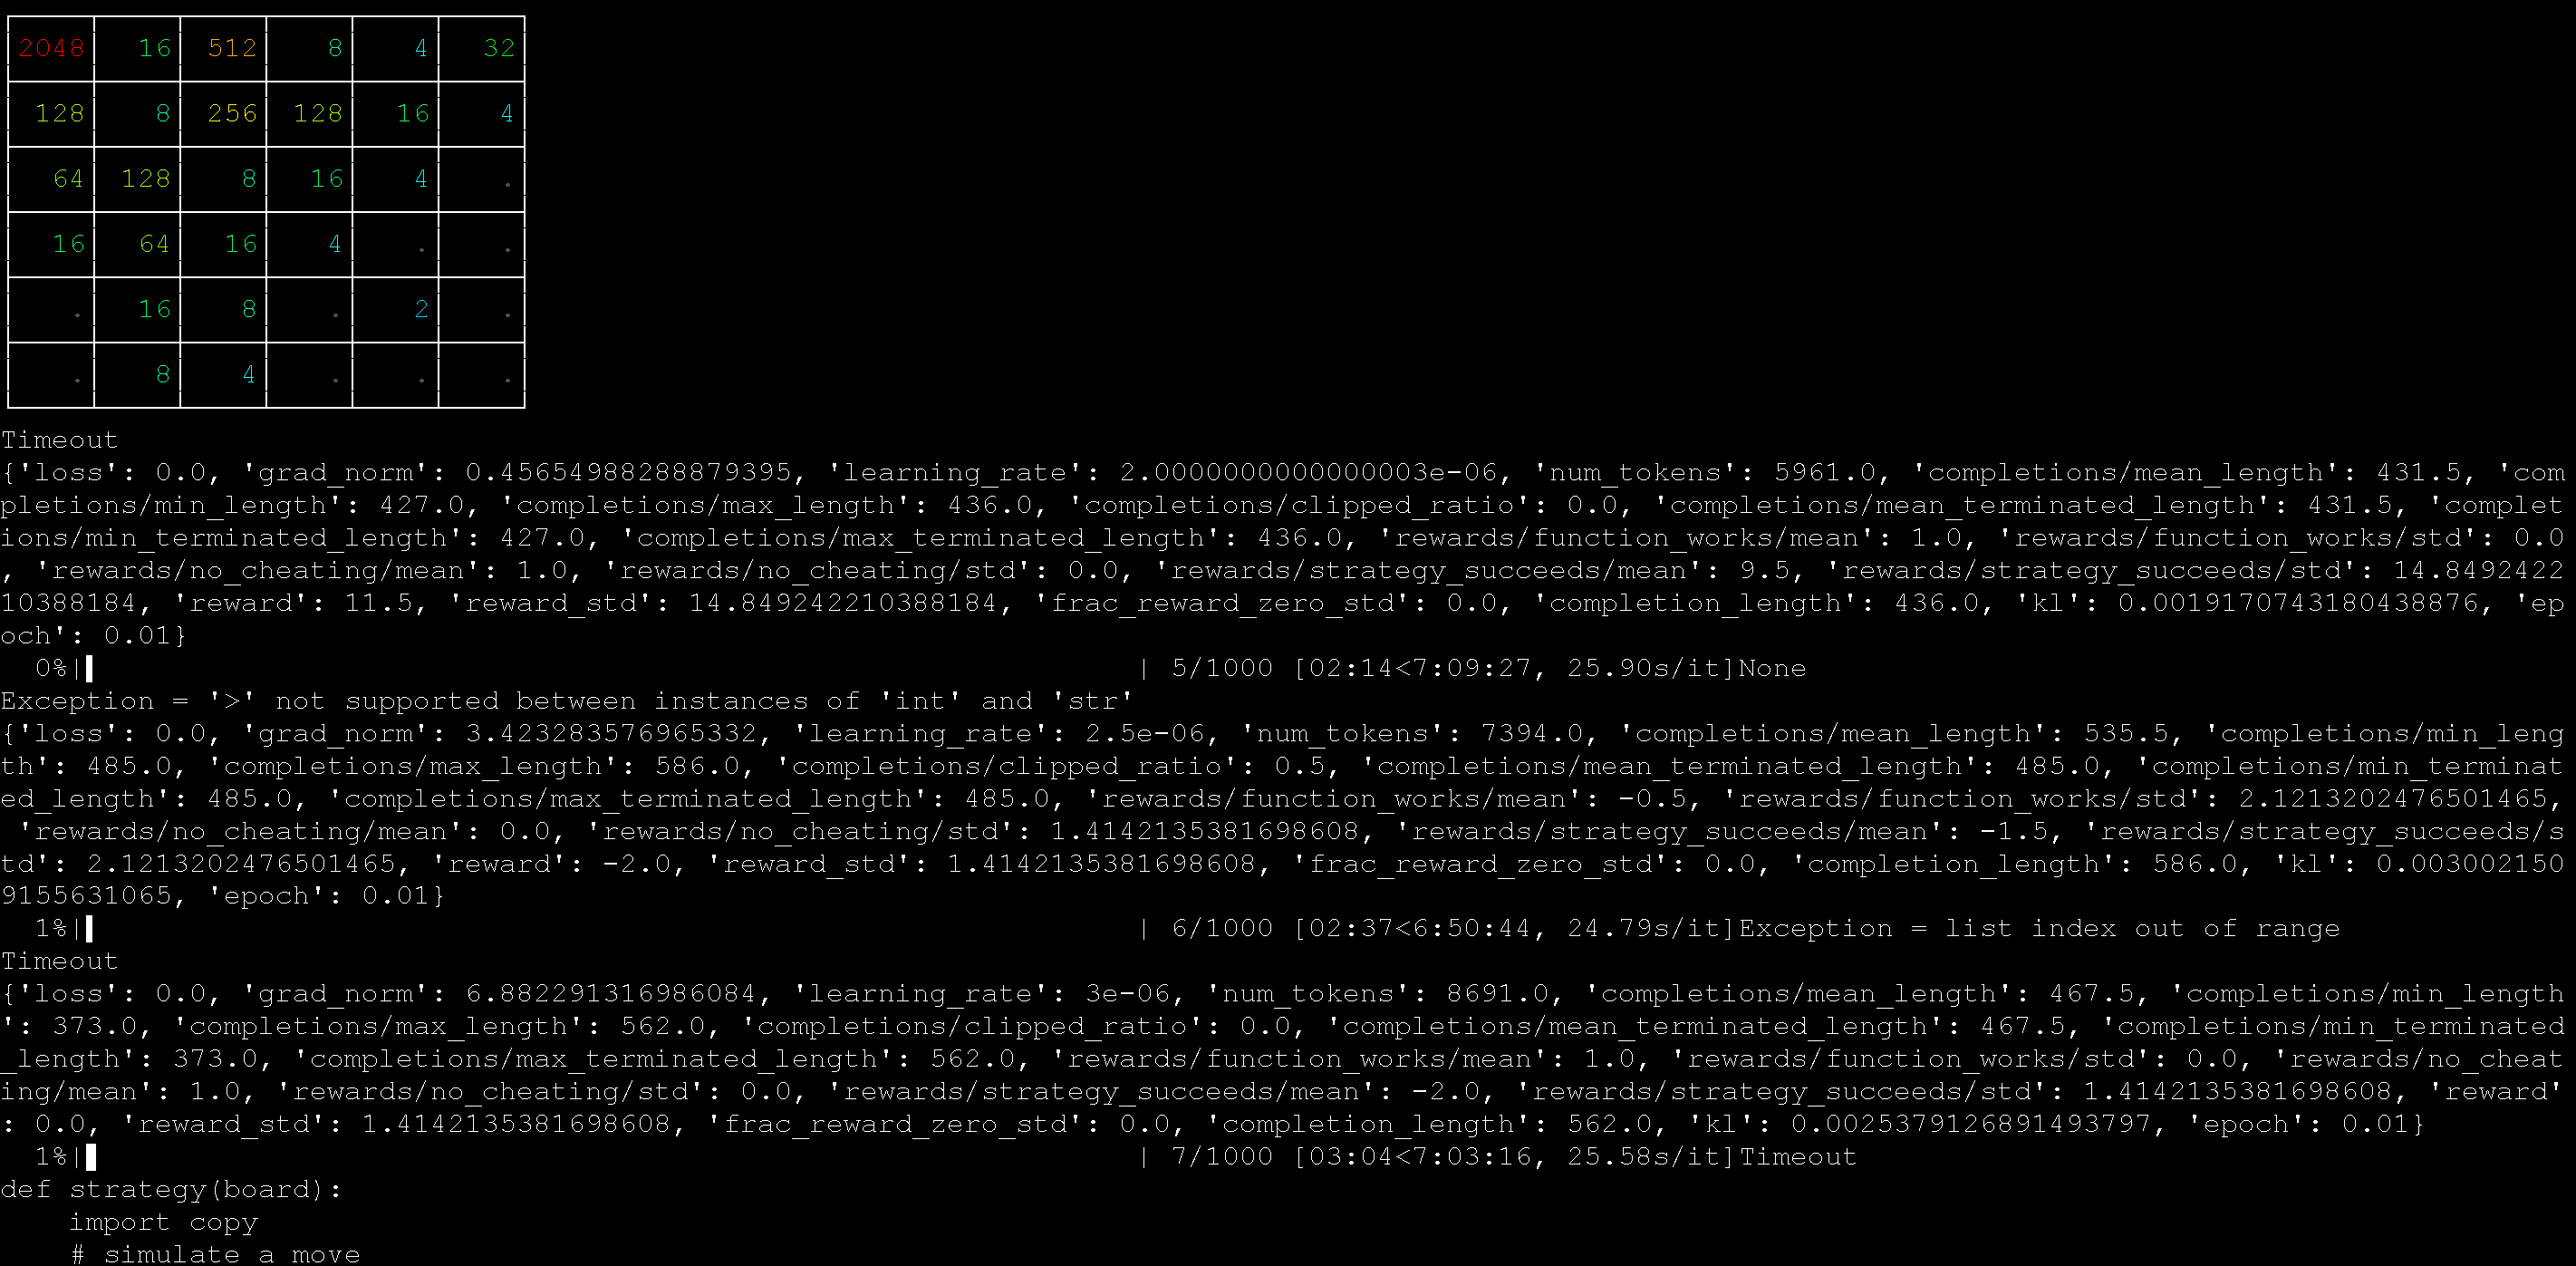
Sie können unser :ledger:[gpt-oss RL auto win 2048](https://github.com/unslothai/notebooks/blob/main/nb/AMD-gpt_oss_\(20B\)_Reinforcement_Learning_2048_Game_BF16.ipynb) Beispiel auf einer MI300X-GPU (192 GB) verwenden. Das Ziel ist, das 2048-Spiel automatisch zu spielen und es mit RL zu gewinnen. Das LLM (gpt-oss 20b) entwickelt automatisch eine Strategie, um das 2048-Spiel zu gewinnen, und wir berechnen eine hohe Belohnung für Gewinnstrategien und niedrige Belohnungen für fehlgeschlagene Strategien.
{% columns %}
{% column %}
{% endcolumn %}
{% column %}
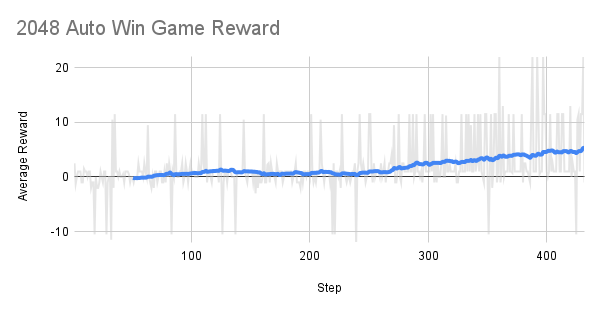
Die Belohnung über die Zeit steigt nach etwa 300 Schritten oder so an!
Das Ziel von RL ist es, die durchschnittliche Belohnung zu maximieren, um das 2048-Spiel zu gewinnen.
{% endcolumn %}
{% endcolumns %}
Wir haben eine AMD-MI300X-Maschine (192 GB) verwendet, um das 2048-RL-Beispiel mit Unsloth auszuführen, und es hat gut funktioniert!
Sie können auch unser :ledger:[automatisches RL-Notebook zur Kernel-Generierung](https://github.com/unslothai/notebooks/blob/main/nb/AMD-gpt_oss_\(20B\)_GRPO_BF16.ipynb) ebenfalls mit gpt-oss verwenden, um in Python automatisch Matrixmultiplikations-Kernels zu erstellen. Das Notebook entwickelt außerdem mehrere Methoden, um Reward Hacking entgegenzuwirken.
{% columns %}
{% column width="50%" %}
Die Eingabeaufforderung, die wir zum automatischen Erstellen dieser Kernel verwendet haben, war:
{% code overflow="wrap" %}
````
Erstellen Sie eine neue schnelle Matrixmultiplikationsfunktion nur mit nativem Python-Code.
Ihnen wird eine Liste von Zahlenlisten gegeben.
Geben Sie Ihre neue Funktion in Backticks im folgenden Format aus:
```
python
def matmul(A, B):
return ...
```
````
{% endcode %}
{% endcolumn %}
{% column width="50%" %}
Der RL-Prozess lernt zum Beispiel, wie der Strassen-Algorithmus für schnellere Matrixmultiplikation innerhalb von Python angewendet wird.
{% endcolumn %}
{% endcolumns %}
### :books:Kostenlose AMD-One-Click-Notebooks
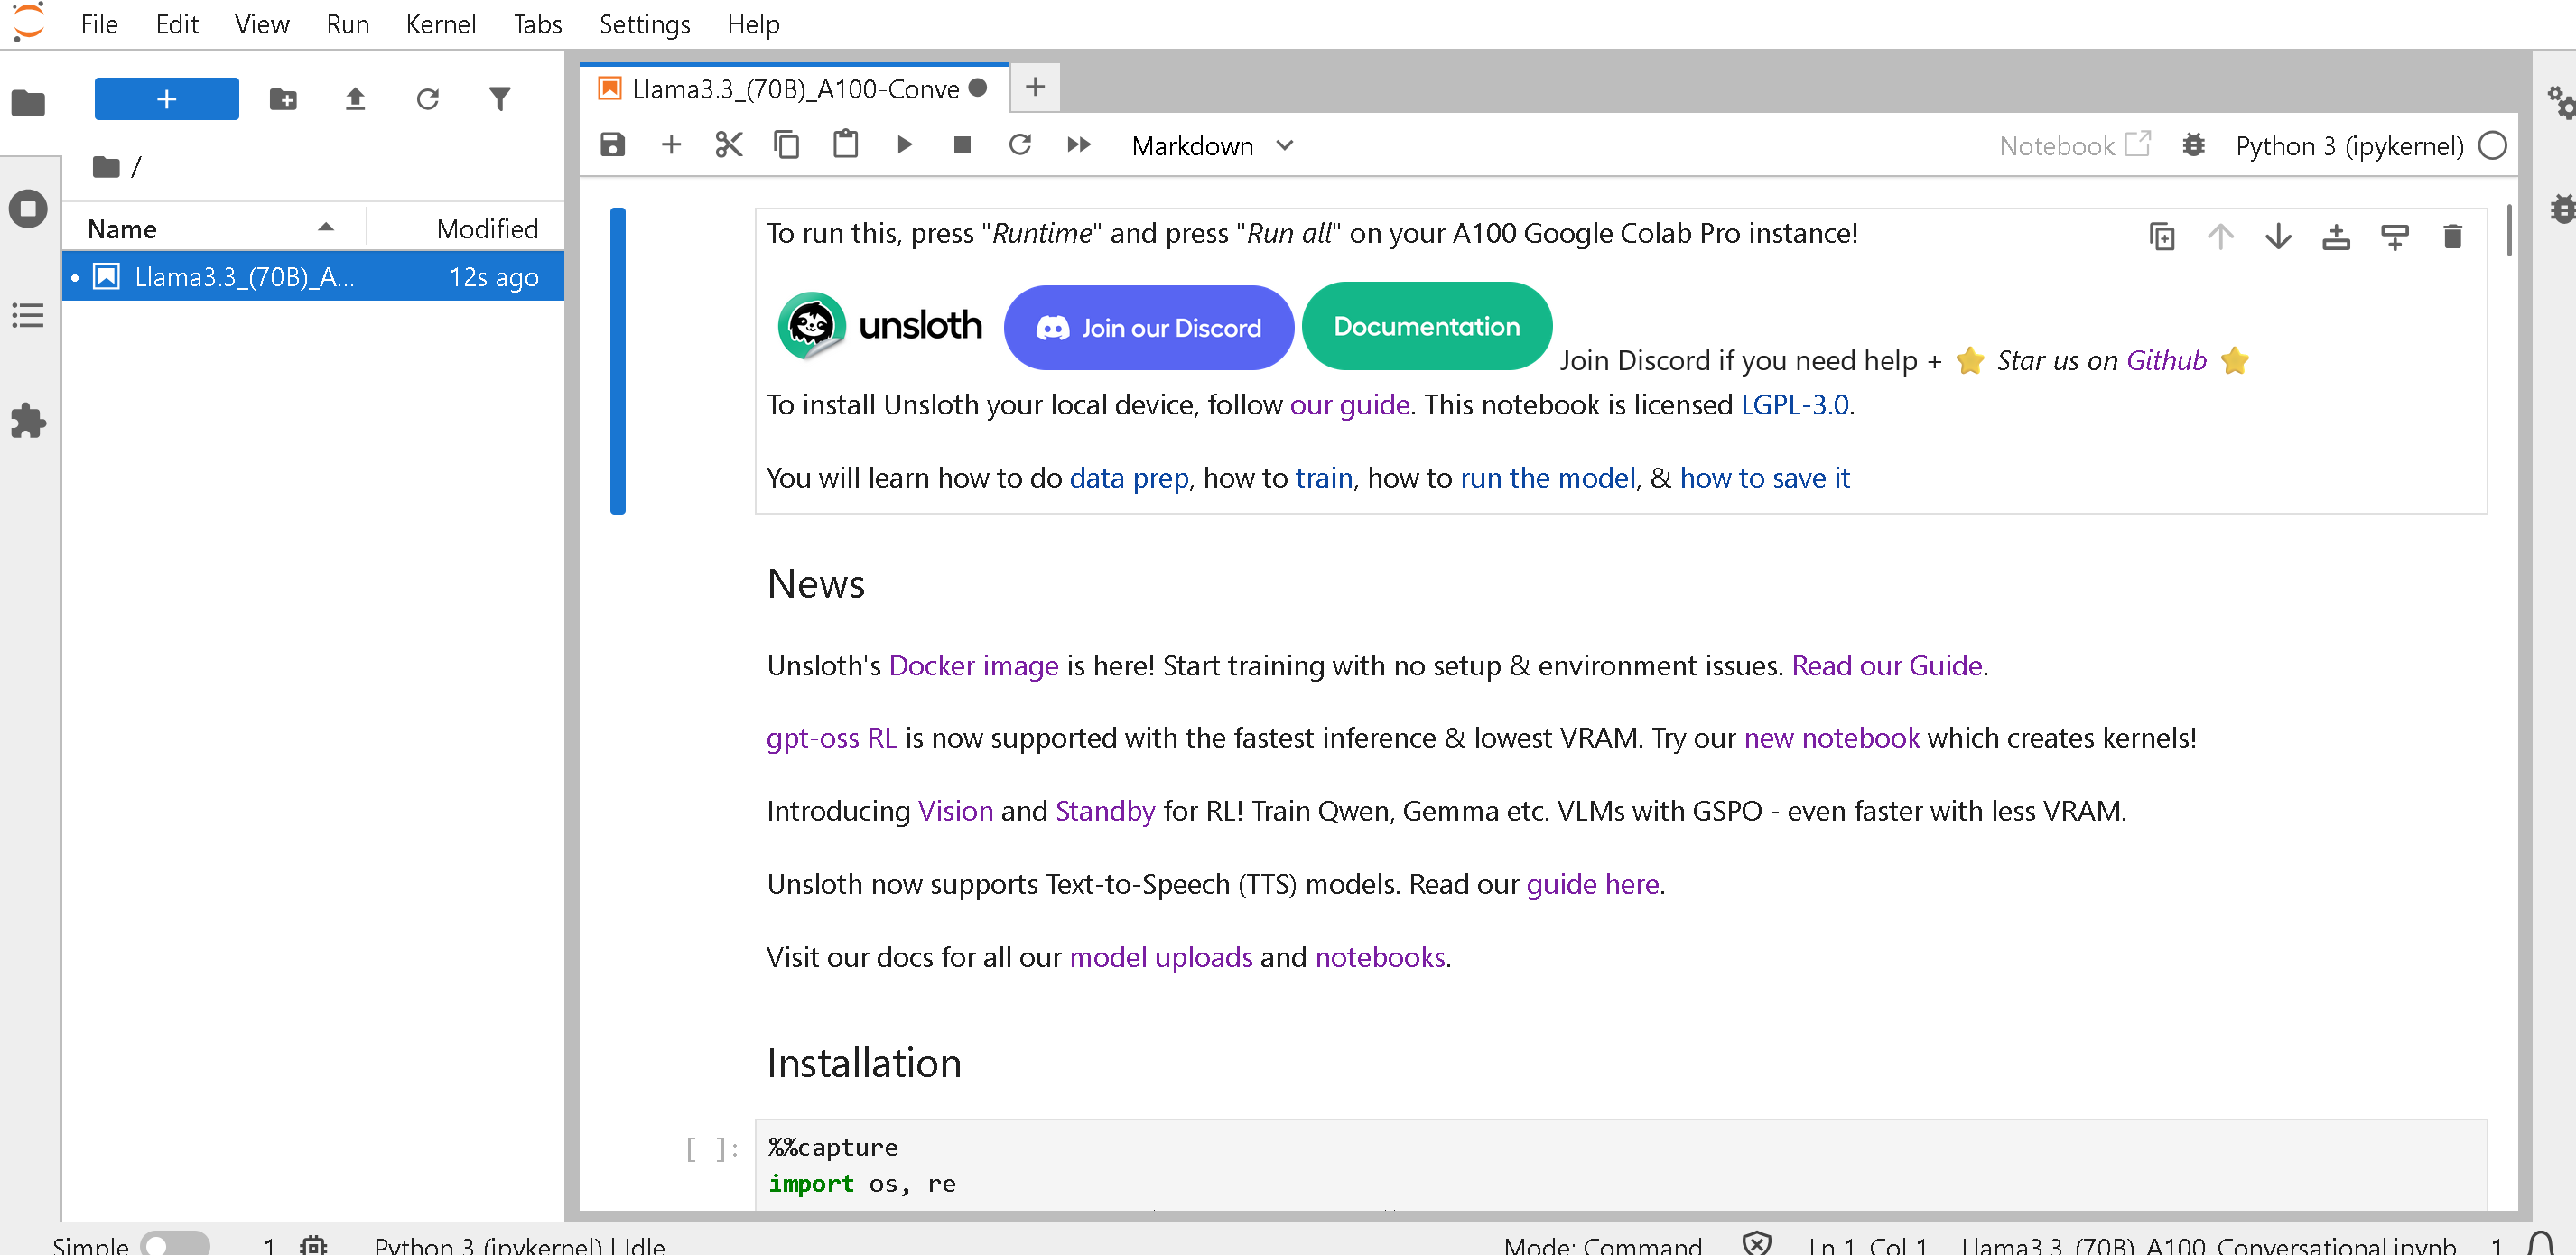
AMD bietet Ein-Klick-Notebooks an, ausgestattet mit **kostenlosen MI300X-GPUs mit 192 GB VRAM** über ihre Dev Cloud. Trainieren Sie große Modelle völlig kostenlos (keine Anmeldung oder Kreditkarte erforderlich):
* [Qwen3 (32B)](https://amd-ai-academy.com/github/unslothai/notebooks/blob/main/nb/Qwen3_\(32B\)_A100-Reasoning-Conversational.ipynb)
* [Llama 3.3 (70B)](https://amd-ai-academy.com/github/unslothai/notebooks/blob/main/nb/AMD-Llama3.3_\(70B\)_A100-Conversational.ipynb)
* [Qwen3 (14B)](https://amd-ai-academy.com/github/unslothai/notebooks/blob/main/nb/AMD-Qwen3_\(14B\)-Reasoning-Conversational.ipynb)
* [Mistral v0.3 (7B)](https://amd-ai-academy.com/github/unslothai/notebooks/blob/main/nb/AMD-Mistral_v0.3_\(7B\)-Alpaca.ipynb)
* [GPT OSS MXFP4 (20B)](https://amd-ai-academy.com/github/unslothai/notebooks/blob/main/nb/AMD-GPT_OSS_MXFP4_\(20B\)-Inference.ipynb) - Inferenz
* [Gemma4 (E2B)](https://amd-ai-academy.com/github/unslothai/notebooks/blob/main/nb/Gemma4_\(E2B\)_Reinforcement_Learning_Sudoku_Game.ipynb) - RL Sudoku
* Unsloth Studio
{% embed url="" %}
Sie können jedes Unsloth-Notebook verwenden, indem Sie voranstellen in [Unsloth-Notebooks](/docs/de/loslegen/unsloth-notebooks.md) indem Sie den Link von \
zu
{% columns %}
{% column width="33.33333333333333%" %}
{% endcolumn %}
{% column width="66.66666666666667%" %}
{% endcolumn %}
{% endcolumns %}
---
# Agent Instructions
This documentation is published with GitBook. GitBook is the documentation platform designed so that both humans and AI agents can read, navigate, and reason over technical content effectively. Learn more at gitbook.com.
## Querying This Documentation
If you need additional information that is not directly available in this page, you can query the documentation by asking a question.
Perform an HTTP GET request on the following URL with the `ask` and `goal` query parameters:
```
GET https://unsloth.ai/docs/de/loslegen/install/amd.md?ask=&goal=
```
`ask` is the immediate question: it should be specific, self-contained, and written in natural language.
`goal` is what the user is ultimately trying to achieve, the reason they need the answer. Sharing it helps GitBook give you a better, more relevant answer. A goal is most helpful when it describes the outcome the user wants rather than restating the question. For example, with `ask=how do I create an API token`, a goal like `automate deployments from our CI pipeline` lets GitBook tailor the answer to that use case.
The response will contain a direct answer to the question and relevant excerpts and sources from the documentation.
Use this mechanism when the answer is not explicitly present in the current page, you need clarification or additional context, or you want to retrieve related documentation sections.


%20(1)%20(1)%20(1)%20(1)%20(1).png?alt=media)