> For the complete documentation index, see [llms.txt](https://unsloth.ai/docs/llms.txt). Markdown versions of documentation pages are available by appending `.md` to page URLs; this page is available as [Markdown](https://unsloth.ai/docs/de/blog/how-to-fine-tune-llms-with-unsloth-and-docker.md).
# So feinabstimmen Sie LLMs mit Unsloth & Docker
Erfahren Sie, wie Sie LLMs feinabstimmen oder Reinforcement Learning (RL) mit dem Docker-Image von Unsloth durchführen.
Lokales Training kann aufgrund von Dependency Hell oder kaputtgehenden Umgebungen komplex sein. Unsloths [Docker-Image](https://hub.docker.com/r/unsloth/unsloth) kann diese Probleme umgehen. Es ist keine Einrichtung nötig: Ziehen Sie das Image und starten Sie es, und beginnen Sie mit dem Training.
* **Offizielles Docker-Image von Unsloth:** [**`unsloth/unsloth`**](https://hub.docker.com/r/unsloth/unsloth)
**Warum Unsloth & Docker verwenden?**
Unsloths Docker-Image ist stabil, aktuell und funktioniert in [unterstützten Setups](/docs/de/loslegen/fine-tuning-for-beginners/unsloth-requirements.md#system-requirements) wie Windows.
* Vollständig gekapselte Abhängigkeiten halten Ihr System sauber. Läuft sicher ohne Root.
* Lokal oder auf jeder Plattform mit vorinstallierten Notebooks verwenden.
{% hint style="success" %}
Sie können jetzt unser zentrales Docker-Image `unsloth/unsloth` für Blackwell- und 50er-GPUs verwenden – kein separates Image erforderlich.
{% endhint %}
### ⚡ Schritt-für-Schritt-Anleitung
{% stepper %}
{% step %}
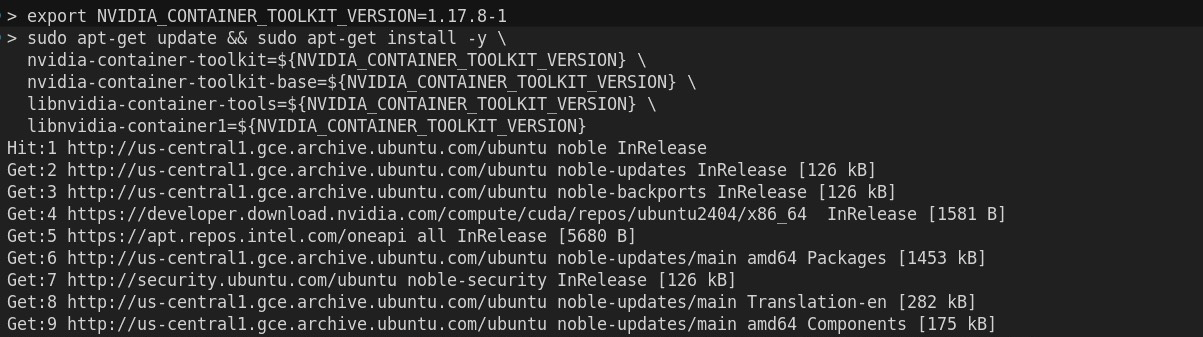
**Installieren Sie Docker und das NVIDIA Container Toolkit.**
Installieren Sie Docker über [Linux](https://docs.docker.com/engine/install/) oder [Desktop](https://docs.docker.com/desktop/) (andere).\
Dann installieren Sie [NVIDIA Container Toolkit](https://docs.nvidia.com/datacenter/cloud-native/container-toolkit/latest/install-guide.html#installation):
{% endstep %}
{% step %}
**Führen Sie den Container aus.**
[**`unsloth/unsloth`**](https://hub.docker.com/r/unsloth/unsloth) ist Unsloths einziges Docker-Image. Für [Blackwell](/docs/de/blog/fine-tuning-llms-with-blackwell-rtx-50-series-and-unsloth.md) und 50er-GPUs verwenden Sie dieses gleiche Image – kein separates Image erforderlich. Wenn Sie DGX Spark verwenden, müssen Sie unserer [DGX-Anleitung](/docs/de/blog/fine-tuning-llms-with-nvidia-dgx-spark-and-unsloth.md).
```bash
docker run -d -e JUPYTER_PASSWORD="mypassword" \
-p 8888:8888 -p 2222:22 \
-v $(pwd)/work:/workspace/work \
--gpus all \
unsloth/unsloth
```
{% endstep %}
{% step %}
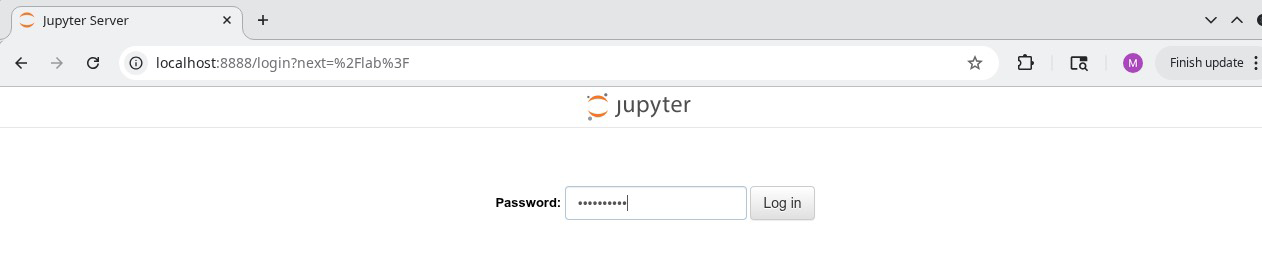
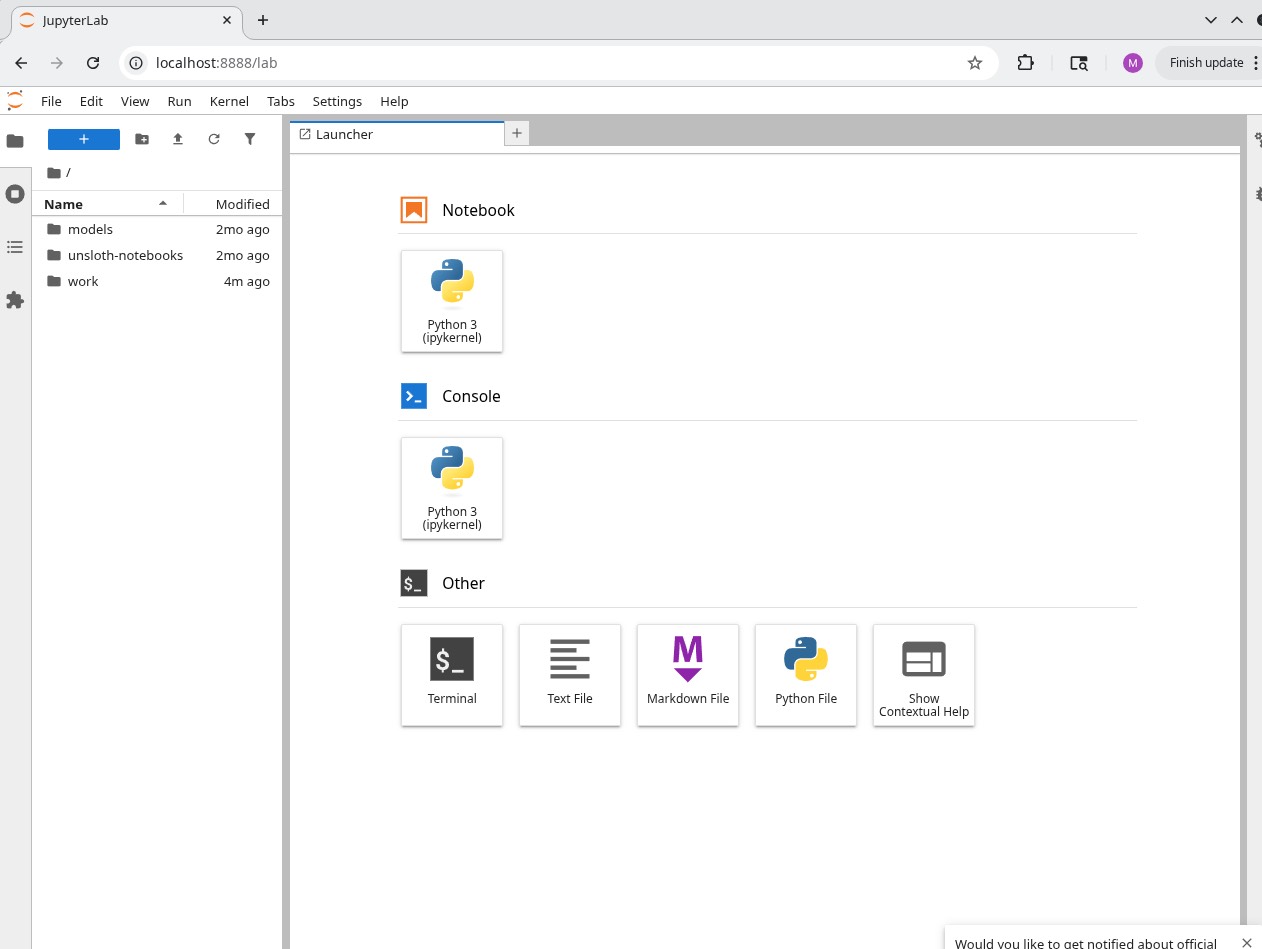
**Greifen Sie auf Jupyter Lab zu**
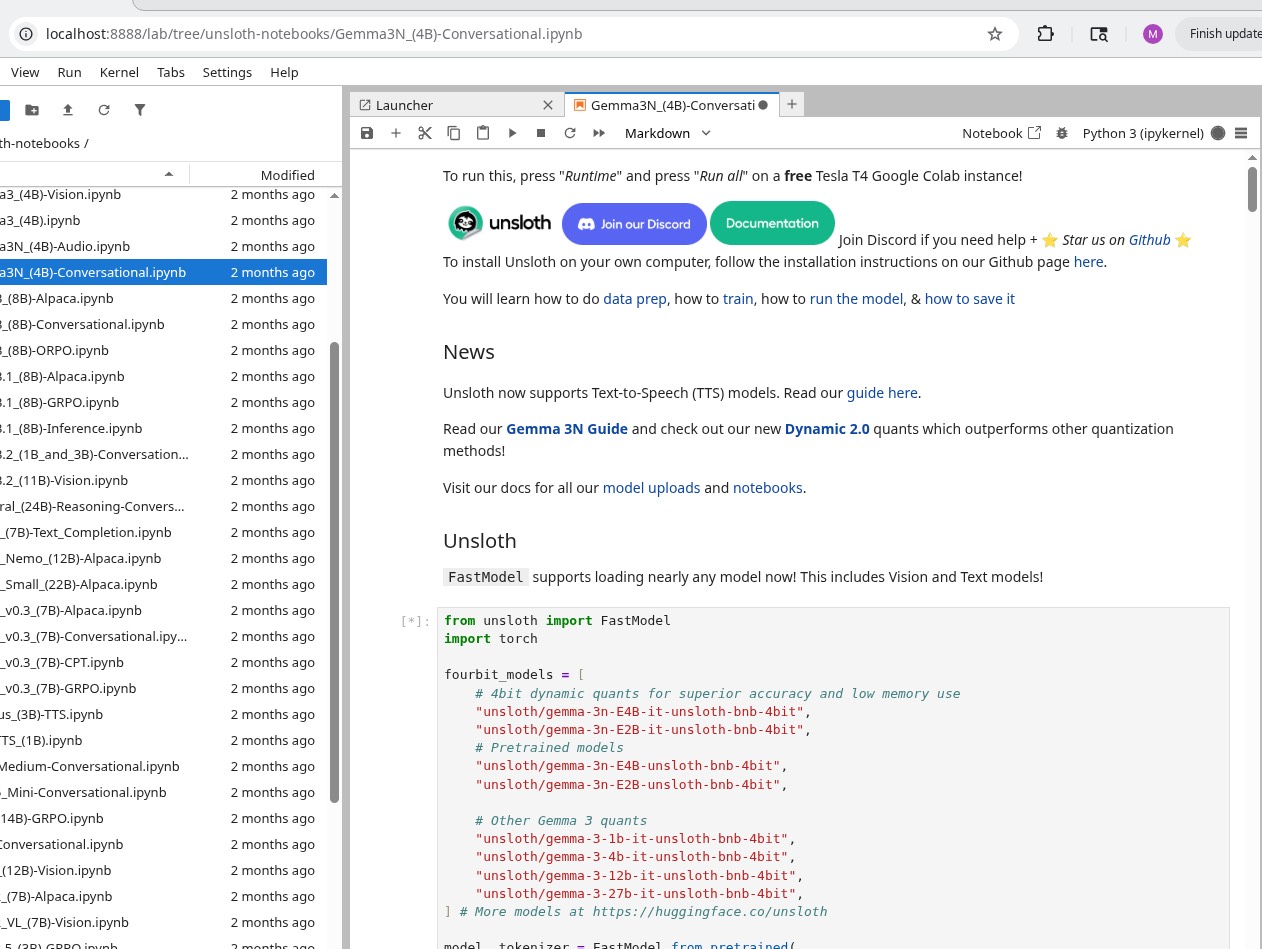
Gehe zu [http://localhost:8888](http://localhost:8888/) und öffnen Sie Unsloth.
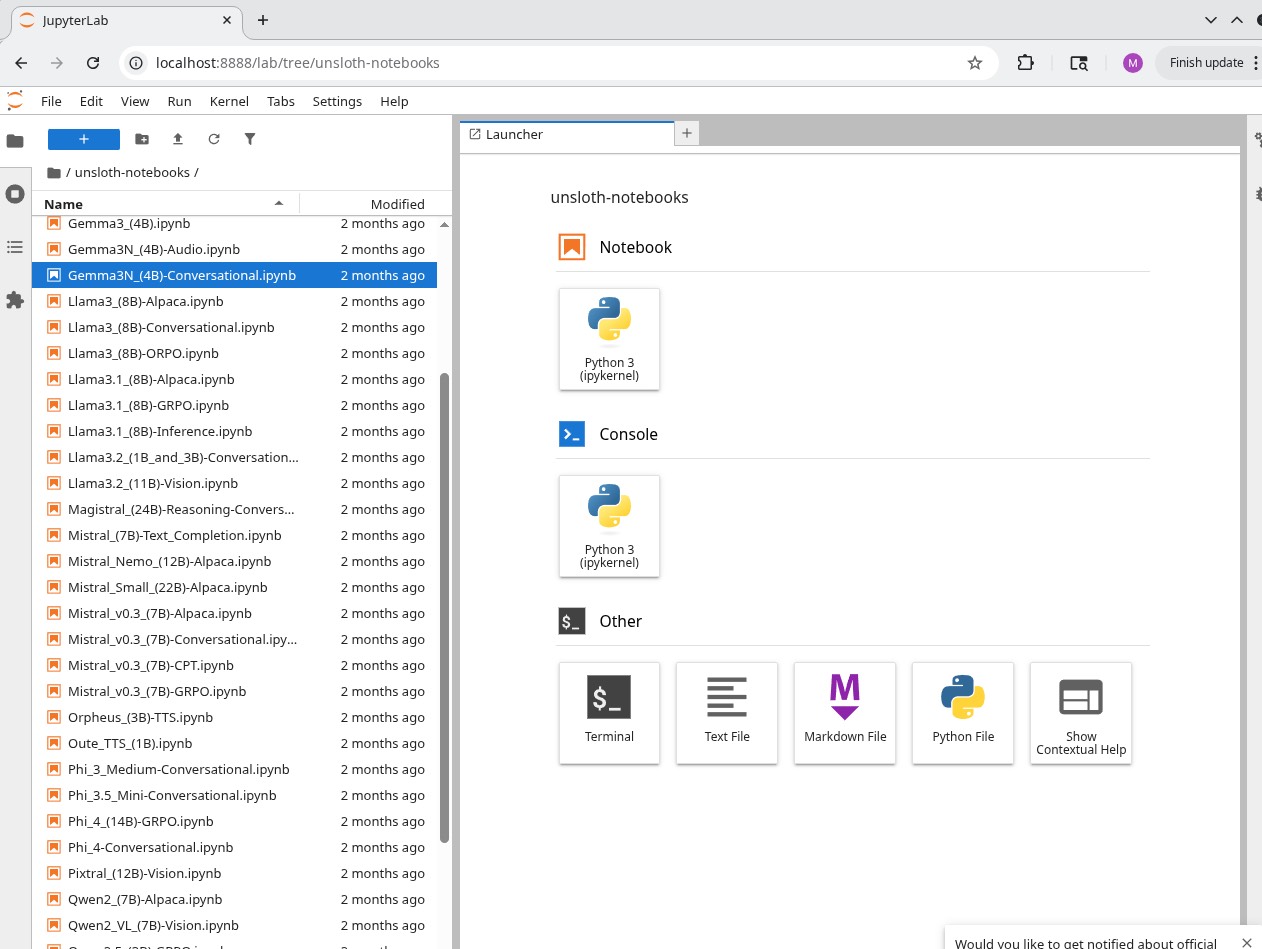
Greifen Sie auf die `unsloth-notebooks` Registerkarten zu, um Unsloth-Notebooks zu sehen.
{% endstep %}
{% step %}
**Beginnen Sie mit dem Training mit Unsloth**
Wenn Sie neu sind, folgen Sie unserer schrittweisen [Anleitung zum Fine-Tuning](/docs/de/loslegen/fine-tuning-llms-guide.md), [RL-Anleitung](/docs/de/loslegen/reinforcement-learning-rl-guide.md) oder speichern/kopieren Sie einfach eines unserer vorgefertigten [Notebooks](/docs/de/loslegen/unsloth-notebooks.md).
{% endstep %}
{% endstepper %}
#### 📂 Container-Struktur
* `/workspace/work/` — Ihr eingehängtes Arbeitsverzeichnis
* `/workspace/unsloth-notebooks/` — Beispiel-Notebooks für Fine-Tuning
* `/home/unsloth/` — Benutzer-Home-Verzeichnis
### 📖 Anwendungsbeispiel
#### Vollständiges Beispiel
```bash
docker run -d -e JUPYTER_PORT=8000 \
-e JUPYTER_PASSWORD="mypassword" \
-e "SSH_KEY=$(cat ~/.ssh/container_key.pub)" \
-e USER_PASSWORD="unsloth2024" \
-p 8000:8000 -p 2222:22 \
-v $(pwd)/work:/workspace/work \
--gpus all \
unsloth/unsloth
```
#### SSH-Schlüssel einrichten
Wenn Sie kein SSH-Schlüsselpaar haben:
```bash
# Neues Schlüsselpaar generieren
ssh-keygen -t rsa -b 4096 -f ~/.ssh/container_key
# Den öffentlichen Schlüssel in docker run verwenden
-e "SSH_KEY=$(cat ~/.ssh/container_key.pub)"
# Per SSH verbinden
ssh -i ~/.ssh/container_key -p 2222 unsloth@localhost
```
### ⚙️ Erweiterte Einstellungen
| Variable | Beschreibung | Standard |
| ------------------ | ------------------------------------------------ | --------- |
| `JUPYTER_PASSWORD` | Passwort für Jupyter Lab | `unsloth` |
| `JUPYTER_PORT` | Jupyter-Lab-Port innerhalb des Containers | `8888` |
| `SSH_KEY` | Öffentlicher SSH-Schlüssel zur Authentifizierung | `Keine` |
| `USER_PASSWORD` | Passwort für `unsloth` Benutzer (sudo) | `unsloth` |
```bash
-p :
```
* Jupyter Lab: `-p 8000:8888`
* SSH-Zugriff: `-p 2222:22`
{% hint style="warning" %}
**Wichtig**: Verwenden Sie Volume-Mounts, um Ihre Arbeit zwischen Container-Ausführungen zu erhalten.
{% endhint %}
```bash
-v :
```
```bash
docker run -d -e JUPYTER_PORT=8000 \
-e JUPYTER_PASSWORD="mypassword" \
-e "SSH_KEY=$(cat ~/.ssh/container_key.pub)" \
-e USER_PASSWORD="unsloth2024" \
-p 8000:8000 -p 2222:22 \
-v $(pwd)/work:/workspace/work \
--gpus all \
unsloth/unsloth
```
### **🔒 Sicherheitshinweise**
* Container läuft standardmäßig als Nicht-Root- `unsloth` Benutzer
* Verwenden Sie `USER_PASSWORD` für sudo-Operationen innerhalb des Containers
* SSH-Zugriff erfordert Public-Key-Authentifizierung
---
# Agent Instructions
This documentation is published with GitBook. GitBook is the documentation platform designed so that both humans and AI agents can read, navigate, and reason over technical content effectively. Learn more at gitbook.com.
## Querying This Documentation
If you need additional information that is not directly available in this page, you can query the documentation by asking a question.
Perform an HTTP GET request on the following URL with the `ask` and `goal` query parameters:
```
GET https://unsloth.ai/docs/de/blog/how-to-fine-tune-llms-with-unsloth-and-docker.md?ask=&goal=
```
`ask` is the immediate question: it should be specific, self-contained, and written in natural language.
`goal` is what the user is ultimately trying to achieve, the reason they need the answer. Sharing it helps GitBook give you a better, more relevant answer. A goal is most helpful when it describes the outcome the user wants rather than restating the question. For example, with `ask=how do I create an API token`, a goal like `automate deployments from our CI pipeline` lets GitBook tailor the answer to that use case.
The response will contain a direct answer to the question and relevant excerpts and sources from the documentation.
Use this mechanism when the answer is not explicitly present in the current page, you need clarification or additional context, or you want to retrieve related documentation sections.