> For the complete documentation index, see [llms.txt](https://unsloth.ai/docs/llms.txt). Markdown versions of documentation pages are available by appending `.md` to page URLs; this page is available as [Markdown](https://unsloth.ai/docs/jp/meru/install/amd.md).

# UnslothガイドでAMD GPU上のLLMをファインチューニング

AMDハードウェア上で、NVIDIAなしで、LLMを最大2倍高速かつ約70%少ないメモリでファインチューニングできます。UnslothはWindowsとLinuxの両方でAMD Radeon RDNA 3/3.5/4（RX 6000〜9000シリーズ）をサポートし、MI300X（192GB）を含むデータセンターGPUにも対応しています。

{% stepper %}
{% step %}

#### **1行インストーラ**

**最も簡単なインストール:** 1行インストーラを使えば、以下の手順をすべて省略できます。AMD GPUを自動検出し、ROCm最適化版PyTorchとbitsandbytesをインストールし、Unsloth Studioを起動します:

**Linux:**

```bash
curl -fsSL https://unsloth.ai/install.sh | sh
```

**Windows (PowerShell):**

```powershell
irm https://unsloth.ai/install.ps1 | iex
```

以下の手動手順は、必要な依存関係を含めてAMD上にUnsloth Pythonライブラリをインストールしたいユーザー向けです。
{% endstep %}

{% step %}

#### **新しい分離環境を作成する（任意）**

システムパッケージを壊さないために、分離されたpip環境を作成できます。お使いのPythonバージョンを確認するのを忘れないでください！それは `pip3`, `pip3.13`, `python3`, `python.3.13` などかもしれません。

**Linux:** 3.13を表示しています。3.11〜3.13ならどれでもどこでも動作します（3.10は手動インストールで動作します

{% code overflow="wrap" %}

```bash
# Linux — 3.13を、お使いの3.10〜3.13のいずれかに置き換えてください
apt update && apt install python3.13-venv -y
python3.13 -m venv unsloth_env
source unsloth_env/bin/activate
pip install uv
```

{% endcode %}

**Windows (PowerShell):**&#x20;

3.13を表示しています。unsloth\[rocm72-torch291]の追加パッケージをインストールする場合は3.12を使ってください

```shellscript
py -3.13 -m venv unsloth_env
unsloth_env\Scripts\Activate.ps1
pip install uv
```

{% endstep %}

{% step %}

#### **PyTorchをインストール**

AMD用の追加パッケージ（`unsloth[rocm72-torch291]` など、次のセクションを参照）をインストールする予定ですか？それらには対応するPyTorchが同梱されているので、 **このセクションはスキップできます**。ここでPyTorchをインストールするのは、自分で管理したい場合か、ROCmバージョンが追加パッケージで対応していない場合だけです。

**Linux:** \
PyTorchのインデックスからROCm対応のPyTorchをインストールします。ROCmバージョンは次で確認してください `amd-smi version` （確認するのは `ROCm version:` の行）を探して、次のように変更します: `https://download.pytorch.org/whl/rocm7.1` に合わせてください。ROCm 6.0以降が必要です。

{% code overflow="wrap" %}

```bash
uv pip install "torch>=2.4,<2.11.0" "torchvision<0.26.0" "torchaudio<2.11.0" \
    --index-url https://download.pytorch.org/whl/rocm7.1 --upgrade --force-reinstall
```

{% endcode %}

ROCm 7.2ではより新しいホイール（torch 2.11）が提供されるため、ROCm 7.2では代わりにこちらを使ってください:

```bash
uv pip install "torch>=2.11.0,<2.12.0" torchvision torchaudio \
    --index-url https://download.pytorch.org/whl/rocm7.2 --upgrade --force-reinstall
```

利用可能なインデックスタグは `rocm6.0`, `rocm6.1`, `rocm6.2`, `rocm6.3`, `rocm6.4`, `rocm7.0`, `rocm7.1`、および `rocm7.2`。ROCm 6.5〜6.9には専用ホイールがありません（use `rocm6.4`）、ROCm 7.3+では `rocm7.2`.

*このバージョン上限は、ROCm 7.2のホイールしかないtorch 2.11+を誤って取得して壊してしまうのを防ぎます。 `rocm7.1` 前述のように検出されたバージョンに合わせて更新してください。*

必要なら、正しいROCMバージョンを抽出する1つのターミナルコマンドも用意しました。

```bash
ROCM_TAG="$({ command -v amd-smi >/dev/null 2>&1 && amd-smi version 2>/dev/null | awk -F'ROCm version: ' 'NF>1{split($2,a,"."); print "rocm"a[1]"."a[2]; ok=1; exit} END{exit !ok}'; } || { [ -r /opt/rocm/.info/version ] && awk -F. '{print "rocm"$1"."$2; exit}' /opt/rocm/.info/version; } || { command -v hipconfig >/dev/null 2>&1 && hipconfig --version 2>/dev/null | awk -F': *' '/HIP version/{split($2,a,"."); print "rocm"a[1]"."a[2]; ok=1; exit} END{exit !ok}'; } || { command -v dpkg-query >/dev/null 2>&1 && ver="$(dpkg-query -W -f="${Version}\n" rocm-core 2>/dev/null)" && [ -n "$ver" ] && awk -F'[.-]' '{print "rocm"$1"."$2; exit}' <<<"$ver"; } || { command -v rpm >/dev/null 2>&1 && ver="$(rpm -q --qf '%{VERSION}\n' rocm-core 2>/dev/null)" && [ -n "$ver" ] && awk -F'[.-]' '{print "rocm"$1"."$2; exit}' <<<"$ver"; })"; [ -n "$ROCM_TAG" ] && uv pip install "torch>=2.4,<2.11.0" "torchvision<0.26.0" "torchaudio<2.11.0" --index-url "https://download.pytorch.org/whl/$ROCM_TAG" --upgrade --force-reinstall
```

*注: ROCmバージョンが7.2以上の場合は、 `$ROCM_TAG` 上記のコマンド内のこれを `rocm7.1,` 7.2+向けのPyTorchホイールはまだありません。*

<div data-with-frame="true"><figure><img src="/files/3d71306cbd87d59368deea714f4dd9961790bd91" alt="" width="563"><figcaption></figcaption></figure></div>
{% endstep %}

{% step %}

#### **Unslothをインストール**

AMD用の追加パッケージ付きでUnslothをインストール:

{% code overflow="wrap" %}

```bash
uv pip install unsloth[amd]
```

{% endcode %}

<div data-with-frame="true"><figure><img src="/files/f46b5626b837e6c796b8916e80aa41e1895f154c" alt="" width="547"><figcaption></figcaption></figure></div>

⚠️ AMDでは必須: ROCm互換のbitsandbytesをインストール\
すべてのROCmシステムではプレリリース版bitsandbytesビルドが必要です。0.49.2以下のバージョンには、すべてのAMD GPUで4ビットデコードのNaNバグがあります。注意: この手順では `pip` ではなく `uv` を使ってください。 `uv` ファイル名のバージョン不一致のため、プレリリースホイールを拒否するからです。

{% code overflow="wrap" %}

```bash
# x86_64システム:
pip install --force-reinstall --no-cache-dir --no-deps \
    "https://github.com/bitsandbytes-foundation/bitsandbytes/releases/download/continuous-release_main/bitsandbytes-1.33.7.preview-py3-none-manylinux_2_24_x86_64.whl"

# aarch64システム: 上のURLのx86_64をaarch64に置き換えてください

# URLに到達できない場合の代替:
# pip install --force-reinstall --no-cache-dir --no-deps "bitsandbytes>=0.49.1"
```

{% endcode %}

<div data-with-frame="true"><figure><img src="/files/b0b324e4b432d7f70d7b691cd0be0ca7ddc8eba0" alt="" width="563"><figcaption></figcaption></figure></div>
{% endstep %}

{% step %}

#### **Unslothでファインチューニングを始めましょう！**

以上です。こちらの [**Unsloth Notebooks**](/docs/jp/meru/unsloth-notebooks.md) ページでサンプルを試してみてください！

専用の [ファインチューニング](/docs/jp/meru/fine-tuning-llms-guide.md) または [強化学習](/docs/jp/meru/reinforcement-learning-rl-guide.md) ガイドをご覧いただけます。簡単な例も以下に示します:

**1. 環境変数を設定**

{% code overflow="wrap" %}

```bash
export HSA_OVERRIDE_GFX_VERSION=9.4.2  # Required for AMD MI300X
export HF_HUB_DISABLE_XET=1            # Fixes HuggingFace download issues on AMD
```

{% endcode %}

***注:*** *`HSA_OVERRIDE_GFX_VERSION=9.4.2` は、ROCmにGPUをgfx942（MI300X）として扱わせます。これがないと、一部のカーネルがコンパイルまたは実行に失敗する場合があります。*

**2. モデルを読み込み、設定する**

{% code overflow="wrap" %}

```python
from unsloth import FastModel

model, tokenizer = FastModel.from_pretrained(
    model_name = "unsloth/gemma-4-26b-a4-b-it",
    max_seq_length = 2048,
    load_in_4bit = True,
)

model = FastModel.get_peft_model(
    model,
    r = 16,
    lora_alpha = 16,
    target_modules = ["q_proj", "k_proj", "v_proj", "o_proj"],
)
```

{% endcode %}

**3. 学習**

{% code overflow="wrap" %}

```python
from trl import SFTTrainer, SFTConfig

trainer = SFTTrainer(
    model = model,
    tokenizer = tokenizer,
    train_dataset = dataset,
    formatting_func = formatting_func,
    args = SFTConfig(
        per_device_train_batch_size = 1,
        gradient_accumulation_steps = 4,
        max_steps = 60,
        output_dir = "outputs",
        report_to = "none",
    ),
)

trainer_stats = trainer.train()
```

{% endcode %}

<div data-with-frame="true"><figure><img src="/files/fc7c13a7e44ccc61ea444191af65add90a0a81ae" alt="" width="375"><figcaption></figcaption></figure></div>

***注:** AMD GPUではFlash Attention 2は利用できません。Unslothは自動的にXformersにフォールバックし、これはROCm上で同等の性能を提供します。この警告は安全に無視できます。*
{% endstep %}
{% endstepper %}

### :1234: AMD GPUでの強化学習

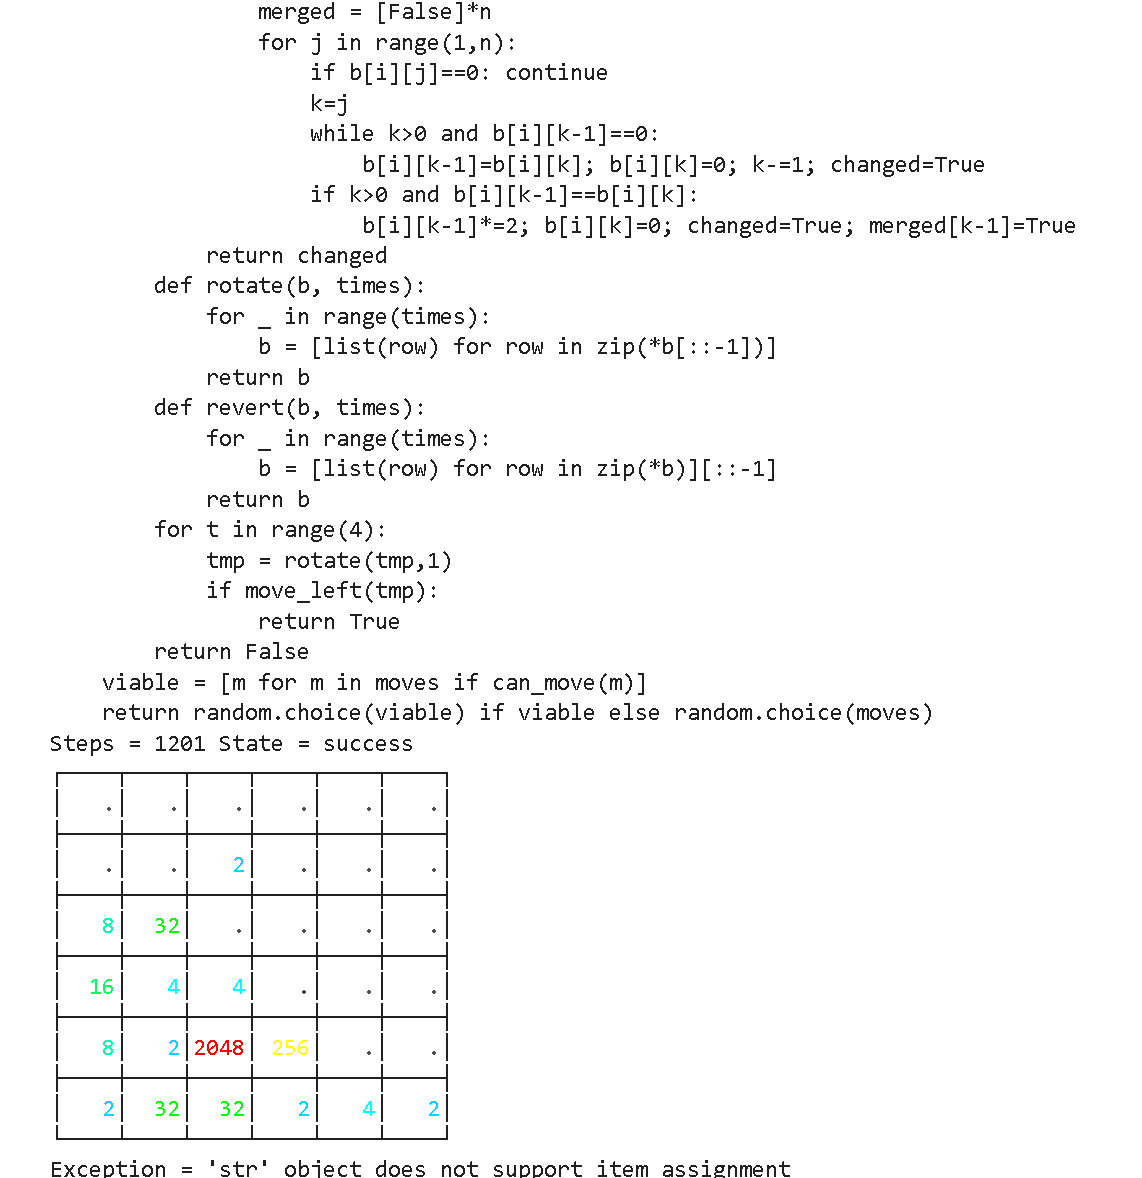
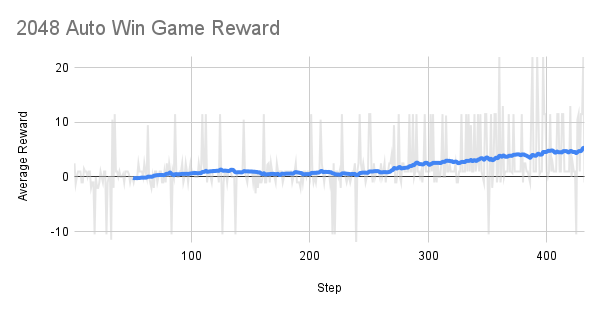
以下の :ledger:[gpt-oss RL 自動 2048 勝利](https://github.com/unslothai/notebooks/blob/main/nb/AMD-gpt_oss_\(20B\)_Reinforcement_Learning_2048_Game_BF16.ipynb) 例をMI300X（192GB）GPUで使えます。目的は2048ゲームを自動でプレイし、RLで勝利することです。LLM（gpt-oss 20b）は自動的に2048ゲームで勝つための戦略を考案し、勝てる戦略には高い報酬を、失敗する戦略には低い報酬を与えます。

{% columns %}
{% column %}

<figure><img src="/files/47c681ba63182ba589dab3be7465261120e51ceb" alt=""><figcaption></figcaption></figure>
{% endcolumn %}

{% column %}
約300ステップほど経つと、時間とともに報酬が増加しています！

RLの目的は、2048ゲームで勝つために平均報酬を最大化することです。

<figure><img src="/files/724d0ba8845a74f874a43c02b5e78ddadfce5e8f" alt=""><figcaption></figcaption></figure>
{% endcolumn %}
{% endcolumns %}

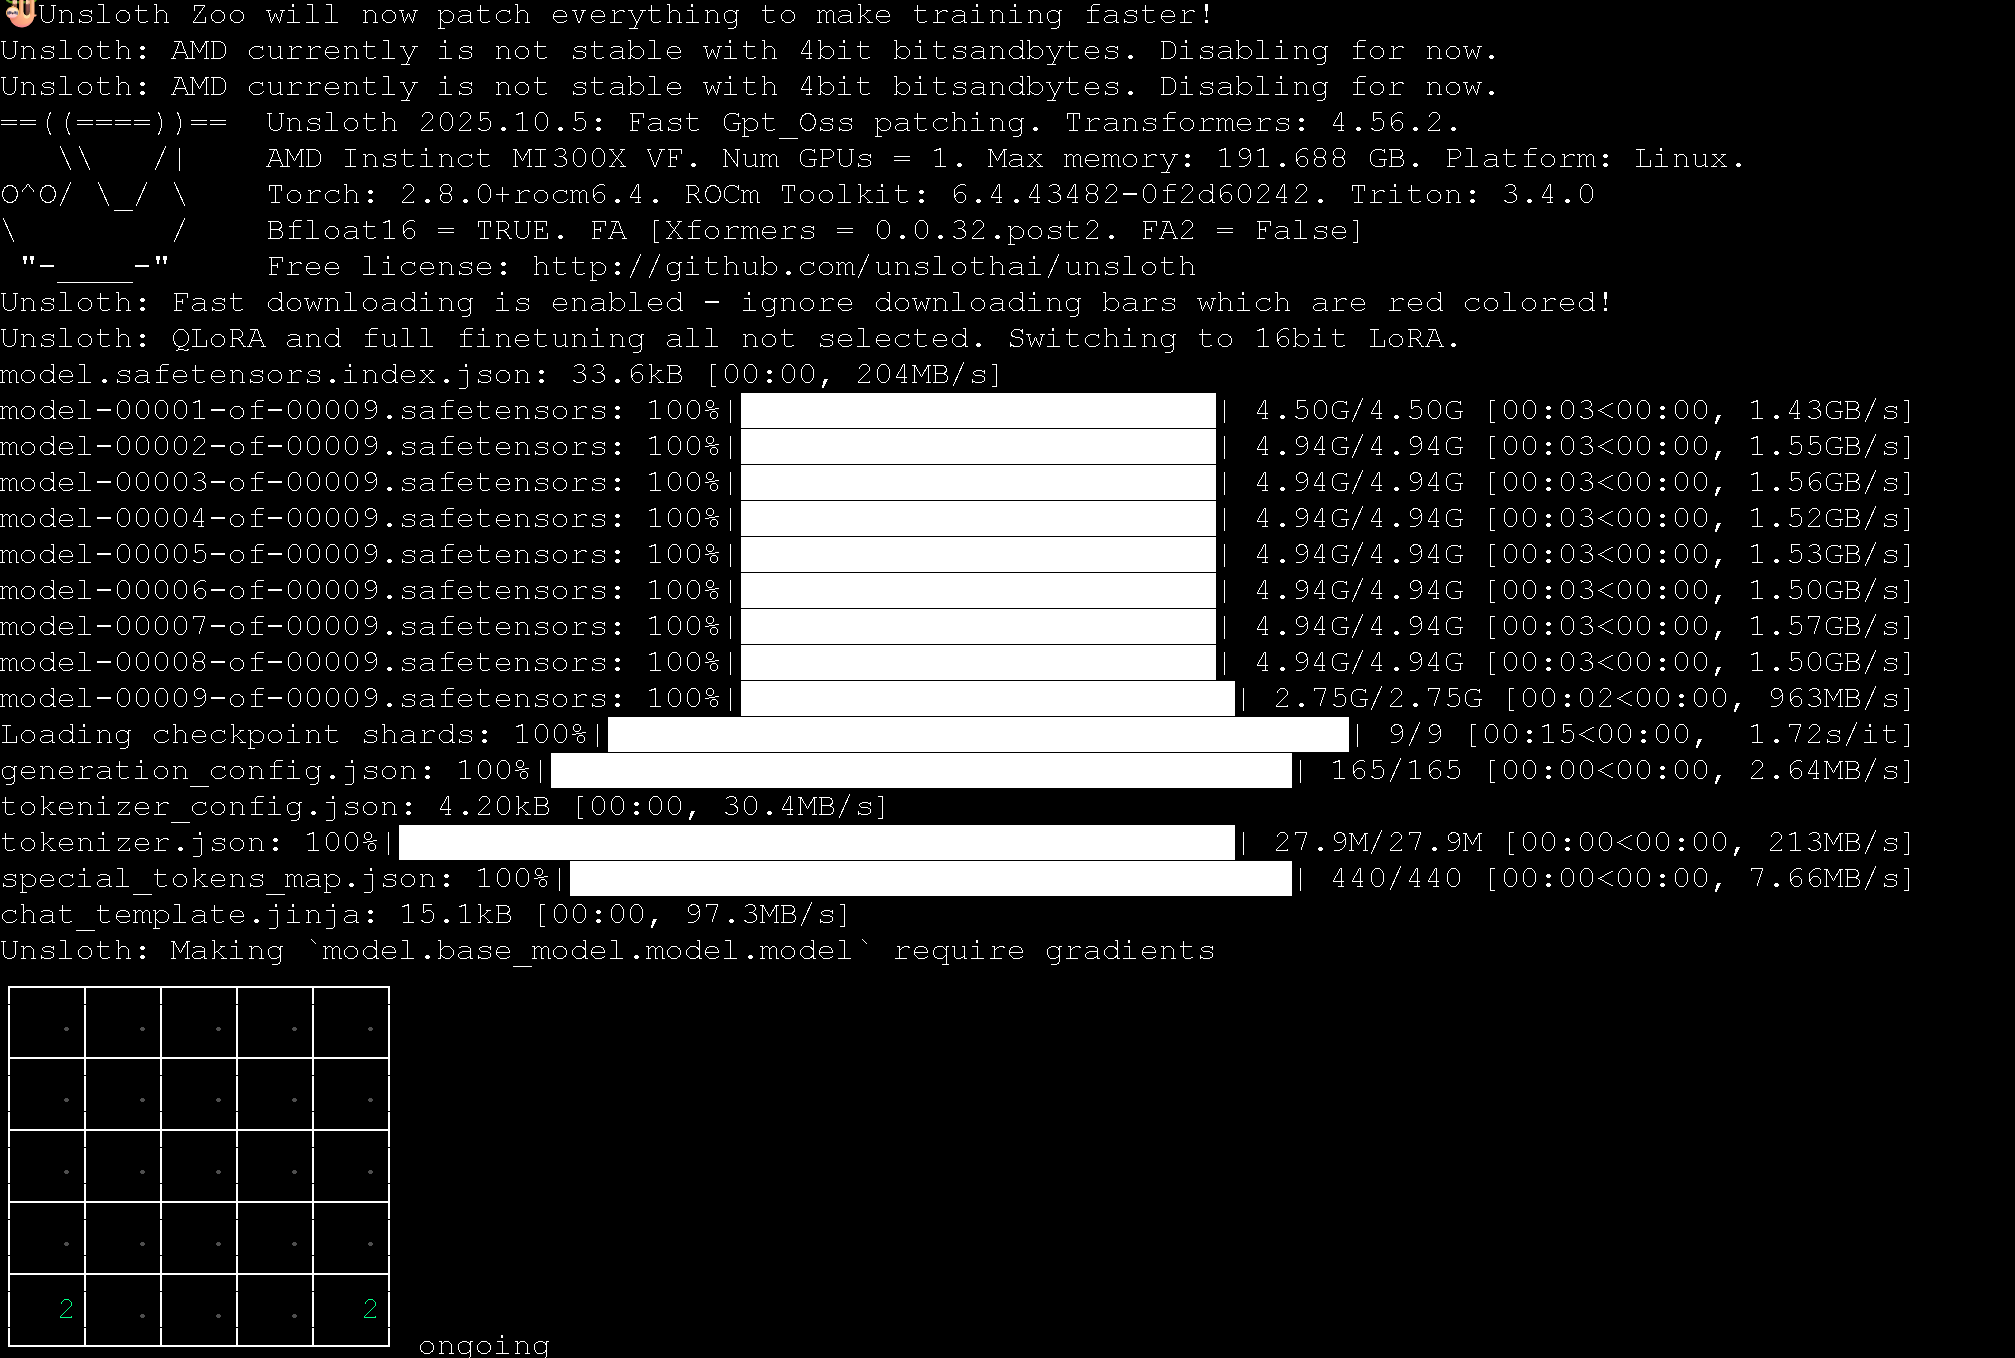
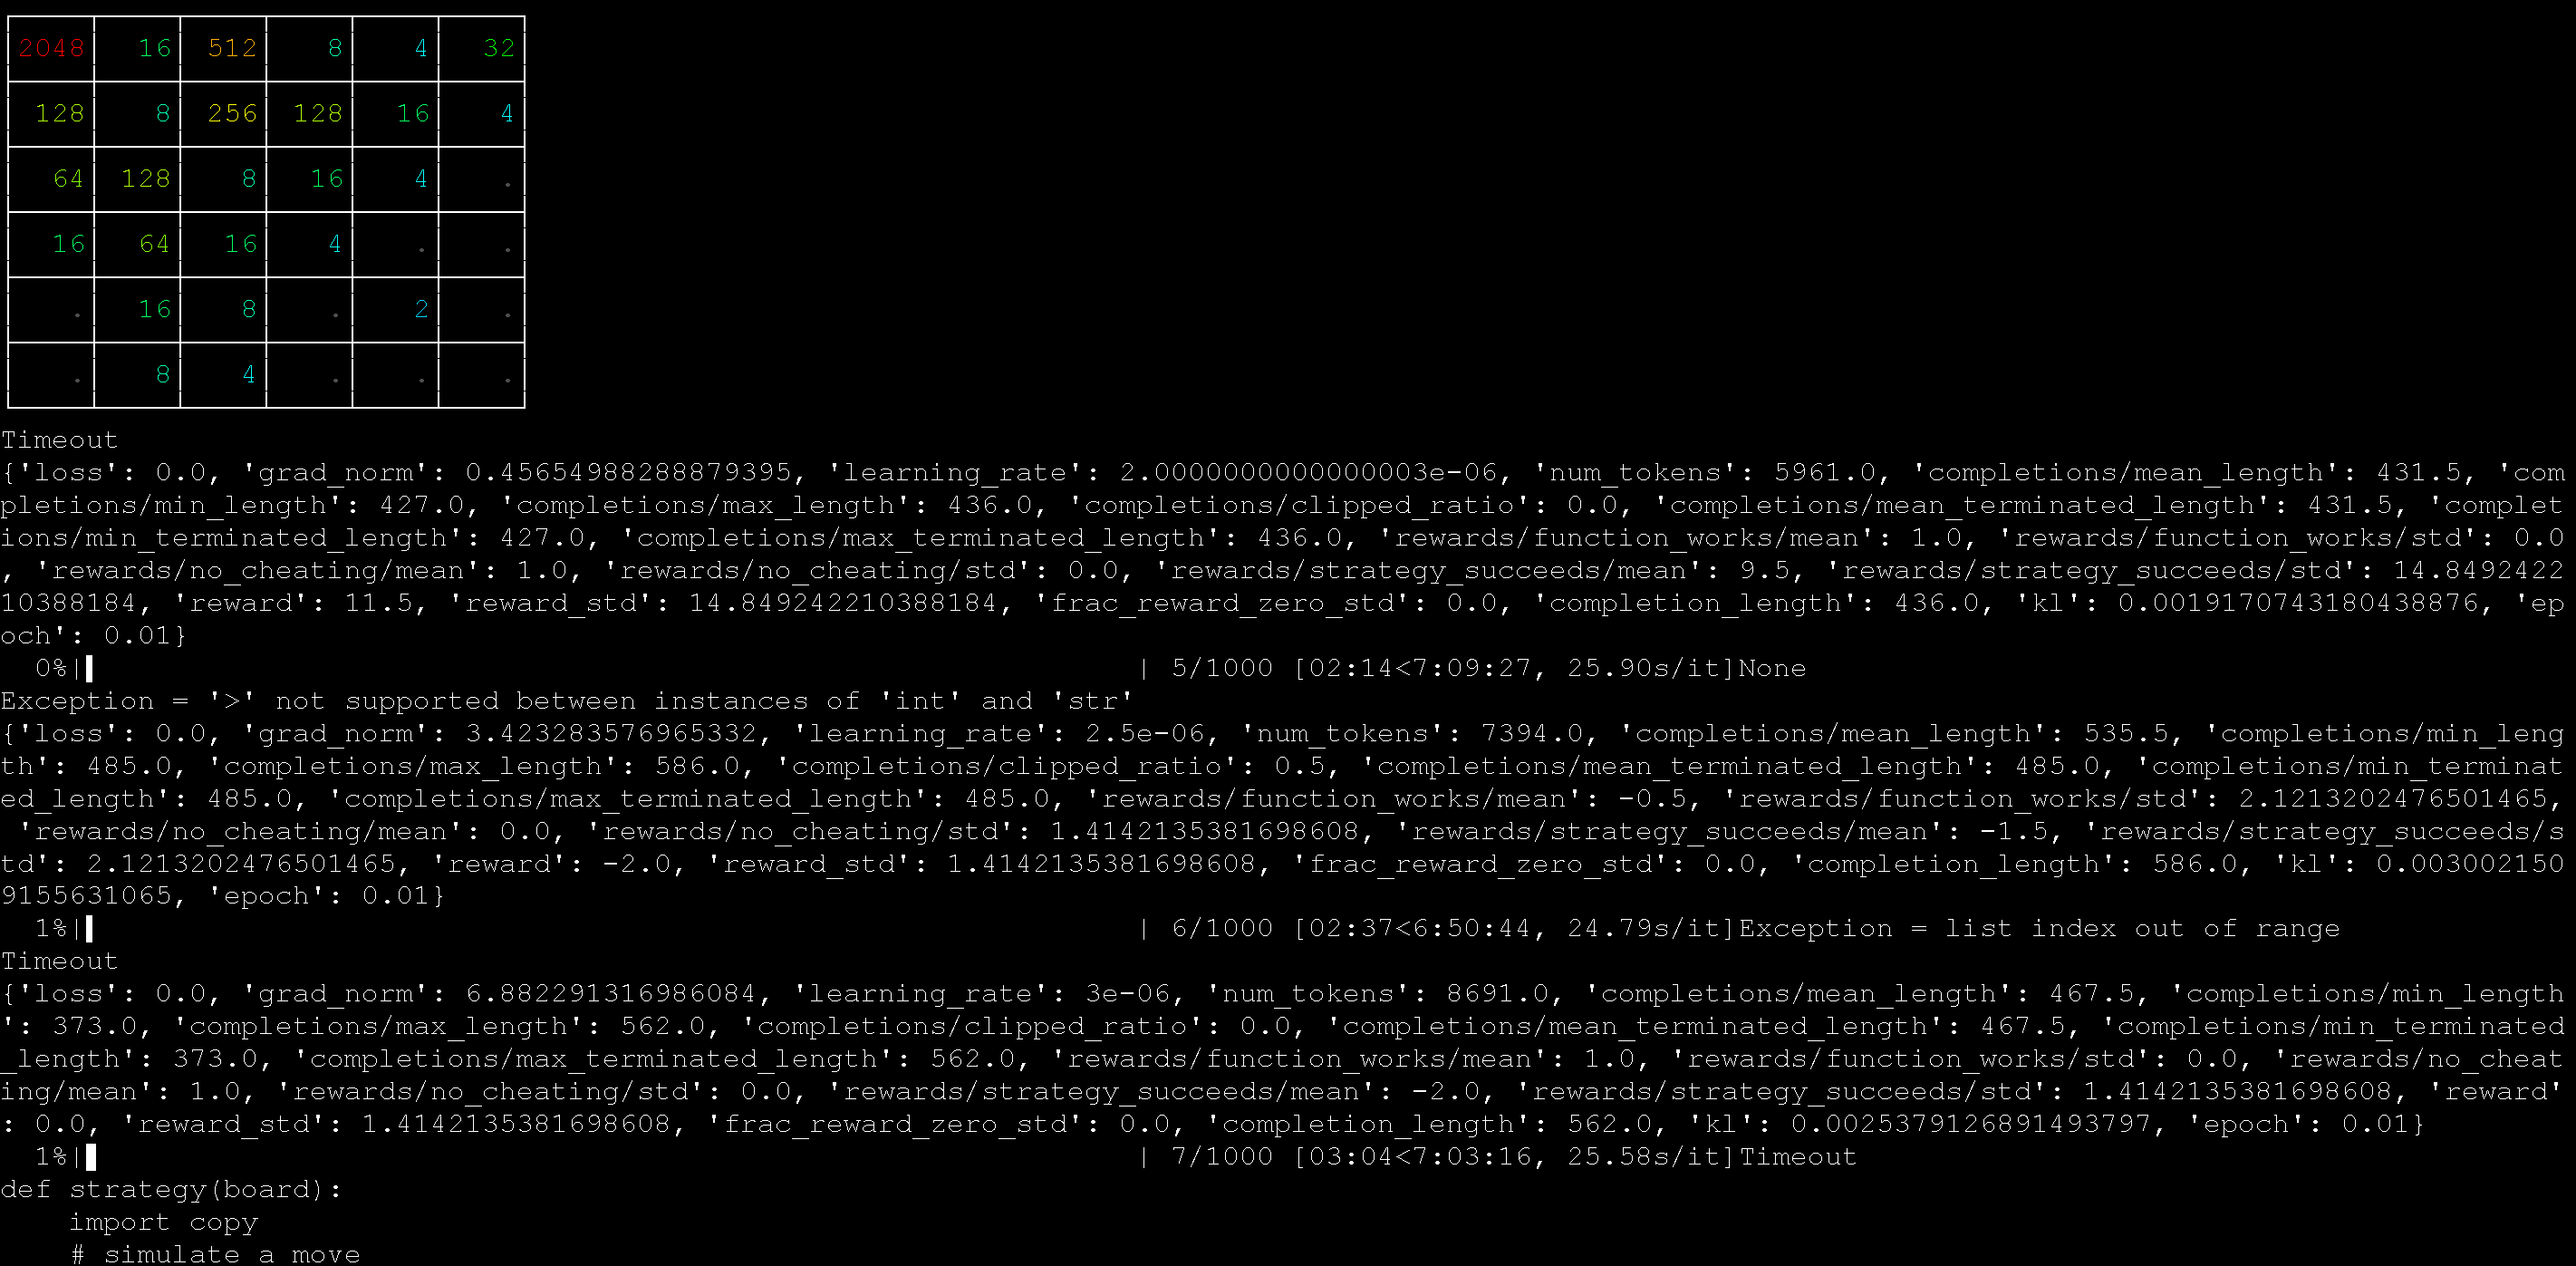
Unslothを使って2048のRL例をAMD MI300Xマシン（192GB）で実行しましたが、うまく動きました！

<div><figure><img src="/files/7aae1a9b79c965b5a329beabe219a299e0177dae" alt=""><figcaption></figcaption></figure> <figure><img src="/files/4401b8aa1cbca218a641373bf7da190f7468865d" alt=""><figcaption></figcaption></figure></div>

以下の :ledger:[自動カーネル生成RLノートブック](https://github.com/unslothai/notebooks/blob/main/nb/AMD-gpt_oss_\(20B\)_GRPO_BF16.ipynb) もgpt-ossで使い、Pythonで行列乗算カーネルを自動生成できます。このノートブックには、報酬ハッキングに対抗するための複数の手法も組み込まれています。

{% columns %}
{% column width="50%" %}
これらのカーネルを自動生成するために使ったプロンプトは次のとおりです:

{% code overflow="wrap" %}

````
ネイティブPythonコードのみを使って、新しい高速な行列乗算関数を作成してください。
数のリストのリストが与えられます。
以下の形式で、バッククォートを使って新しい関数を出力してください:
```
python
def matmul(A, B):
    return ...
```
````

{% endcode %}
{% endcolumn %}

{% column width="50%" %}
RLプロセスは、たとえばPython内でより高速な行列乗算のためにStrassenアルゴリズムを適用する方法を学習します。

<figure><img src="/files/3967c2d6677e628cfe3a38577e7581a406b1cdb4" alt="" width="375"><figcaption></figcaption></figure>
{% endcolumn %}
{% endcolumns %}

### :books:AMDの無料ワンクリックノートブック

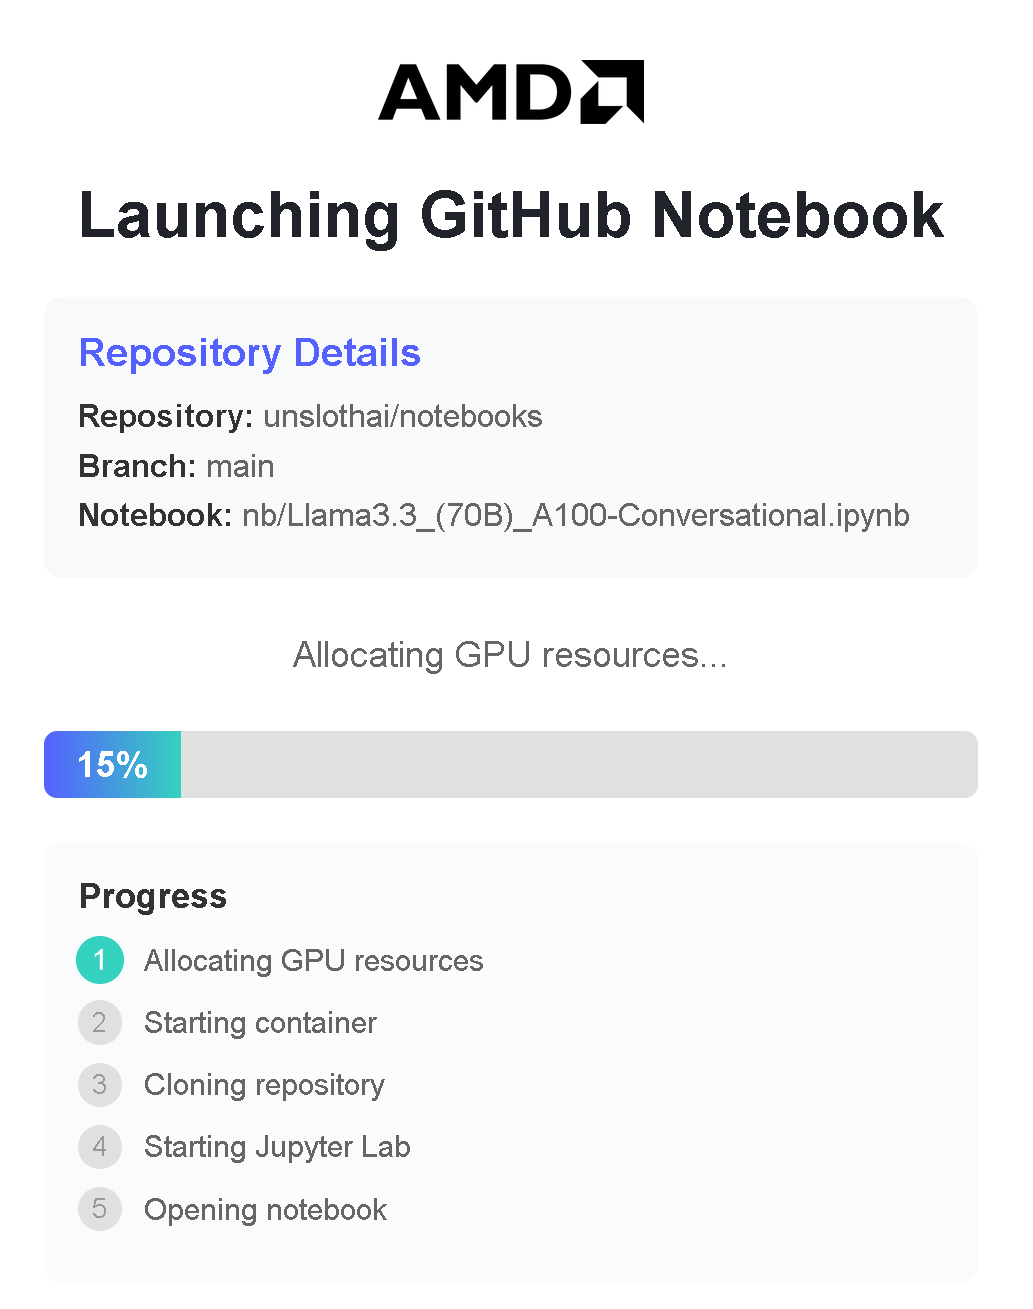
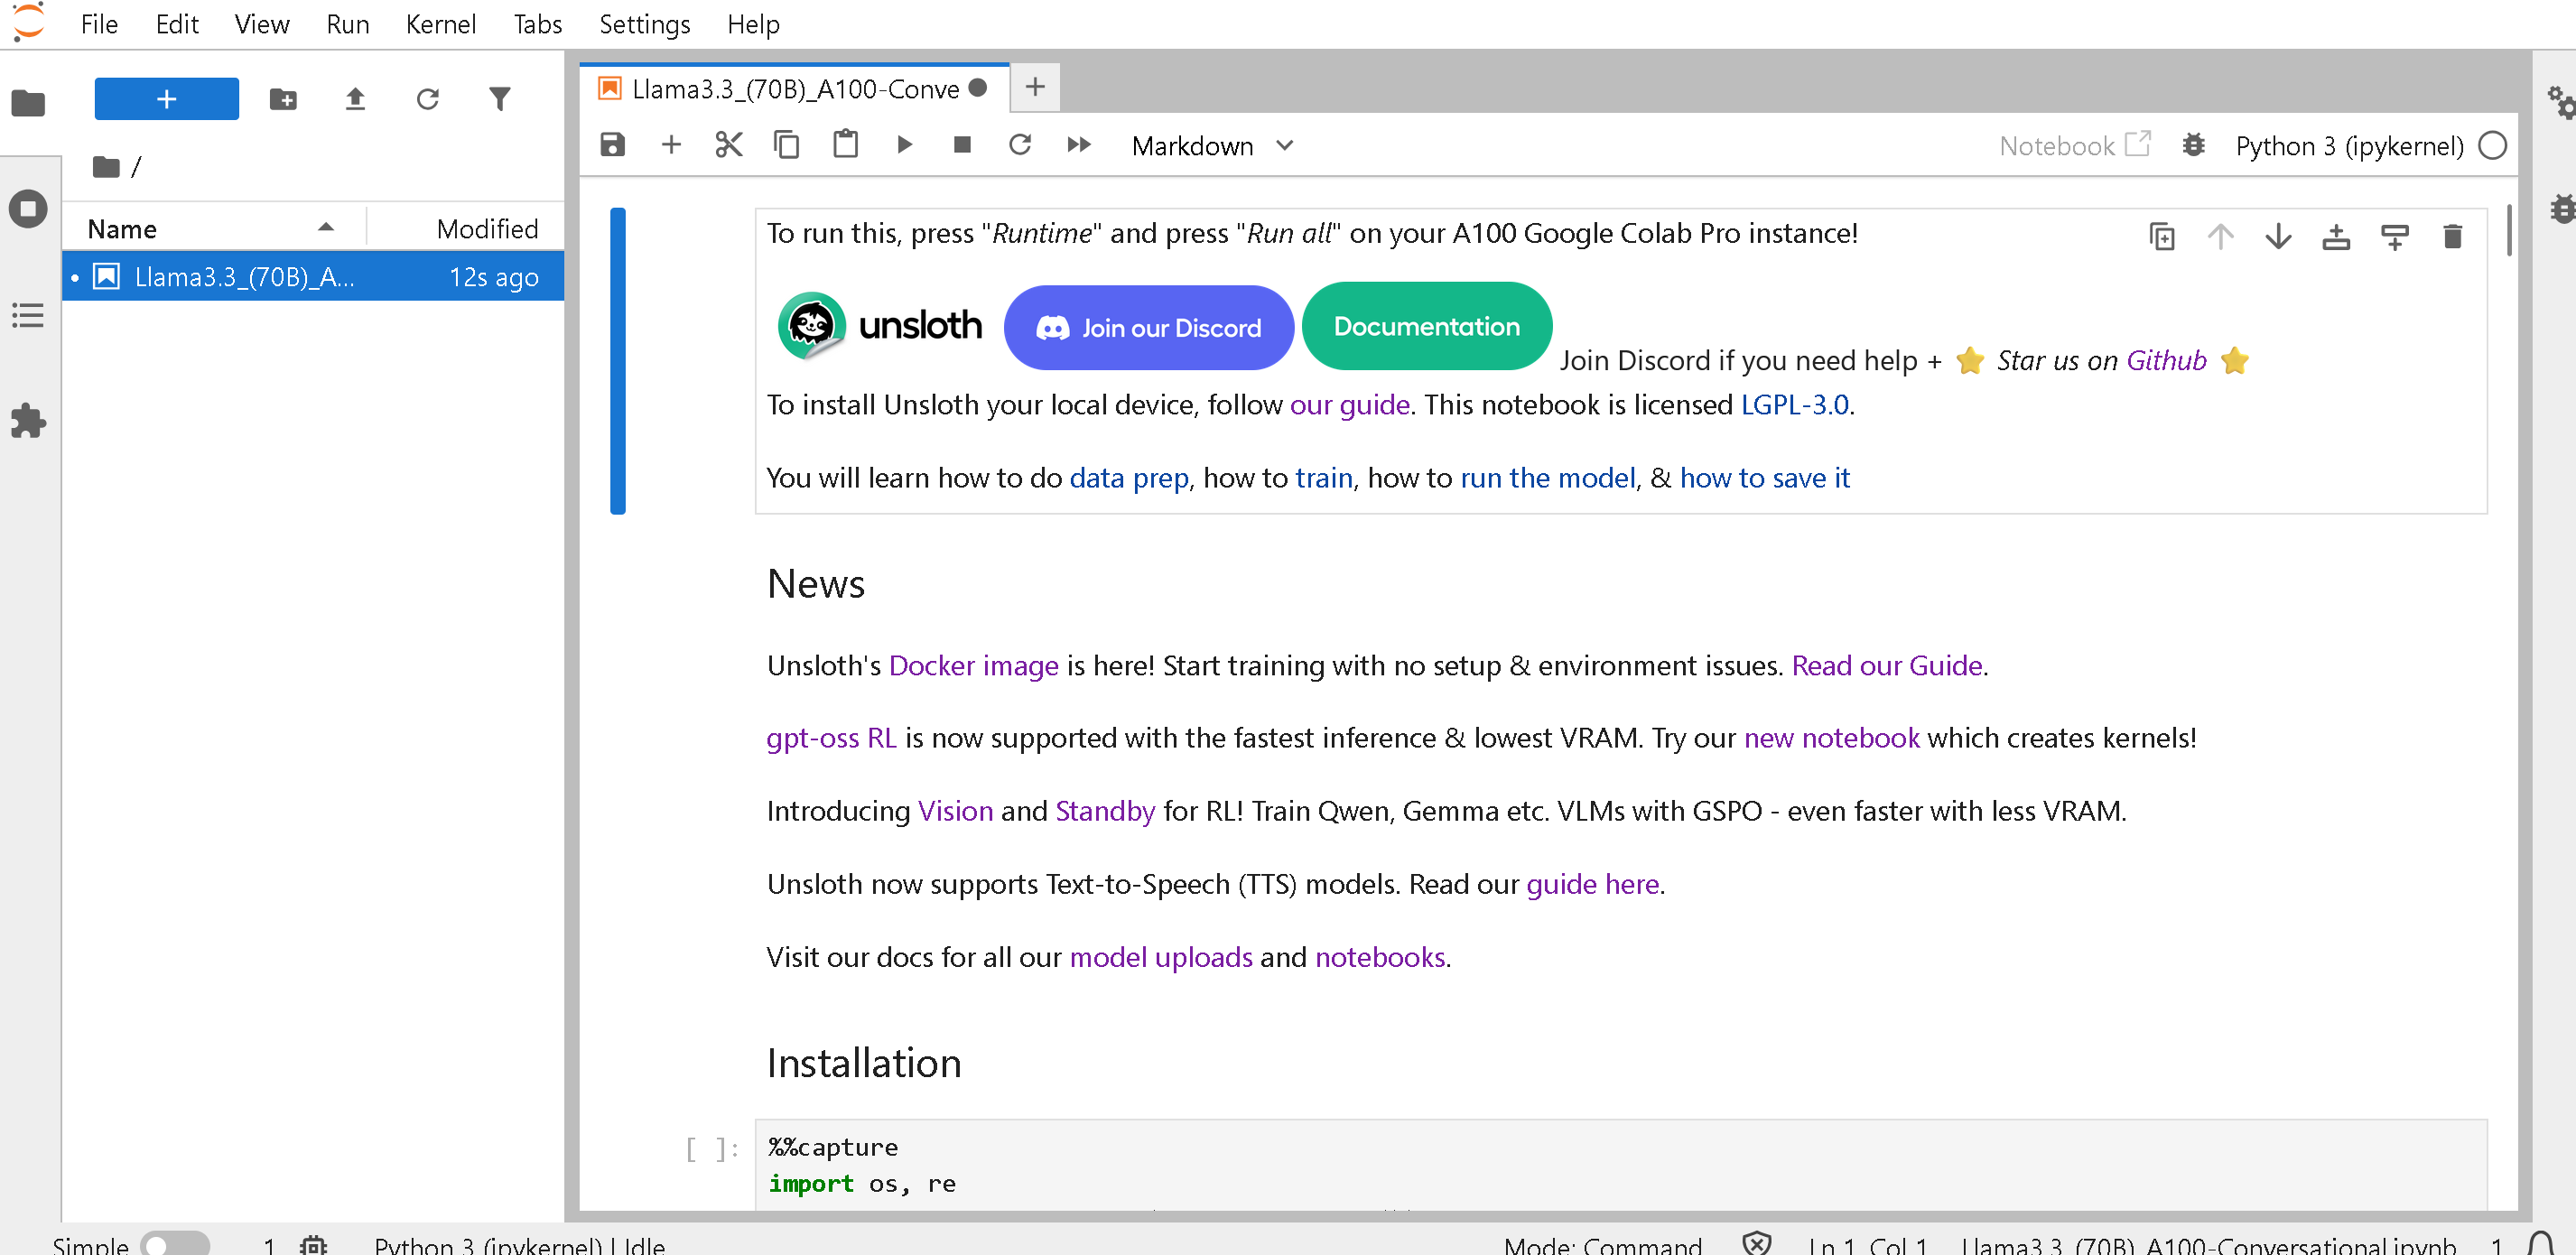
AMDは次を備えたワンクリックノートブックを提供しています: **無料の192GB VRAM搭載MI300X GPU** をDev Cloud経由で利用できます。大規模モデルを完全無料で学習できます（サインアップやクレジットカードは不要）:

* [Qwen3 (32B)](https://amd-ai-academy.com/github/unslothai/notebooks/blob/main/nb/Qwen3_\(32B\)_A100-Reasoning-Conversational.ipynb)
* [Llama 3.3 (70B)](https://amd-ai-academy.com/github/unslothai/notebooks/blob/main/nb/AMD-Llama3.3_\(70B\)_A100-Conversational.ipynb)
* [Qwen3 (14B)](https://amd-ai-academy.com/github/unslothai/notebooks/blob/main/nb/AMD-Qwen3_\(14B\)-Reasoning-Conversational.ipynb)
* [Mistral v0.3 (7B)](https://amd-ai-academy.com/github/unslothai/notebooks/blob/main/nb/AMD-Mistral_v0.3_\(7B\)-Alpaca.ipynb)
* [GPT OSS MXFP4 (20B)](https://amd-ai-academy.com/github/unslothai/notebooks/blob/main/nb/AMD-GPT_OSS_MXFP4_\(20B\)-Inference.ipynb) - 推論
* [Gemma4 (E2B)](https://amd-ai-academy.com/github/unslothai/notebooks/blob/main/nb/Gemma4_\(E2B\)_Reinforcement_Learning_Sudoku_Game.ipynb) - RL 数独
* Unsloth Studio

{% embed url="<https://oneclickamd.ai/github/unslothai/notebooks/blob/main/nb/gpt_oss_(20B)_Reinforcement_Learning_2048_Game_BF16.ipynb>" %}

任意のUnslothノートブックは、先頭に <https://amd-ai-academy.com/github/unslothai/notebooks/blob/main/nb> で [Unslothノートブック](/docs/jp/meru/unsloth-notebooks.md) リンクを次のように変更することで <https://github.com/unslothai/notebooks/blob/main/nb/AMD-gpt_oss_(20B)_Reinforcement_Learning_2048_Game_BF16.ipynb>\
から <https://amd-ai-academy.com/github/unslothai/notebooks/blob/main/nb/AMD-Gemma4_(E2B)_Reinforcement_Learning_Sudoku_Game.ipynb>

{% columns %}
{% column width="33.33333333333333%" %}

<figure><img src="/files/1a908ec12f8aba179888392f9dbb2705b28a09b5" alt=""><figcaption></figcaption></figure>
{% endcolumn %}

{% column width="66.66666666666667%" %}

<figure><img src="/files/8b51d00648f468258eb6498421050e4af68cf307" alt=""><figcaption></figcaption></figure>
{% endcolumn %}
{% endcolumns %}


---

# Agent Instructions
This documentation is published with GitBook. GitBook is the documentation platform designed so that both humans and AI agents can read, navigate, and reason over technical content effectively. Learn more at gitbook.com.

## Querying This Documentation
If you need additional information that is not directly available in this page, you can query the documentation dynamically by asking a question.

Perform an HTTP GET request on the current page URL with the `ask` query parameter, and the optional `goal` query parameter:

```
GET https://unsloth.ai/docs/jp/meru/install/amd.md?ask=<question>&goal=<endgoal>
```

`ask` is the immediate question: it should be specific, self-contained, and written in natural language.
`goal` is optional and describes the broader end goal you are ultimately trying to accomplish on behalf of the user. GitBook uses it to tailor the answer towards what is most useful for that goal.

The response will contain a direct answer to the question and relevant excerpts and sources from the documentation.

Use this mechanism when the answer is not explicitly present in the current page, you need clarification or additional context, or you want to retrieve related documentation sections.