> For the complete documentation index, see [llms.txt](https://unsloth.ai/docs/llms.txt). Markdown versions of documentation pages are available by appending `.md` to page URLs; this page is available as [Markdown](https://unsloth.ai/docs/get-started/install/amd.md).
# Fine-tuning LLMs on AMD GPUs with Unsloth Guide
Learn how to fine-tune large language models (LLMs) on AMD GPUs with Unsloth.
Fine-tune LLMs up to 2x faster with \~70% less memory on AMD hardware, no NVIDIA required. Unsloth supports AMD Radeon RDNA 3/3.5/4 (RX 6000–9000 series) on both Windows and Linux as well as data center GPUs including the MI300X (192GB).
{% stepper %}
{% step %}
#### **One-line installer**
To install Unsloth on AMD, the easiest way is to download our [Desktop app](/docs/desktop.md).
Download for WindowsDownload for Linux\
\
For manual installation:
**Linux :**
```bash
curl -fsSL https://unsloth.ai/install.sh | sh
```
**Windows (PowerShell):**
```powershell
irm https://unsloth.ai/install.ps1 | iex
```
The manual steps below are for users who want to install the Unsloth Python library on AMD with the required dependencies.
{% endstep %}
{% step %}
#### **Make a new isolated environment (Optional)**
The steps below are for Linux. On Windows, use the Desktop app or the PowerShell installer above: they install AMD's Windows build of PyTorch for you.
To not break any system packages, make an isolated environment. Reminder to check what Python version you have! It might be `python3`, `python3.12`, `python3.13` etc. Python 3.10 to 3.13 works.
{% code overflow="wrap" %}
```bash
apt update && apt install python3.13-venv -y
python3.13 -m venv unsloth_env
source unsloth_env/bin/activate
pip install uv
```
{% endcode %}
{% endstep %}
{% step %}
#### **Install PyTorch**
PyPI only has the NVIDIA (CUDA) build of PyTorch, so install the ROCm build first from the PyTorch index that matches your ROCm version. Check it with `amd-smi version` (the `ROCm version:` line), then:
{% code overflow="wrap" %}
```bash
uv pip install "torch<2.15" torchvision torchaudio \
--index-url https://download.pytorch.org/whl/rocm7.2 --upgrade --force-reinstall
```
{% endcode %}
Change `rocm7.2` to your ROCm version. Available index tags are `rocm6.0` to `rocm6.4` and `rocm7.0` to `rocm7.2`. ROCm 6.5 to 6.9 uses `rocm6.4`, and ROCm 7.3 or newer uses `rocm7.2`. ROCm 6.0 or newer is required.
Or let this command pick the tag for you:
{% code overflow="wrap" %}
```bash
ROCM_VER="$(amd-smi version 2>/dev/null | sed -n 's/.*ROCm version: \([0-9]*\.[0-9]*\).*/\1/p' | head -n 1)"
[ -n "$ROCM_VER" ] || ROCM_VER="$(cut -d. -f1,2 /opt/rocm/.info/version 2>/dev/null)"
case "$ROCM_VER" in
6.[0-4]|7.[0-2]) ROCM_TAG="rocm$ROCM_VER" ;;
6.*) ROCM_TAG="rocm6.4" ;;
*) ROCM_TAG="rocm7.2" ;;
esac
echo "ROCm ${ROCM_VER:-unknown}: using $ROCM_TAG"
uv pip install "torch<2.15" torchvision torchaudio \
--index-url "https://download.pytorch.org/whl/$ROCM_TAG" --upgrade --force-reinstall
```
{% endcode %}
{% endstep %}
{% step %}
#### **Install Unsloth**
Unsloth on PyPI depends on `torch`, so a plain install can swap the ROCm PyTorch you just installed for the CUDA one from PyPI. To prevent that, pin your installed PyTorch and install with `uv pip` (not plain `pip`):
{% code overflow="wrap" %}
```bash
uv pip freeze | grep -E '^(torch|torchvision|torchaudio)==' > torch-pins.txt
echo "triton ; sys_platform == 'never'" >> torch-pins.txt
echo "xformers ; sys_platform == 'never'" >> torch-pins.txt
uv pip install "unsloth[amd]" --overrides torch-pins.txt
```
{% endcode %}
`torch-pins.txt` should list a `torch==...+rocm...` line. The last two lines keep PyPI's `triton` from being installed over the Triton that came with your PyTorch, and skip PyPI's `xformers`, which is built for NVIDIA GPUs only.
**Updating Unsloth**
Upgrade only Unsloth, with the same pins:
{% code overflow="wrap" %}
```bash
uv pip install --upgrade-package unsloth --upgrade-package unsloth-zoo "unsloth[amd]" --overrides torch-pins.txt
```
{% endcode %}
Do not run `uv pip install -U unsloth` or `--force-reinstall` without the pins: both resolve PyTorch again from PyPI and replace your ROCm build with the CUDA one. If that already happened, `import unsloth` reports an AMD GPU but no usable HIP accelerator: rerun the PyTorch step above, then this one.
{% endstep %}
{% step %}
#### **Start fine-tuning with Unsloth!**
And that's it. Try some examples in our [**Unsloth Notebooks**](/docs/get-started/unsloth-notebooks.md) page!
You can view our dedicated [fine-tuning](/docs/get-started/fine-tuning-llms-guide.md) or [reinforcement learning](/docs/get-started/reinforcement-learning-rl-guide.md) guides. Heres a brief example as well:
**1. Set environment variables**
{% code overflow="wrap" %}
```bash
export HF_HUB_DISABLE_XET=1 # Fixes HuggingFace download issues on AMD
```
{% endcode %}
**2. Load and configure model**
{% code overflow="wrap" %}
```python
from unsloth import FastModel
model, tokenizer = FastModel.from_pretrained(
model_name = "unsloth/gemma-4-26b-a4b-it",
max_seq_length = 2048,
load_in_4bit = True,
)
model = FastModel.get_peft_model(
model,
r = 16,
lora_alpha = 16,
target_modules = ["q_proj", "k_proj", "v_proj", "o_proj"],
)
```
{% endcode %}
**3. Train**
{% code overflow="wrap" %}
```python
from trl import SFTTrainer, SFTConfig
trainer = SFTTrainer(
model = model,
tokenizer = tokenizer,
train_dataset = dataset,
formatting_func = formatting_func,
args = SFTConfig(
per_device_train_batch_size = 1,
gradient_accumulation_steps = 4,
max_steps = 60,
output_dir = "outputs",
report_to = "none",
),
)
trainer_stats = trainer.train()
```
{% endcode %}
***Note:** Flash Attention 2 is not installed on AMD GPUs by default, so Unsloth uses PyTorch's built-in SDPA attention instead. The warning can be safely ignored.*
{% endstep %}
{% endstepper %}
### :1234: Reinforcement Learning on AMD GPUs
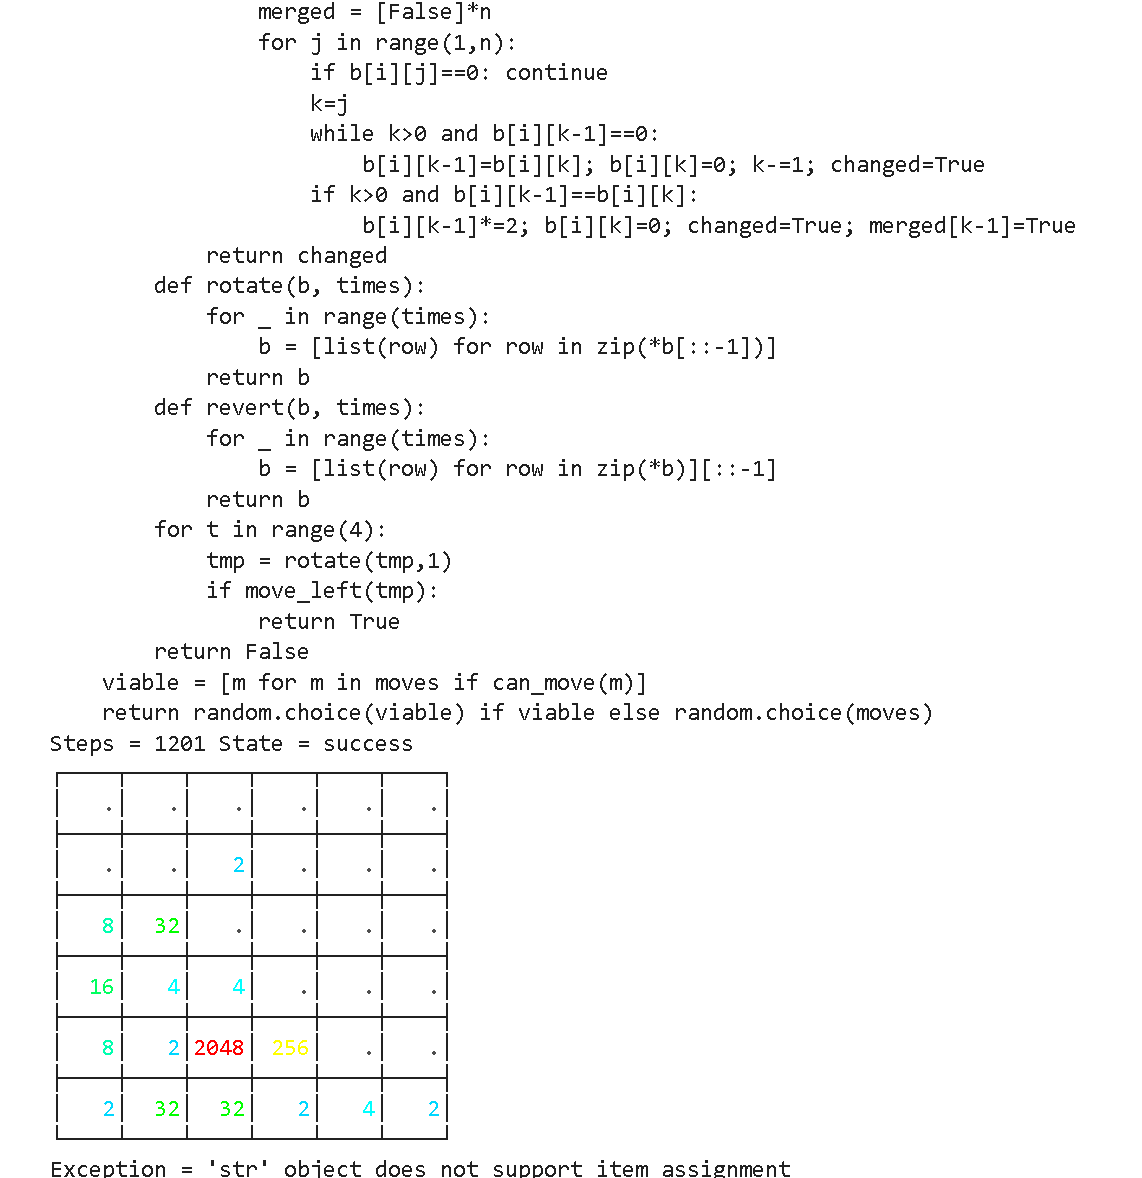
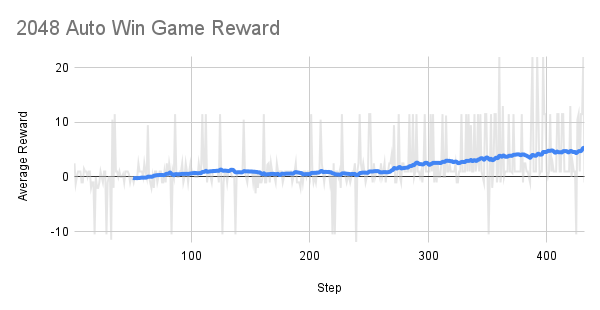
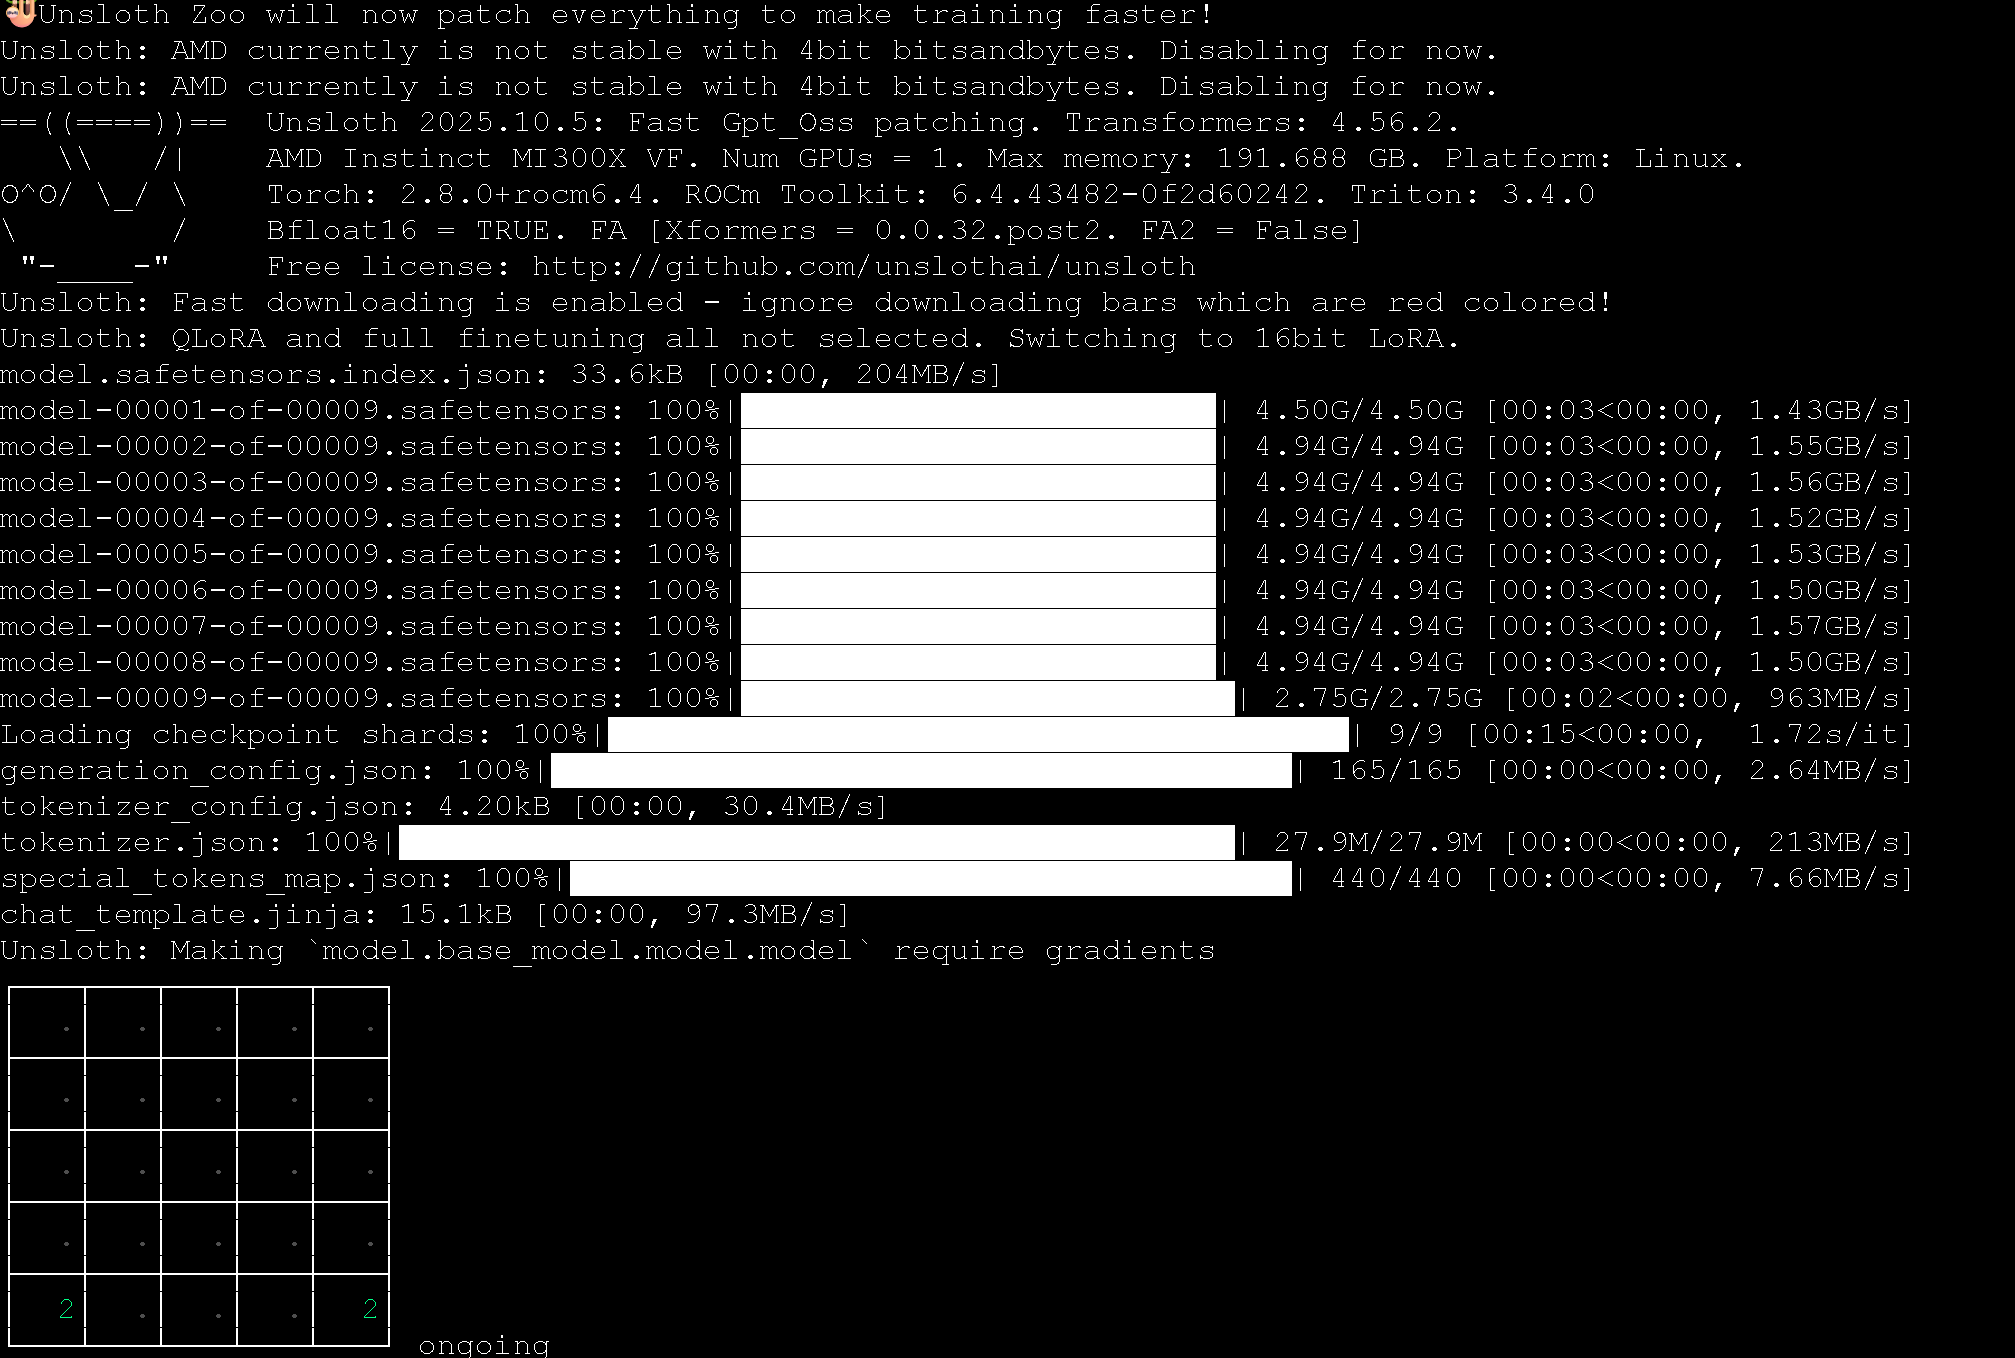
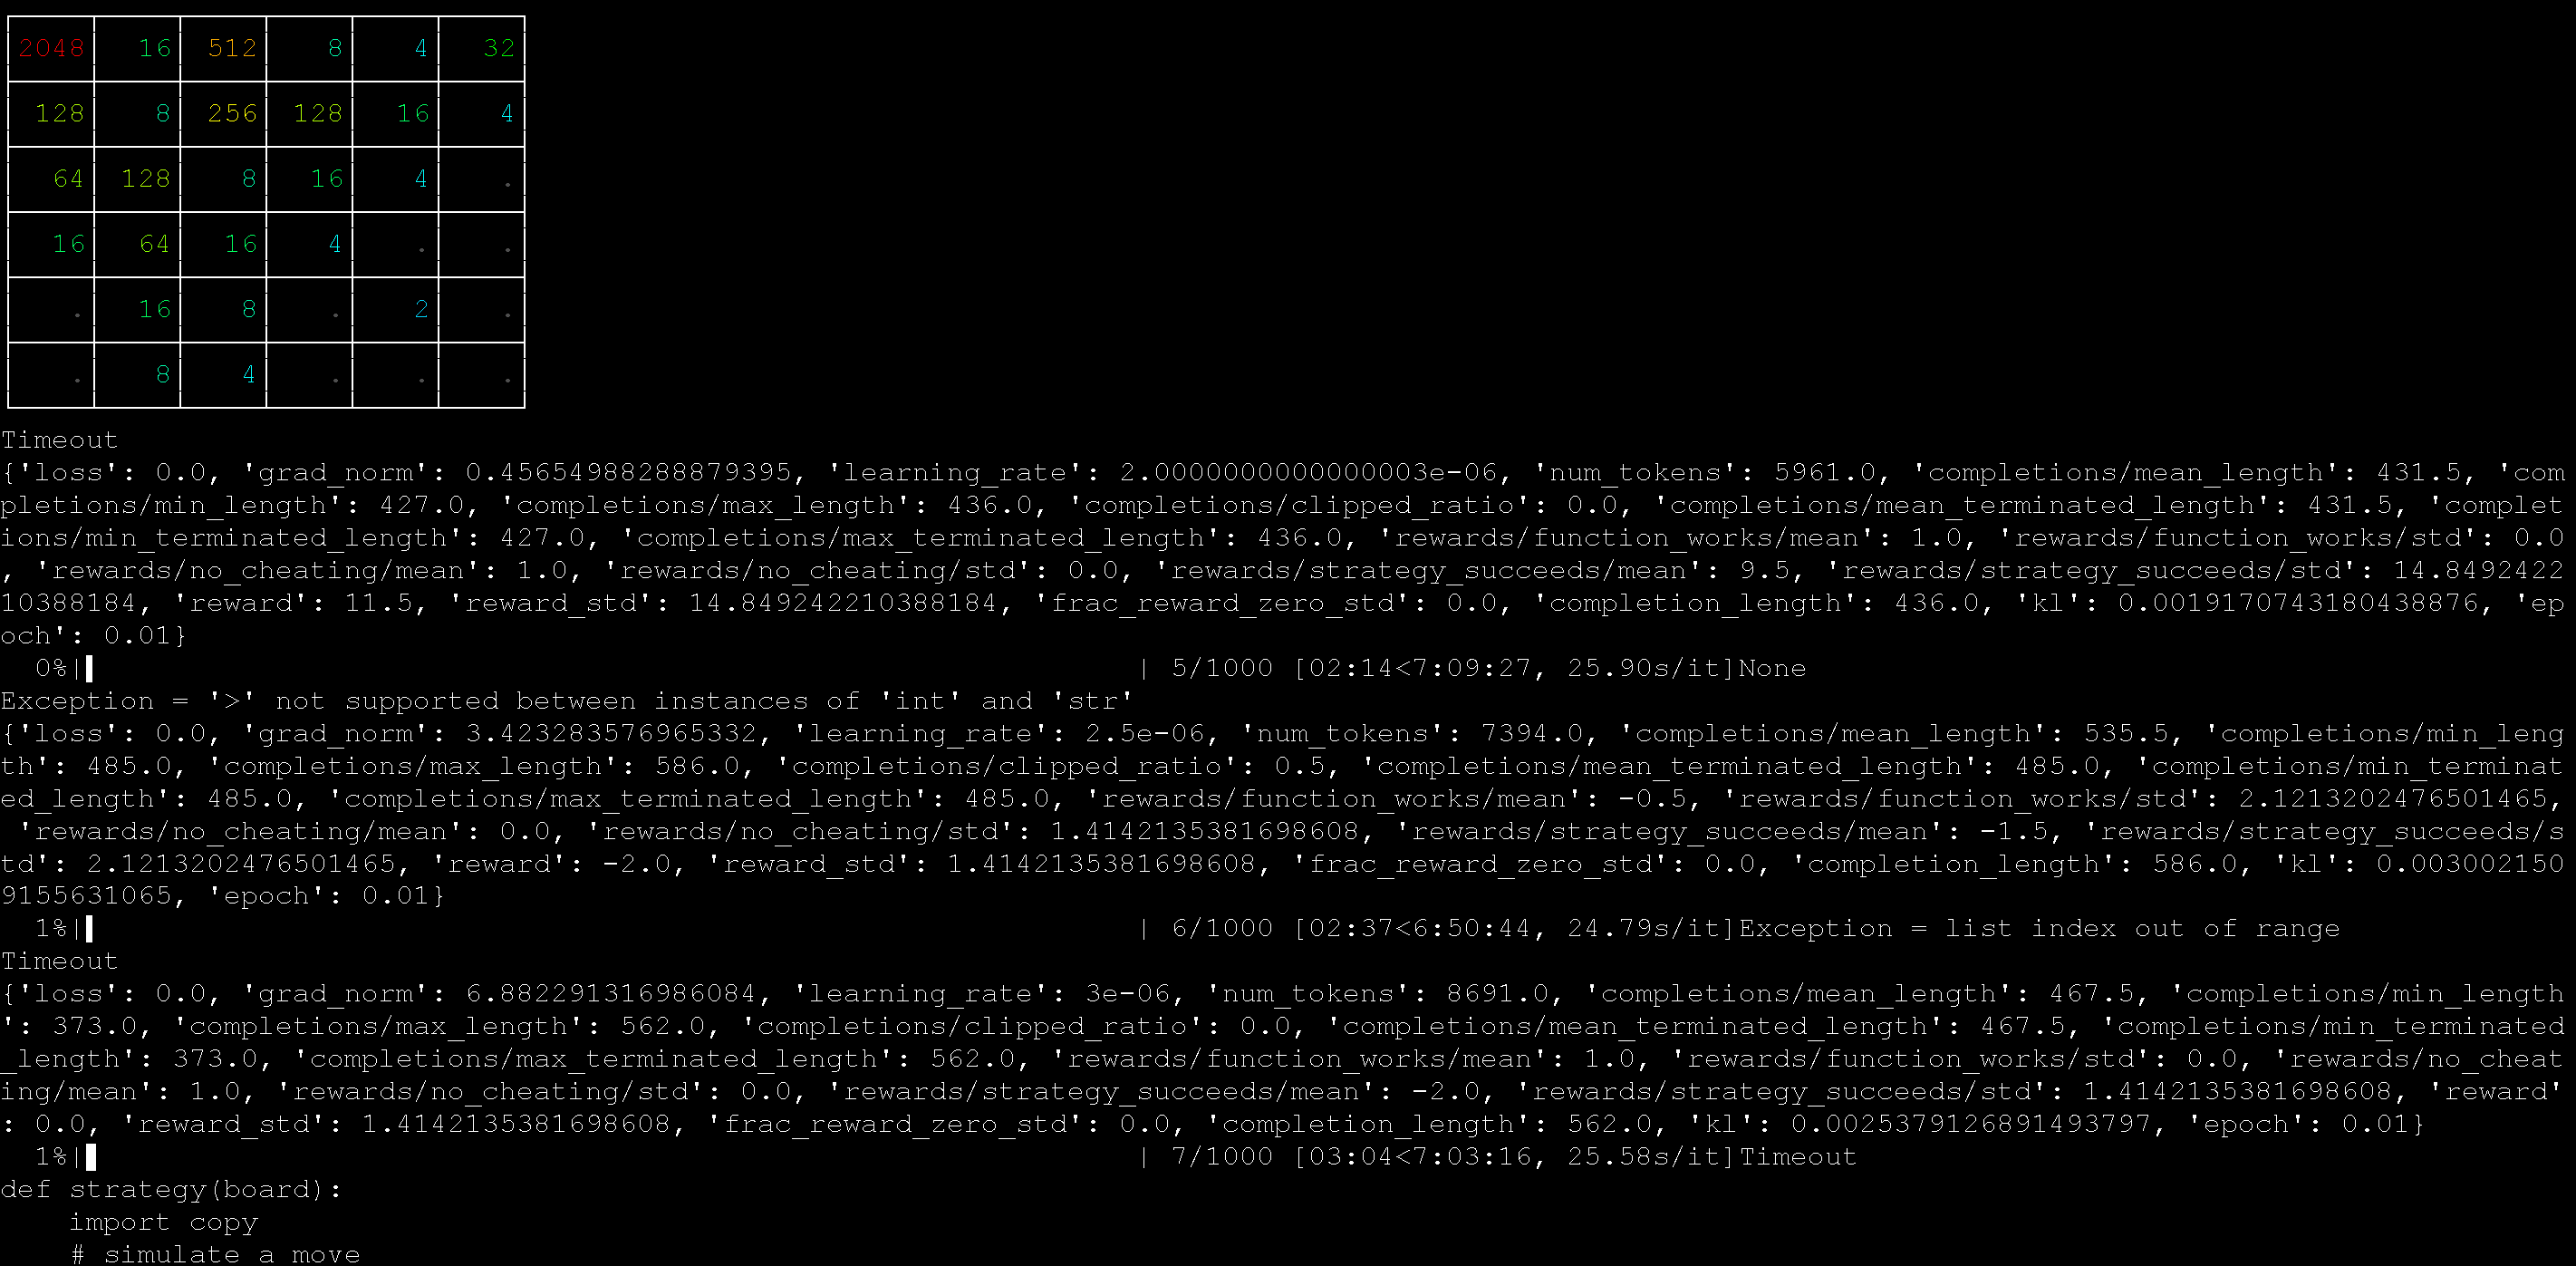
You can use our :ledger:[gpt-oss RL auto win 2048](https://github.com/unslothai/notebooks/blob/main/nb/AMD-gpt_oss_\(20B\)_Reinforcement_Learning_2048_Game_BF16.ipynb) example on a MI300X (192GB) GPU. The goal is to play the 2048 game automatically and win it with RL. The LLM (gpt-oss 20b) auto devises a strategy to win the 2048 game, and we calculate a high reward for winning strategies, and low rewards for failing strategies.
{% columns %}
{% column %}
{% endcolumn %}
{% column %}
The reward over time is increasing after around 300 steps or so!
The goal for RL is to maximize the average reward to win the 2048 game.
{% endcolumn %}
{% endcolumns %}
We used an AMD MI300X machine (192GB) to run the 2048 RL example with Unsloth, and it worked well!
You can also use our :ledger:[automatic kernel gen RL notebook](https://github.com/unslothai/notebooks/blob/main/nb/AMD-gpt_oss_\(20B\)_GRPO_BF16.ipynb) also with gpt-oss to auto create matrix multiplication kernels in Python. The notebook also devices multiple methods to counteract reward hacking.
{% columns %}
{% column width="50%" %}
The prompt we used to auto create these kernels was:
{% code overflow="wrap" %}
````
Create a new fast matrix multiplication function using only native Python code.
You are given a list of list of numbers.
Output your new function in backticks using the format below:
```
python
def matmul(A, B):
return ...
```
````
{% endcode %}
{% endcolumn %}
{% column width="50%" %}
The RL process learns for example how to apply the Strassen algorithm for faster matrix multiplication inside of Python.
{% endcolumn %}
{% endcolumns %}
### :books:AMD Free One-click notebooks
AMD provides one-click notebooks equipped with **free 192GB VRAM MI300X GPUs** through their Dev Cloud. Train large models completely for free (no signup or credit card required):
* [Qwen3 (32B)](https://amd-ai-academy.com/github/unslothai/notebooks/blob/main/nb/Qwen3_\(32B\)_A100-Reasoning-Conversational.ipynb)
* [Llama 3.3 (70B)](https://amd-ai-academy.com/github/unslothai/notebooks/blob/main/nb/AMD-Llama3.3_\(70B\)_A100-Conversational.ipynb)
* [Qwen3 (14B)](https://amd-ai-academy.com/github/unslothai/notebooks/blob/main/nb/AMD-Qwen3_\(14B\)-Reasoning-Conversational.ipynb)
* [Mistral v0.3 (7B)](https://amd-ai-academy.com/github/unslothai/notebooks/blob/main/nb/AMD-Mistral_v0.3_\(7B\)-Alpaca.ipynb)
* [GPT OSS MXFP4 (20B)](https://amd-ai-academy.com/github/unslothai/notebooks/blob/main/nb/AMD-GPT_OSS_MXFP4_\(20B\)-Inference.ipynb) - Inference
* [Gemma4 (E2B)](https://amd-ai-academy.com/github/unslothai/notebooks/blob/main/nb/Gemma4_\(E2B\)_Reinforcement_Learning_Sudoku_Game.ipynb) - RL Sudoku
* Unsloth Studio
{% embed url="" %}
You can use any Unsloth notebook by prepending in [Unsloth Notebooks](/docs/get-started/unsloth-notebooks.md) by changing the link from \
to
{% columns %}
{% column width="33.33333333333333%" %}
{% endcolumn %}
{% column width="66.66666666666667%" %}
{% endcolumn %}
{% endcolumns %}
---
# Agent Instructions
This documentation is published with GitBook. GitBook is the documentation platform designed so that both humans and AI agents can read, navigate, and reason over technical content effectively. Learn more at gitbook.com.
## Querying This Documentation
If you need additional information that is not directly available in this page, you can query the documentation by asking a question.
Perform an HTTP GET request on the following URL with the `ask` and `goal` query parameters:
```
GET https://unsloth.ai/docs/get-started/install/amd.md?ask=&goal=
```
`ask` is the immediate question: it should be specific, self-contained, and written in natural language.
`goal` is what the user is ultimately trying to achieve, the reason they need the answer. Sharing it helps GitBook give you a better, more relevant answer. A goal is most helpful when it describes the outcome the user wants rather than restating the question. For example, with `ask=how do I create an API token`, a goal like `automate deployments from our CI pipeline` lets GitBook tailor the answer to that use case.
The response will contain a direct answer to the question and relevant excerpts and sources from the documentation.
Use this mechanism when the answer is not explicitly present in the current page, you need clarification or additional context, or you want to retrieve related documentation sections.


%20(1)%20(1)%20(1)%20(1)%20(1).png?alt=media)

