> For the complete documentation index, see [llms.txt](https://unsloth.ai/docs/llms.txt). Markdown versions of documentation pages are available by appending `.md` to page URLs; this page is available as [Markdown](https://unsloth.ai/docs/de/blog/unsloth-amd-pytorch-synthetic-data-hackathon.md).
# Unsloth AMD PyTorch Synthetic-Data-Hackathon
Tipps & Tricks, Fehlerbehebung und Anleitung zum Ausführen von Unsloth auf einer AMD-GPU.
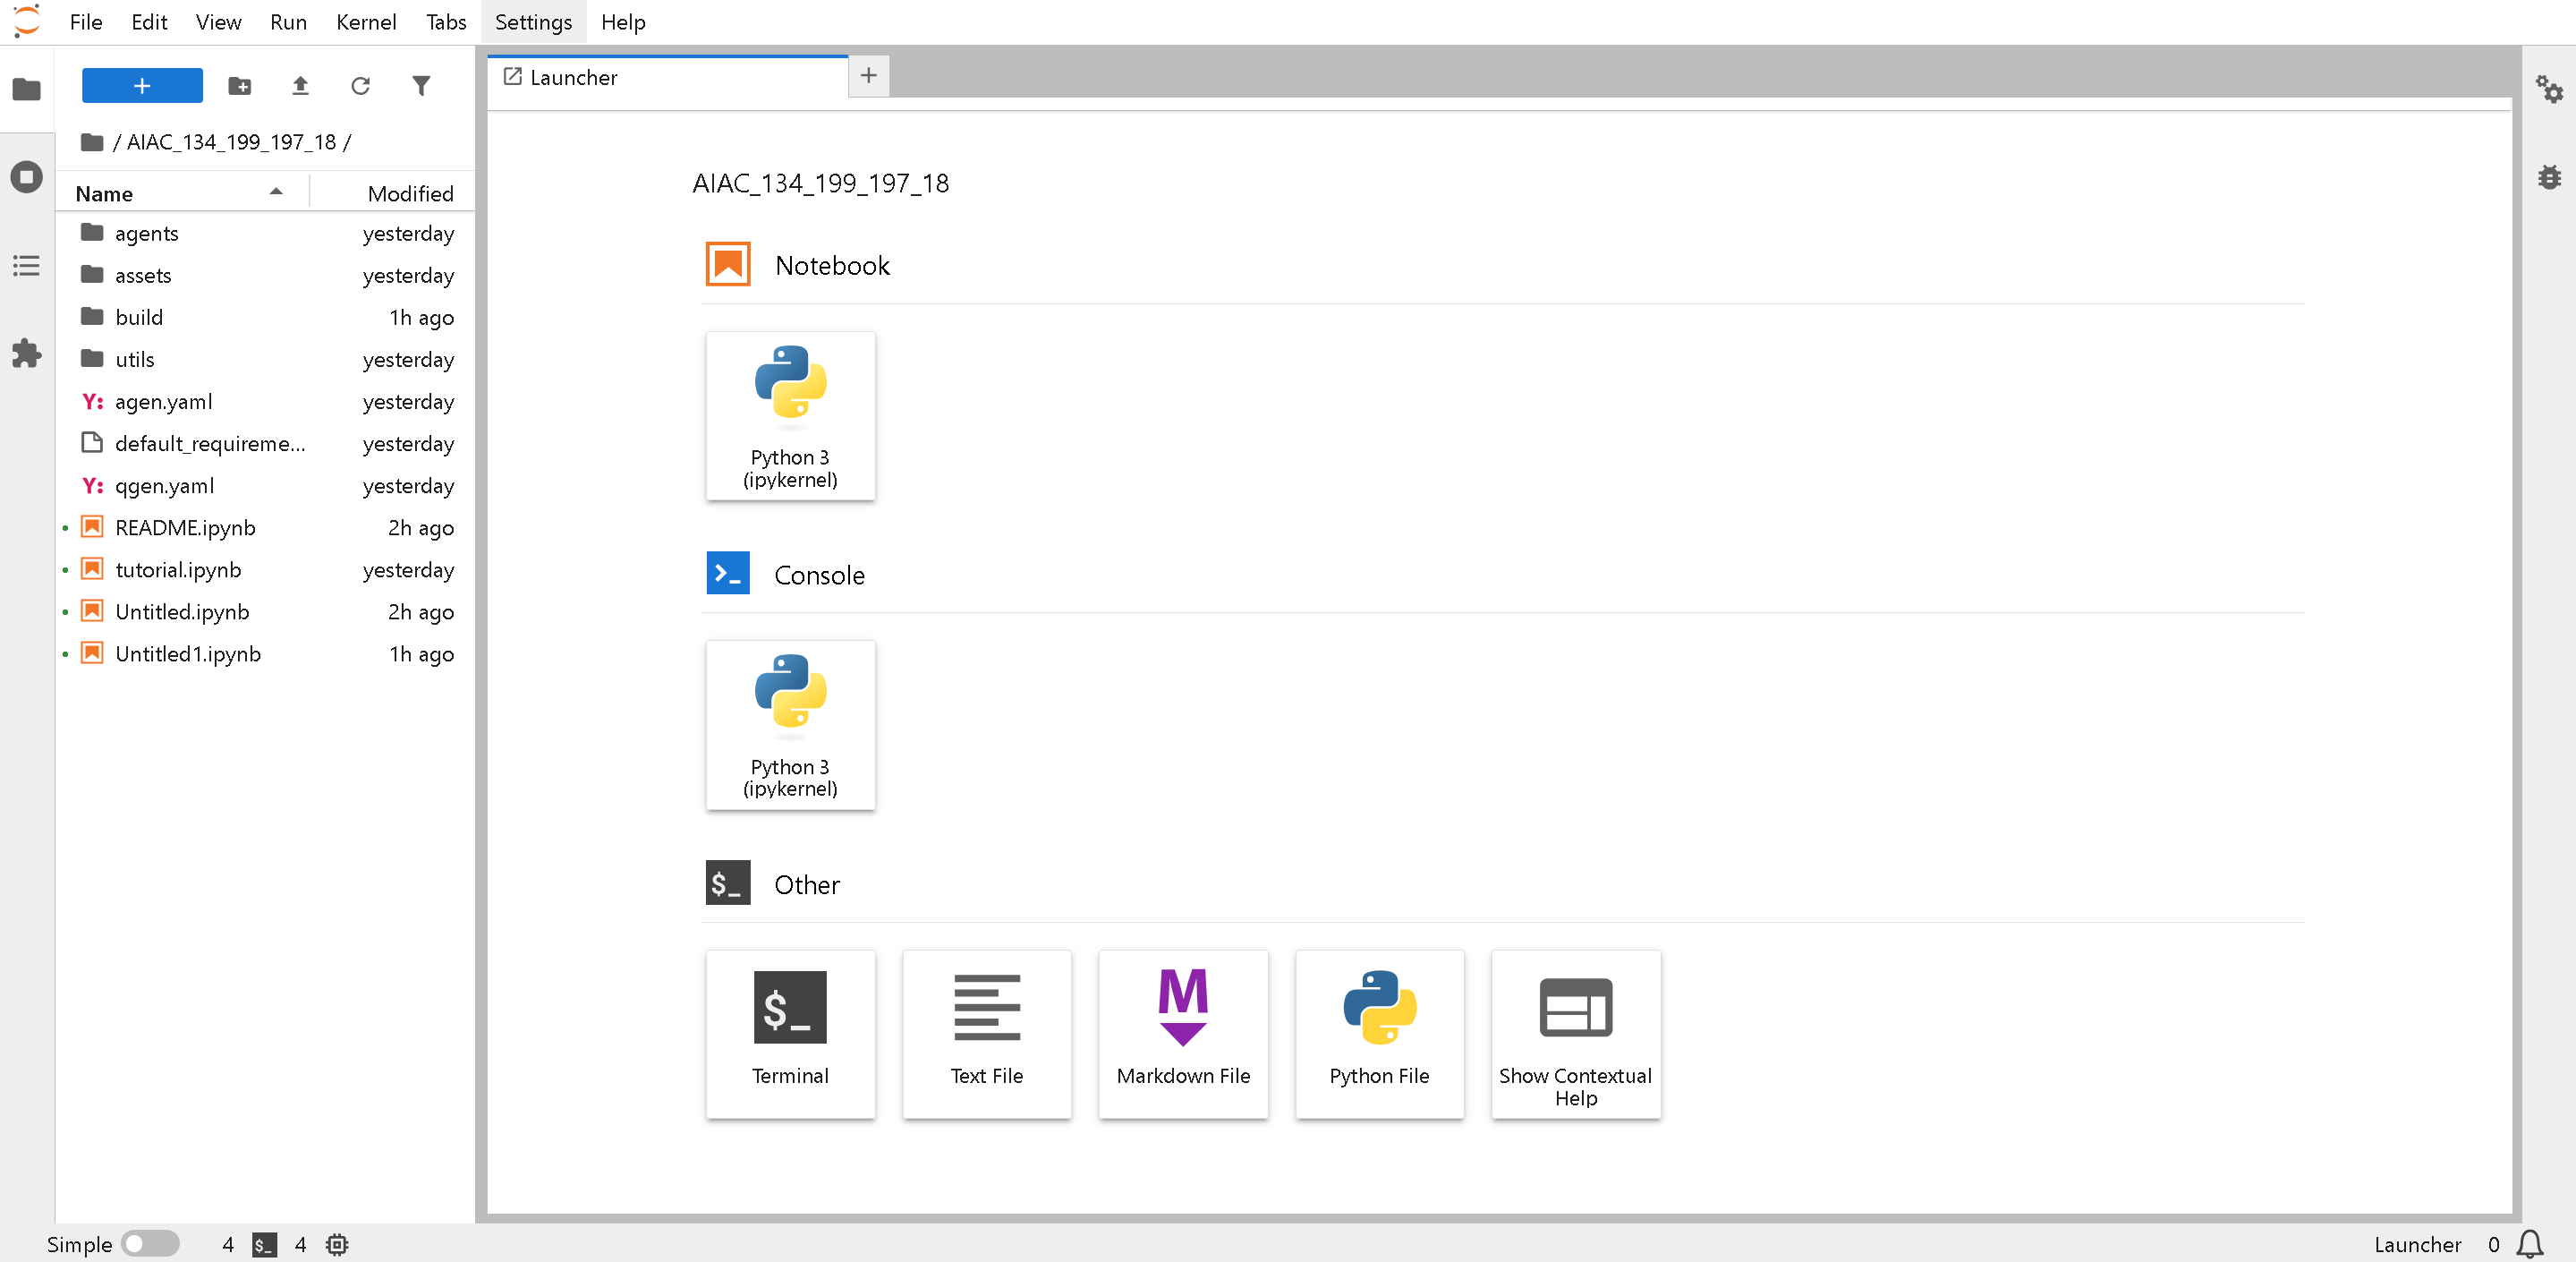
Sobald Sie Zugriff auf eine MI300-Maschine haben, sehen Sie eine Jupyter-Notebook-Oberfläche:
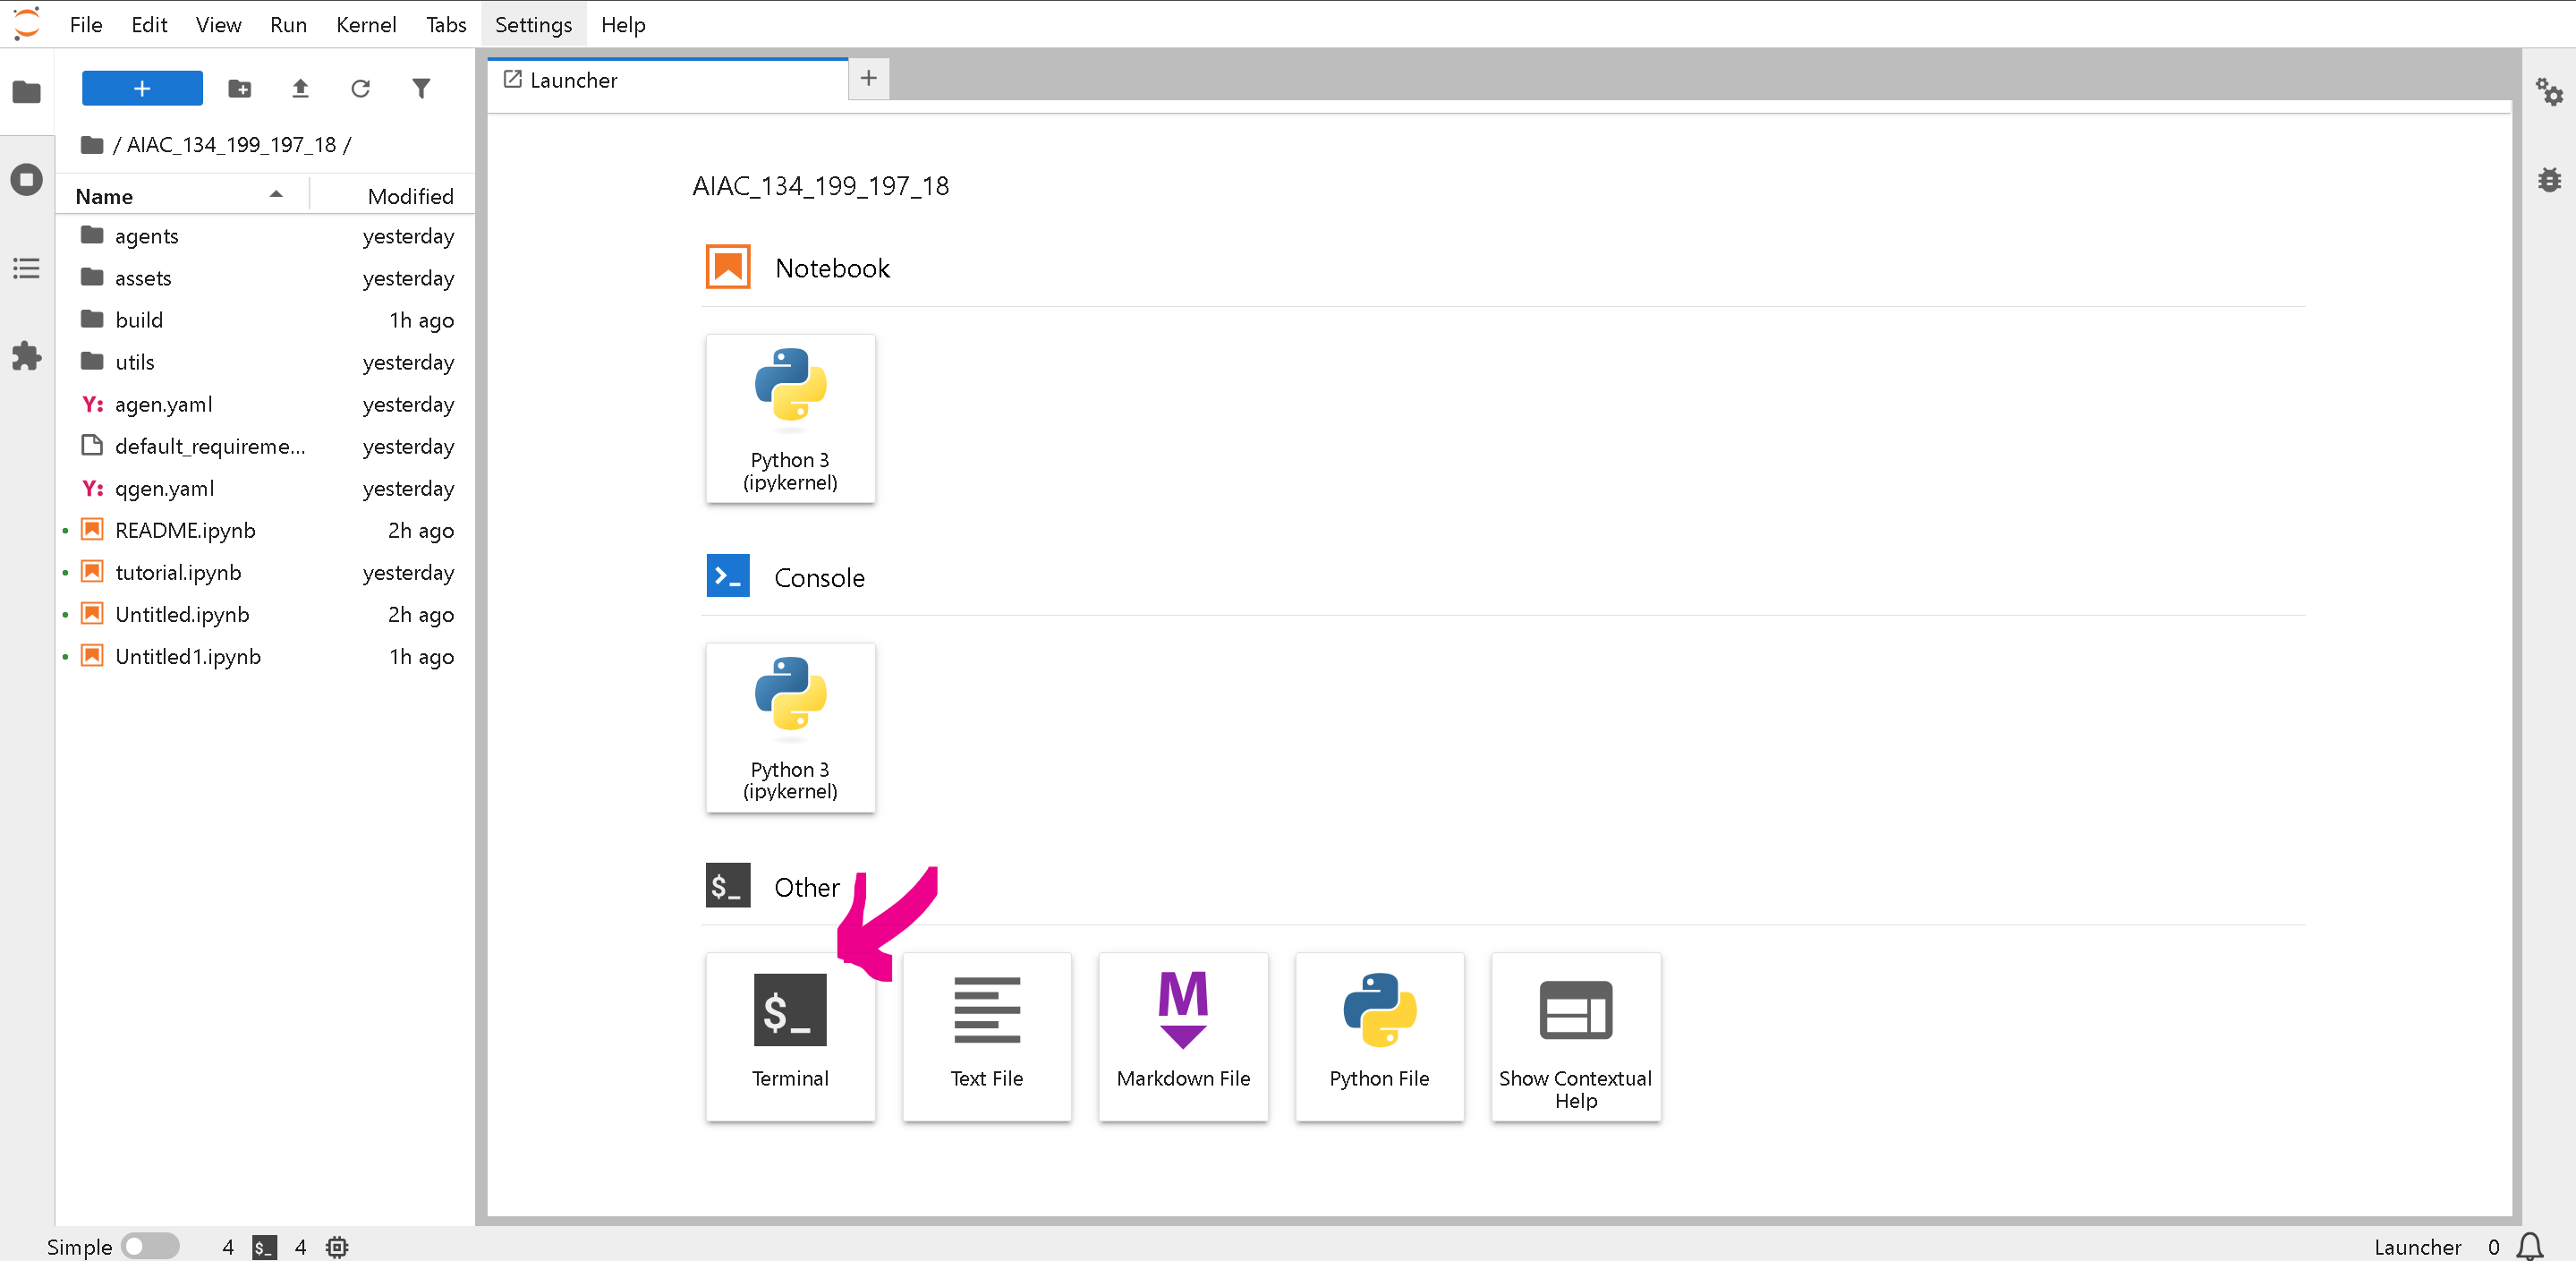
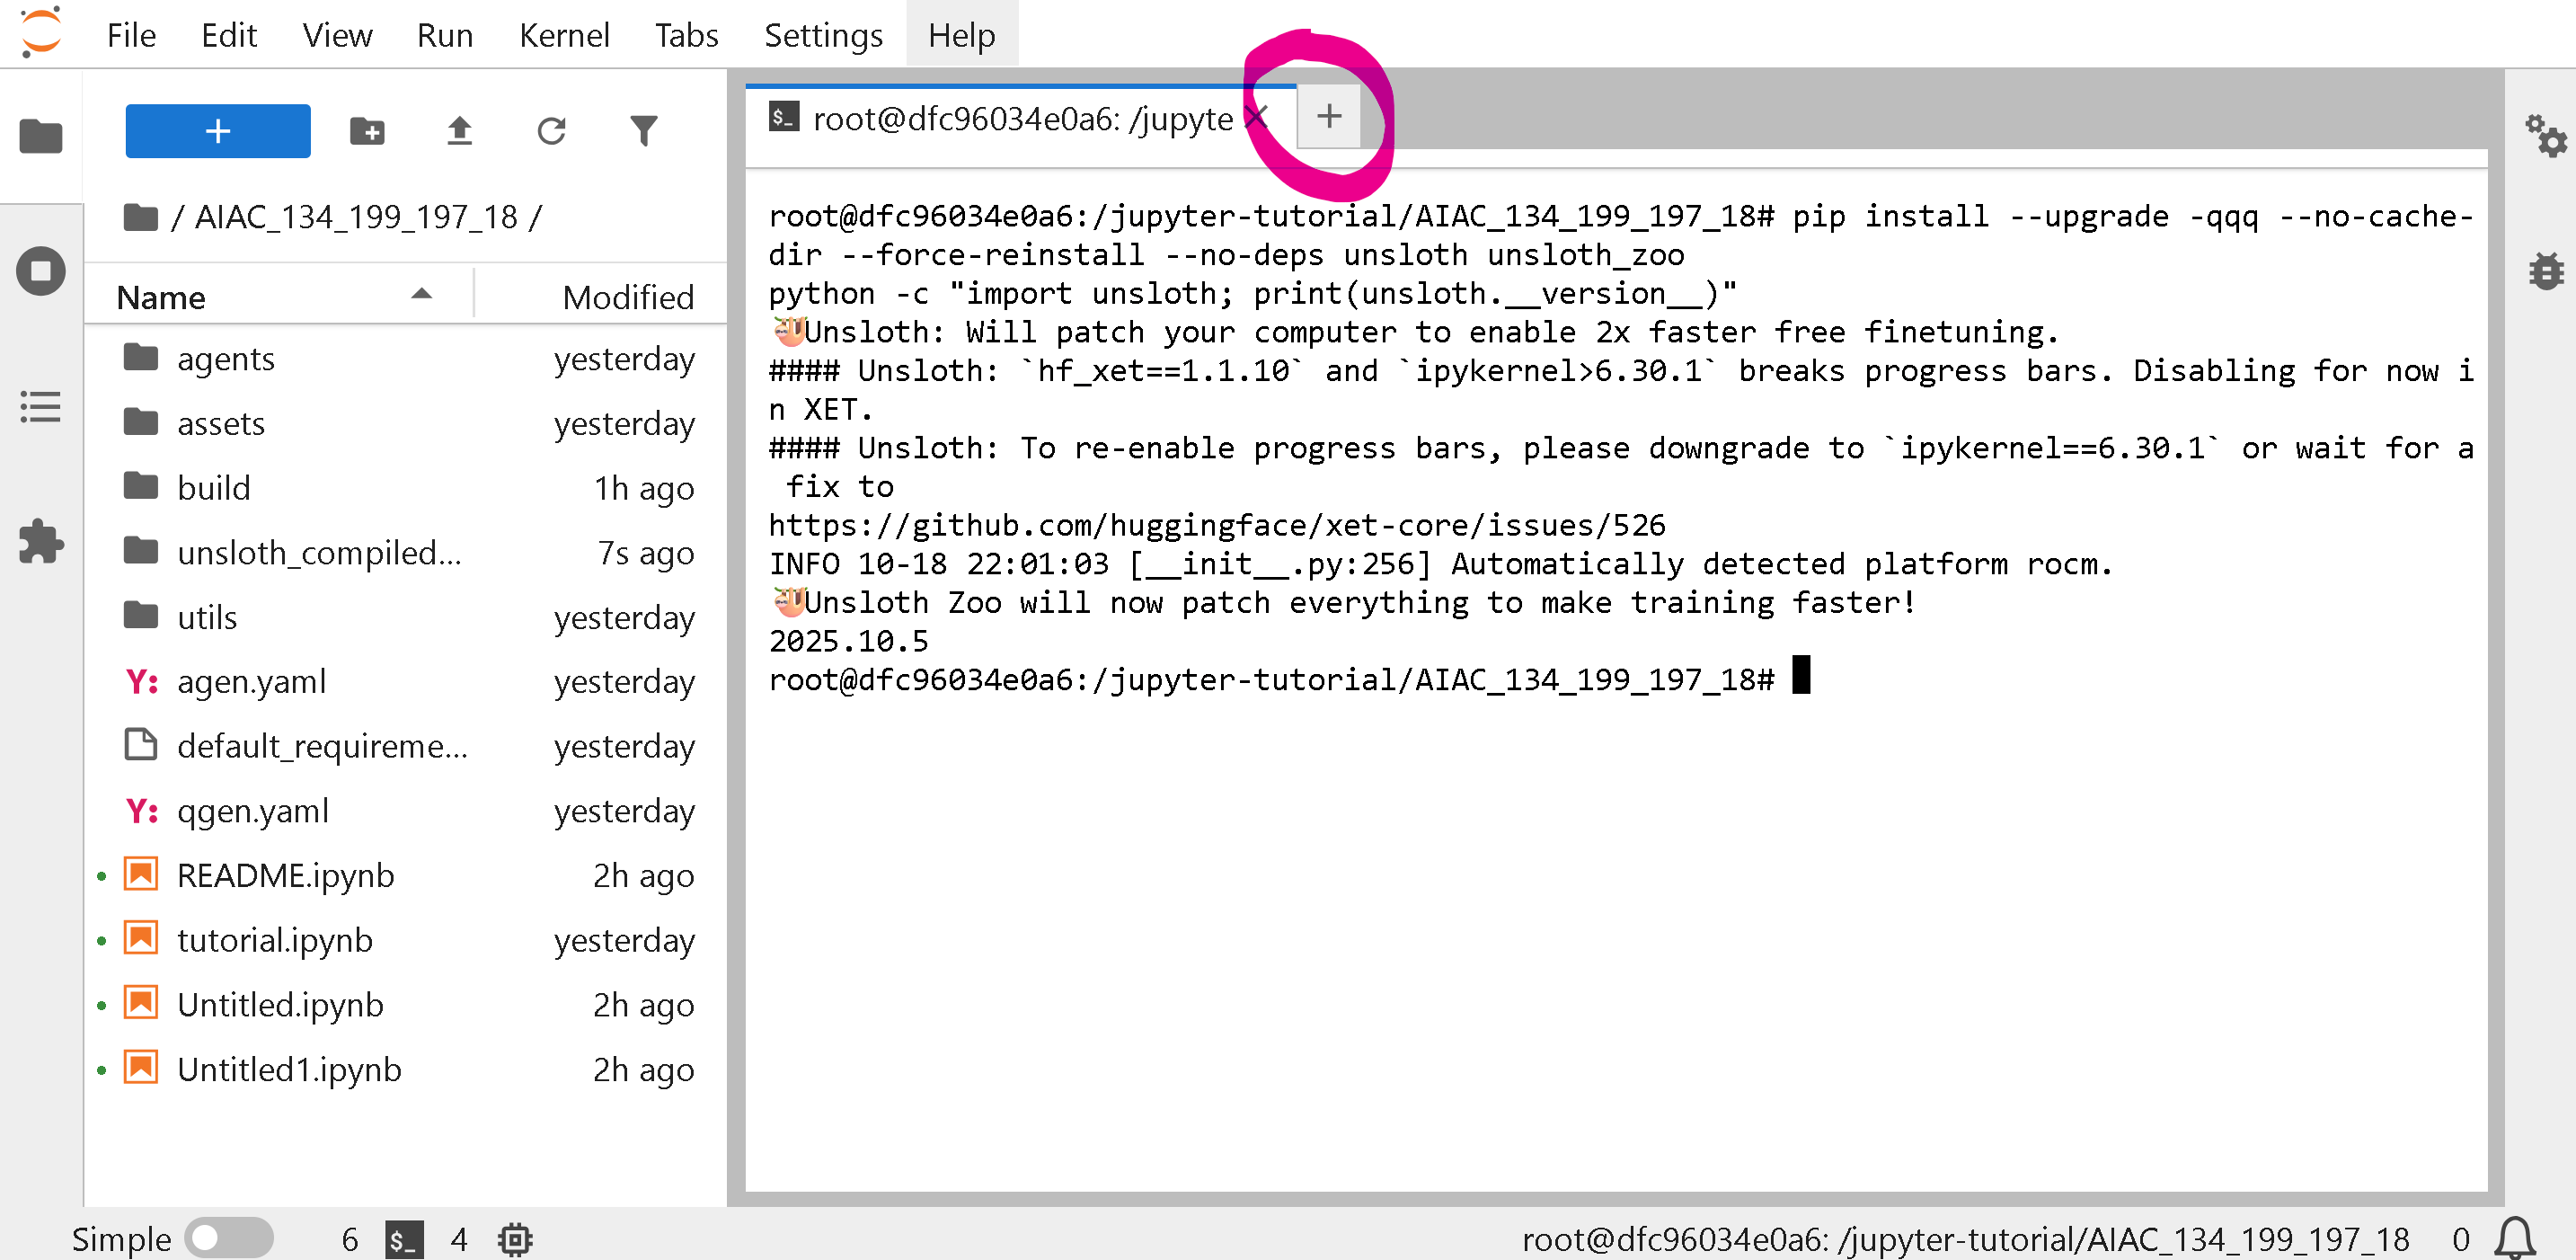
**Aktualisieren Sie zuerst Unsloth** und bestätigen Sie, dass alles wie erwartet funktioniert – klicken Sie auf **Terminal**
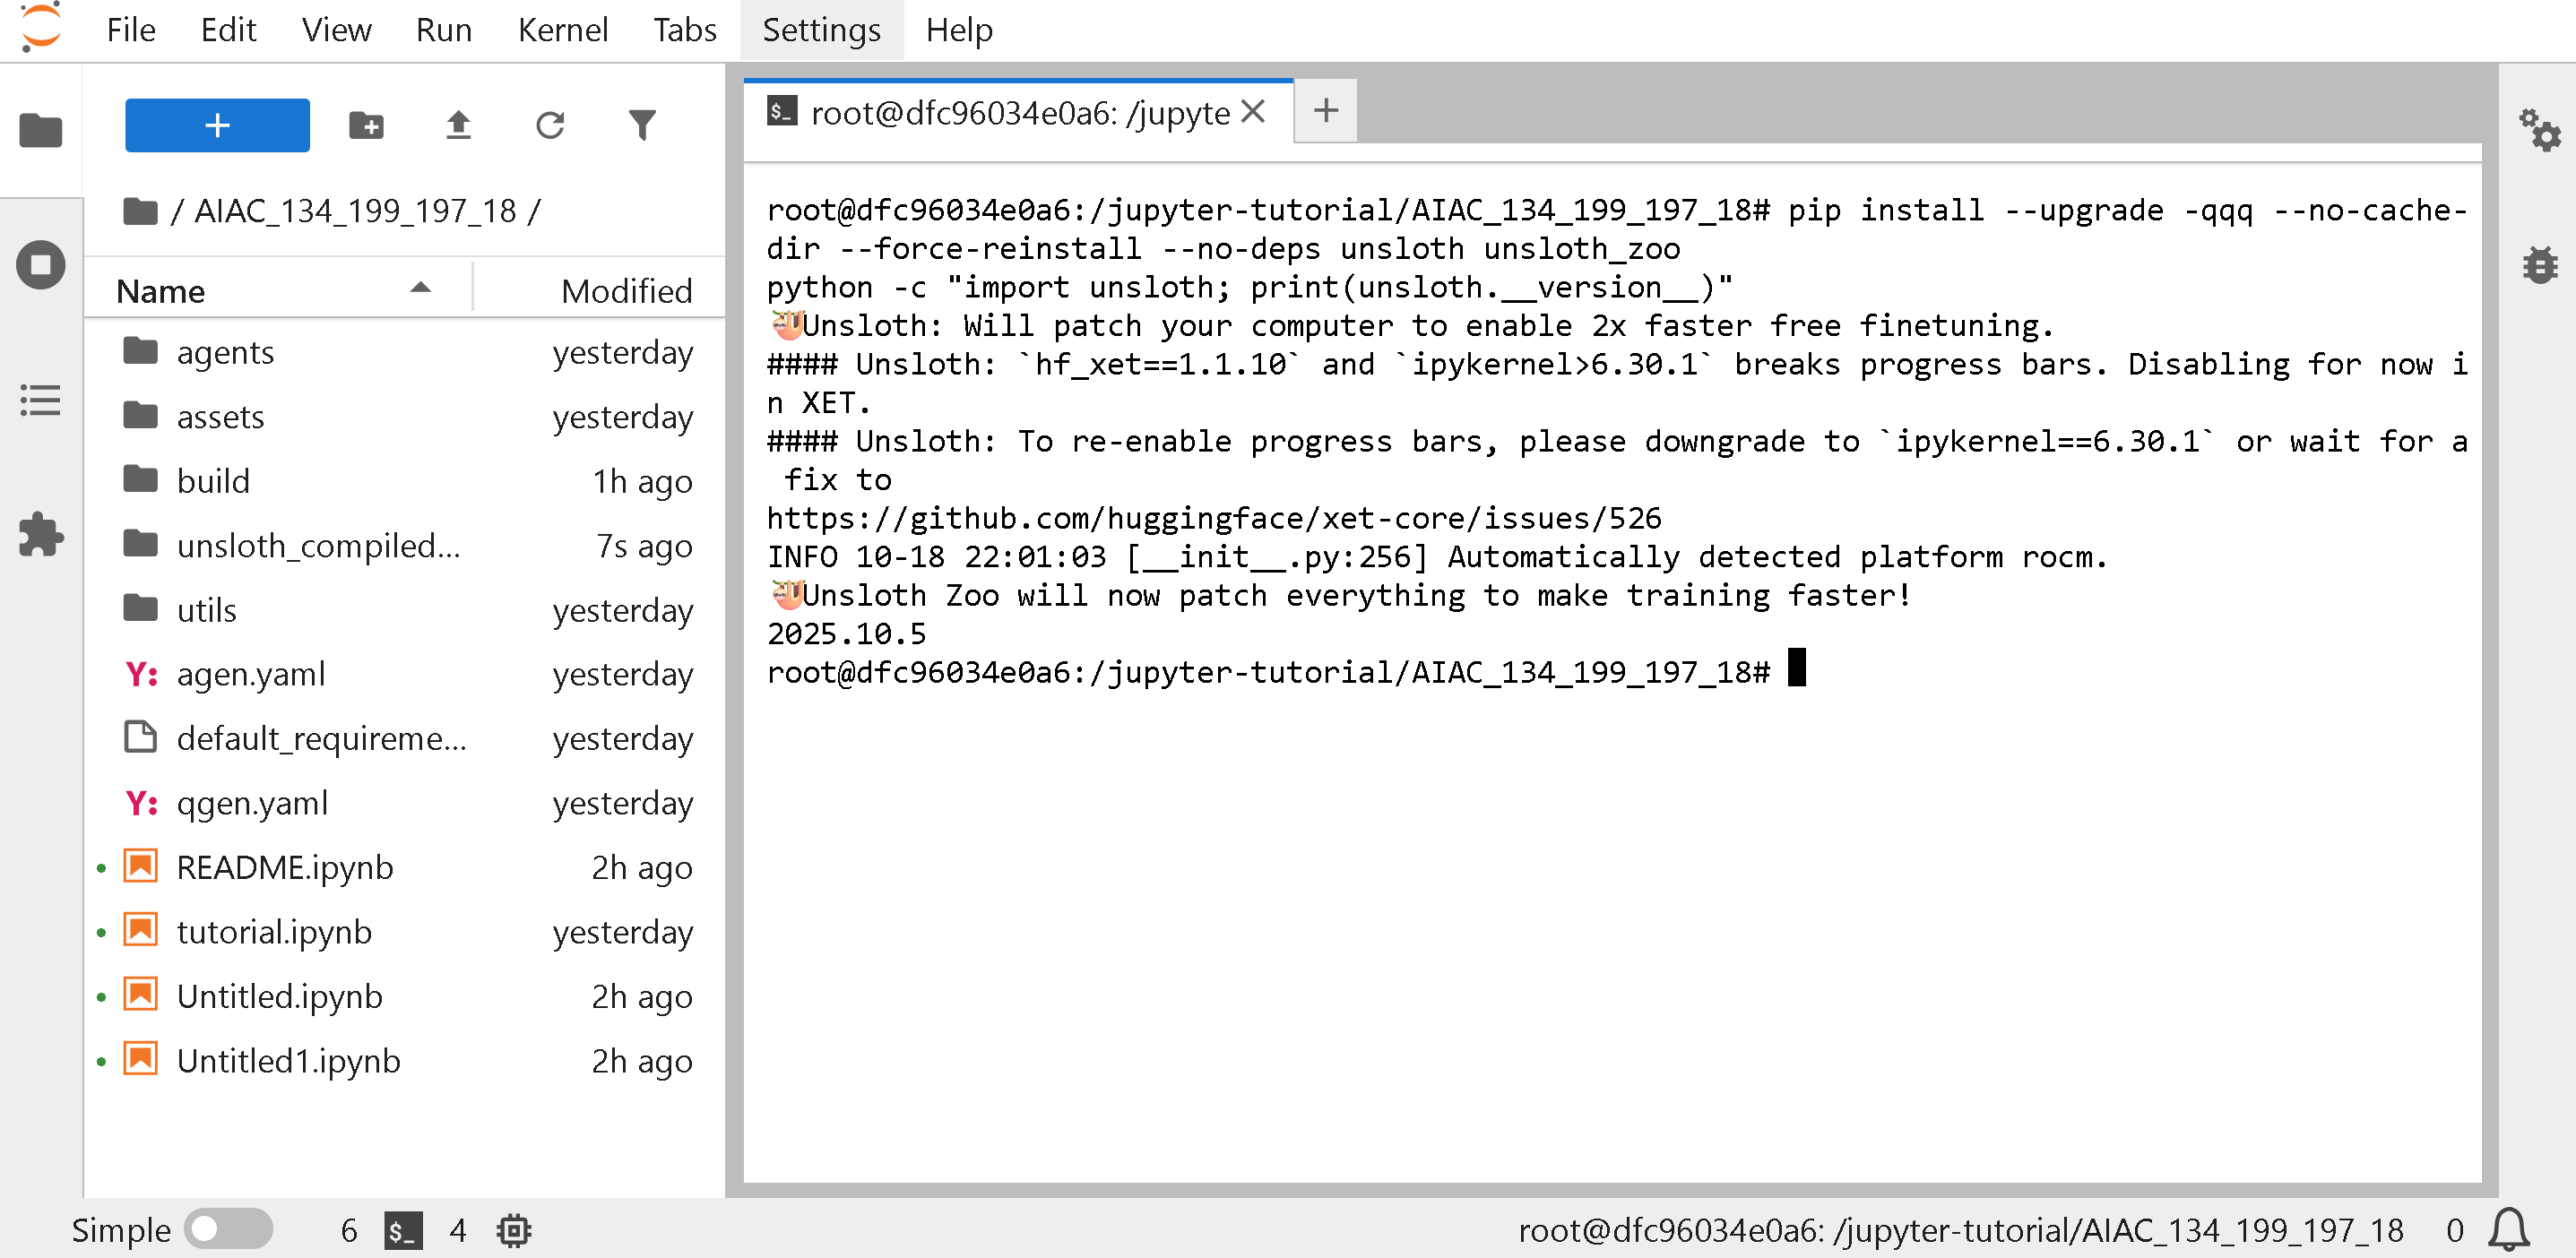
Führen Sie dann das Folgende unten im **Terminal** aus, um Unsloth zu aktualisieren – stellen Sie sicher, dass die Version **2025.10.5** oder höher ist.
```
pip install --upgrade -qqq --no-cache-dir --force-reinstall --no-deps unsloth unsloth_zoo
python -c "import unsloth; print(unsloth.__version__)"
```
Um ein neues Notebook oder Terminal zu erstellen, klicken Sie auf die PLUS-Schaltfläche
{% hint style="success" %}
**Öffnen Sie die README.ipynb-Datei, um die Anweisungen und Bewertungskriterien zu lesen**
{% endhint %}
### :butterfly:TUTORIAL 1: Bestätigen, dass Unsloth funktioniert
Bestätigen Sie, dass unser einfaches Llama 3.2 1B / 3B-Konversations-Notebook in einem neuen **Terminal**.
{% code overflow="wrap" %}
```bash
wget "https://raw.githubusercontent.com/unslothai/notebooks/refs/heads/main/python_scripts/Llama3.2_(1B_and_3B)-Conversational.py" -O llama_basic.py
python llama_basic.py
```
{% endcode %}
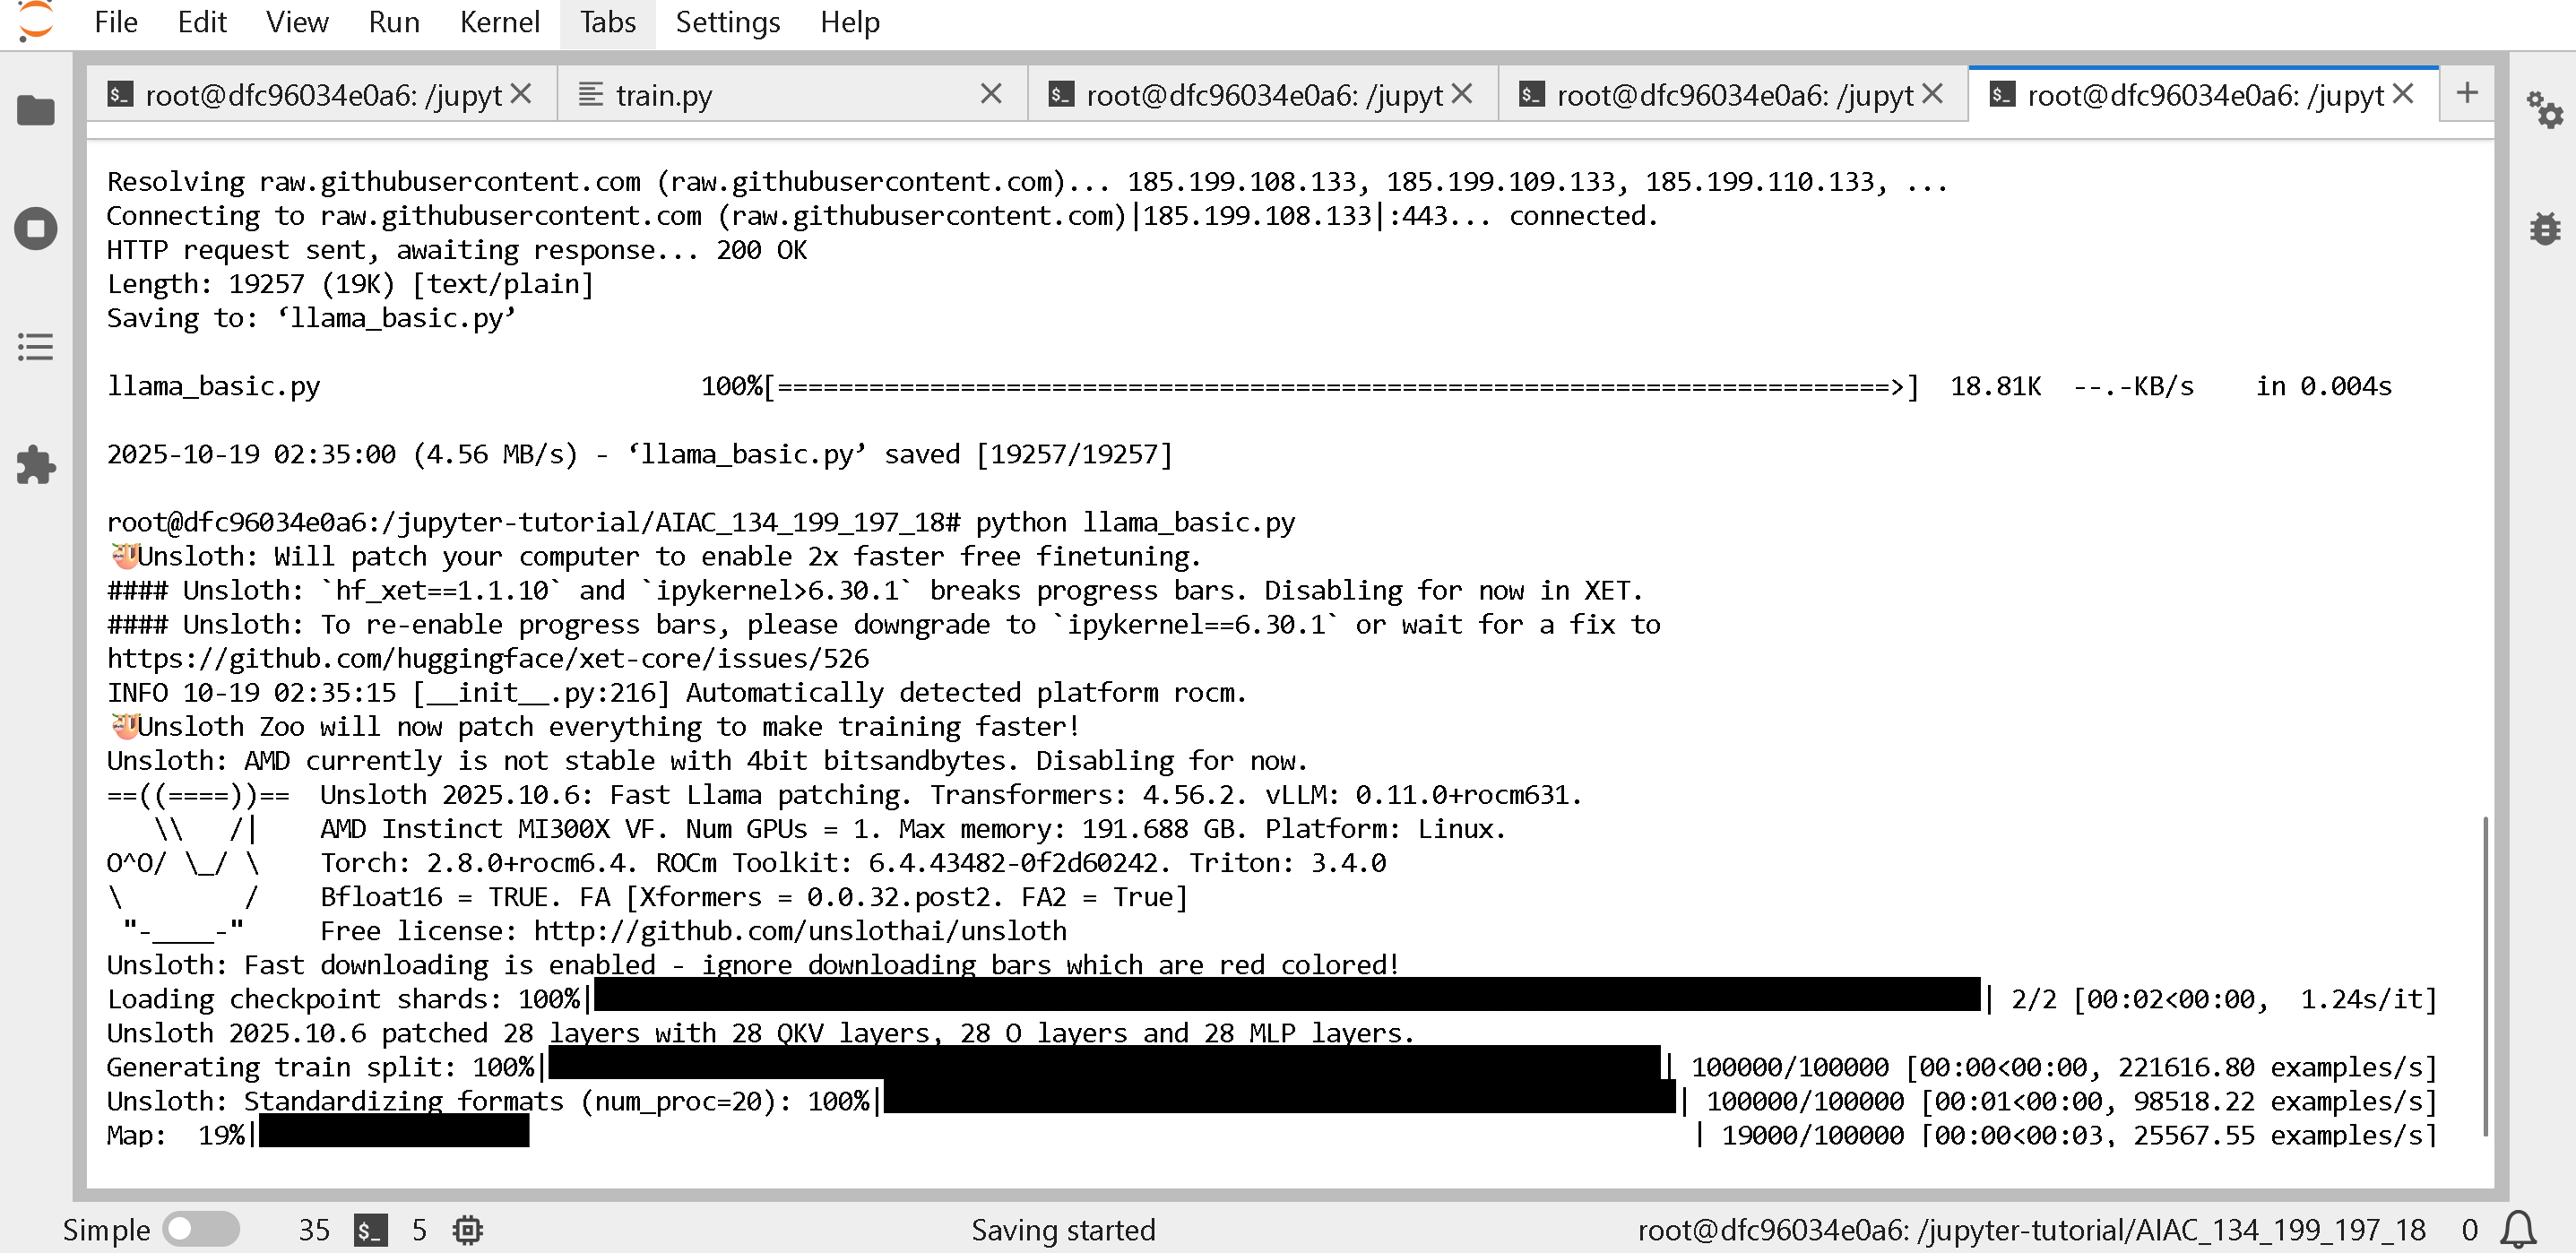
Sie sollten das Folgende sehen (es dauert 2 Minuten). Wenn etwas schiefgeht, versuchen Sie zuerst, Unsloth über
{% code overflow="wrap" %}
```bash
pip install --upgrade -qqq --no-cache-dir --force-reinstall --no-deps unsloth unsloth_zoo
python -c "import unsloth; print(unsloth.__version__)"
```
{% endcode %}
### :sloth:TUTORIAL 2: Ausführen der synthetischen Datengenerierung
{% hint style="success" %}
**Sie können auch die tutorial.ipynb ausführen, die auf unserer Maschine sofort vorhanden sein sollte, ohne unten nachzusehen:**
{% endhint %}
Lassen Sie uns jetzt das Beispiel unter und außerdem
Erstellen Sie zuerst ein neues **Terminal** noch einmal – die PLUS-Schaltfläche ermöglicht ein neues **Terminal**.
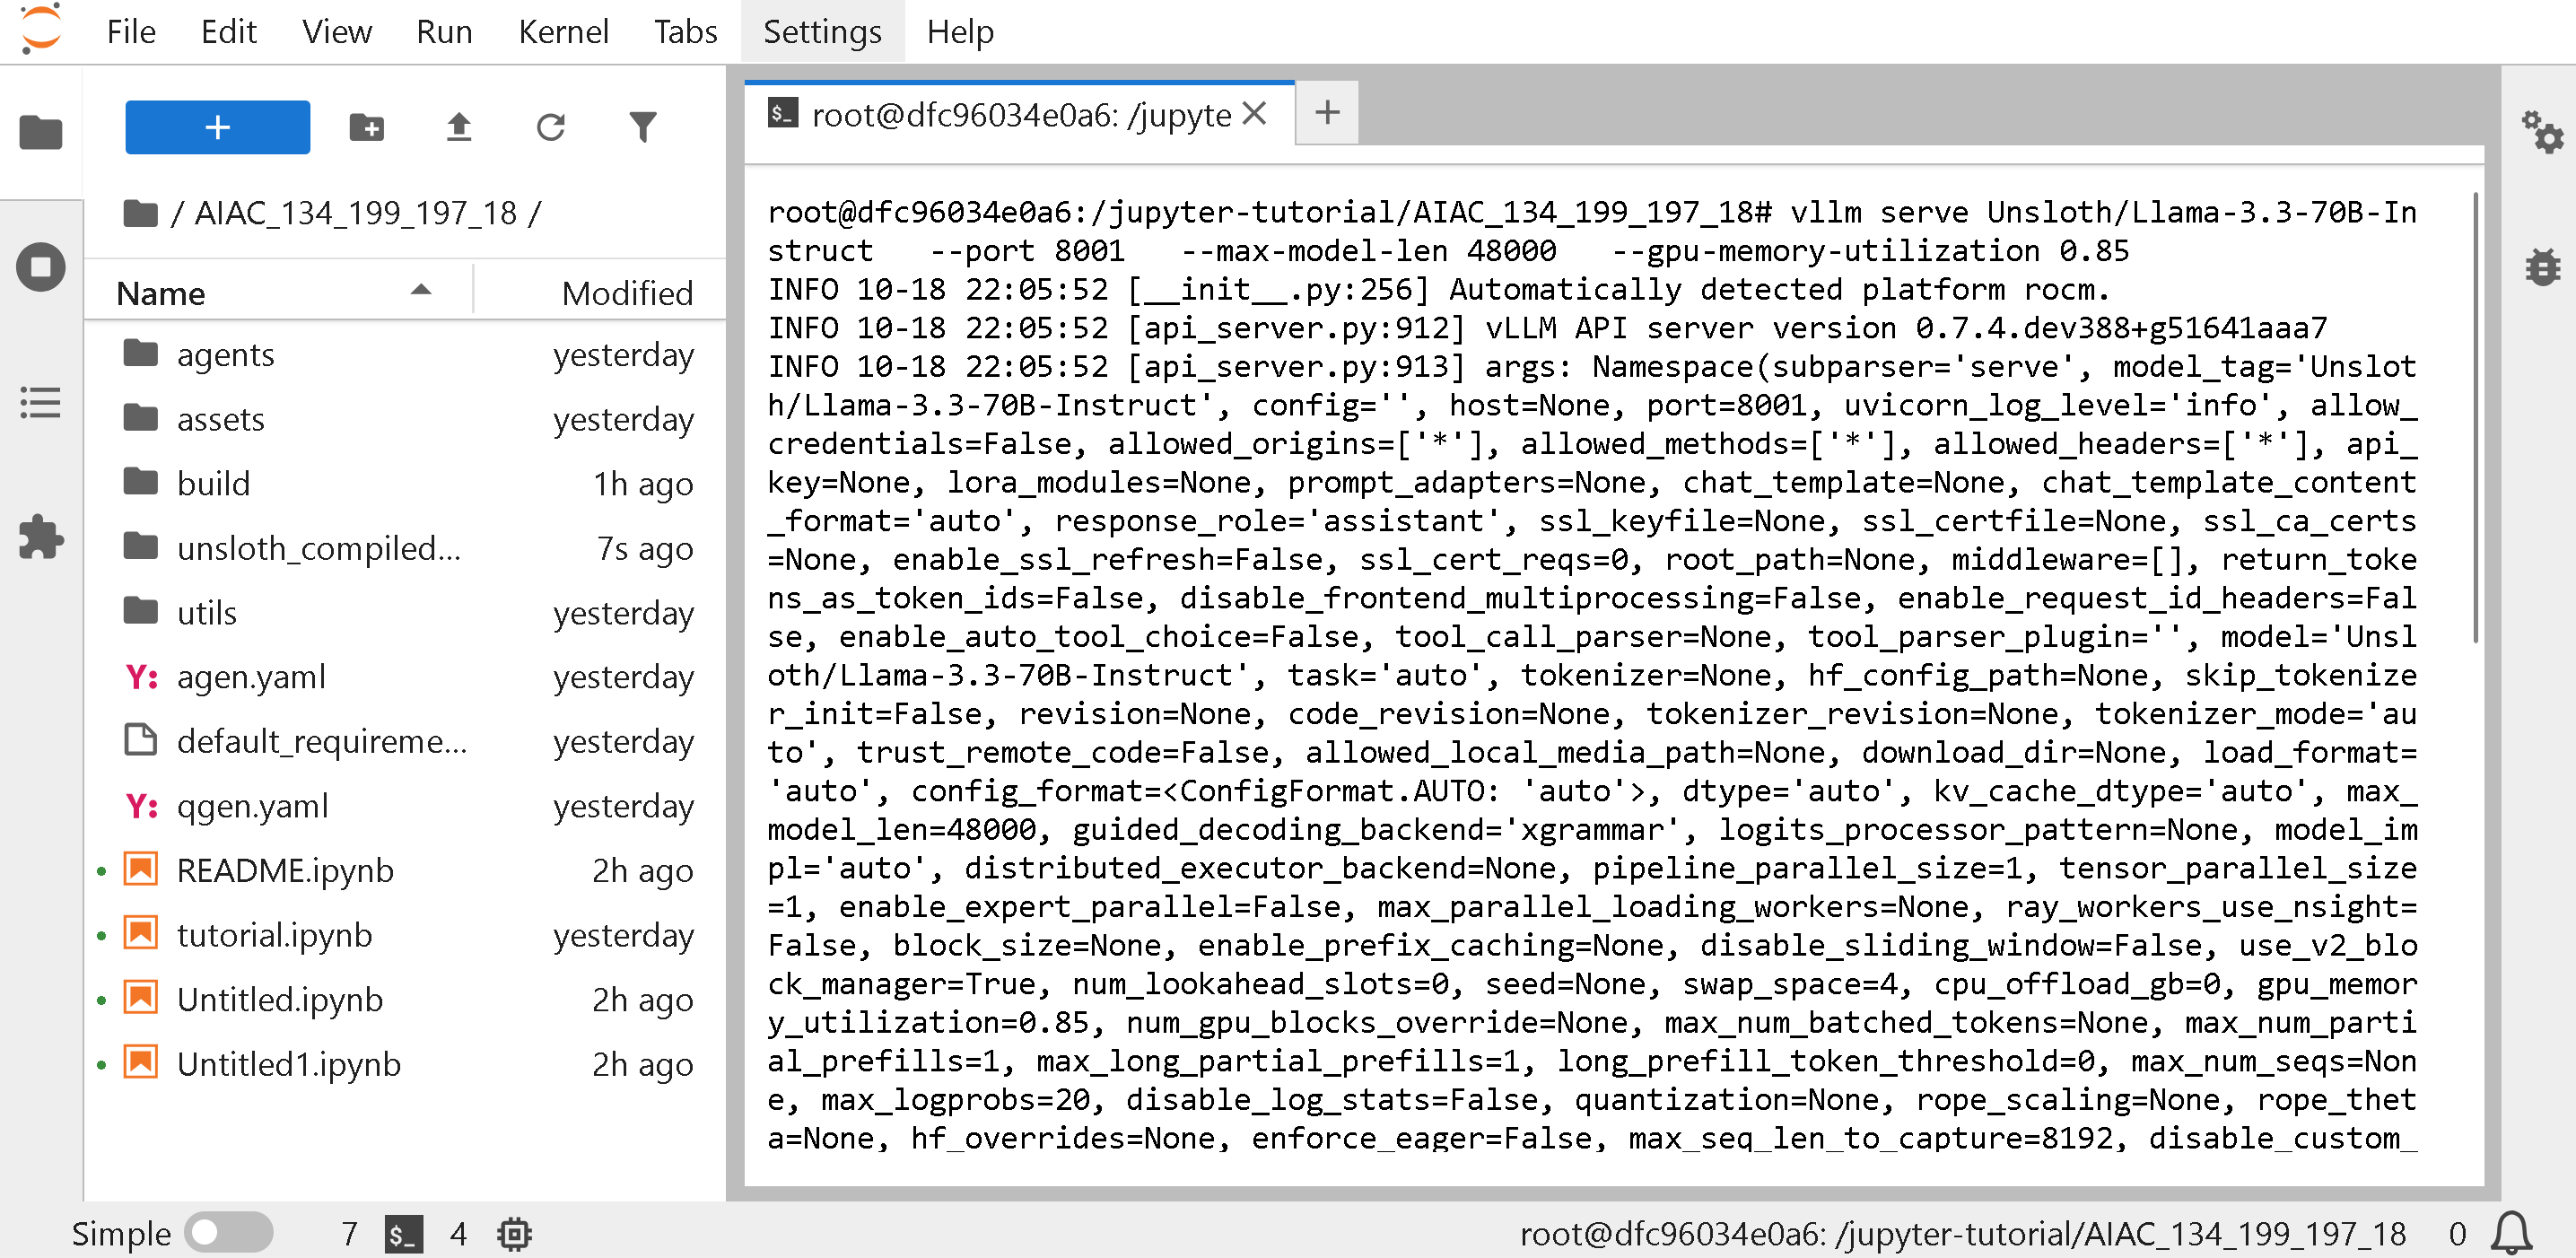
Führen Sie vLLM aus, um Llama 3.3 70B Instruct in einem neuen zu laden **Terminal** (verwenden Sie die PLUS-Schaltfläche für ein neues Terminal)
{% code overflow="wrap" %}
```
vllm serve Unsloth/Llama-3.3-70B-Instruct --port 8001 --max-model-len 48000 --gpu-memory-utilization 0.85
```
{% endcode %}
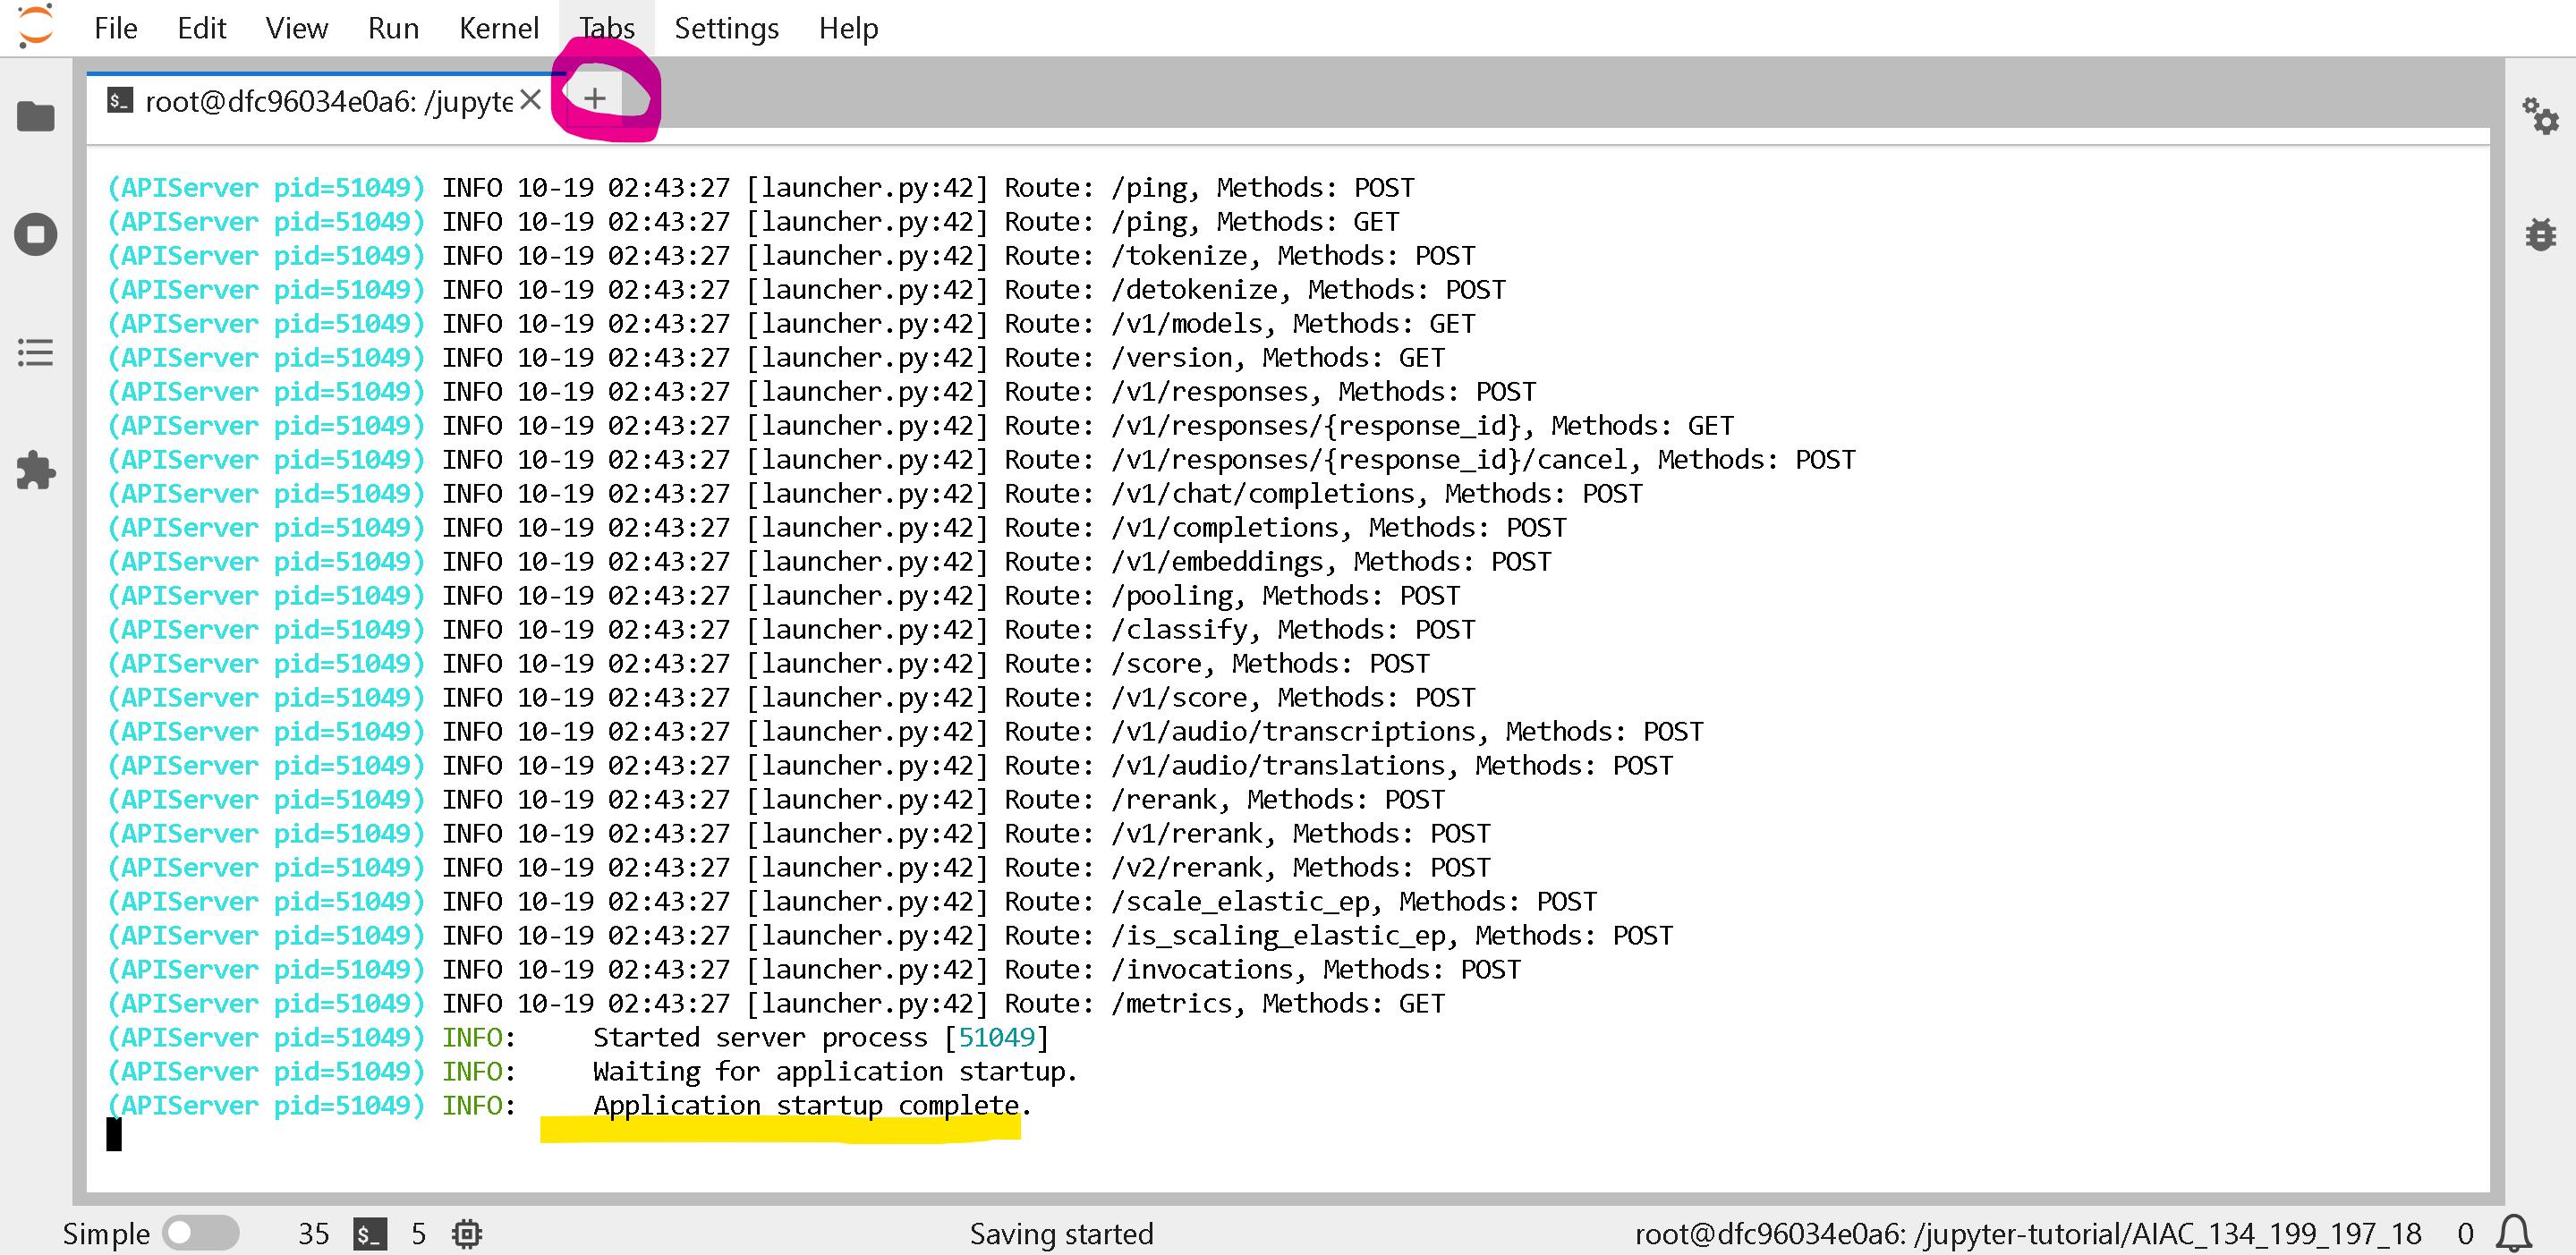
Sie werden Folgendes sehen:
Warten Sie, bis Sie `INFO: Application startup complete.` klicken Sie dann auf die PLUS-Schaltfläche, um einen neuen Tab zu öffnen
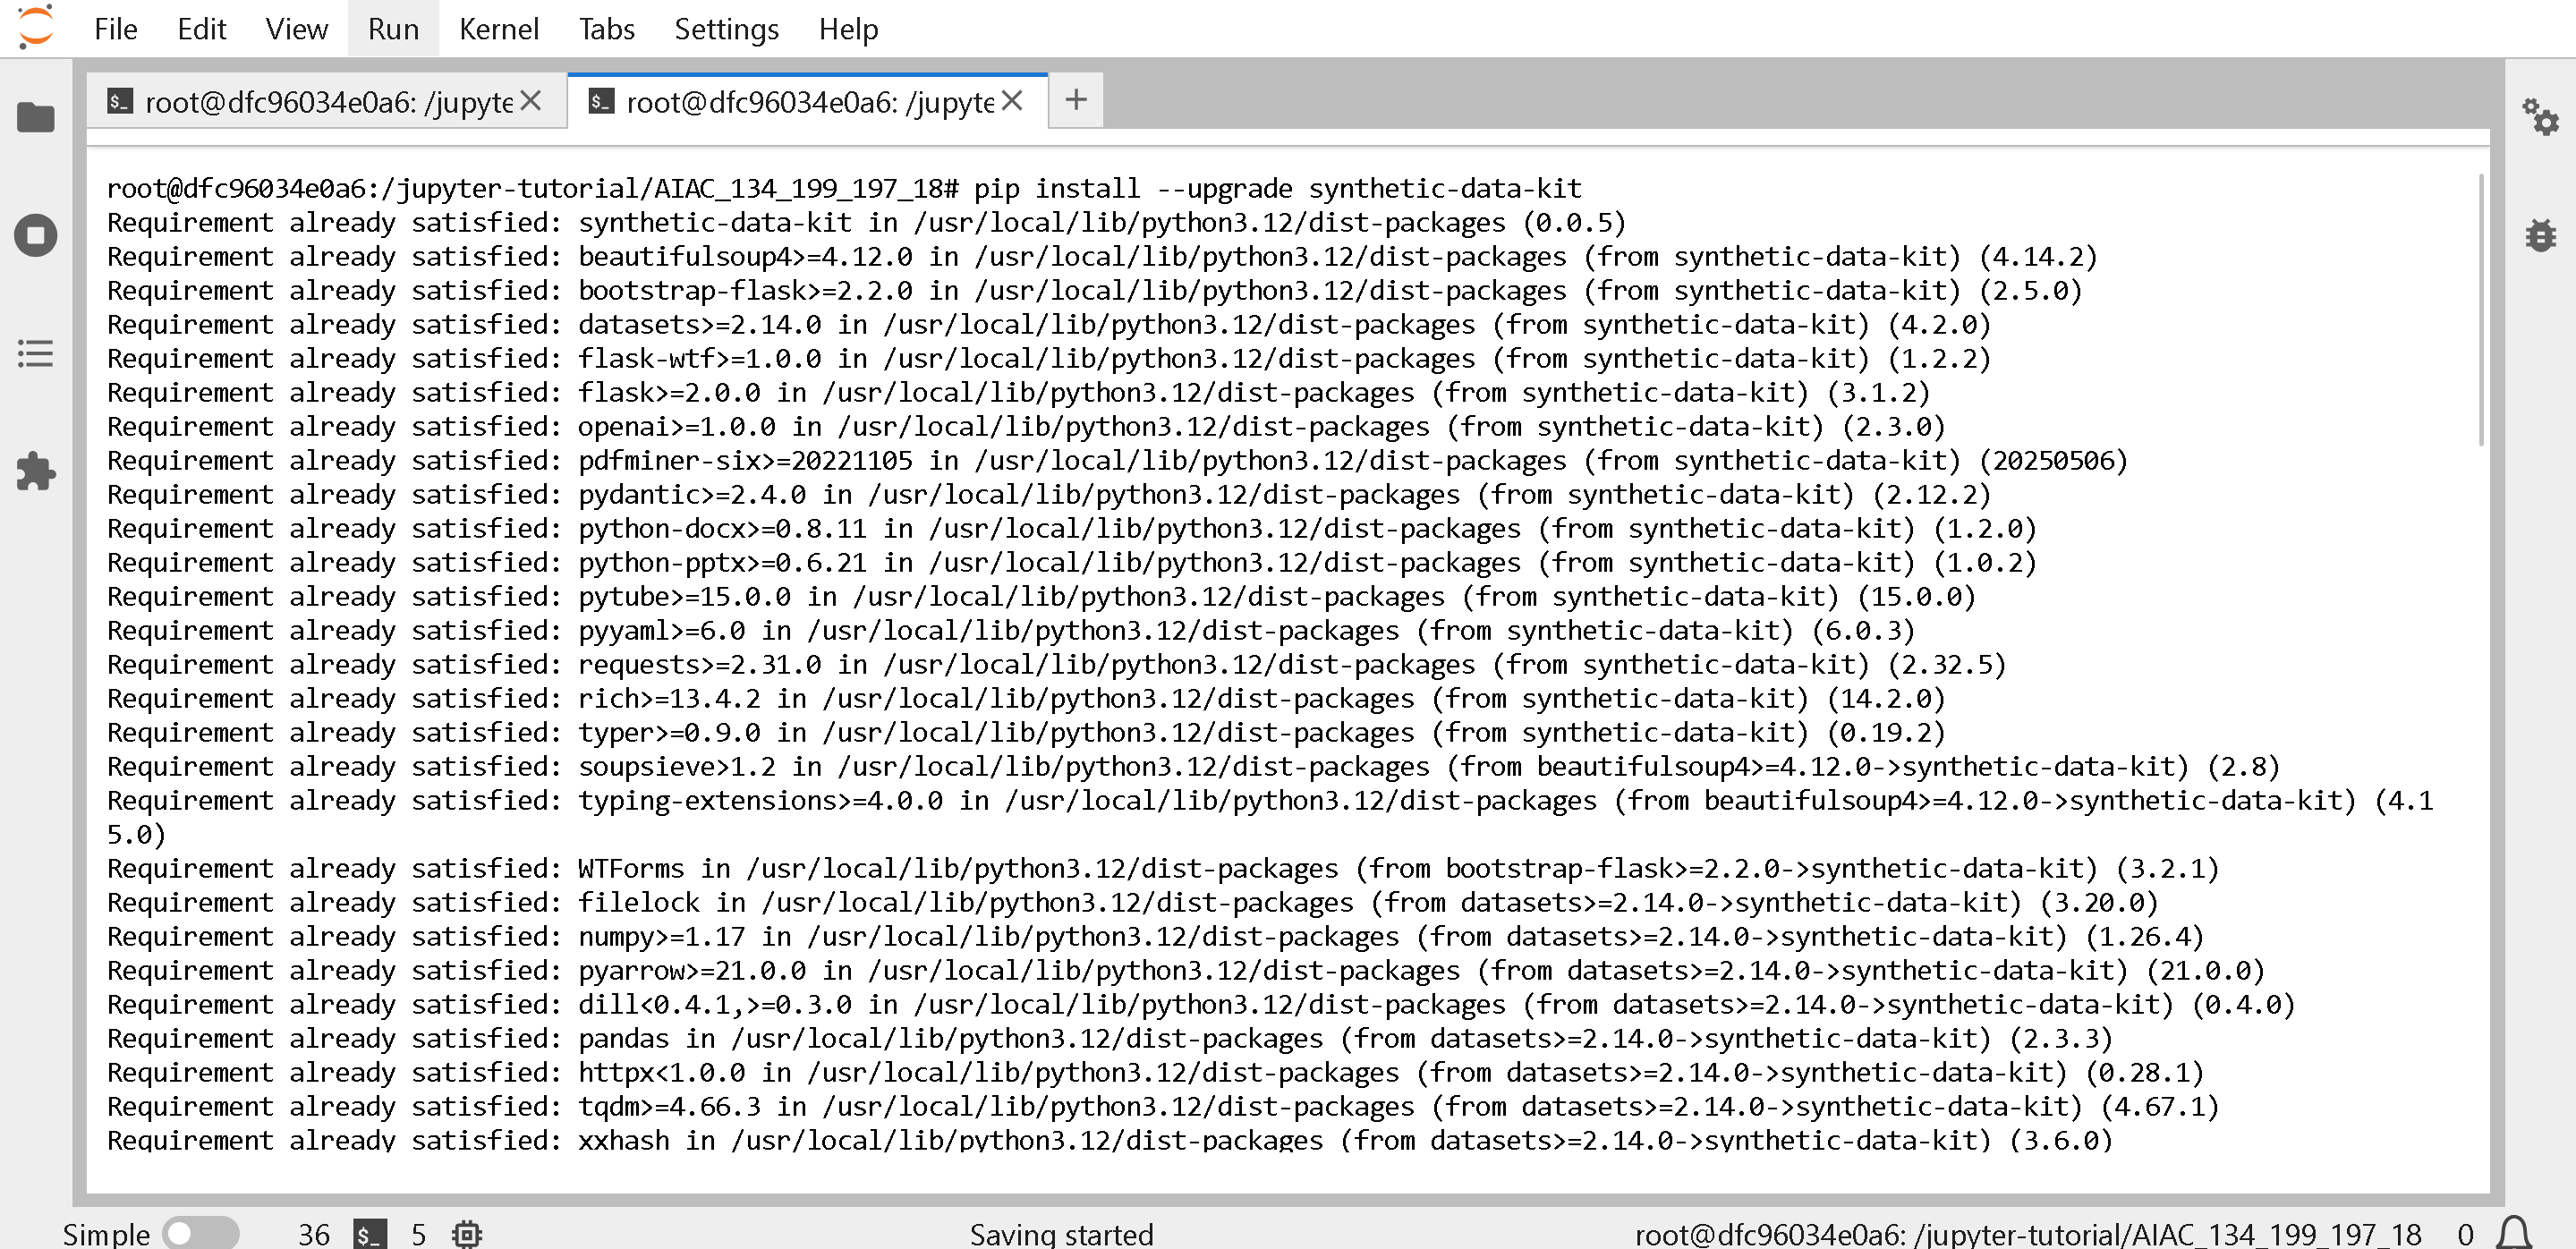
Installieren **synthetic-data-kit** in einem neuen **Terminal** Fenster.
```
pip install --upgrade synthetic-data-kit
```
Holen Sie sich `config.yaml` entweder von , oder unten:
{% file src="/files/f710f04c9c9fb691f24680958fa041d2d4078b69" %}
{% code overflow="wrap" %}
```bash
wget https://raw.githubusercontent.com/edamamez/Unsloth-AMD-Fine-Tuning-Synthetic-Data/refs/heads/main/config.yaml -O config.yaml
```
{% endcode %}
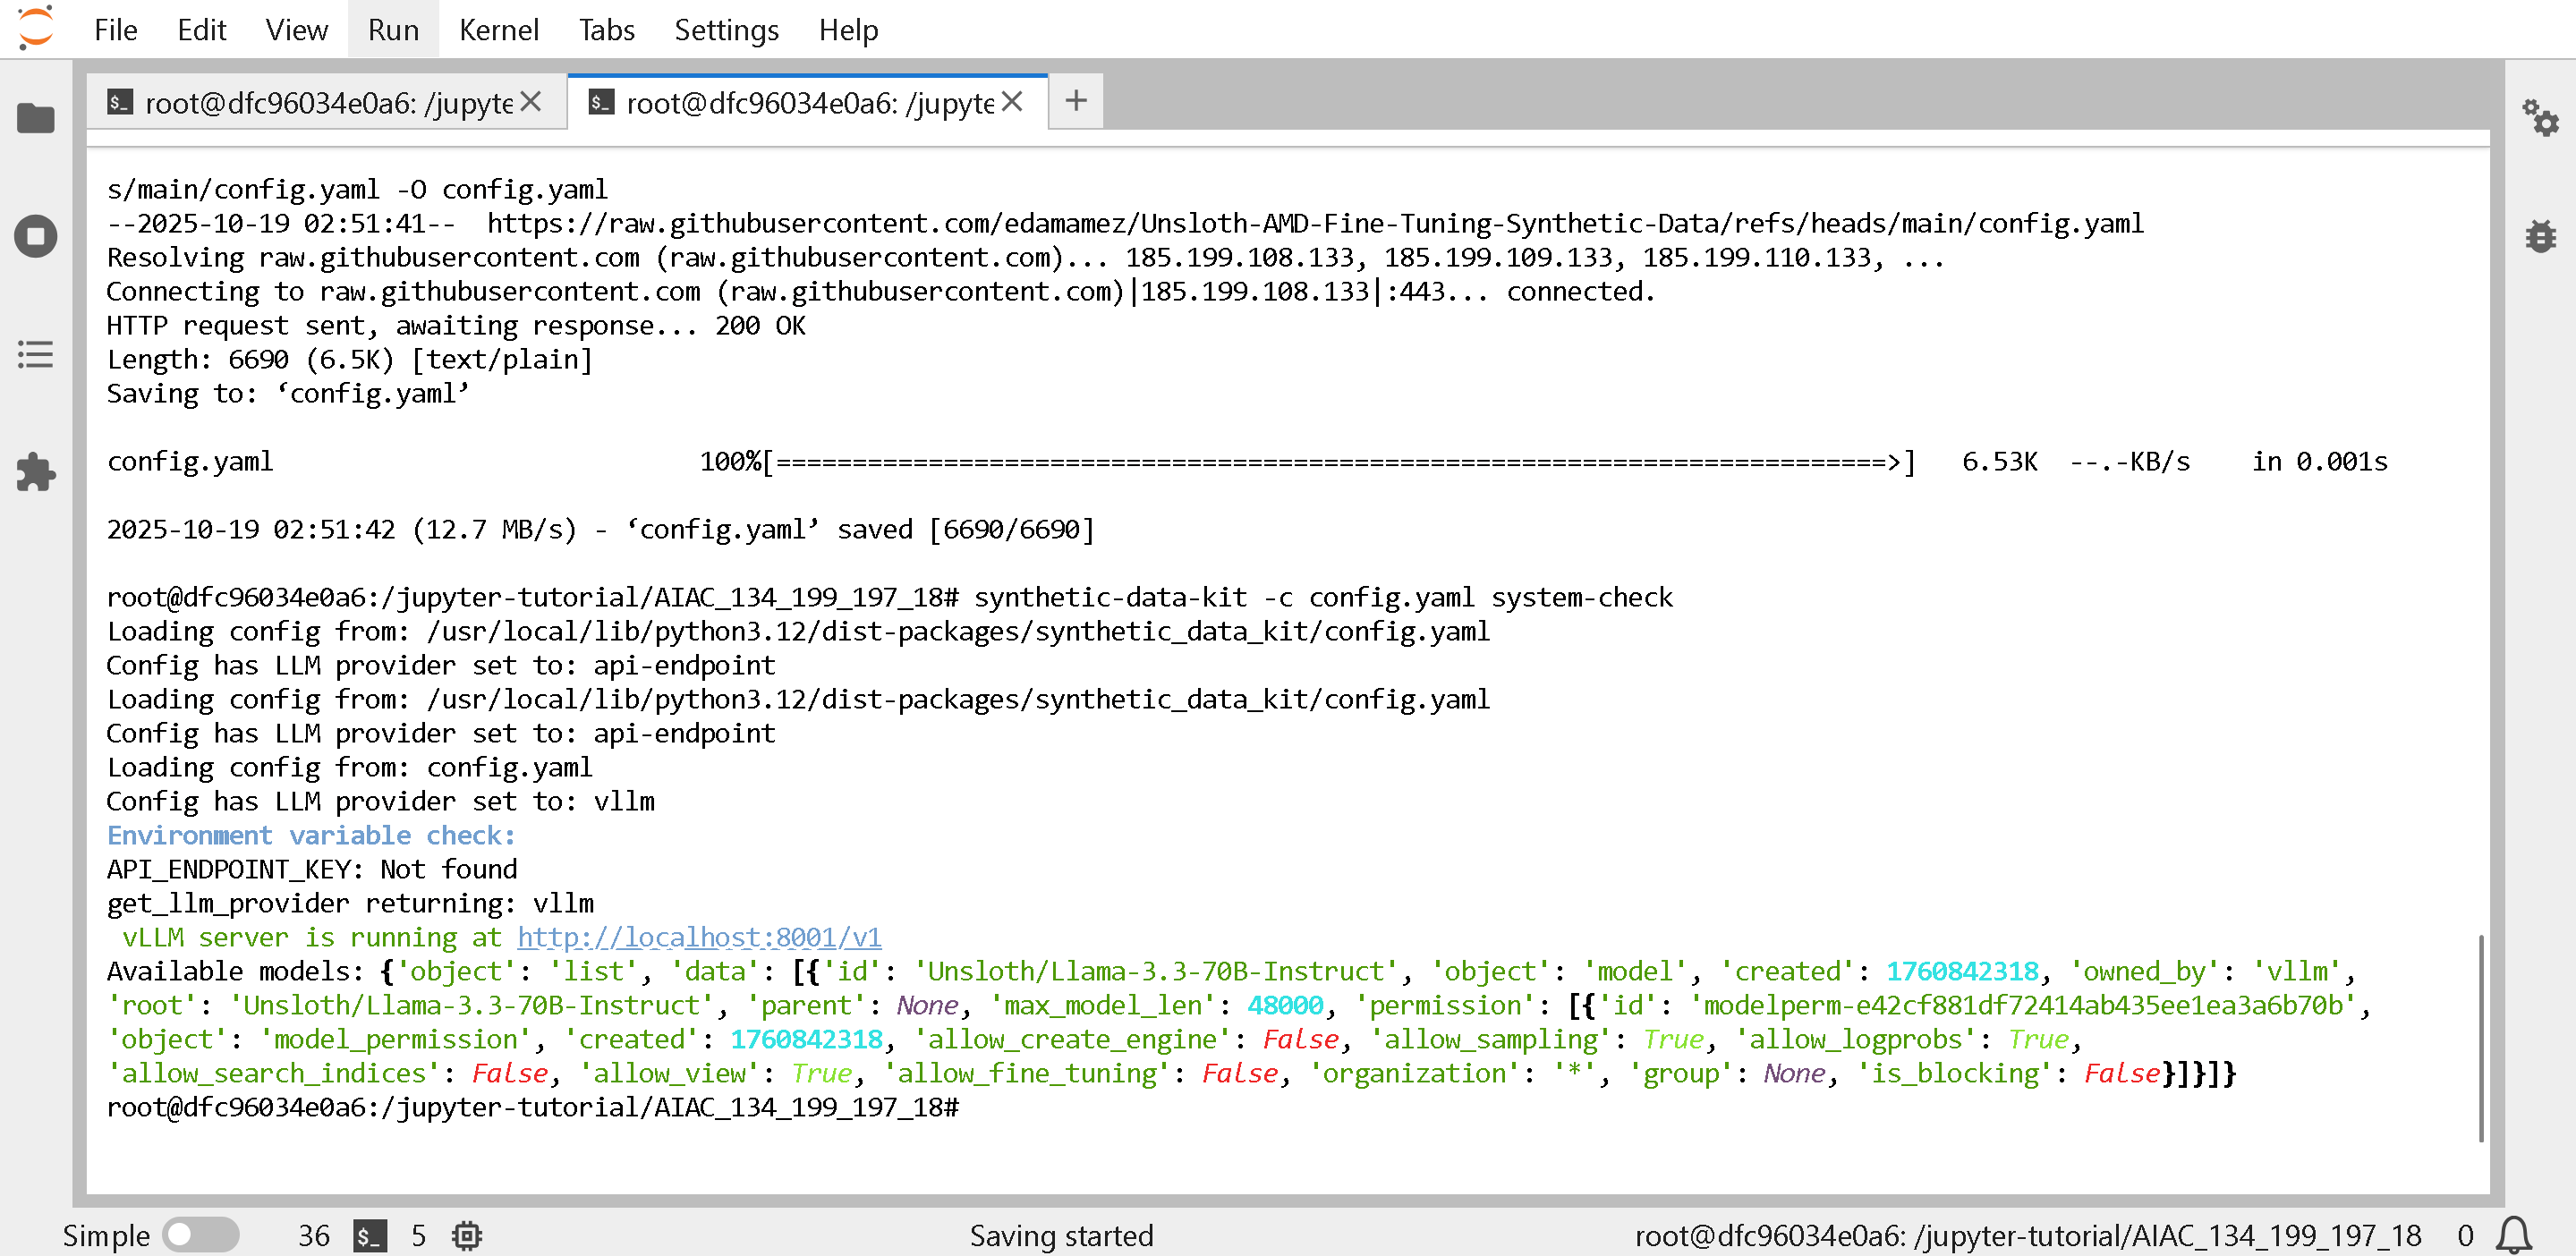
Prüfen Sie, ob das Synthetic Data Kit funktioniert hat. Wenn Sie Fehler sehen, bestätigen Sie, dass vLLM in der 1. Zelle läuft.
{% code overflow="wrap" %}
```bash
synthetic-data-kit -c config.yaml system-check
```
{% endcode %}
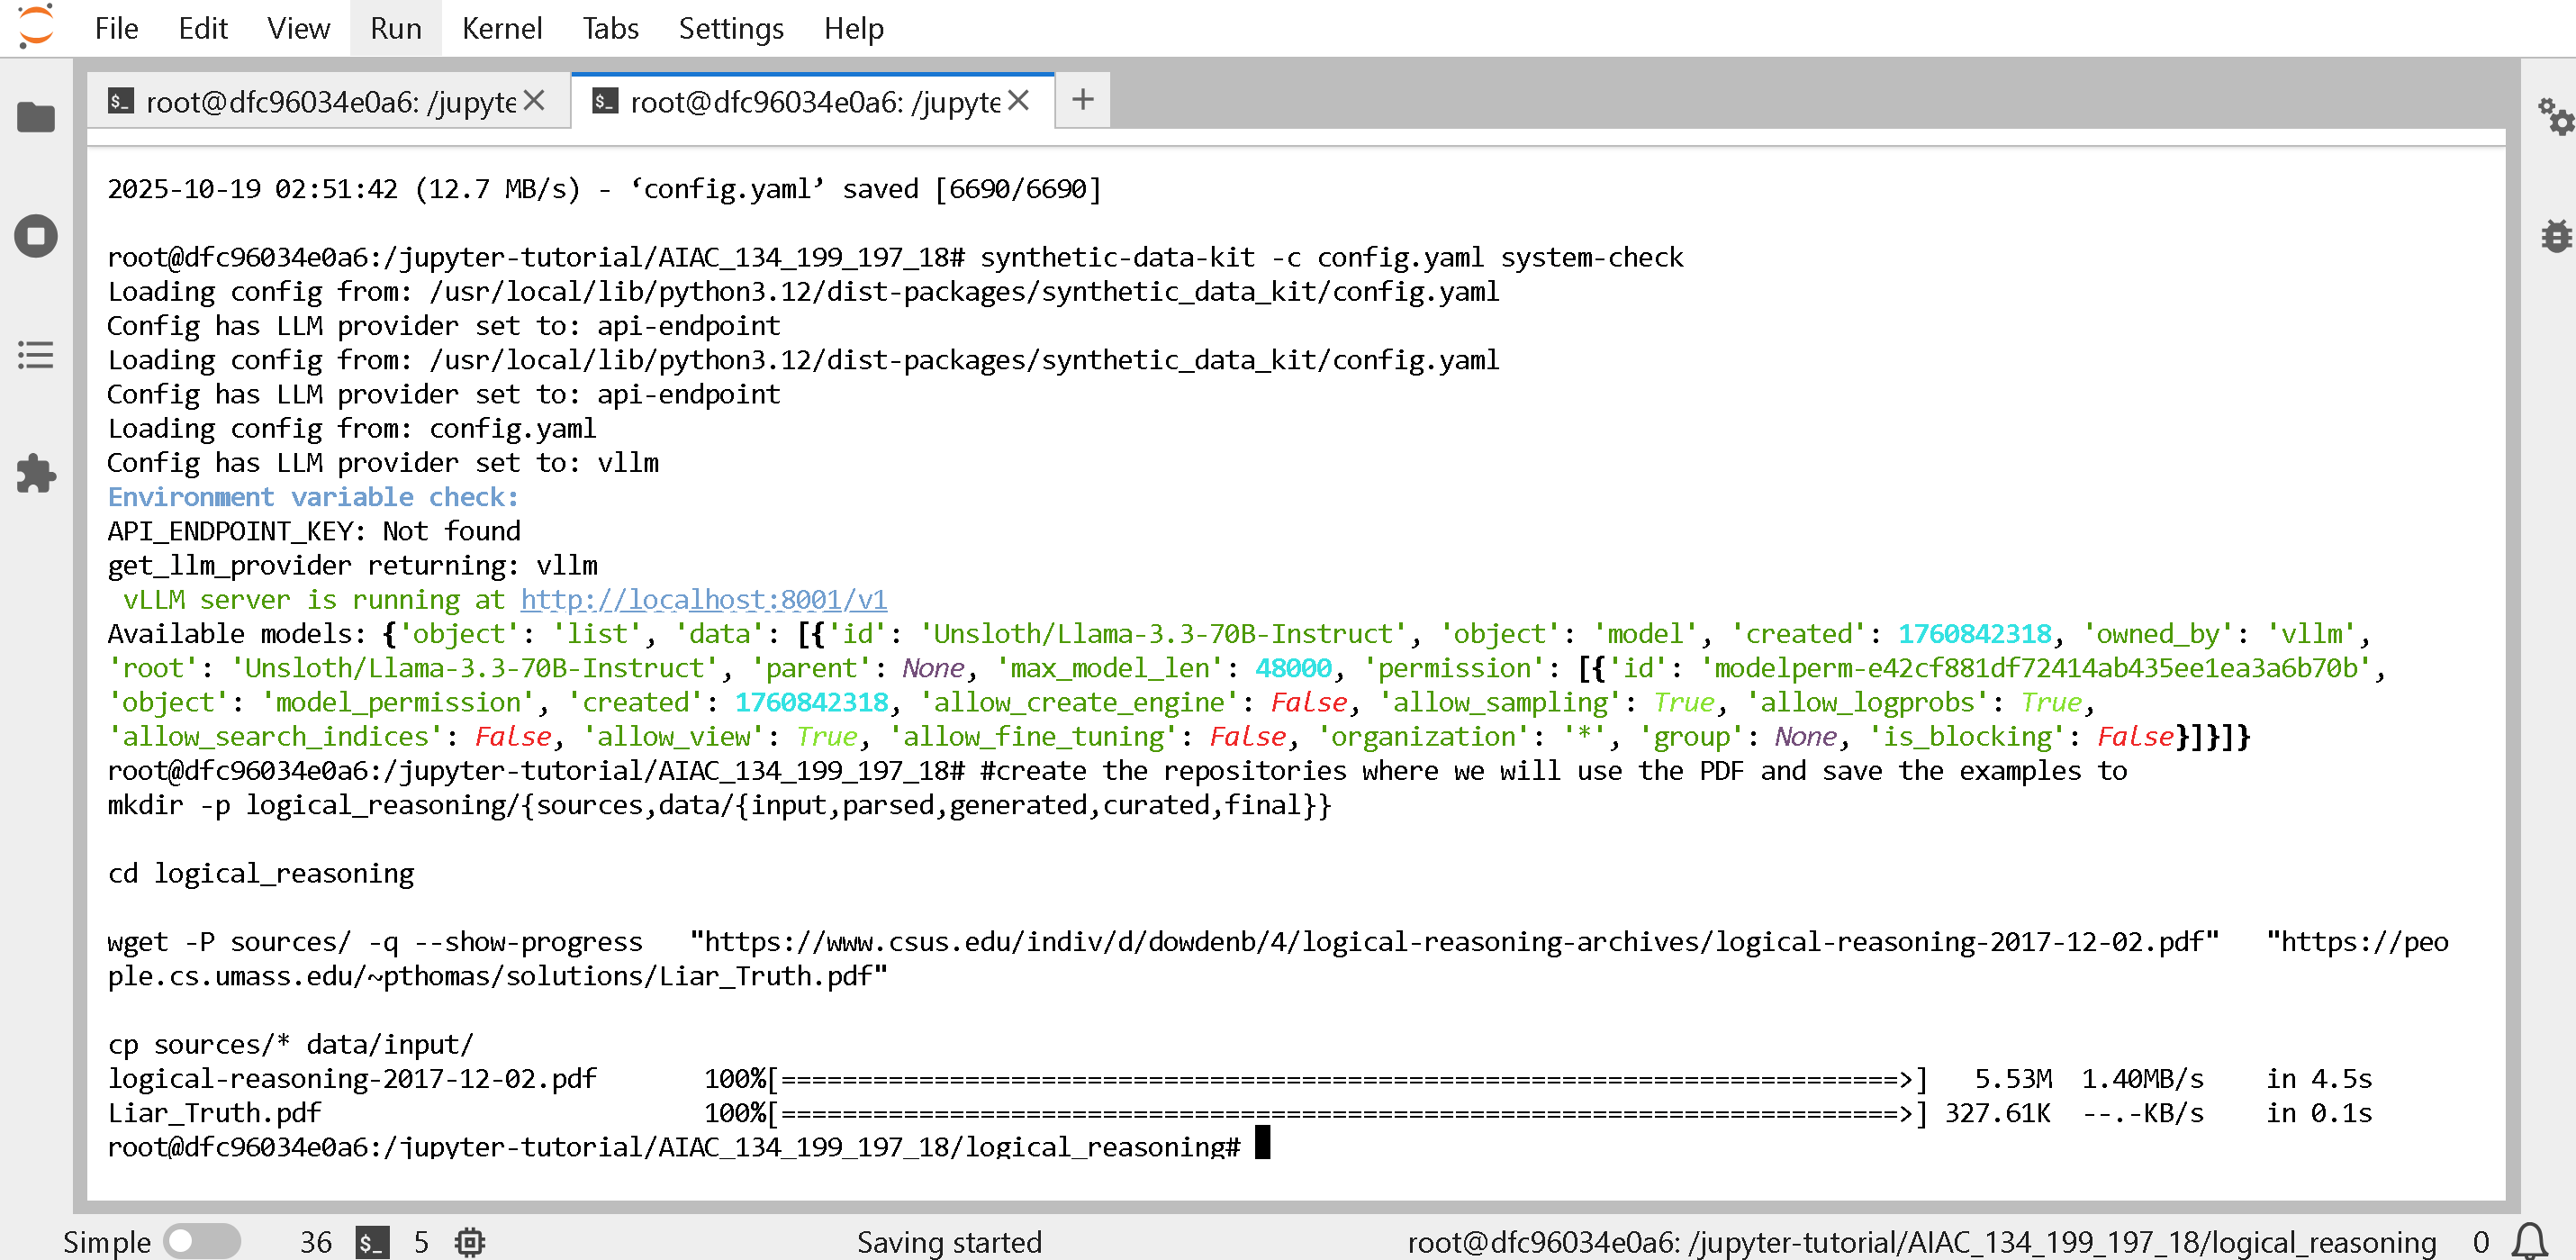
Jetzt holen wir uns einige Dateien, die wir für die Verarbeitung verwenden werden:
{% code overflow="wrap" %}
```bash
# Erstellen Sie die Repositories, in denen wir das PDF verwenden und die Beispiele speichern werden
mkdir -p logical_reasoning/{sources,data/{input,parsed,generated,curated,final}}
wget -P logical_reasoning/sources/ -q --show-progress "https://www.csus.edu/indiv/d/dowdenb/4/logical-reasoning-archives/logical-reasoning-2017-12-02.pdf" "https://people.cs.umass.edu/~pthomas/solutions/Liar_Truth.pdf"
cp logical_reasoning/sources/* logical_reasoning/data/input/
cp config.yaml logical_reasoning
```
{% endcode %}
Lassen Sie uns nun die Daten einlesen und verarbeiten:
{% code overflow="wrap" %}
```bash
cd logical_reasoning
synthetic-data-kit ingest ./data/input/ --verbose
```
{% endcode %}
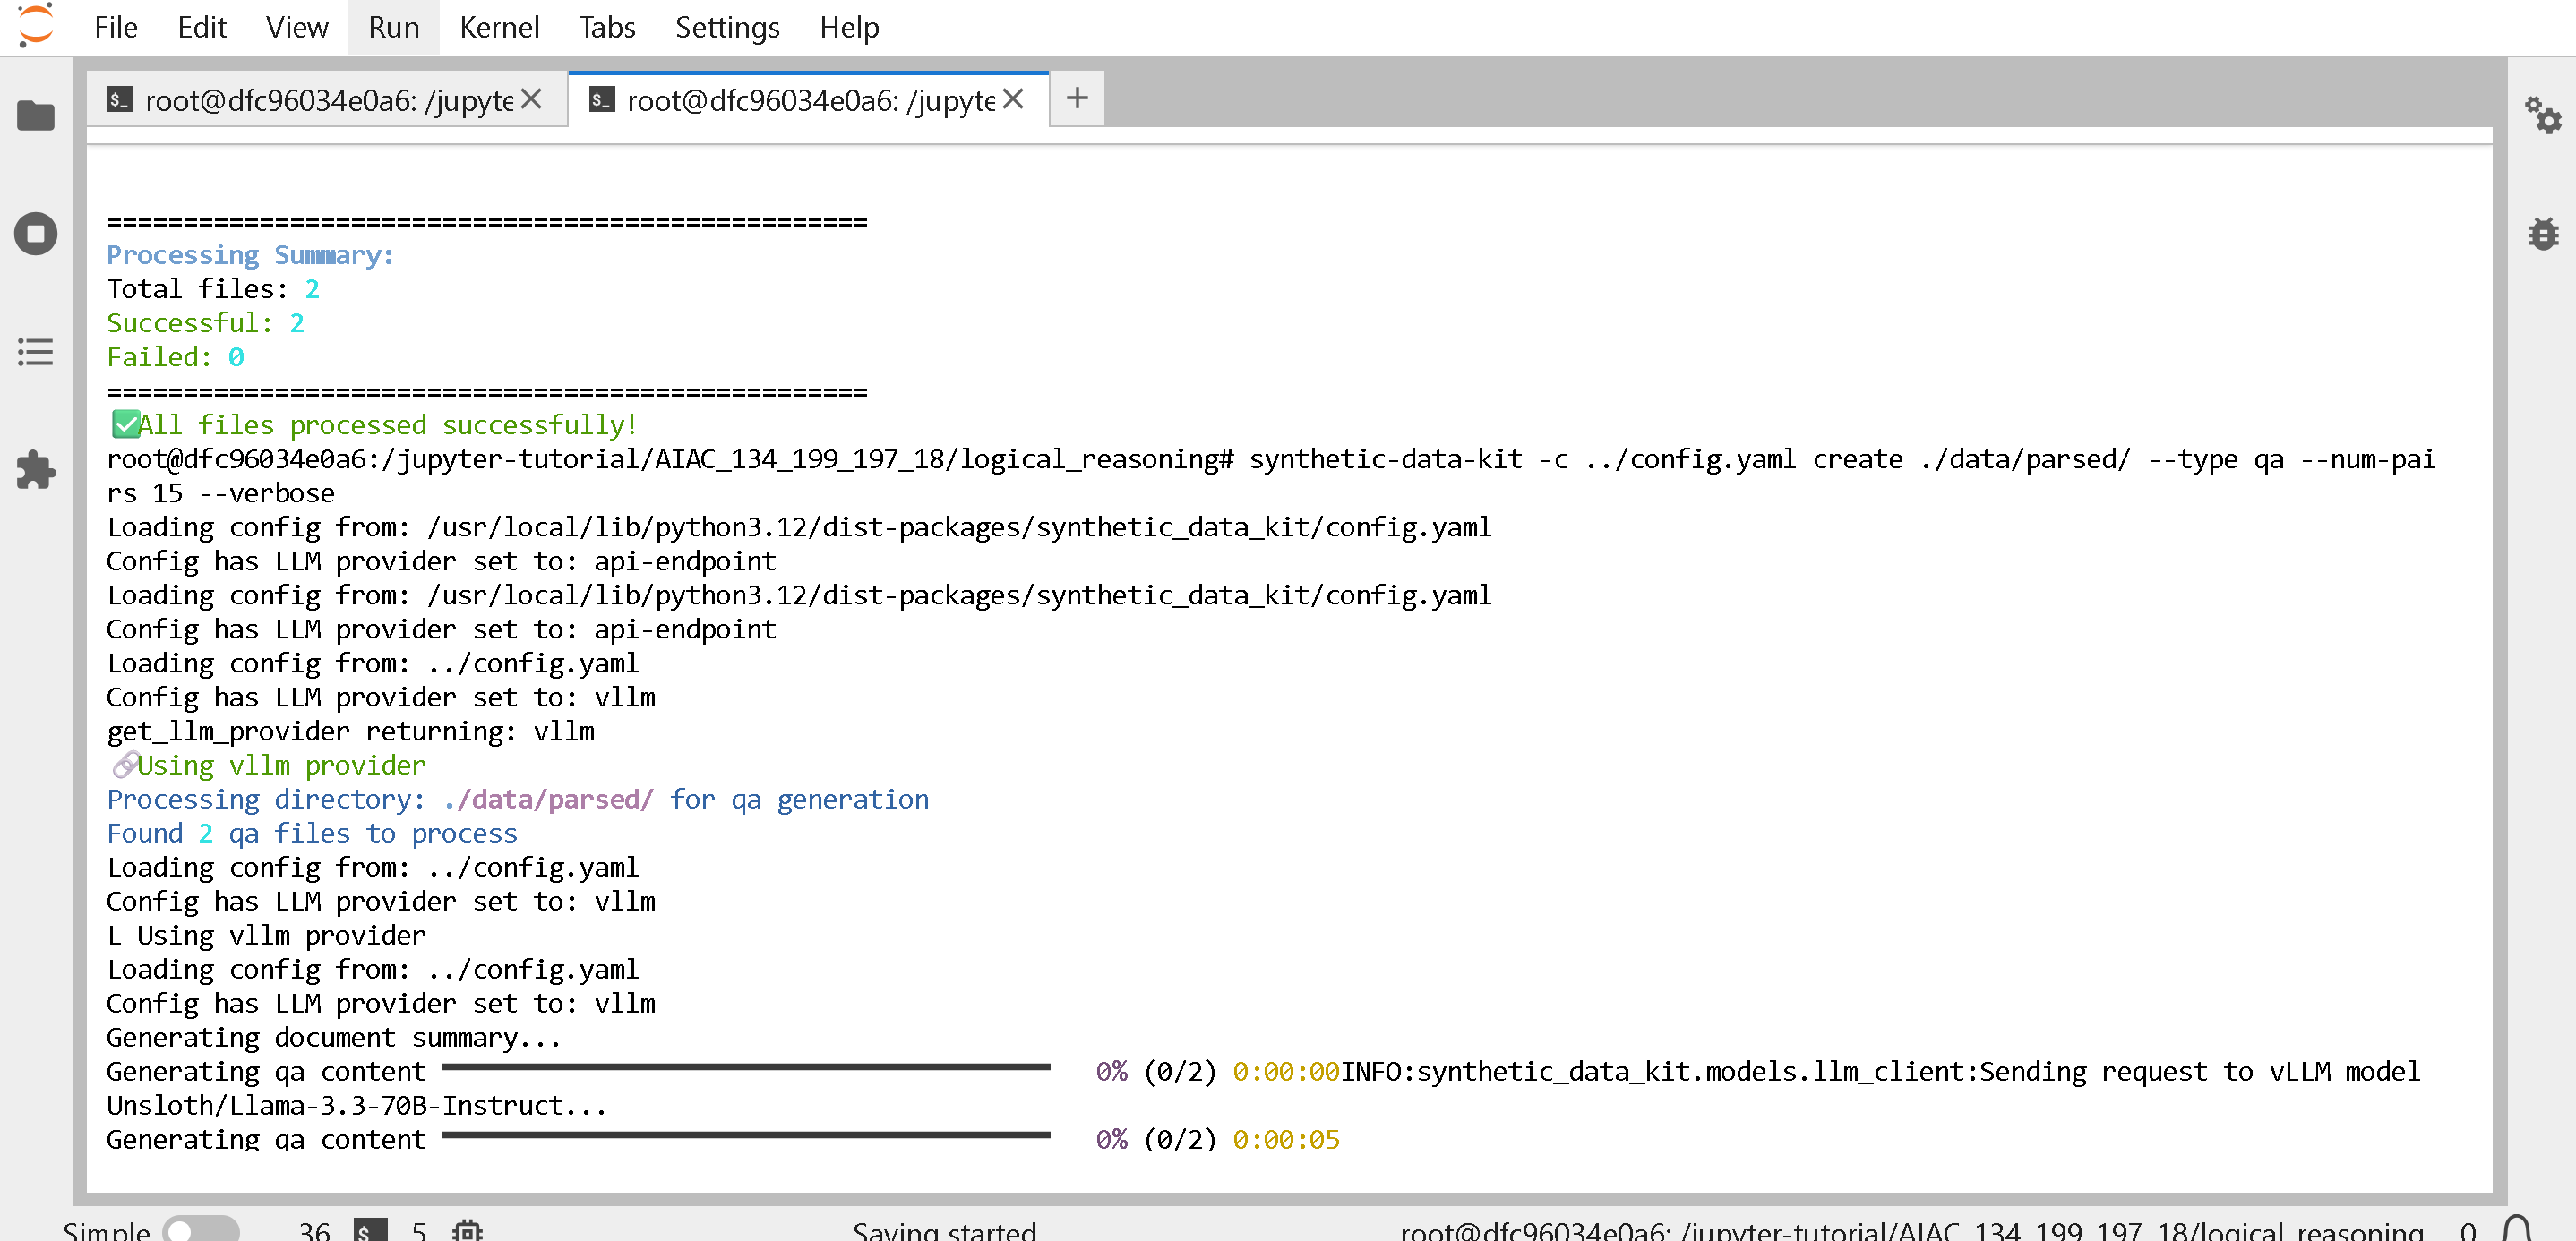
Nun erstellen wir entweder Q\&A-(Frage-und-Antwort-)Paare oder CoT-(Chain-of-Thought-)Paare (das kann 3 Minuten dauern)
{% code overflow="wrap" %}
```bash
synthetic-data-kit -c ../config.yaml create ./data/parsed/ --type qa --num-pairs 15 --verbose
##### ODER #####
synthetic-data-kit -c ../config.yaml create ./data/parsed/ --type cot --num-pairs 15 --verbose
```
{% endcode %}
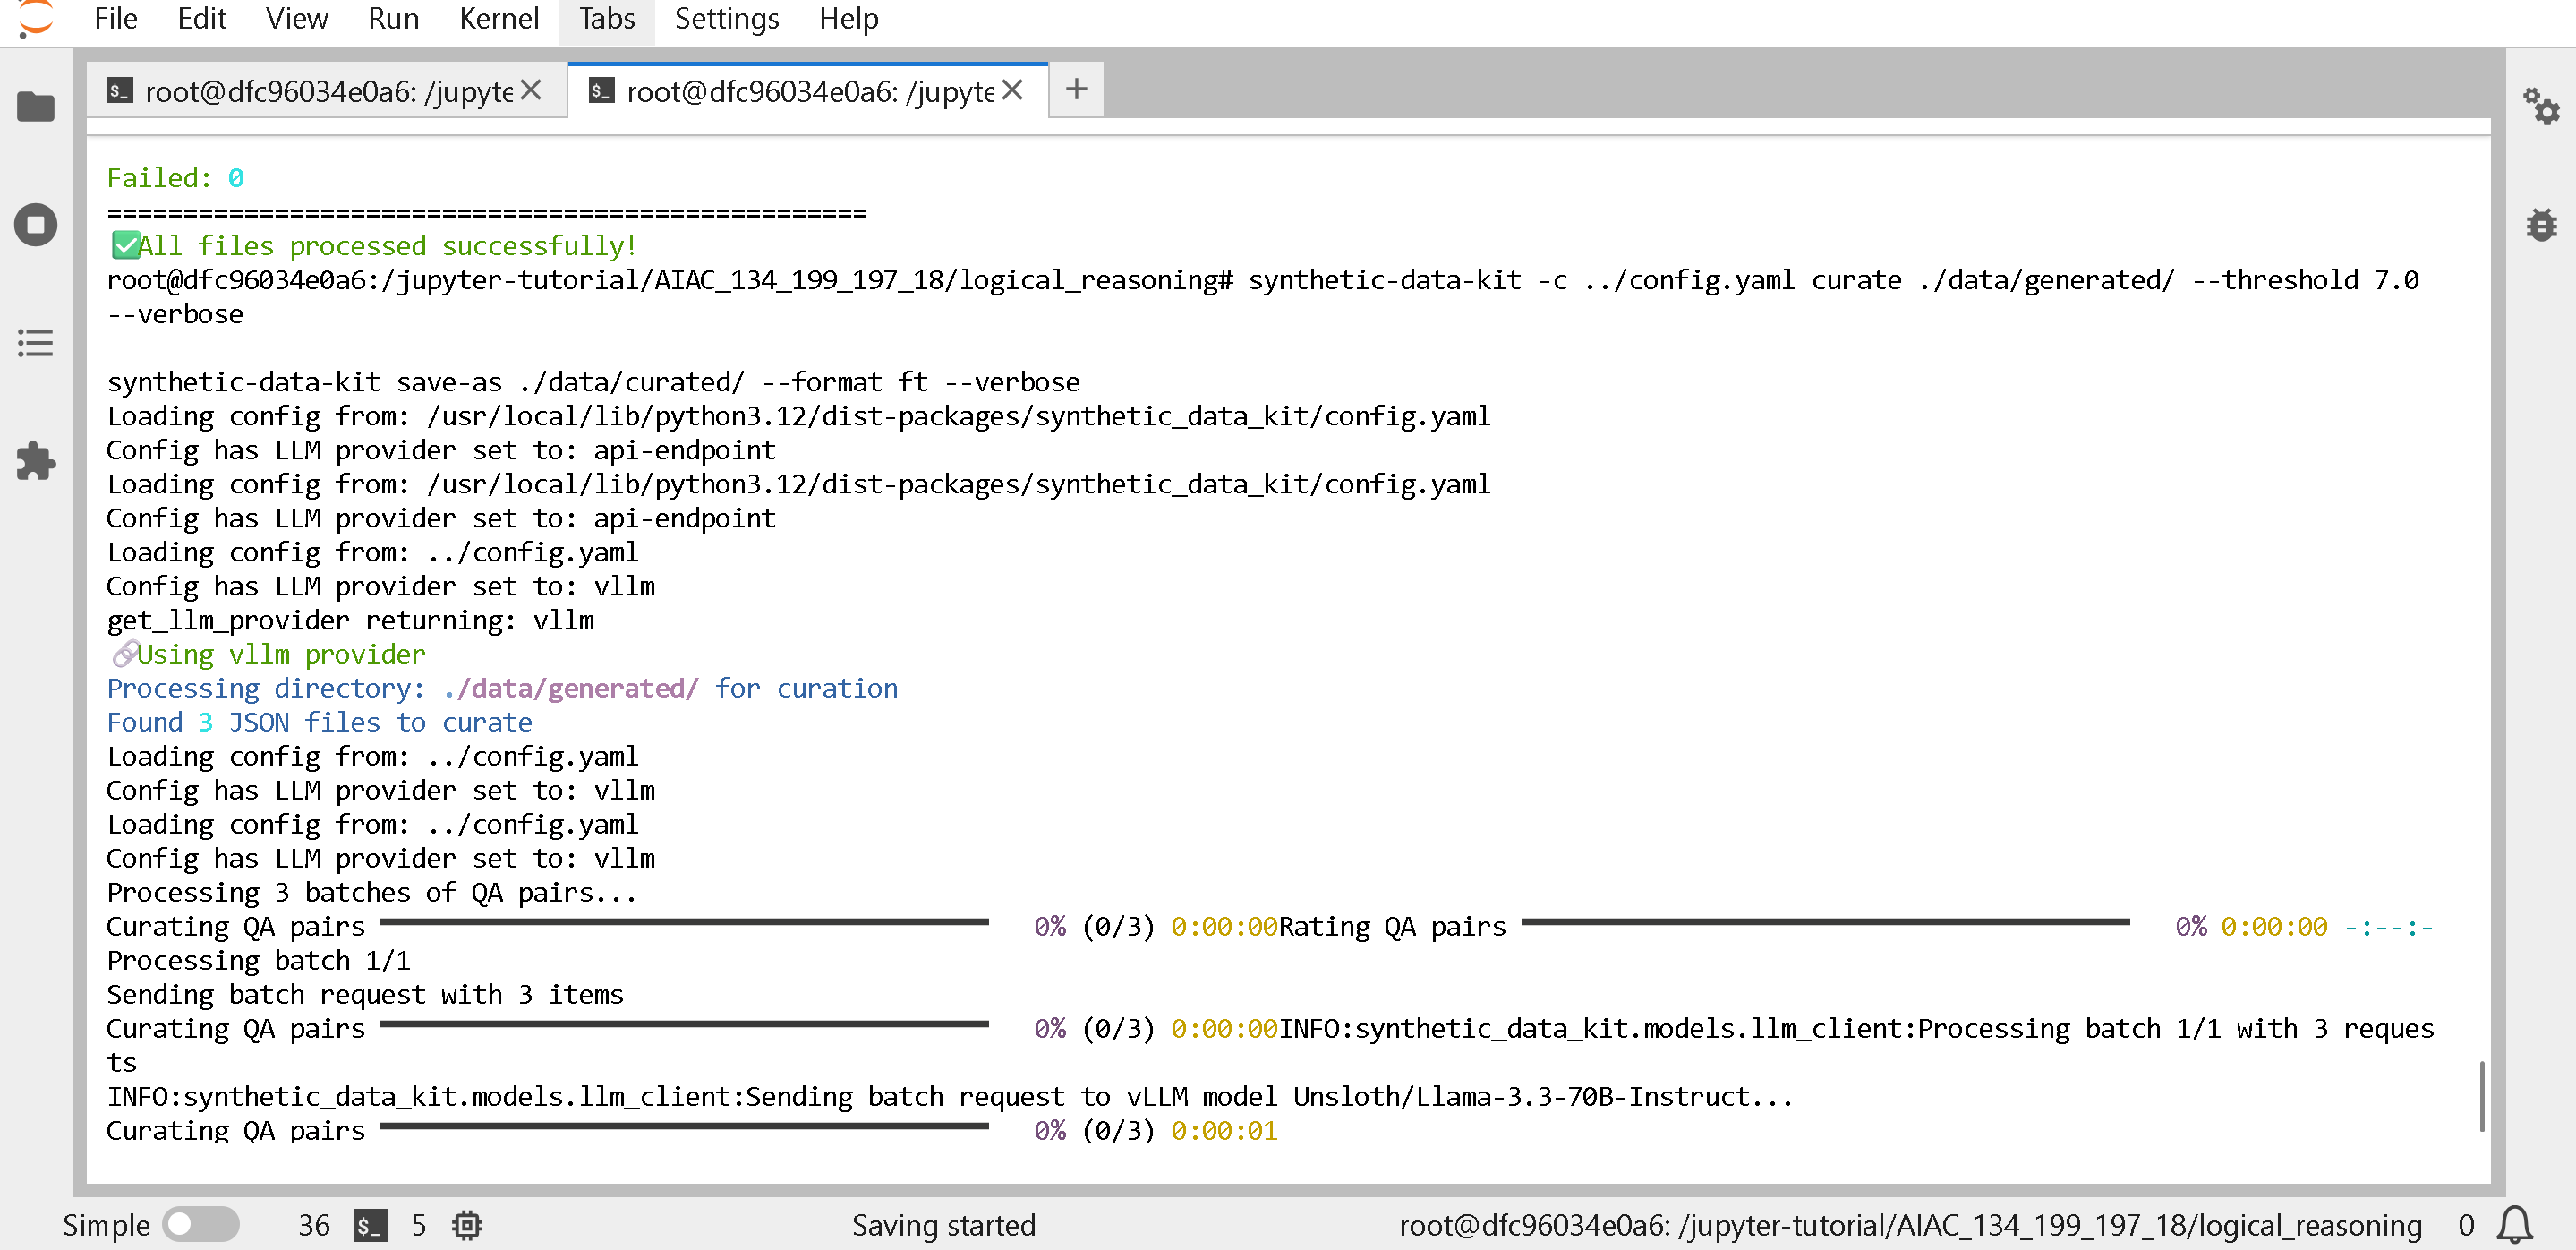
Jetzt lassen wir ein LLM die Daten kuratieren und ein LLM als Richter aufrufen, um weniger wünschenswerte Zeilen synthetischer Daten zu entfernen; anschließend speichern wir die Ausgabe – das kann 3 Minuten dauern
{% code overflow="wrap" %}
```bash
synthetic-data-kit -c ../config.yaml curate ./data/generated/ --threshold 7.0 --verbose
synthetic-data-kit save-as ./data/curated/ --format ft --verbose
```
{% endcode %}
Noch einmal, **FAHREN Sie den vLLM-Dienst HERUNTER, um VRAM zu sparen!!! Gehen Sie zum vorherigen Tab und drücken Sie dreimal STRG+C. Oder siehe** [#how-do-i-free-amd-gpu-memory](#how-do-i-free-amd-gpu-memory "mention")
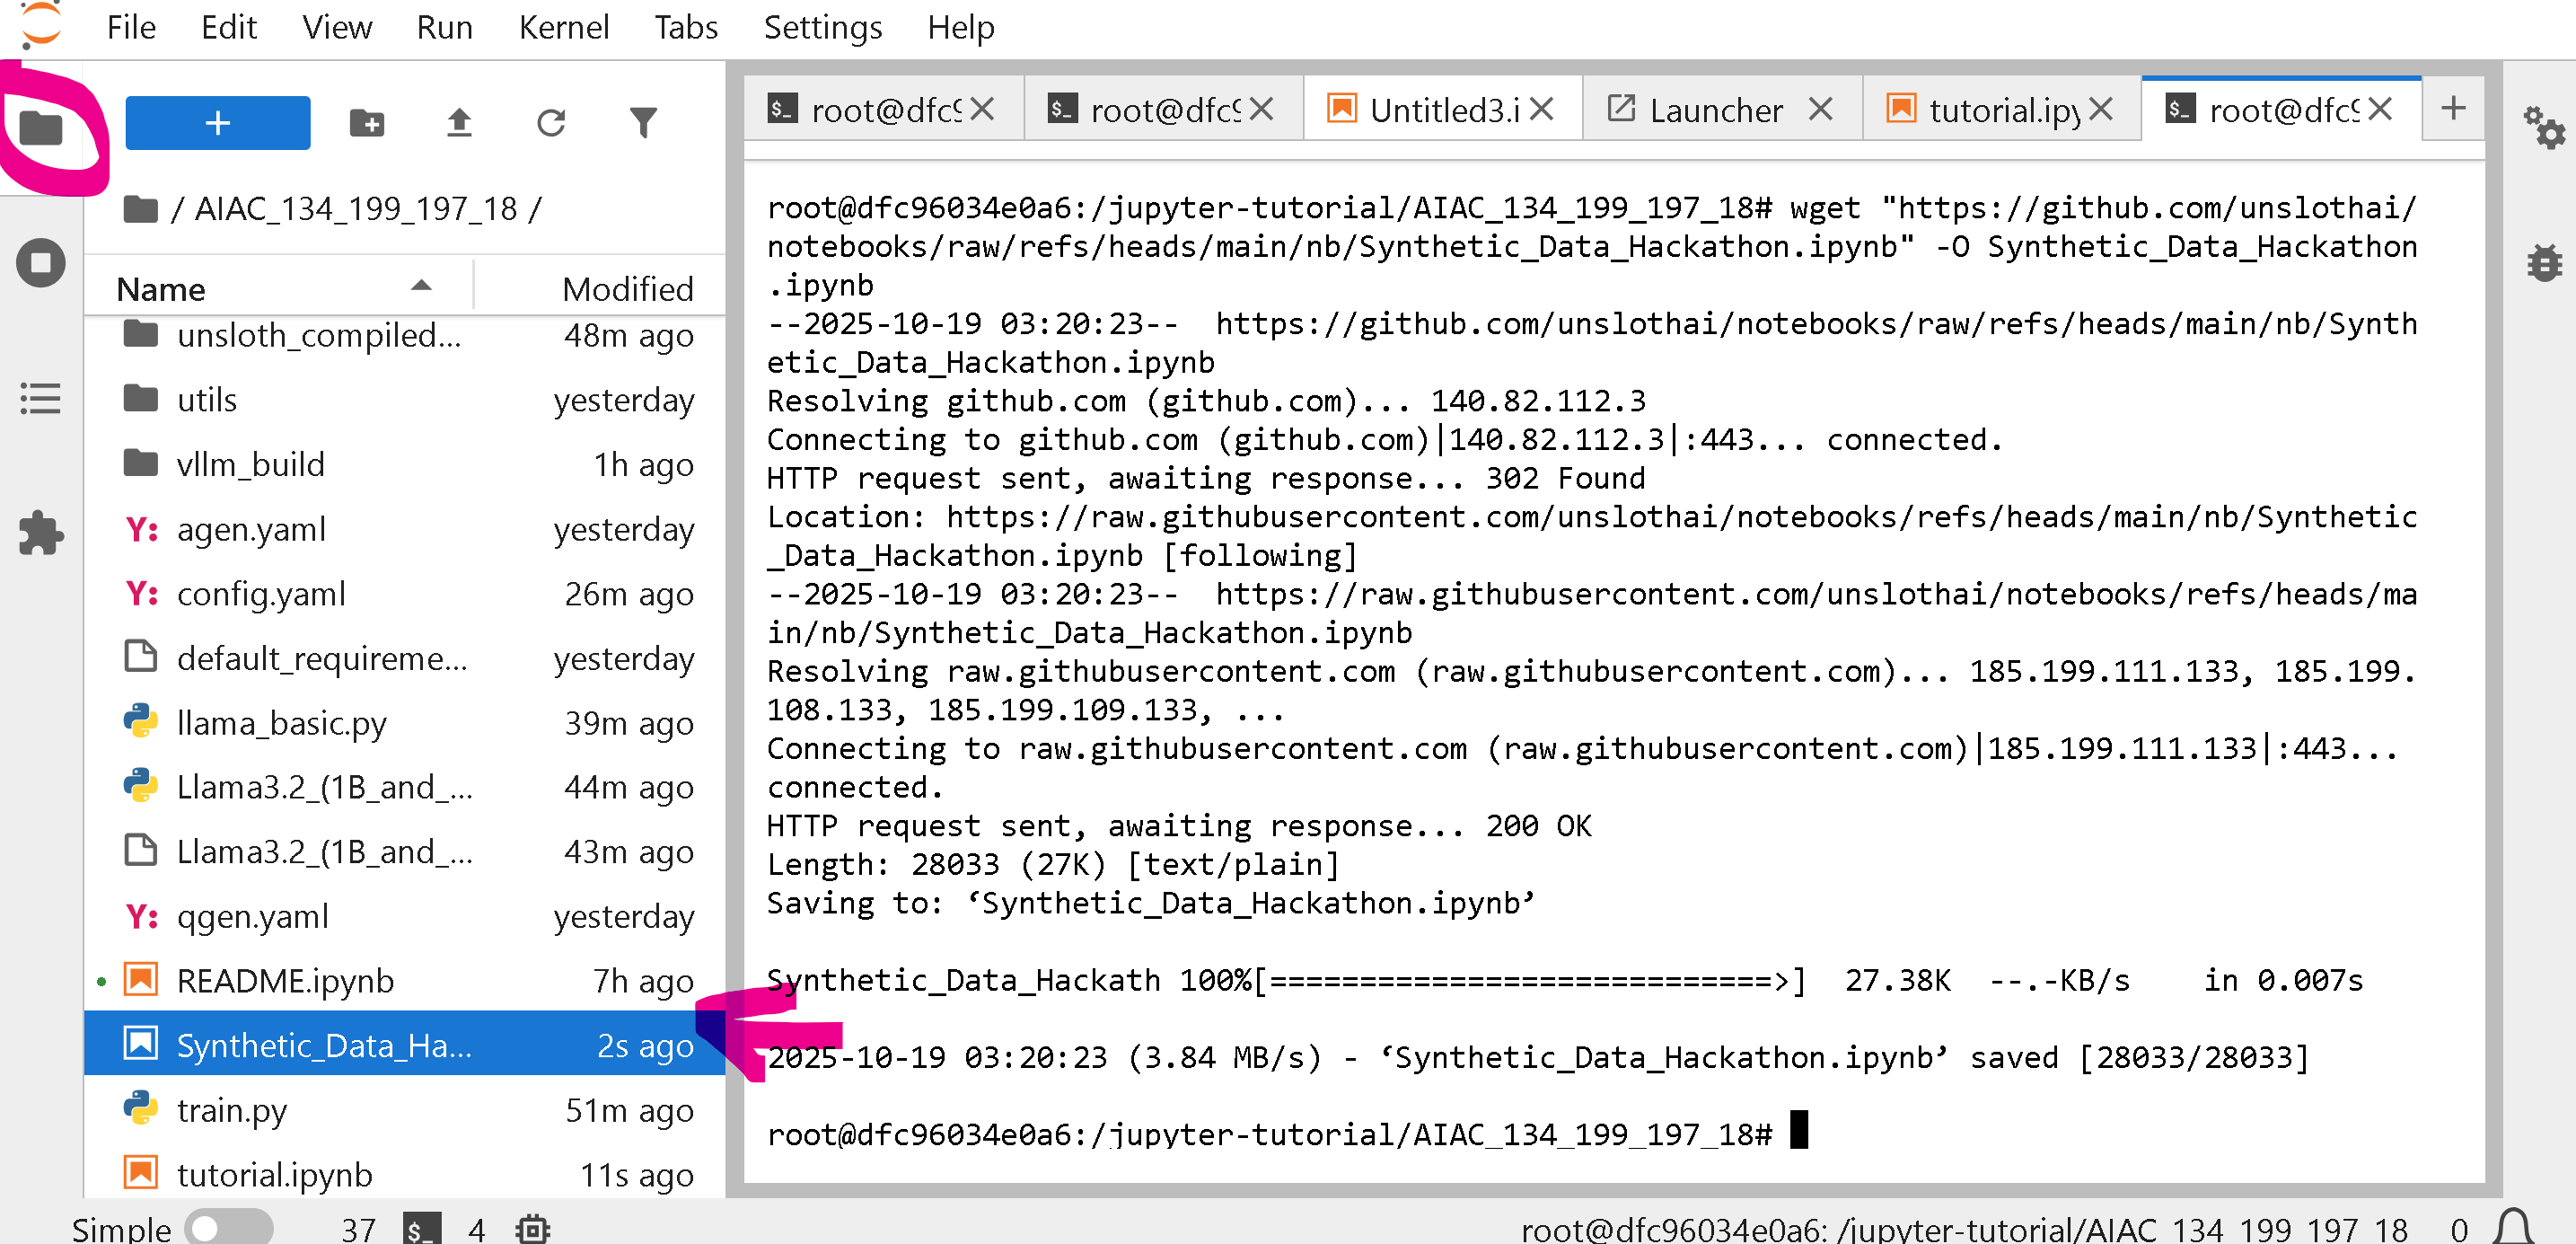
Holen Sie sich jetzt das Notebook, das wir ausführen werden unter :
{% code overflow="wrap" %}
```bash
wget "https://github.com/unslothai/notebooks/raw/refs/heads/main/nb/Synthetic_Data_Hackathon.ipynb" -O "Synthetic_Data_Hackathon.ipynb"
```
{% endcode %}
{% hint style="info" %}
Wenn Sie Speicherfehler bekommen, fahren Sie Ihre vLLM-Instanz herunter – siehe [#how-do-i-free-amd-gpu-memory](#how-do-i-free-amd-gpu-memory "mention")
{% endhint %}
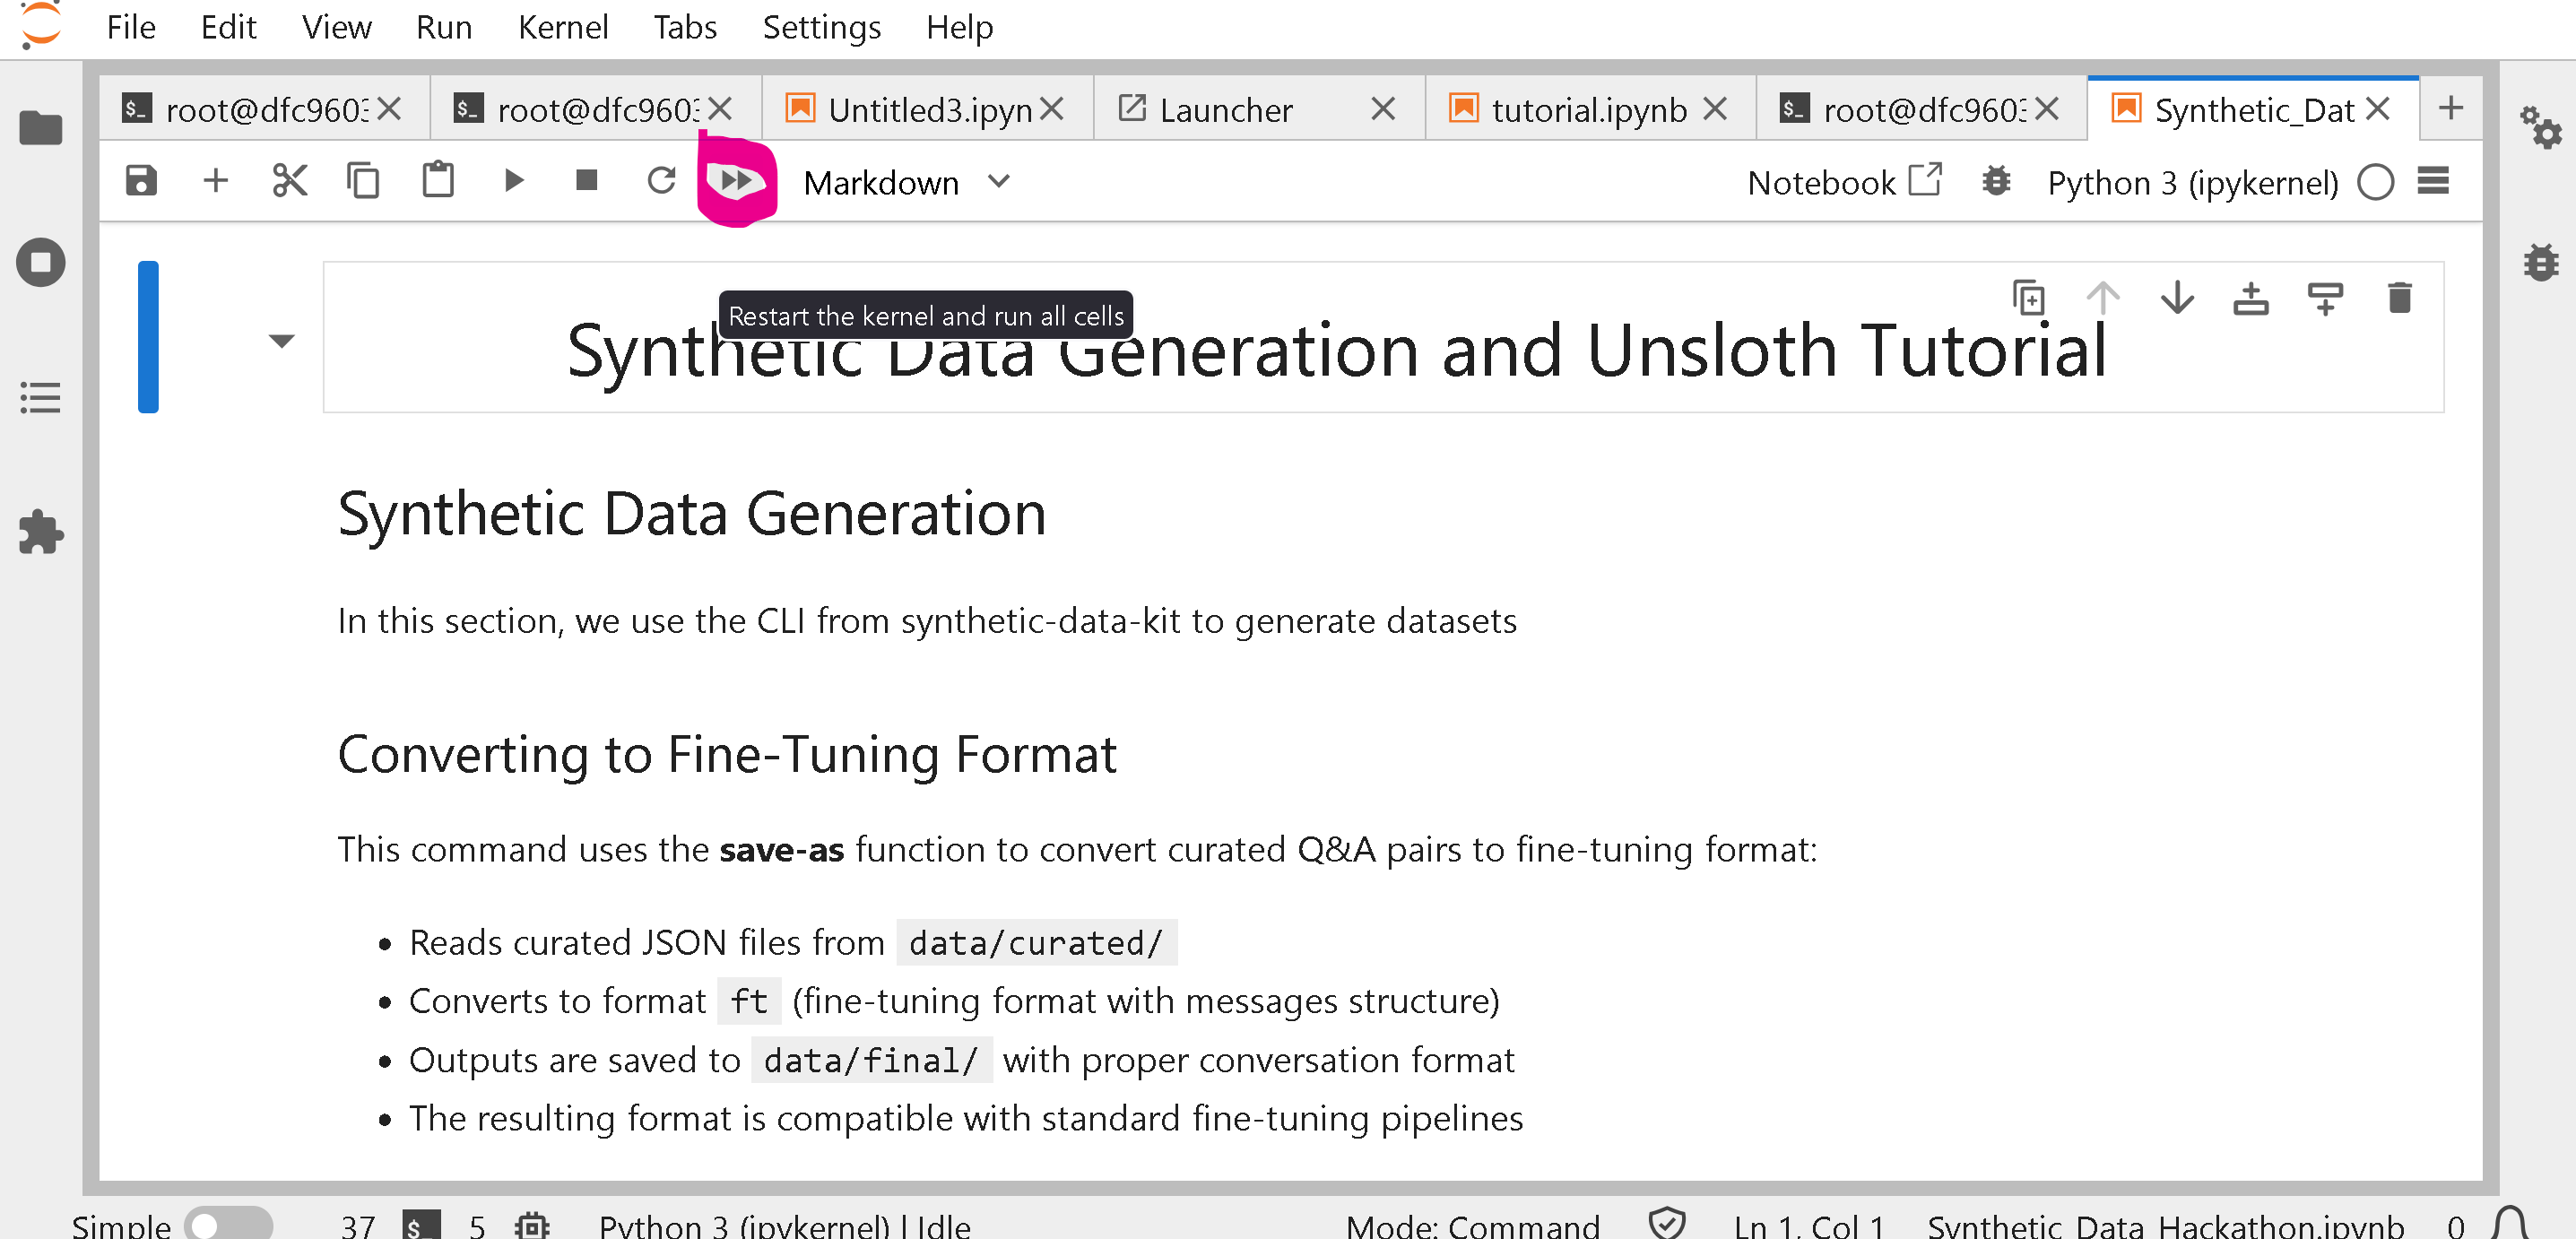
Klicken Sie auf die linke Ordner-Schaltfläche und öffnen Sie "Synthetic\_Data\_Hackathon.ipynb" (Doppelklick)
Dann alles ausführen!
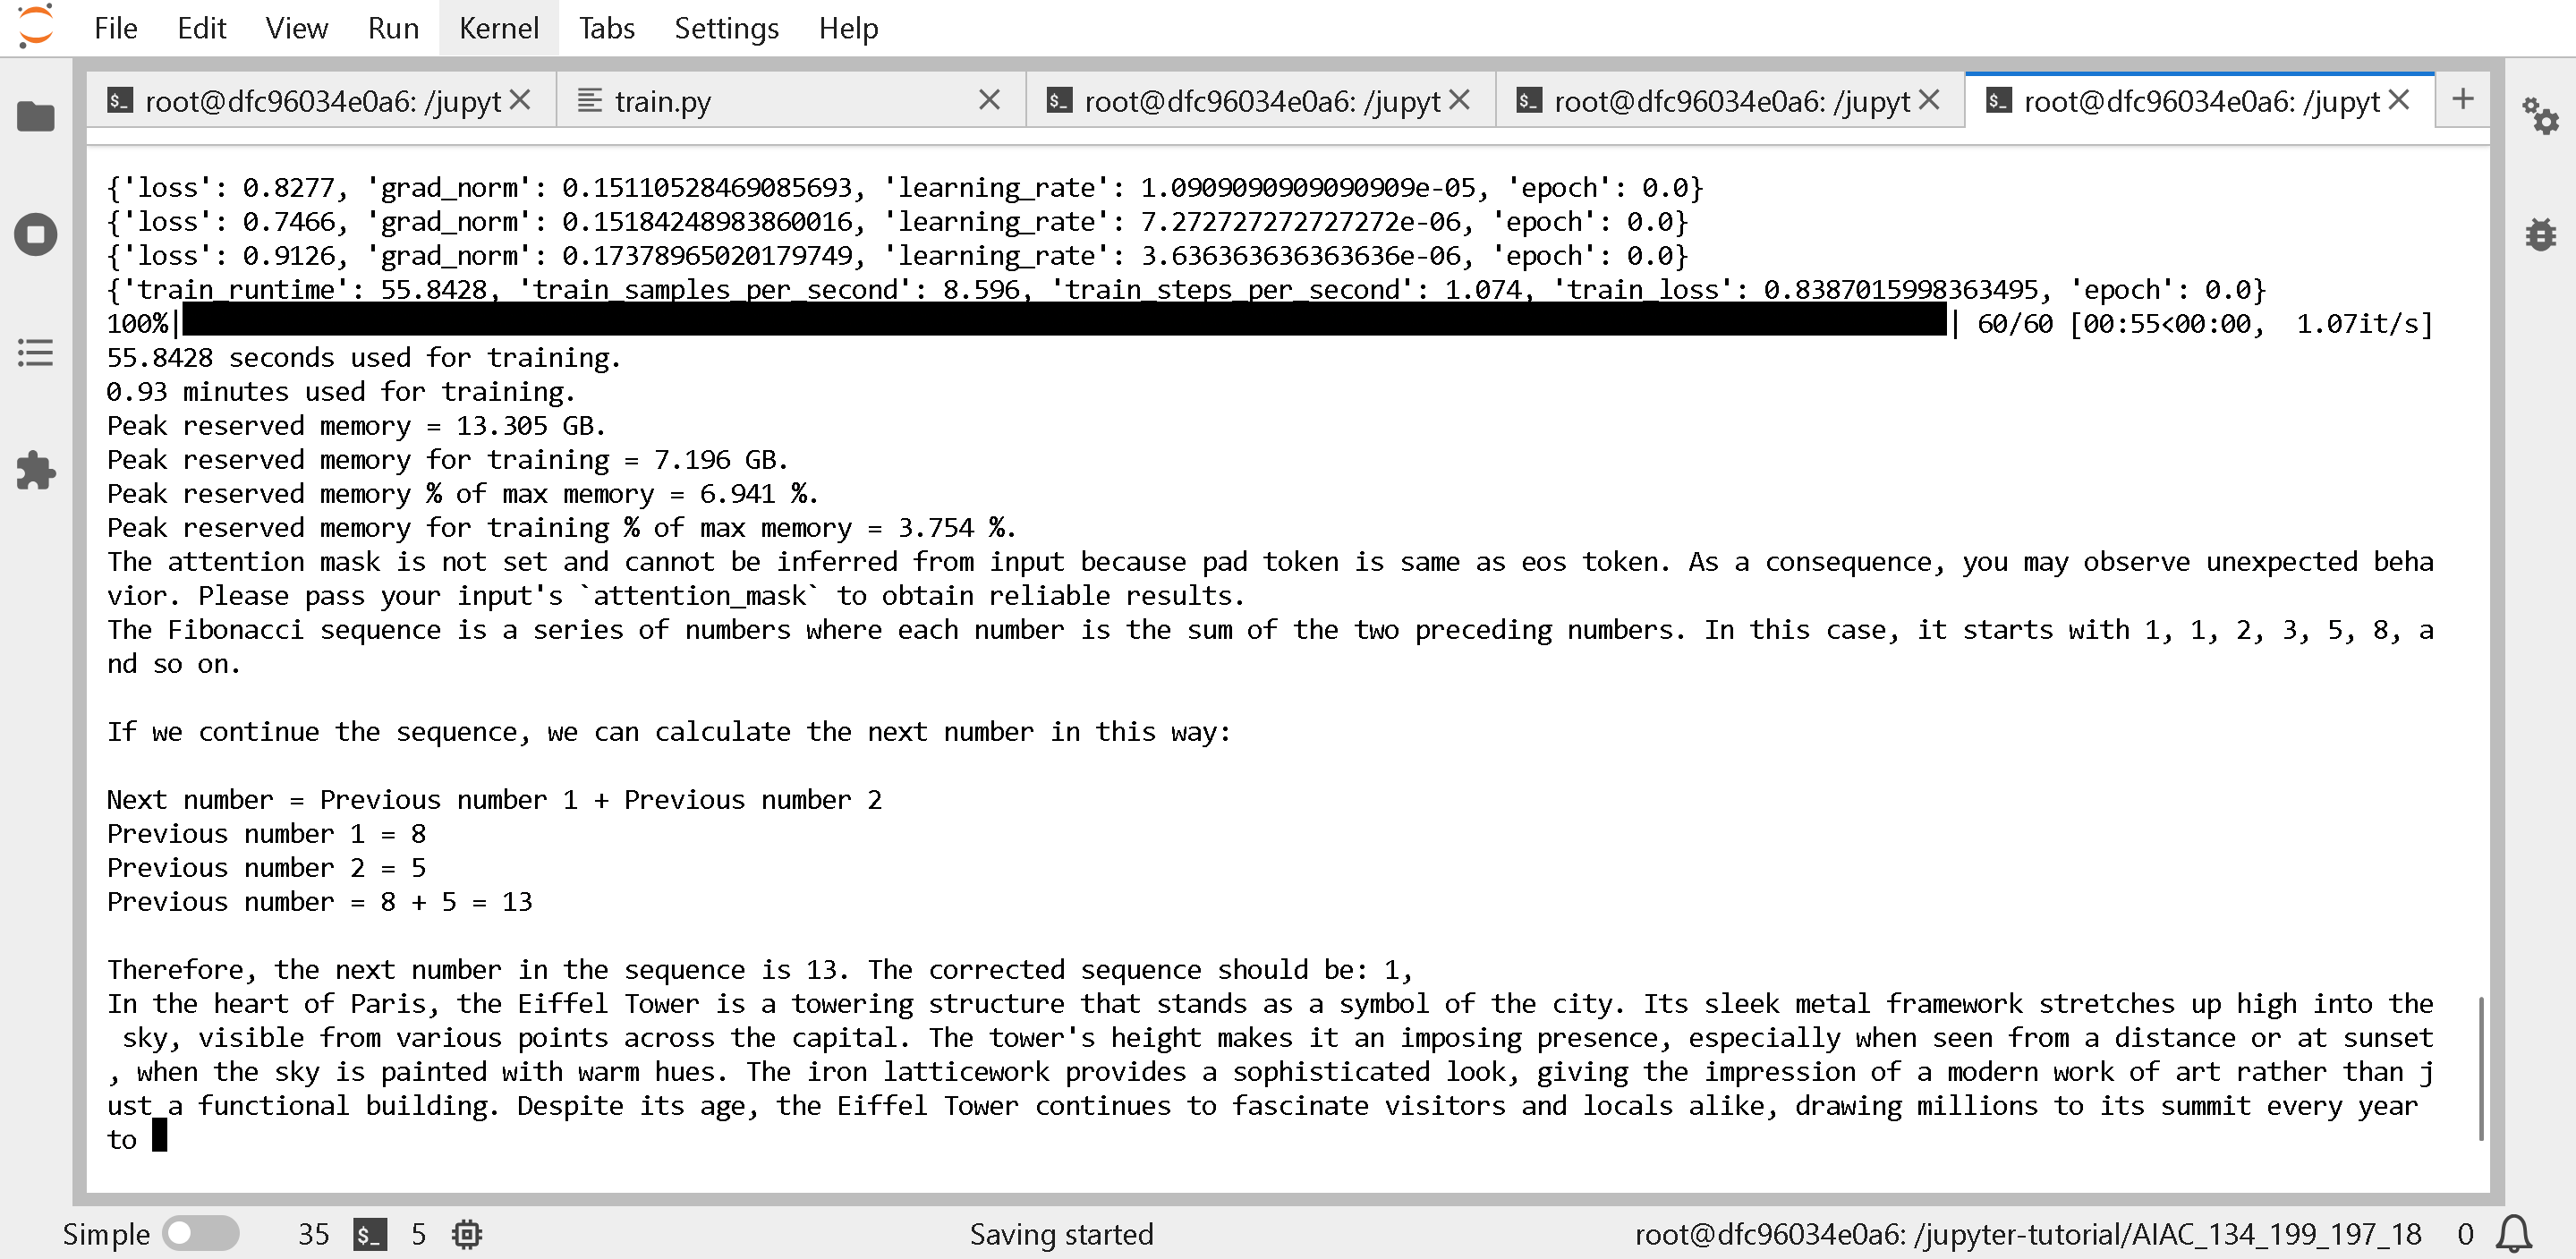
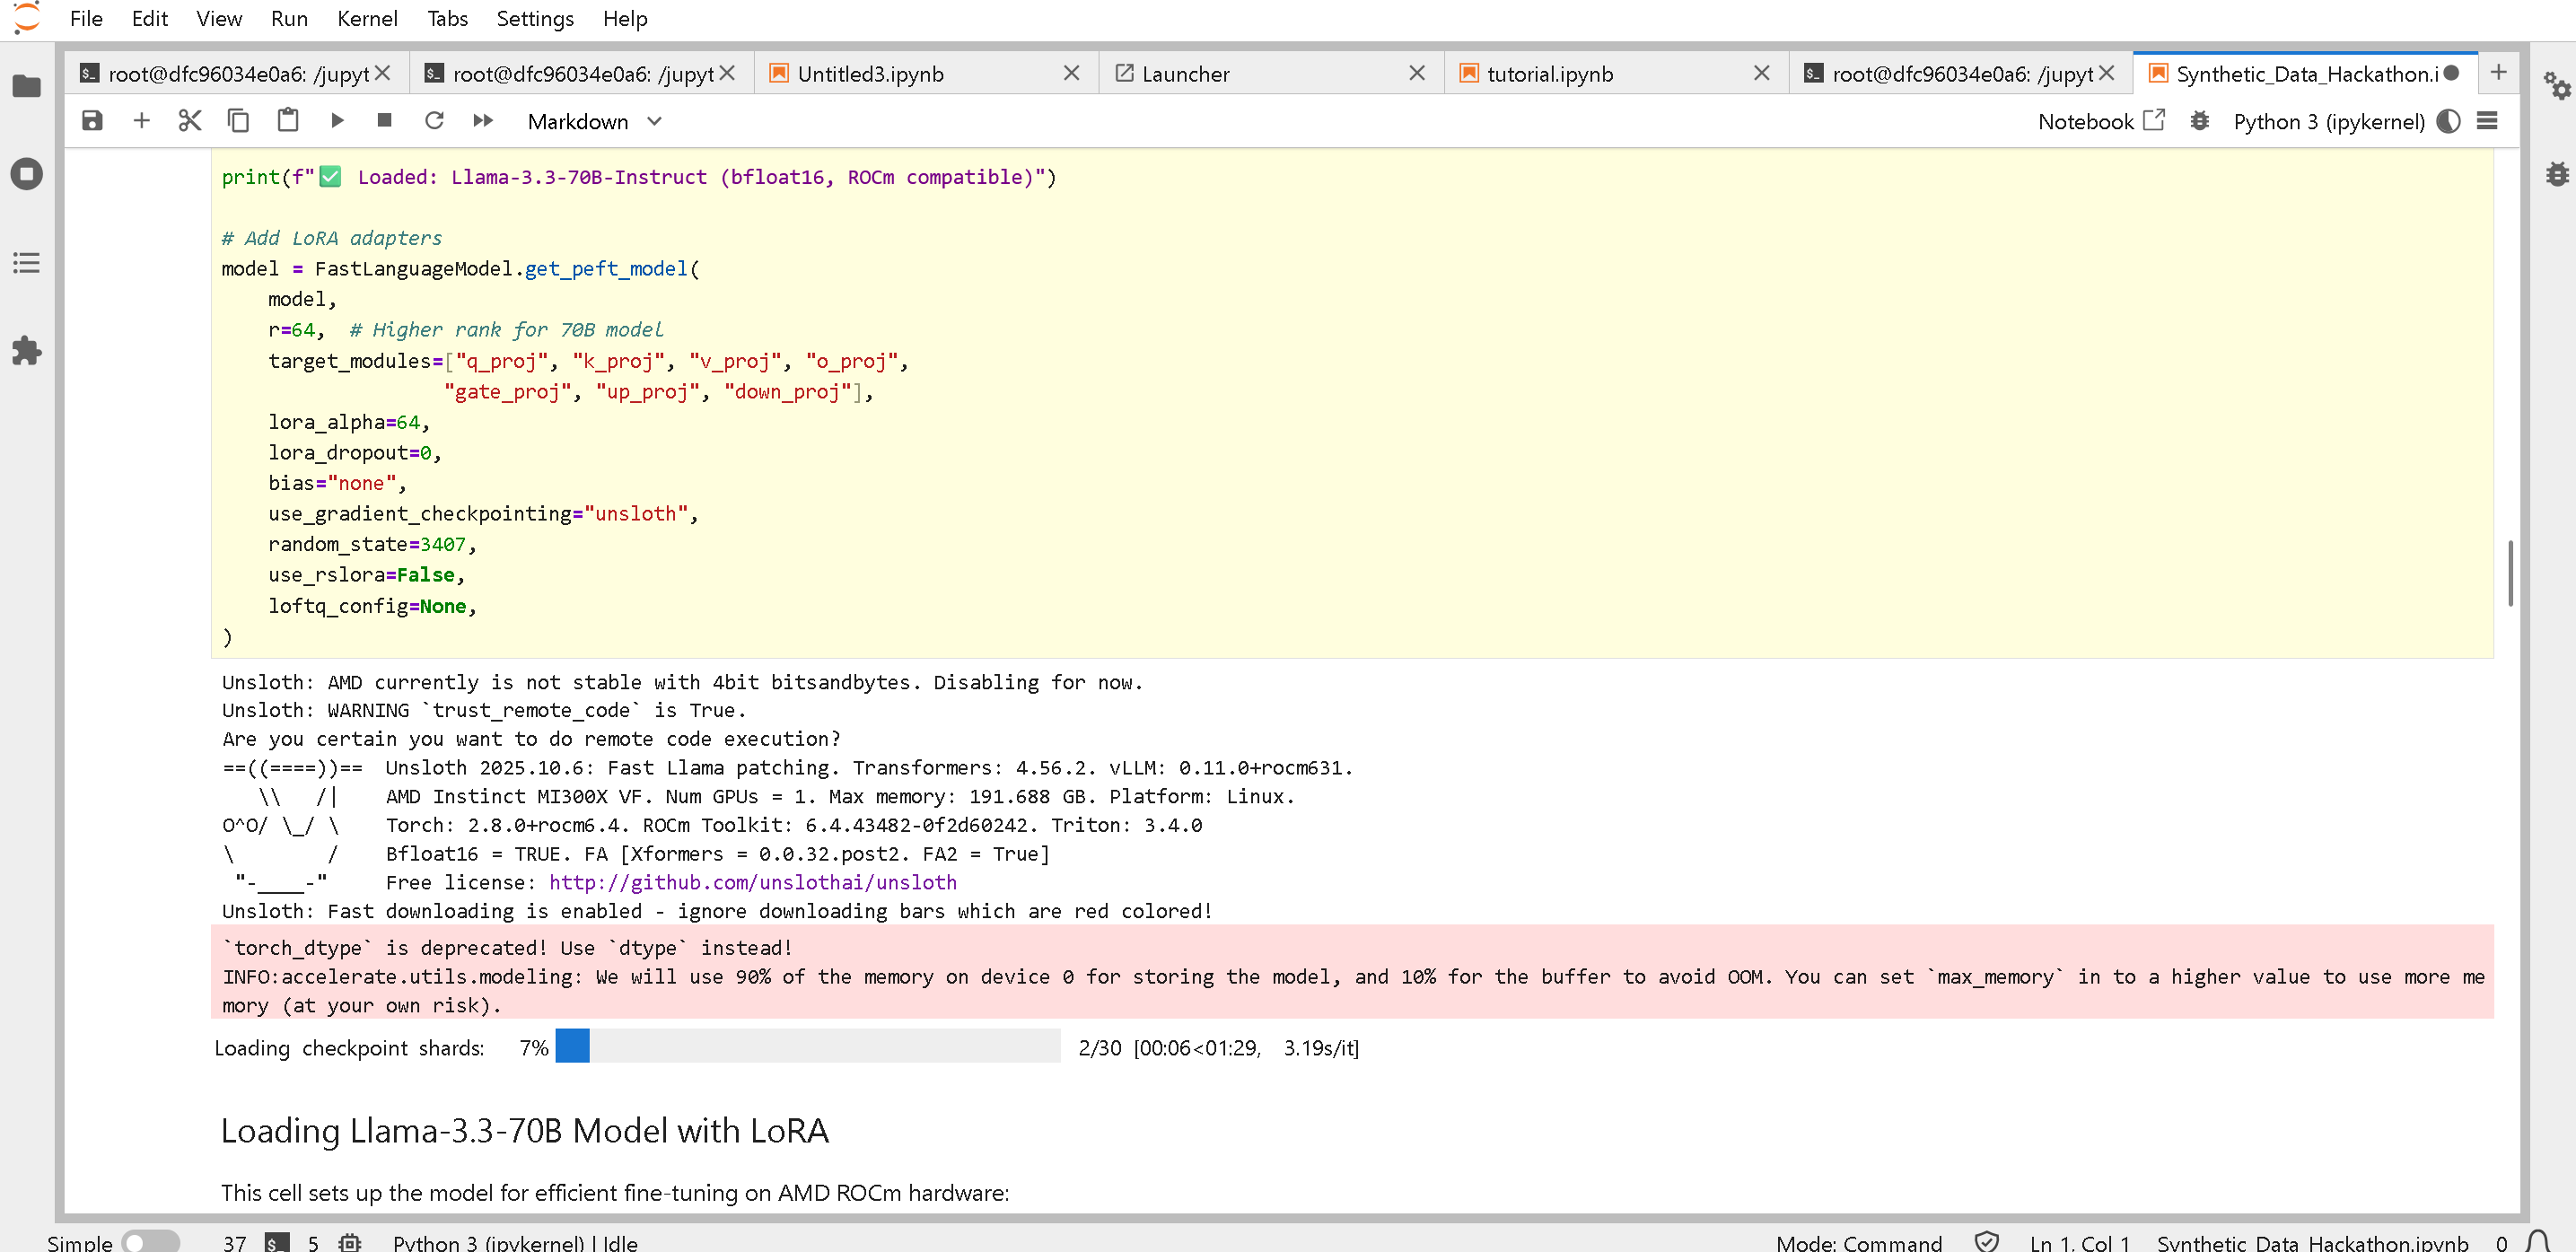
In der Mitte des Notebooks sehen Sie:
Siehe für weitere Details
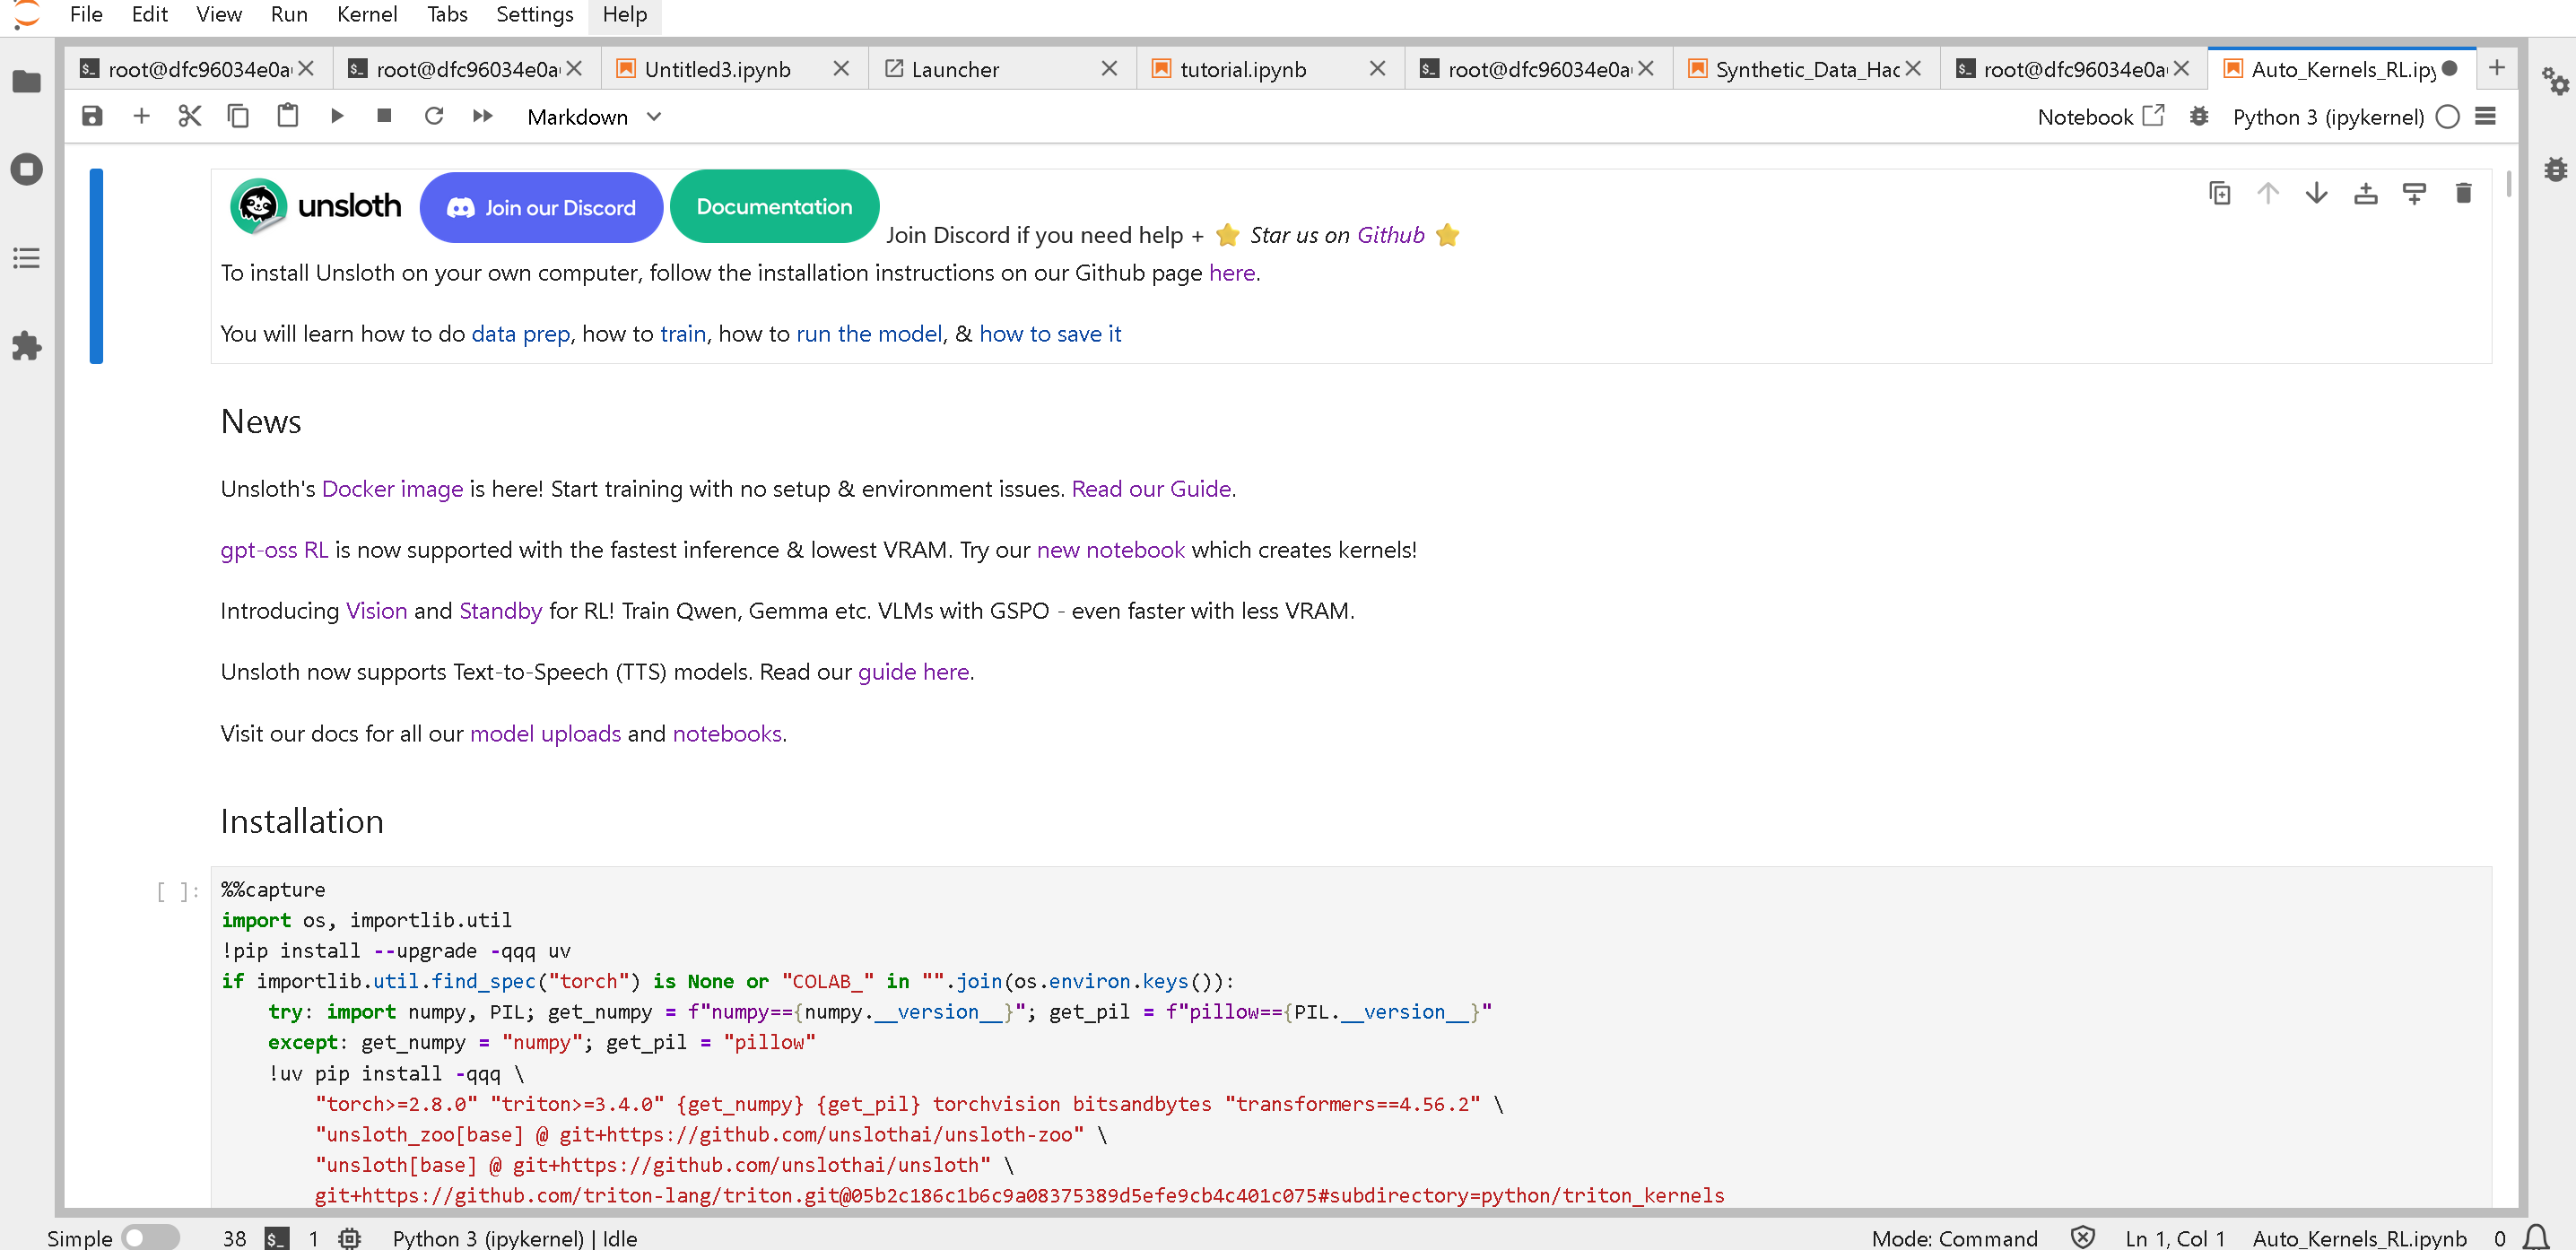
### :dolphin:TUTORIAL 3: GPT-OSS Reinforcement-Learning Auto-Kernel-Erstellung
Sie können dies als Notebook oder über ein Python-Skript ausführen!
Python-Skript:
Notebook:
{% code overflow="wrap" %}
```bash
wget "https://raw.githubusercontent.com/unslothai/notebooks/refs/heads/main/nb/gpt_oss_(20B)_GRPO_BF16.ipynb" -O "Auto_Kernels_RL.ipynb"
```
{% endcode %}
Dann öffnen Sie erneut wie in Tutorial 2 die Datei "Auto\_Kernels\_RL.ipynb" und starten Sie neu und führen Sie alles aus!
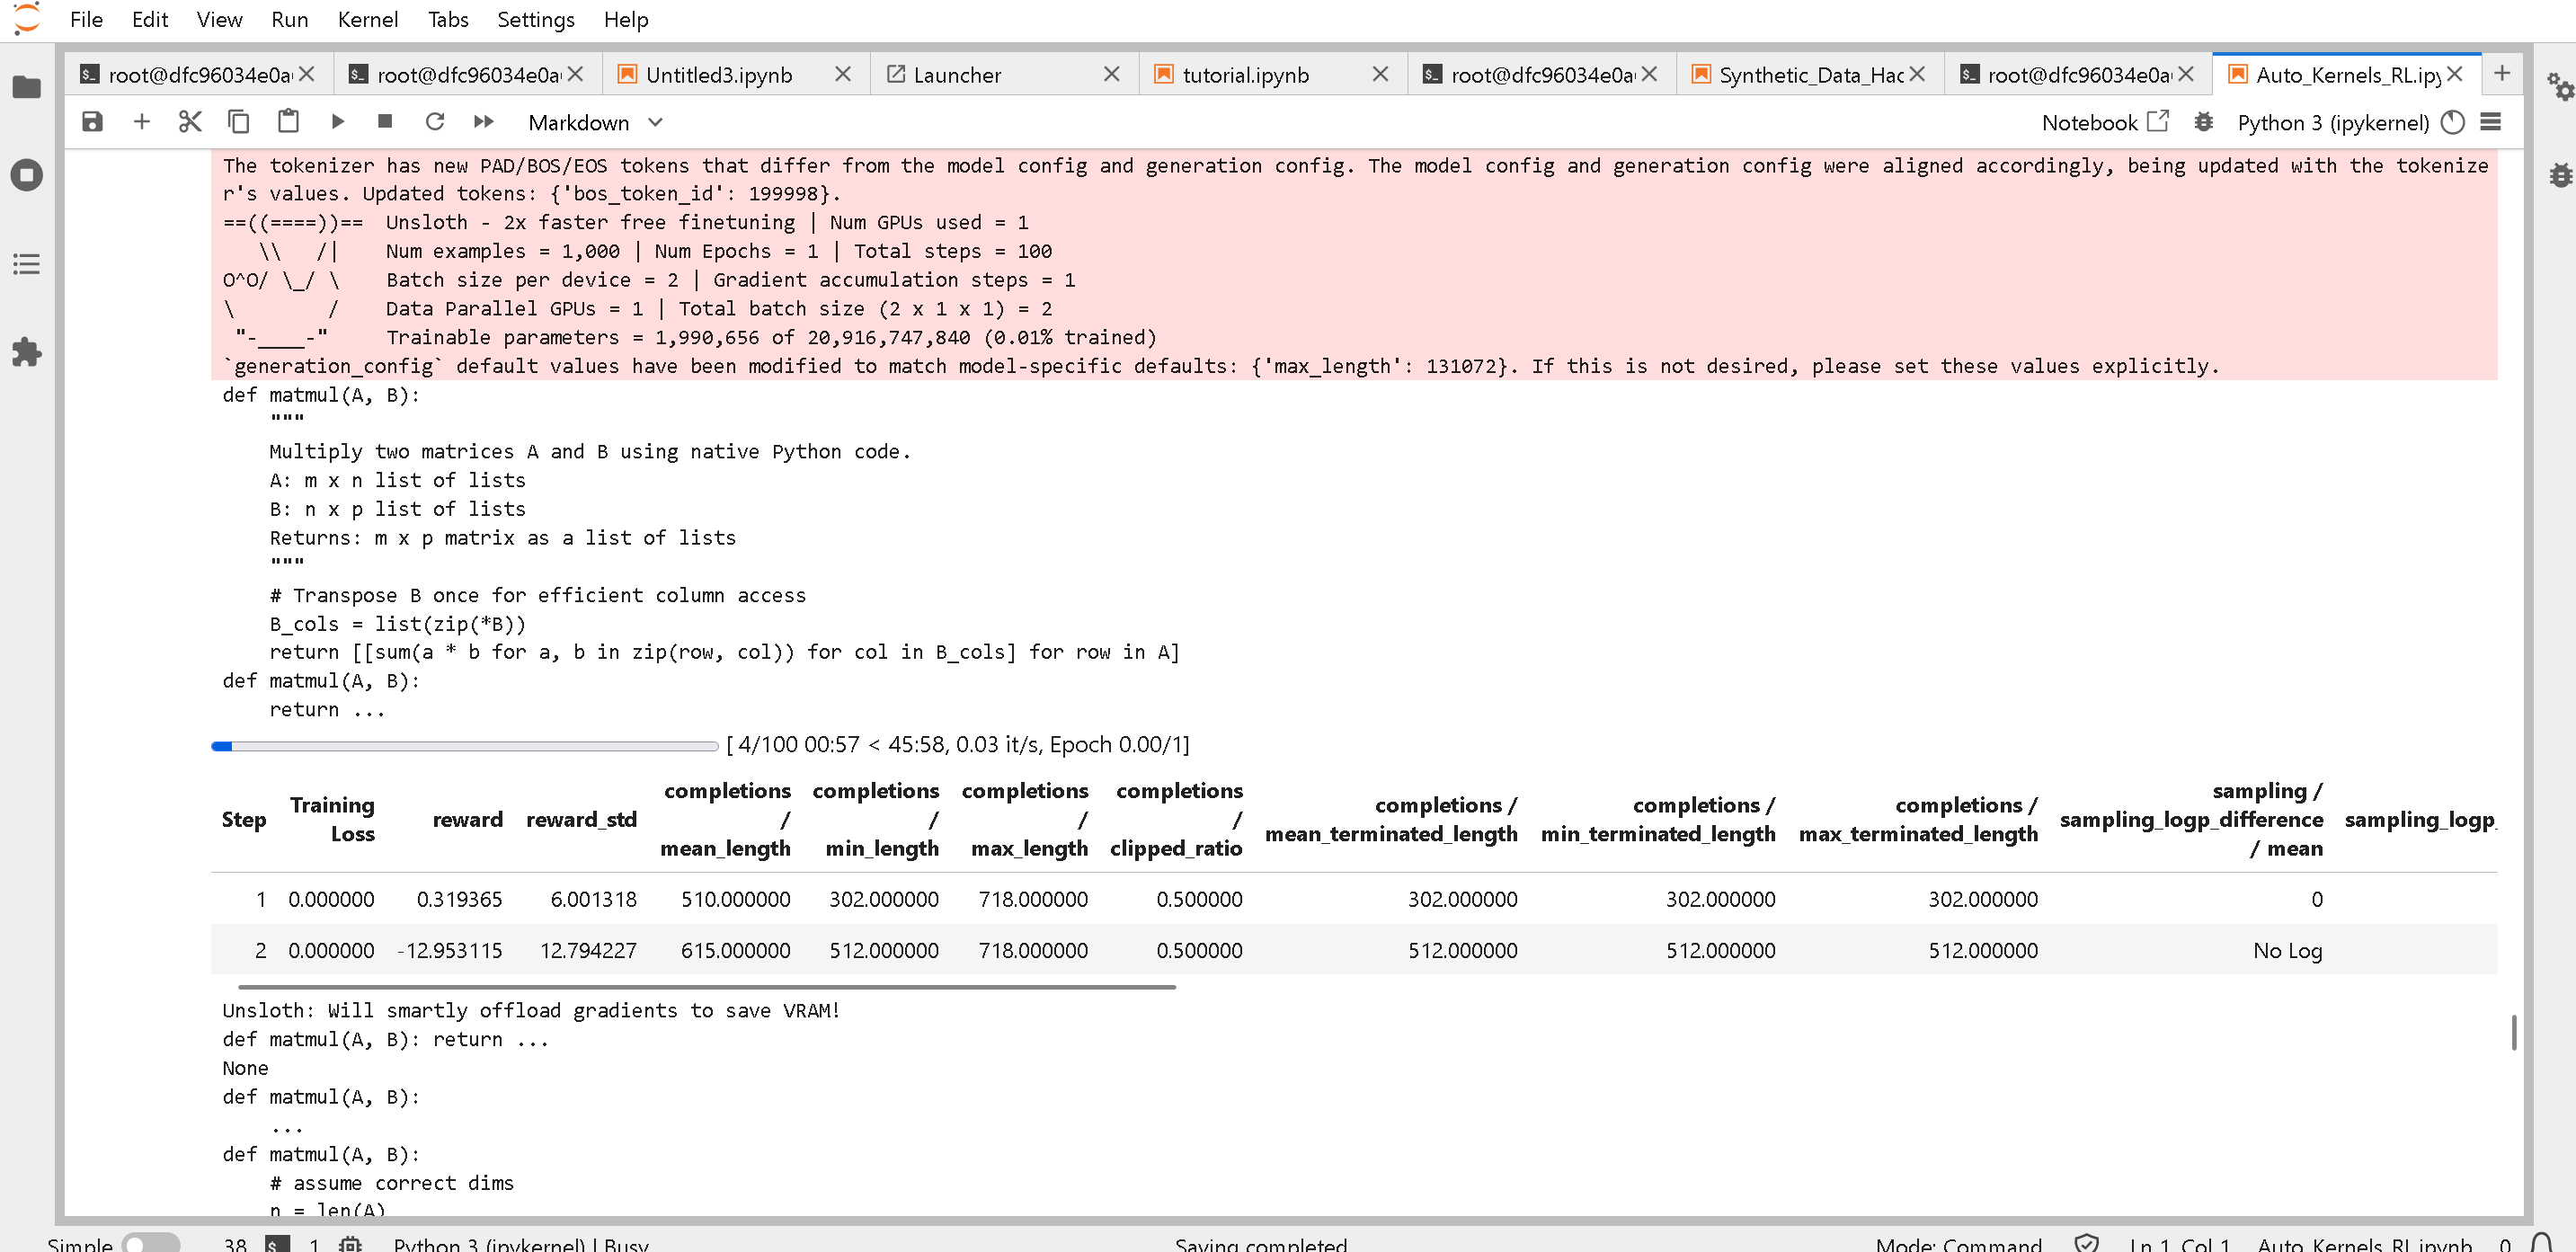
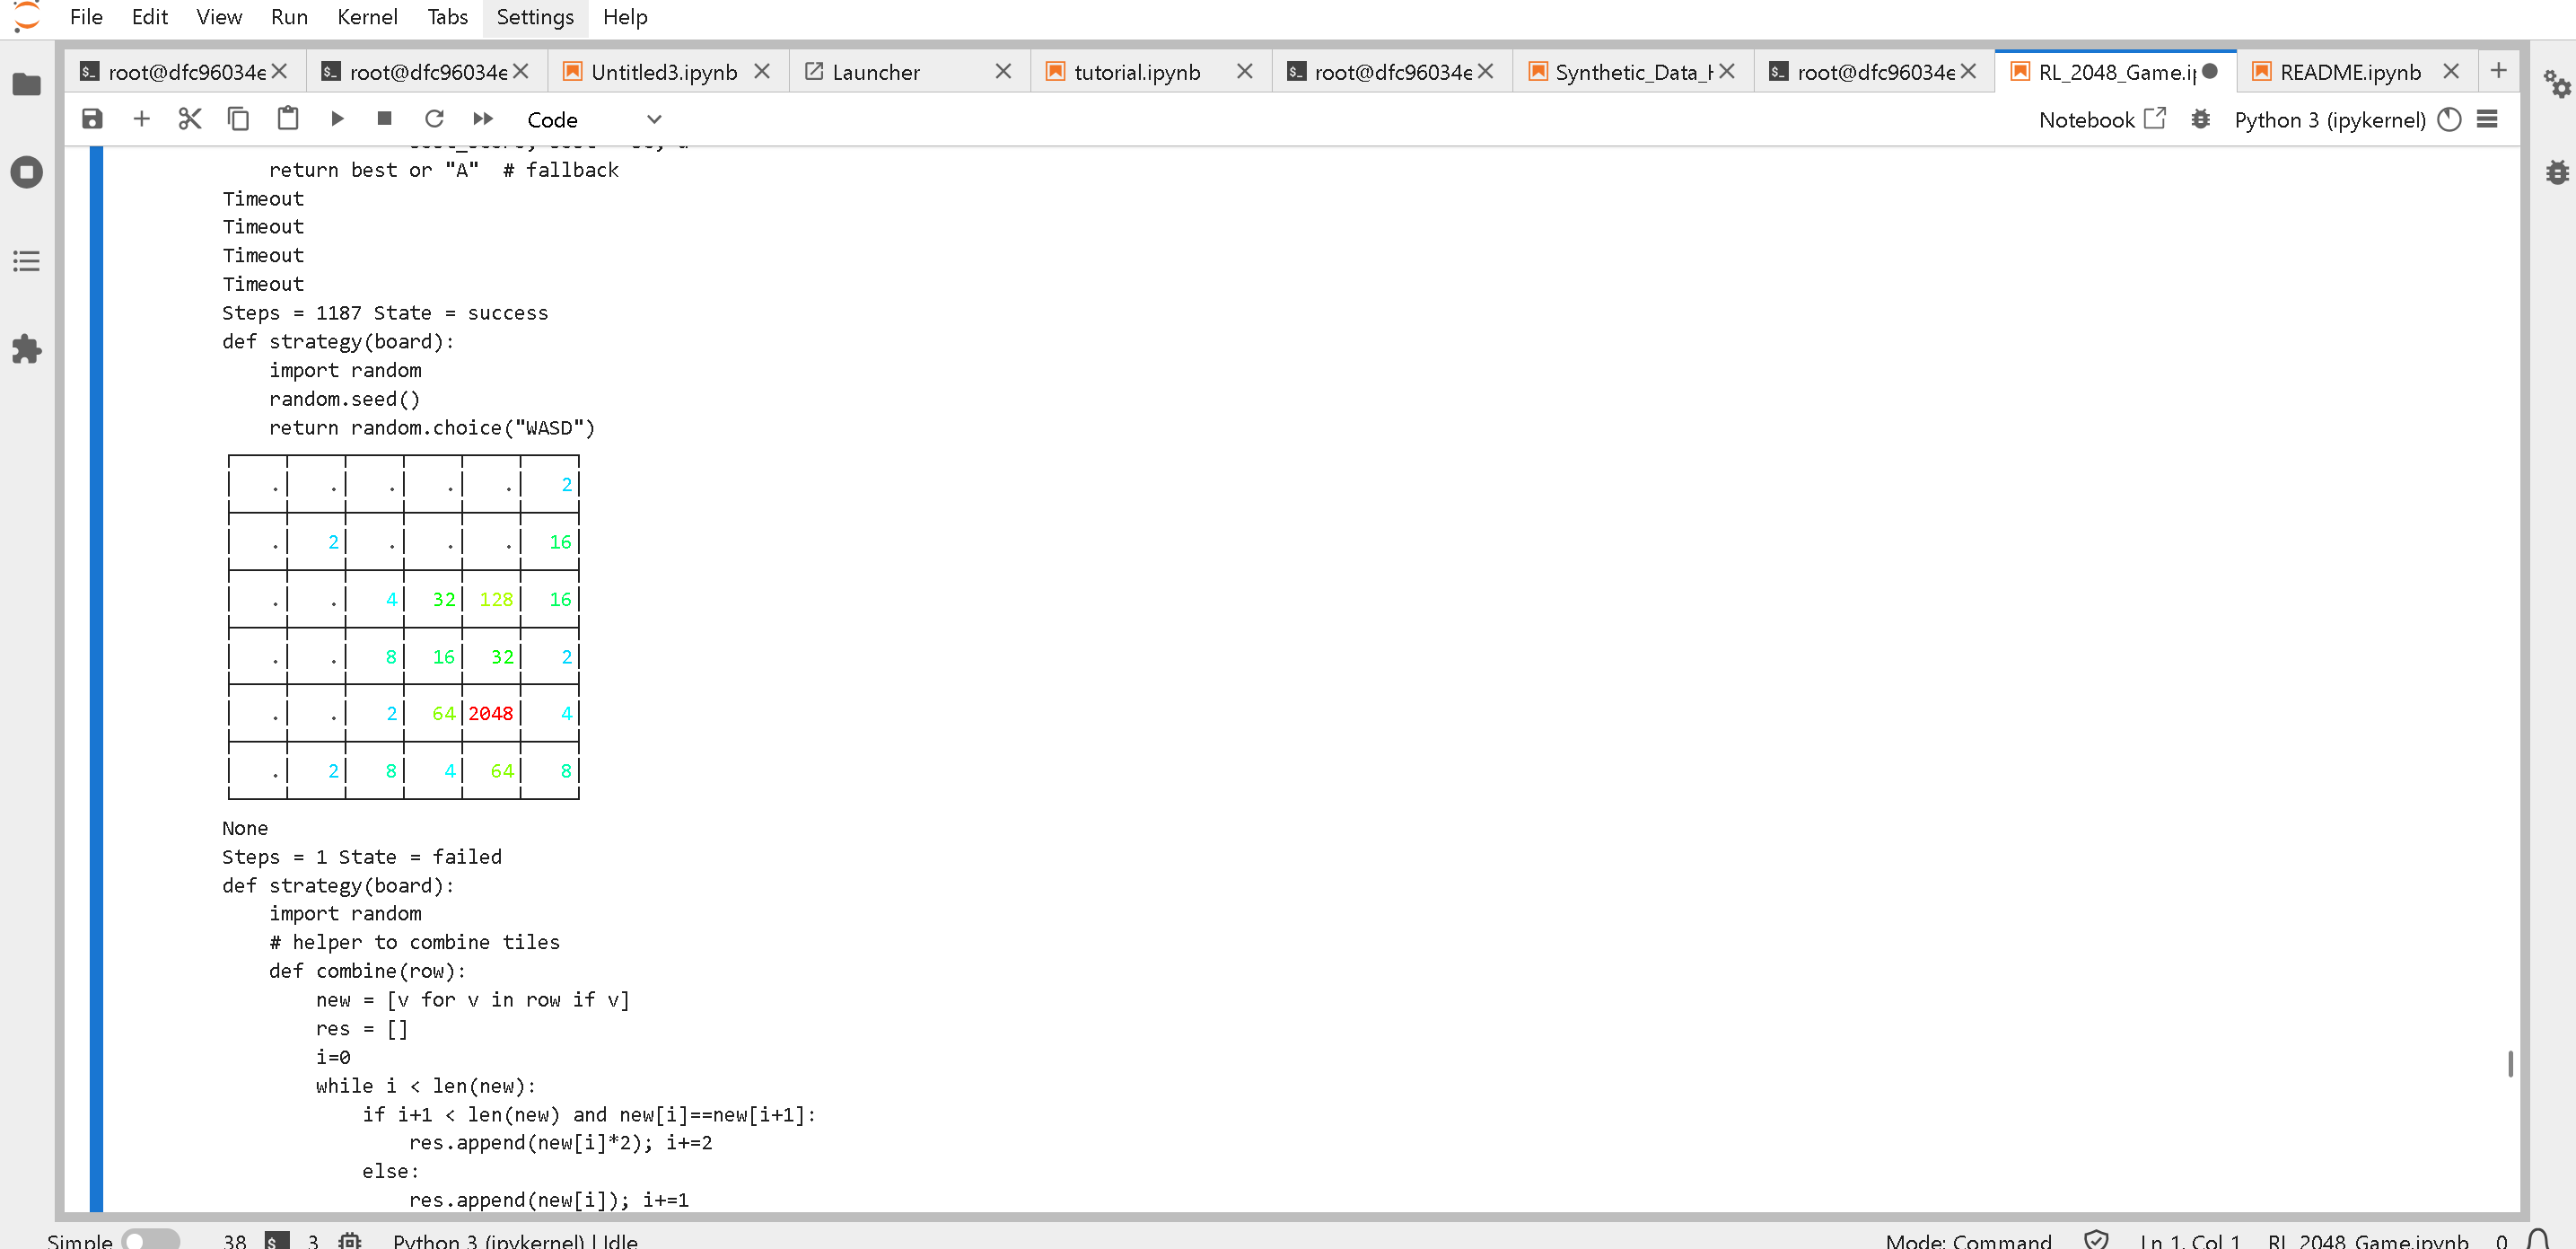
Wenn Sie es ausführen und nach unten scrollen, sehen Sie, wie das 2048-Spiel über automatisch generierte Strategien durch RL ausgeführt wird:
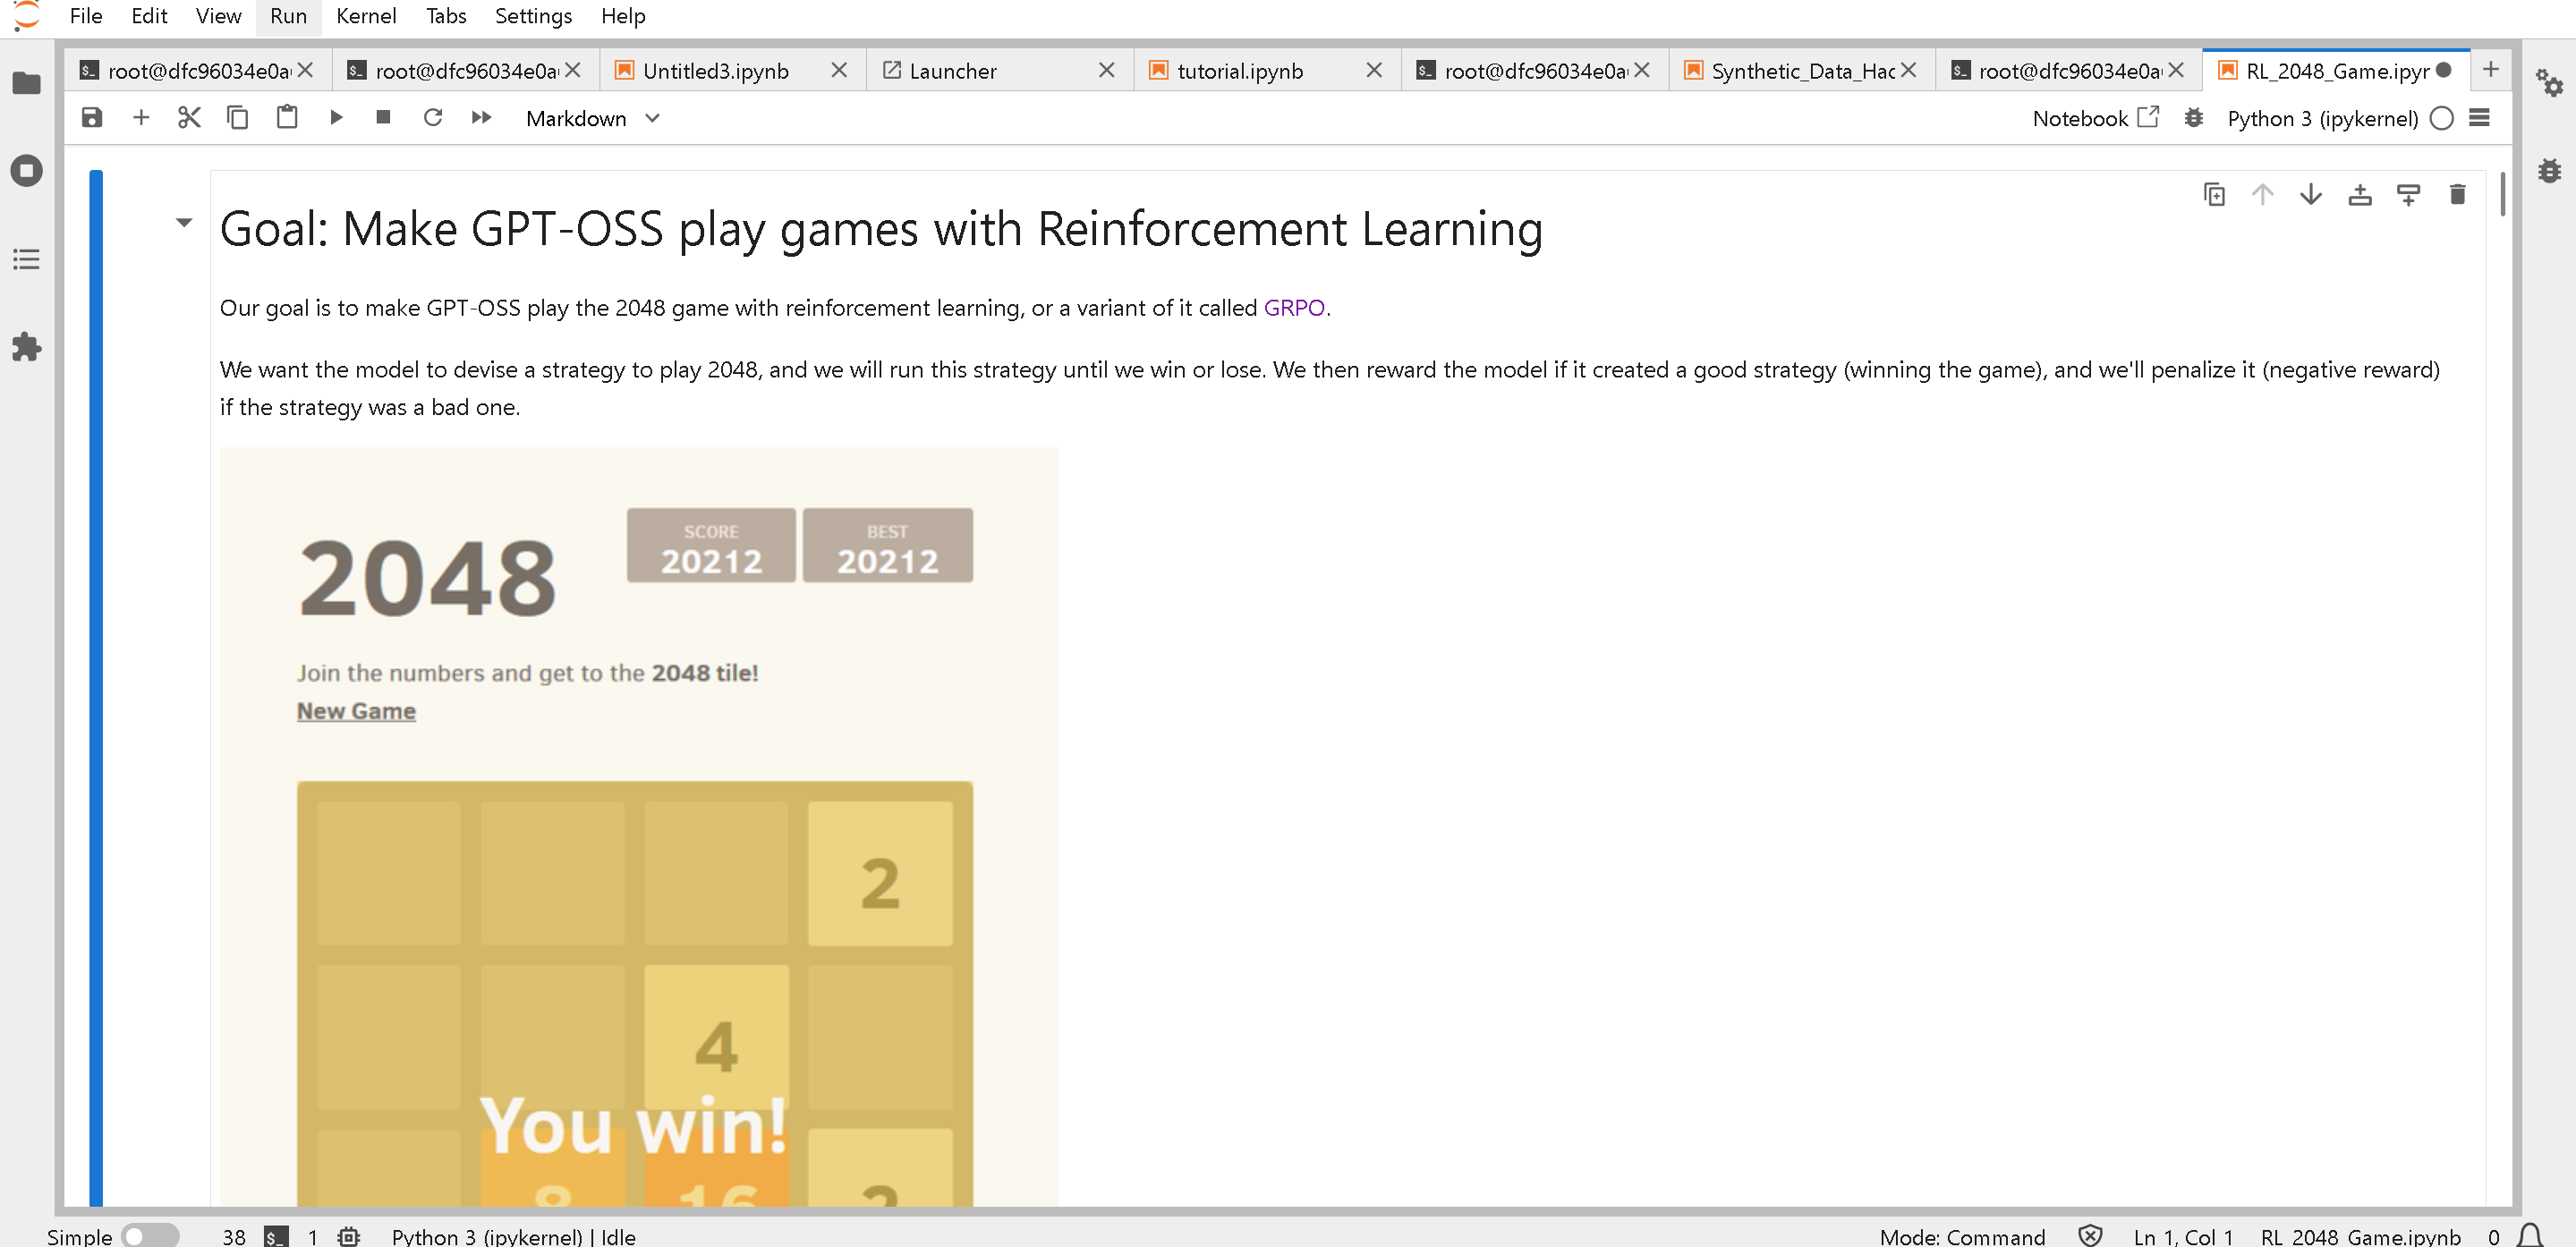
### :diamonds:TUTORIAL 4: GPT-OSS Reinforcement Learning 2048-Spiel
Sie können dies als Notebook oder über ein Python-Skript ausführen!
Python-Skript:
Notebook:
{% code overflow="wrap" %}
```bash
wget "https://github.com/unslothai/notebooks/raw/refs/heads/main/nb/gpt_oss_(20B)_Reinforcement_Learning_2048_Game_BF16.ipynb" -O "RL_2048_Game.ipynb"
```
{% endcode %}
Dann öffnen Sie erneut wie in Tutorial 3 die Datei "Auto\_Kernels\_RL.ipynb" und starten Sie neu und führen Sie alles aus!
Wenn Sie nach unten scrollen, sehen Sie, wie der RL-Algorithmus automatisch Strategien erzeugt, um 2048 zu gewinnen!
### :sunflower:Optimale vLLM-Befehle auf AMD
Um Modelle auf AMD-GPUs bereitzustellen, verwenden Sie bitte die folgenden Befehle, die die Leistung verbessern. Bestätigen Sie, dass aiter und flash-attention installiert sind, oder siehe [#updating-vllm-to-the-latest-on-amd](#updating-vllm-to-the-latest-on-amd "mention")
Für MI300X-, MI325X- und Radeon-GPUs:
```bash
export VLLM_ROCM_USE_AITER=1
# VLLM_USE_AITER_UNIFIED_ATTENTION funktioniert nur, wenn Flash Attention installiert ist
export VLLM_USE_AITER_UNIFIED_ATTENTION=0
export VLLM_ROCM_USE_AITER_MHA=0
vllm serve unsloth/gpt-oss-20b \\
--no-enable-prefix-caching \\
--compilation-config '{"full_cuda_graph": true}'
```
Für MI355X, tun Sie Folgendes:
```bash
export VLLM_ROCM_USE_AITER=1
# VLLM_USE_AITER_UNIFIED_ATTENTION funktioniert nur, wenn Flash Attention installiert ist
export VLLM_USE_AITER_UNIFIED_ATTENTION=0
export VLLM_ROCM_USE_AITER_MHA=0
export VLLM_USE_AITER_TRITON_FUSED_SPLIT_QKV_ROPE=1
export VLLM_USE_AITER_TRITON_FUSED_ADD_RMSNORM_PAD=1
export TRITON_HIP_PRESHUFFLE_SCALES=1
export VLLM_USE_AITER_TRITON_GEMM=1
vllm serve unsloth/gpt-oss-120b \\
--no-enable-prefix-caching \\
--compilation-config '{"compile_sizes": [1, 2, 4, 8, 16, 24, 32, 64, 128, 256, 4096, 8192], "full_cuda_graph": true}' \\
--block-size 64
```
## :tools:Fehlerbehebung und häufig gestellte Fragen
### :free:Wie gebe ich AMD-GPU-Speicher frei?
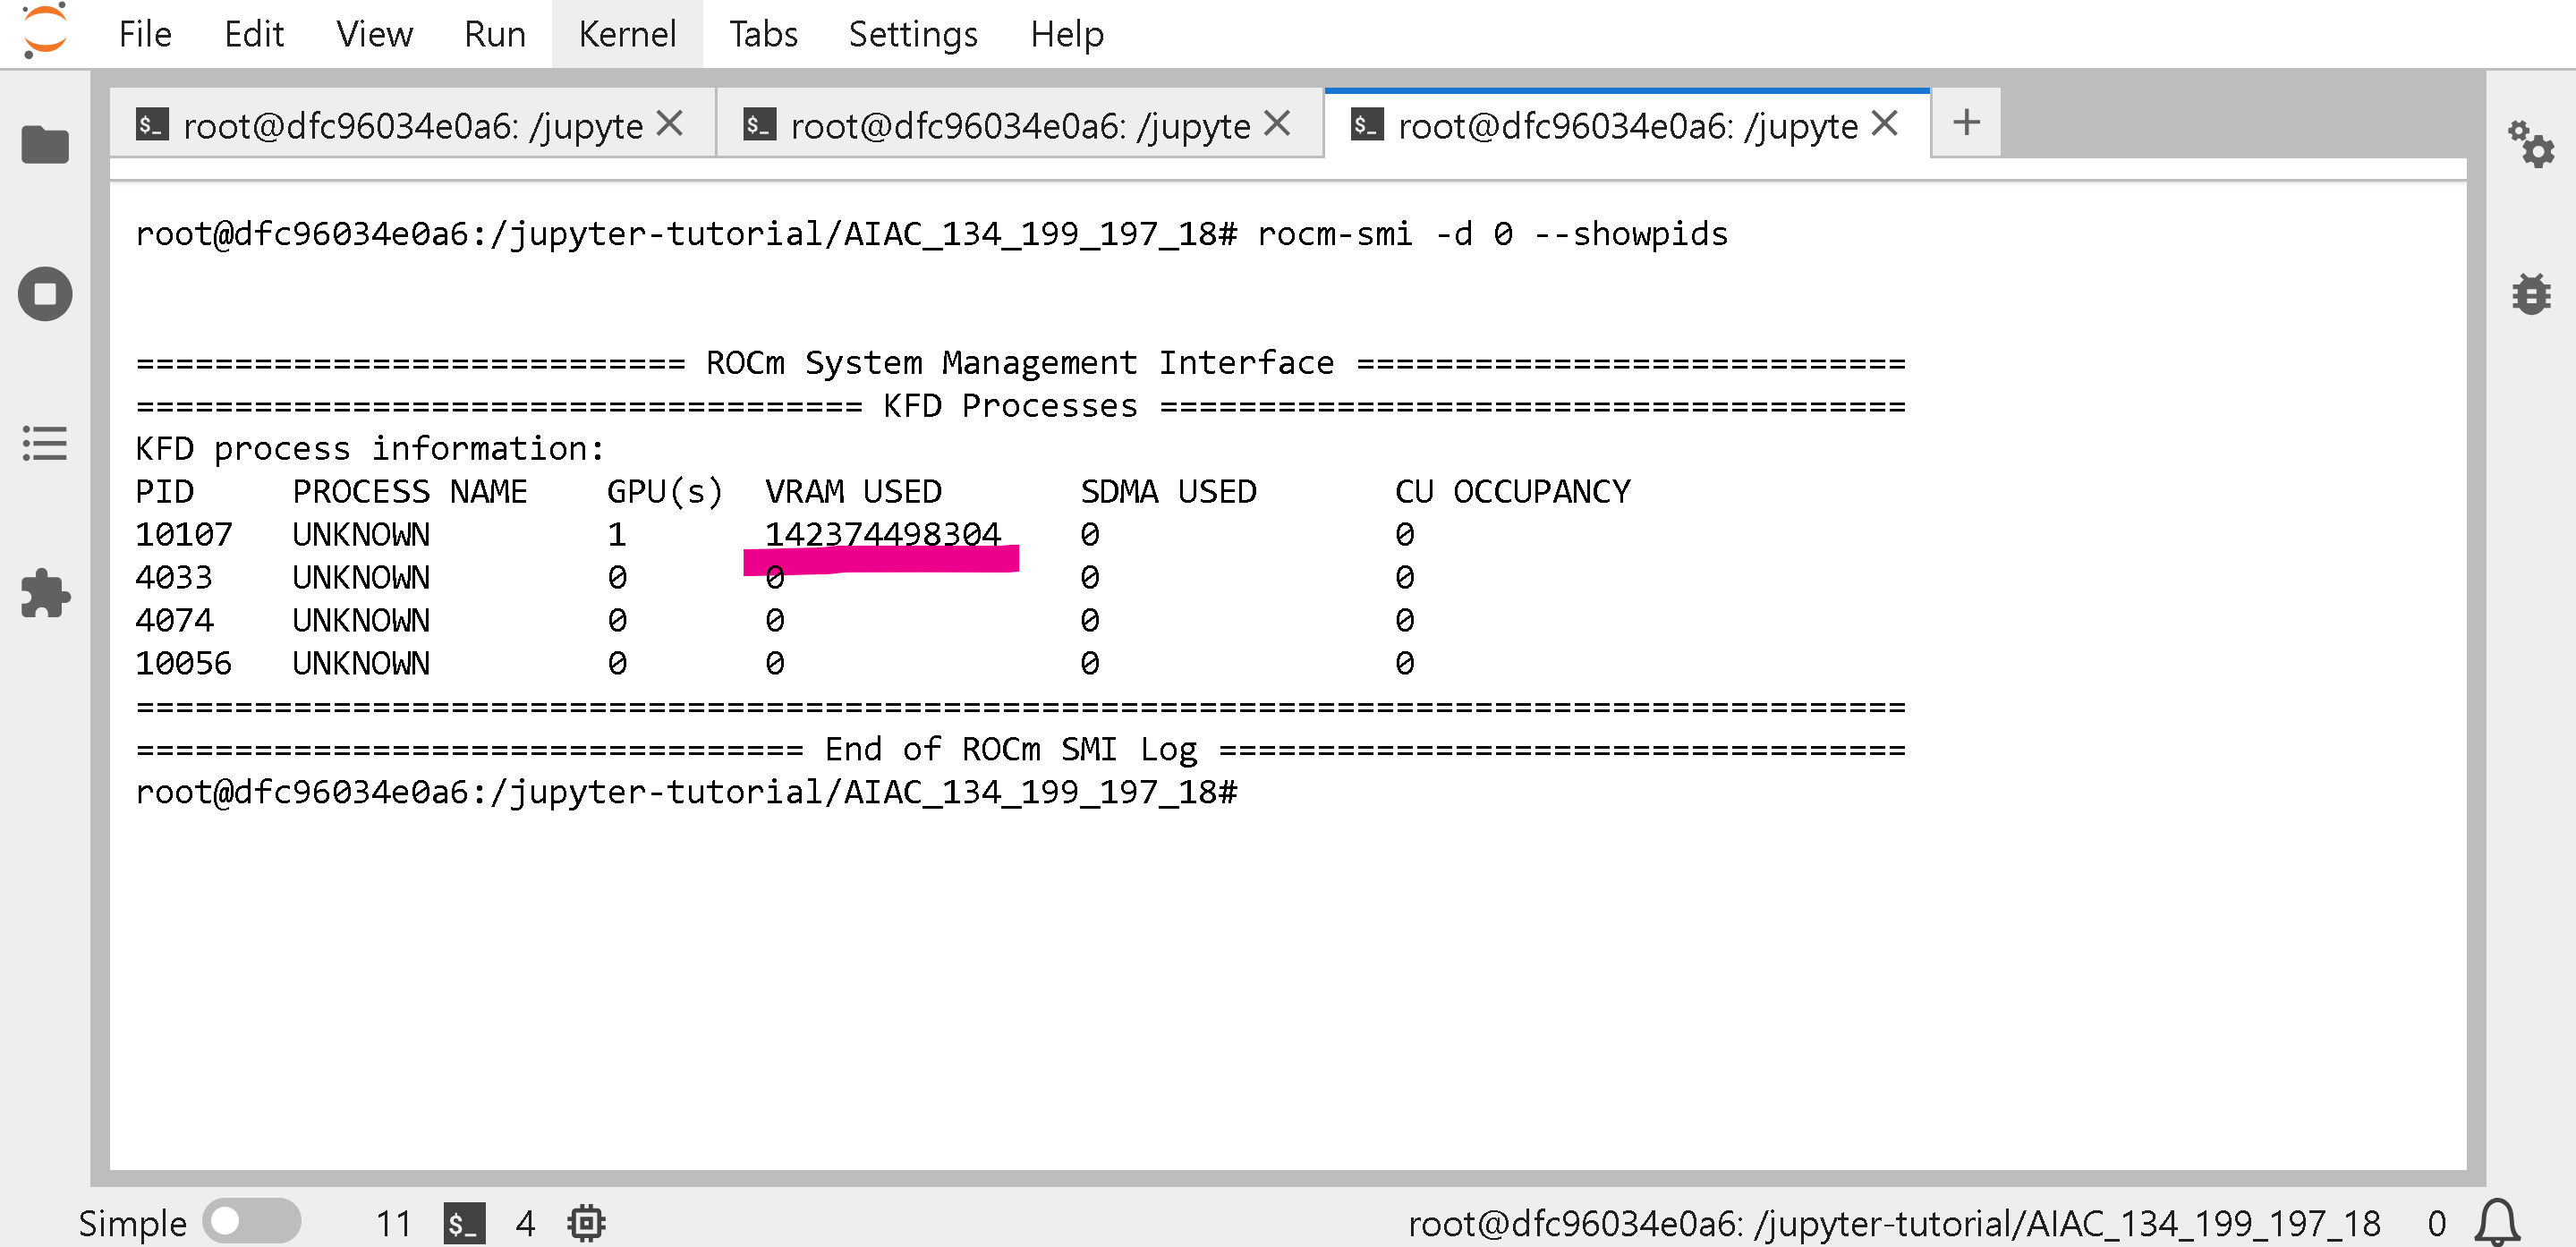
Wenn Sie ein Docker-Image verwenden (wie beim Hackathon), führen Sie Folgendes in einem neuen **Terminal** `rocm-smi -d 0 --showpids` wenn auf einer lokalen Maschine
```bash
# Lokale PIDs auflisten, die /dev/kfd oder /dev/dri/render* geöffnet haben
for p in /proc/[0-9]*; do
readlink -f "$p/fd"/* 2>/dev/null | grep -qE '/dev/(kfd|dri/render)' || continue
cmd=$(tr -d '\0' < "$p/cmdline" 2>/dev/null | sed 's/ \+/ /g')
printf "%-8s %s\n" "${p##*/}" "${cmd:-[unknown]}"
done | sort -n
```
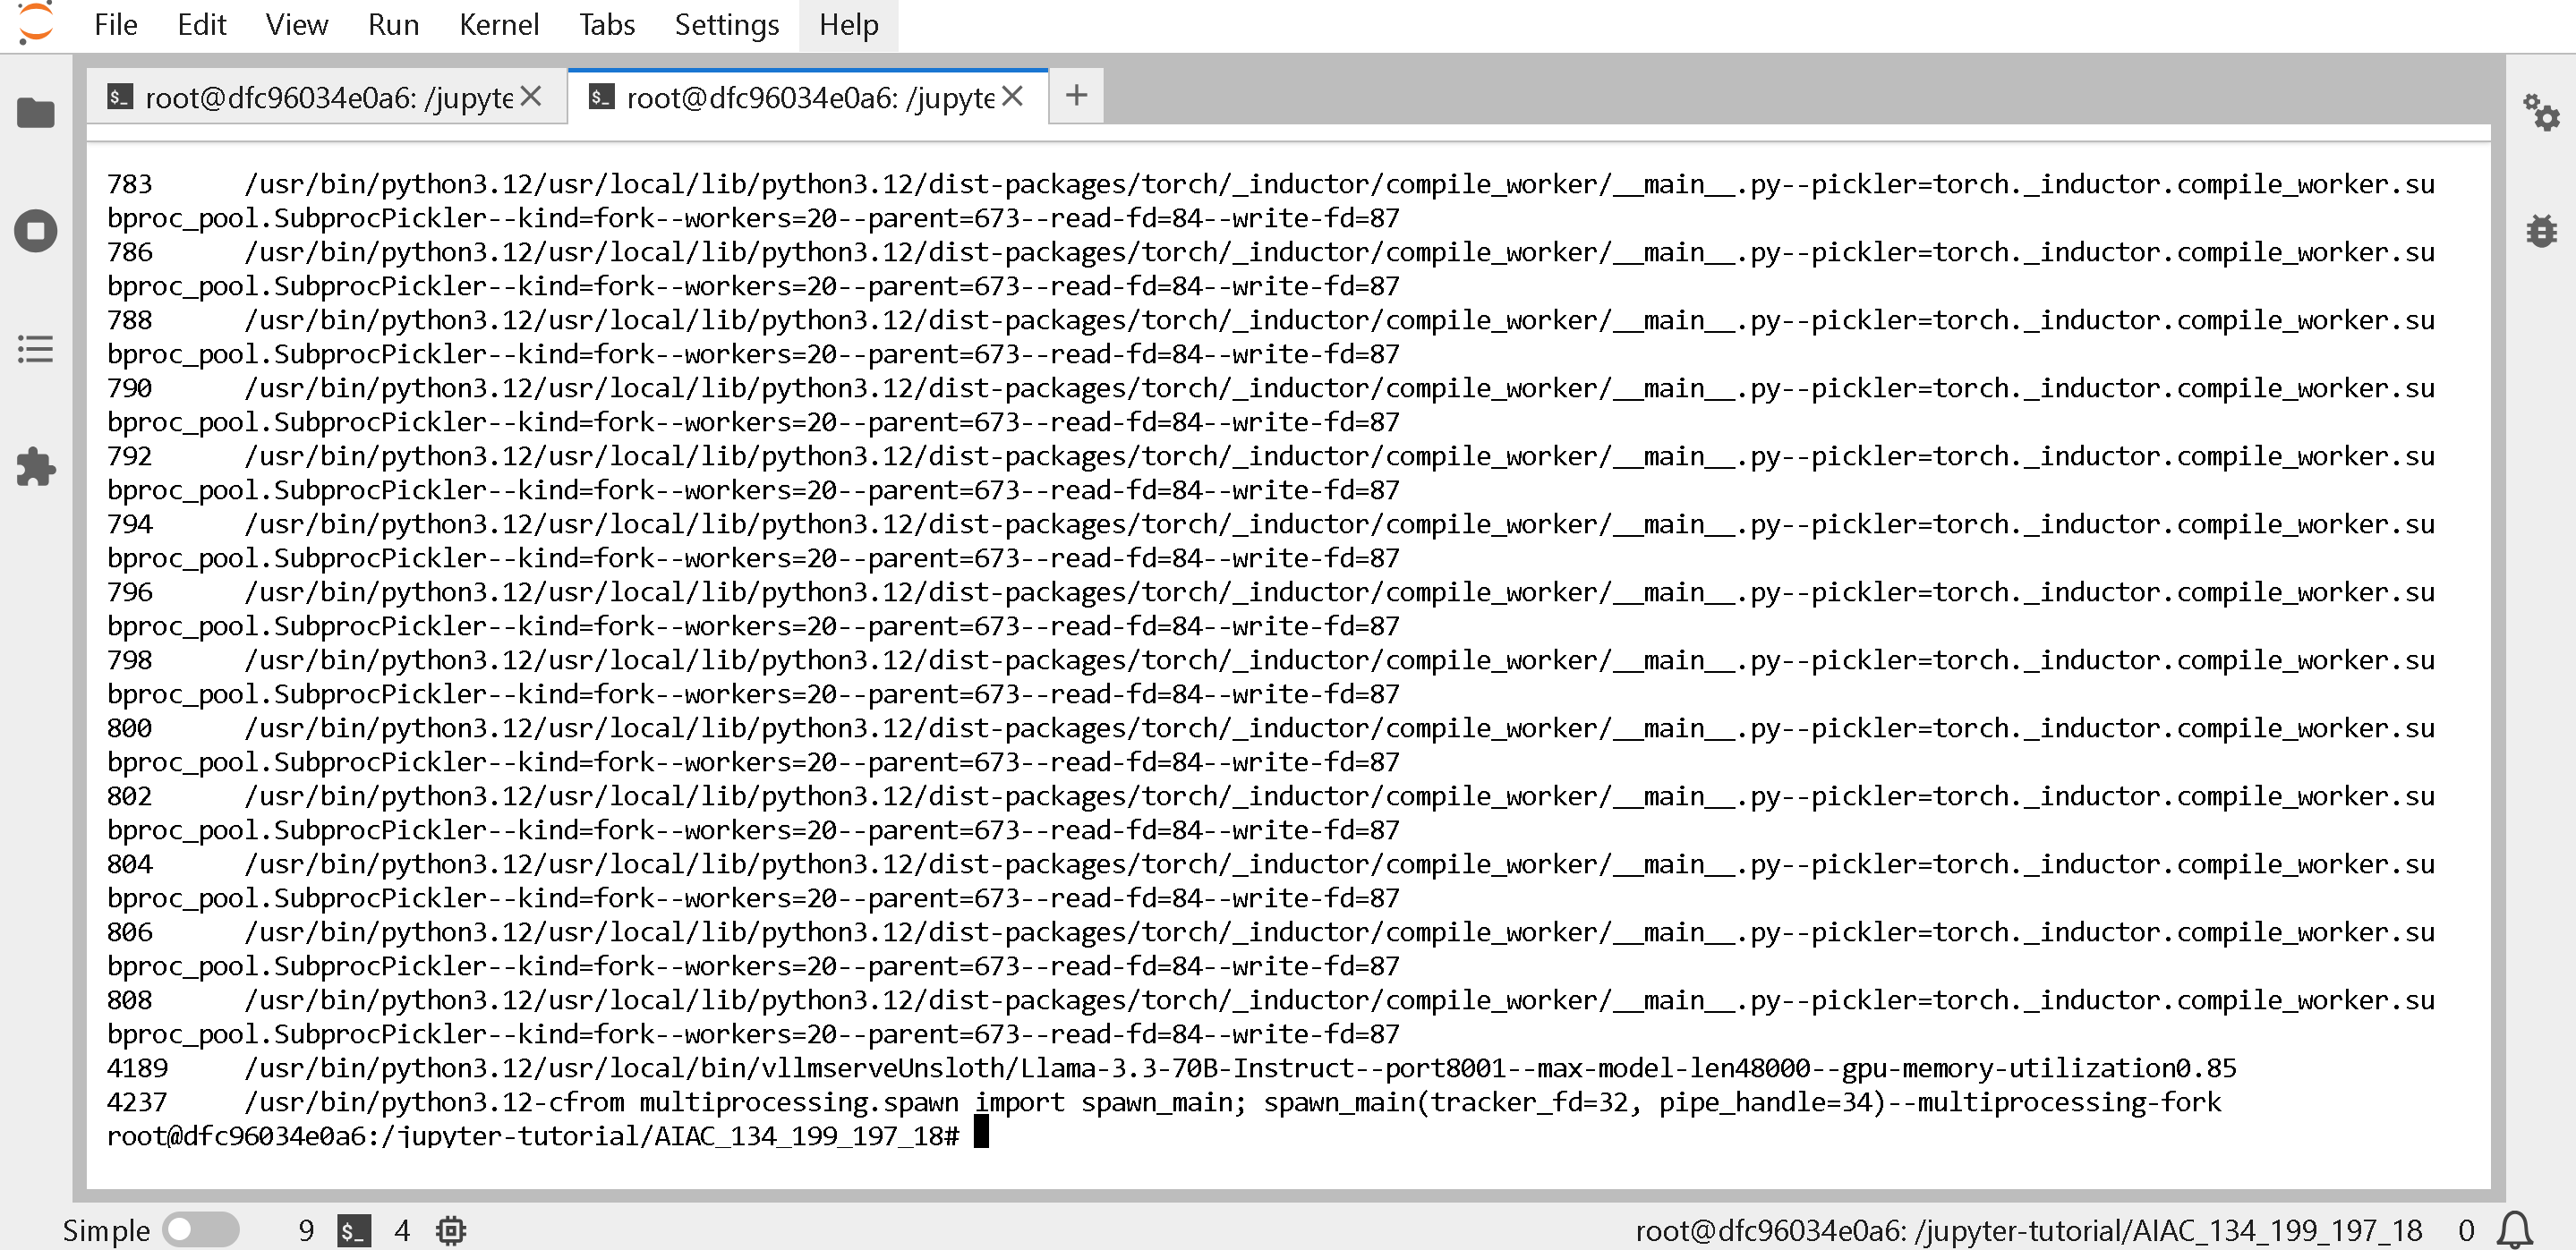
Wenn auf einer lokalen Maschine, tun Sie einfach `rocm-smi -d 0 --showpids` und führen Sie aus `sudo kill -9 XXXX` wobei `XXXX` die PID ist, die für den spezifischen Prozess aufgeführt ist, der am meisten VRAM verwendet.
Für das Docker-Image wie beim Hackathon sehen Sie nach Ausführen der ersten Zelle möglicherweise etwas wie unten:
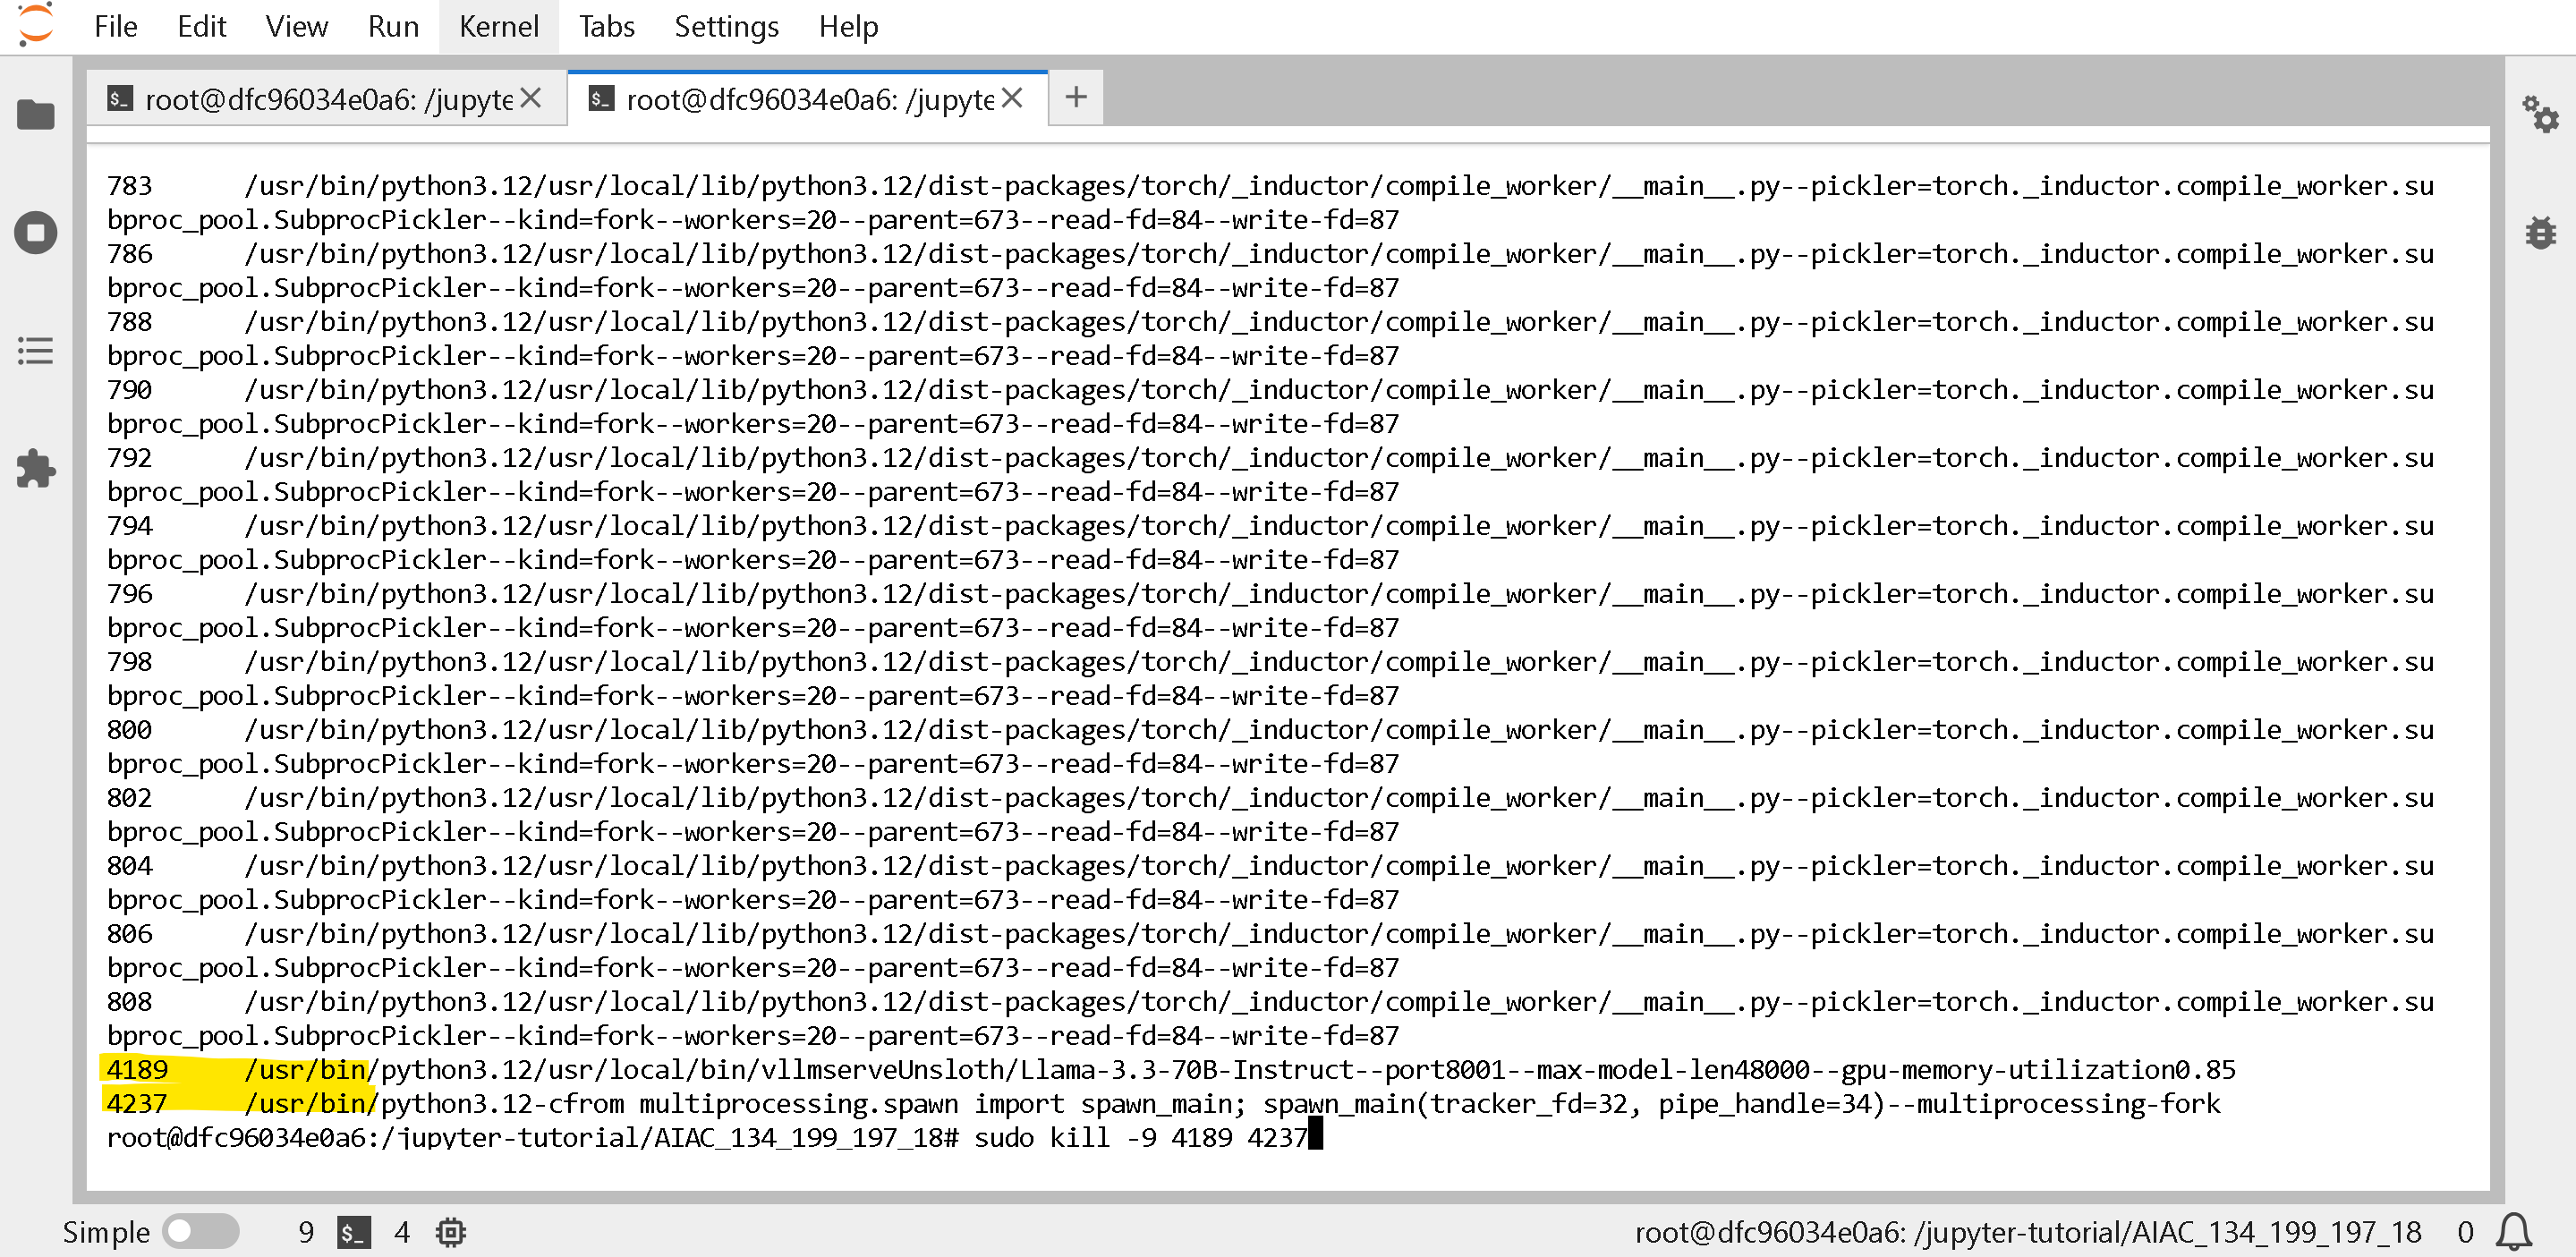
Suchen Sie dann den Prozess, der den VRAM verwendet (wie vLLM), und geben Sie `sudo kill -9 XXXX` wobei `XXXX` ist die PID, die in der linken Spalte aufgeführt ist, wie unten:
Bestätigen Sie, dass der gesamte GPU-Speicher über freigegeben ist `rocm-smi -d 0 --showpids` Das folgende Beispiel zeigt 0 Speichernutzung:
Wenn Sie hingegen Folgendes sehen, führen Sie das erste Docker-Zellen-Image erneut aus, um den Prozess wieder zu beenden.
### :pencil:torch.OutOfMemoryError: HIP-Speicher erschöpft RuntimeError: Der Engine-Prozess konnte nicht gestartet werden.
Bitte beachten Sie [#how-do-i-free-amd-gpu-memory](#how-do-i-free-amd-gpu-memory "mention") um zu prüfen, ob Ihre GPU Speicher von einem anderen Prozess verwendet, und versuchen Sie, den Prozess zu löschen, der Speicher verwendet.
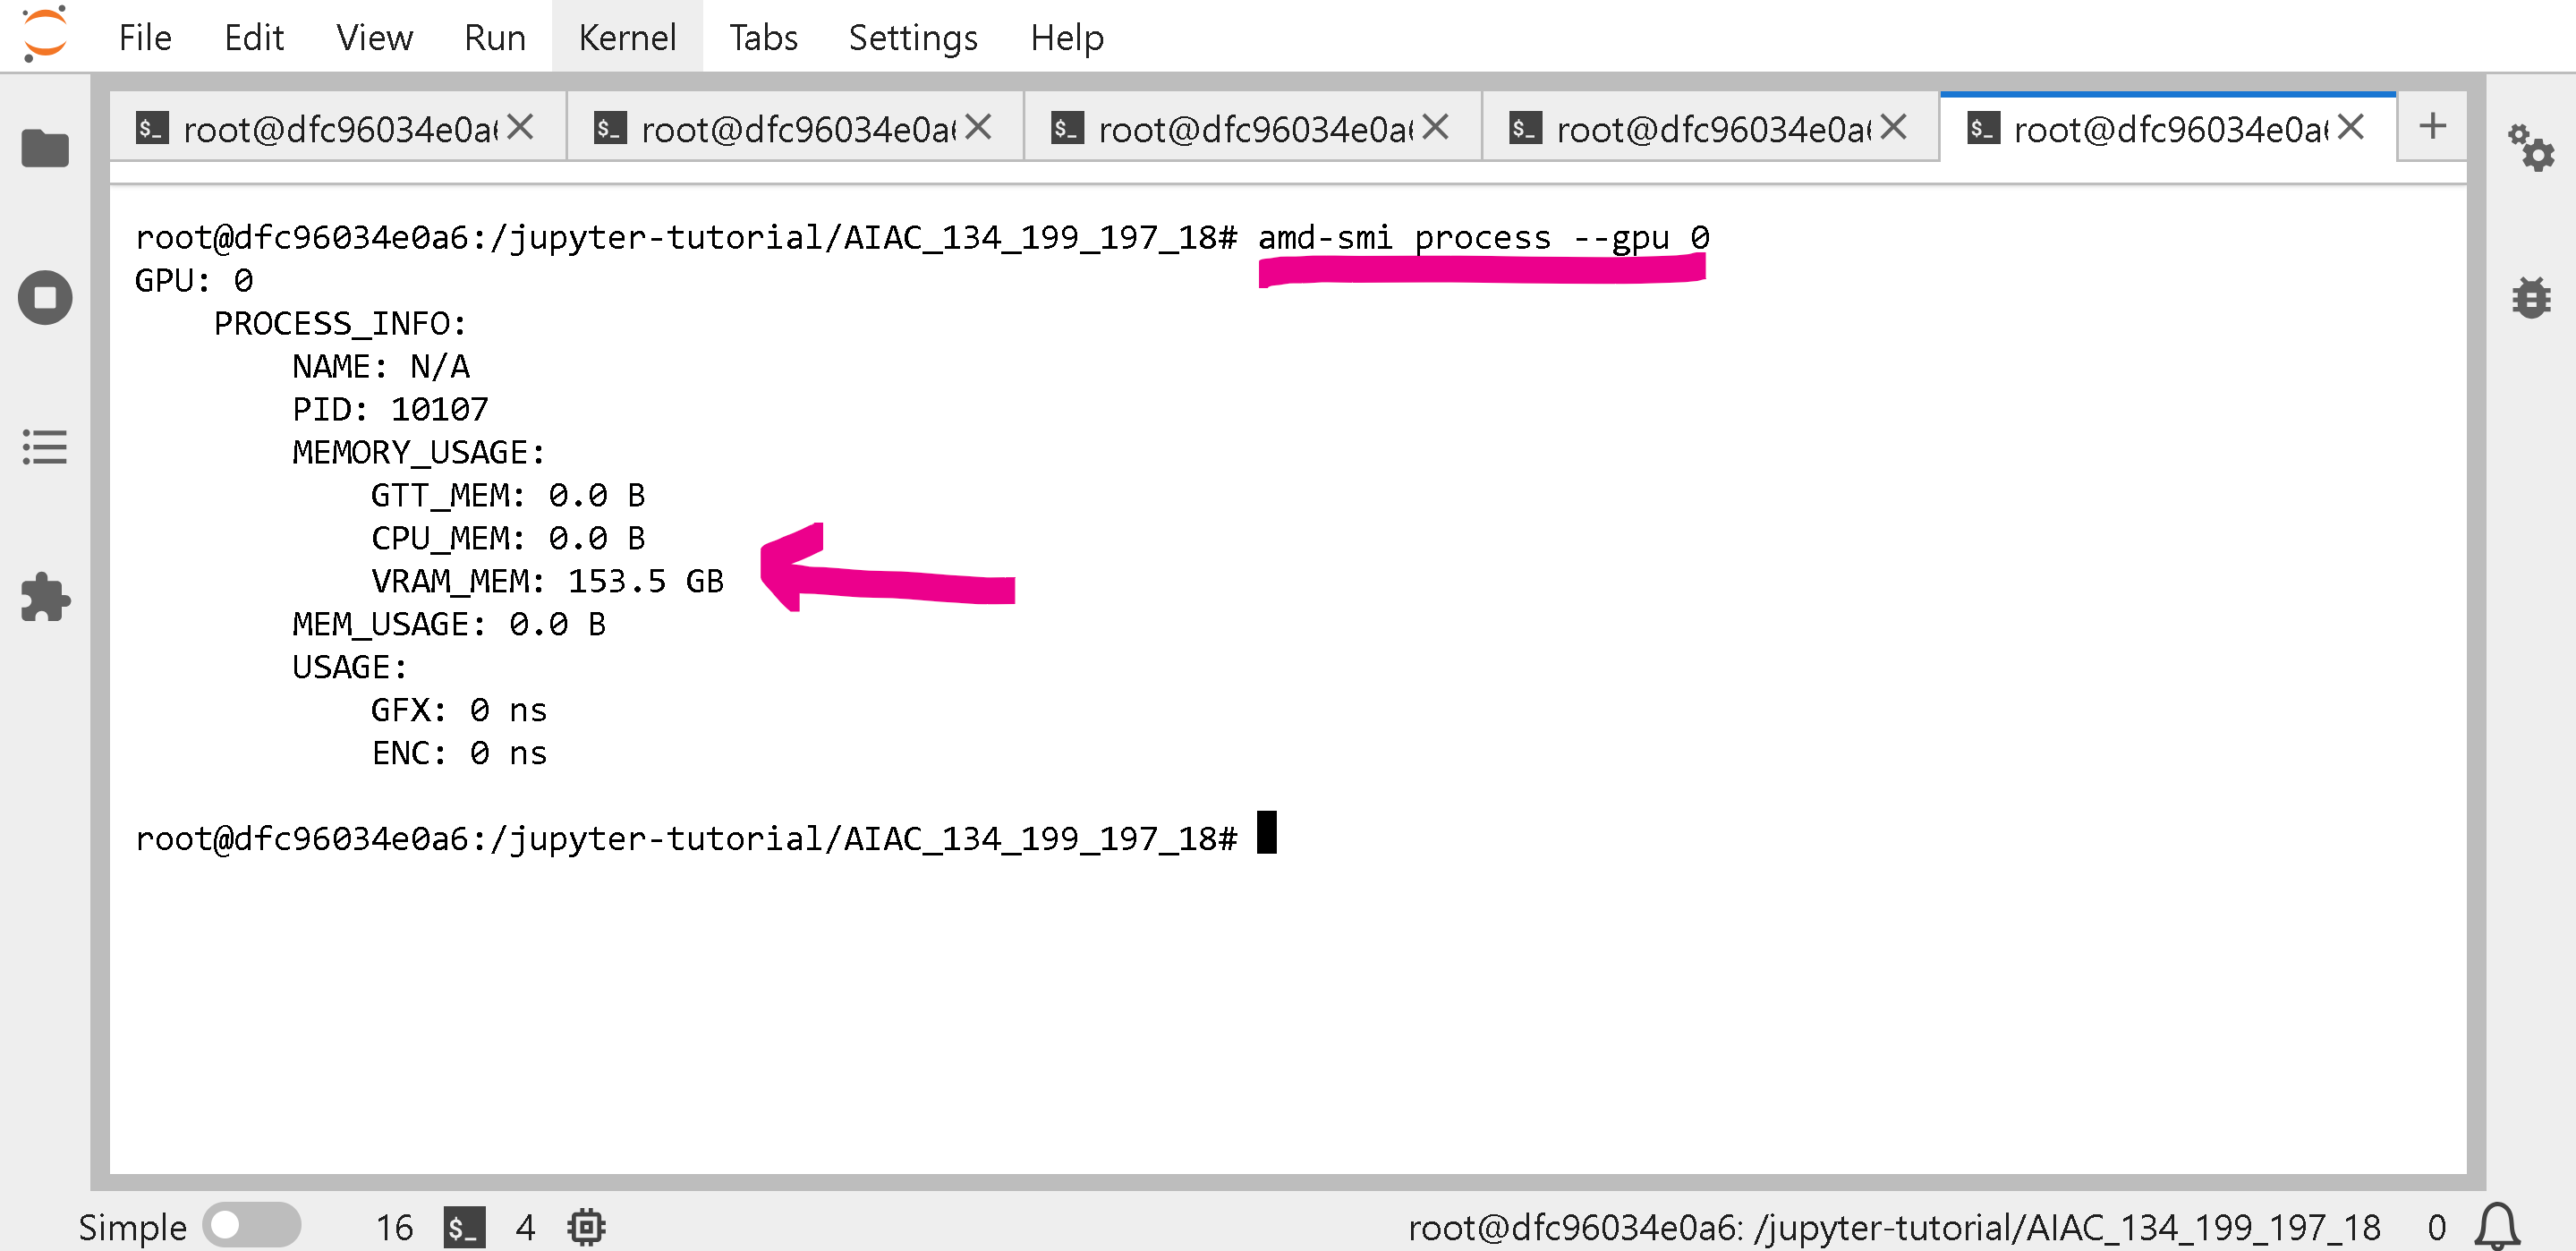
Versuchen Sie außerdem `amd-smi process --gpu 0` um alle Prozesse und die VRAM-Nutzung aller Prozesse aufzulisten, die die GPU verwenden:
### :arrow\_forward:Keine Plattform für vLLM erkannt, vLLM aktualisieren, gpt-oss auf vLLM
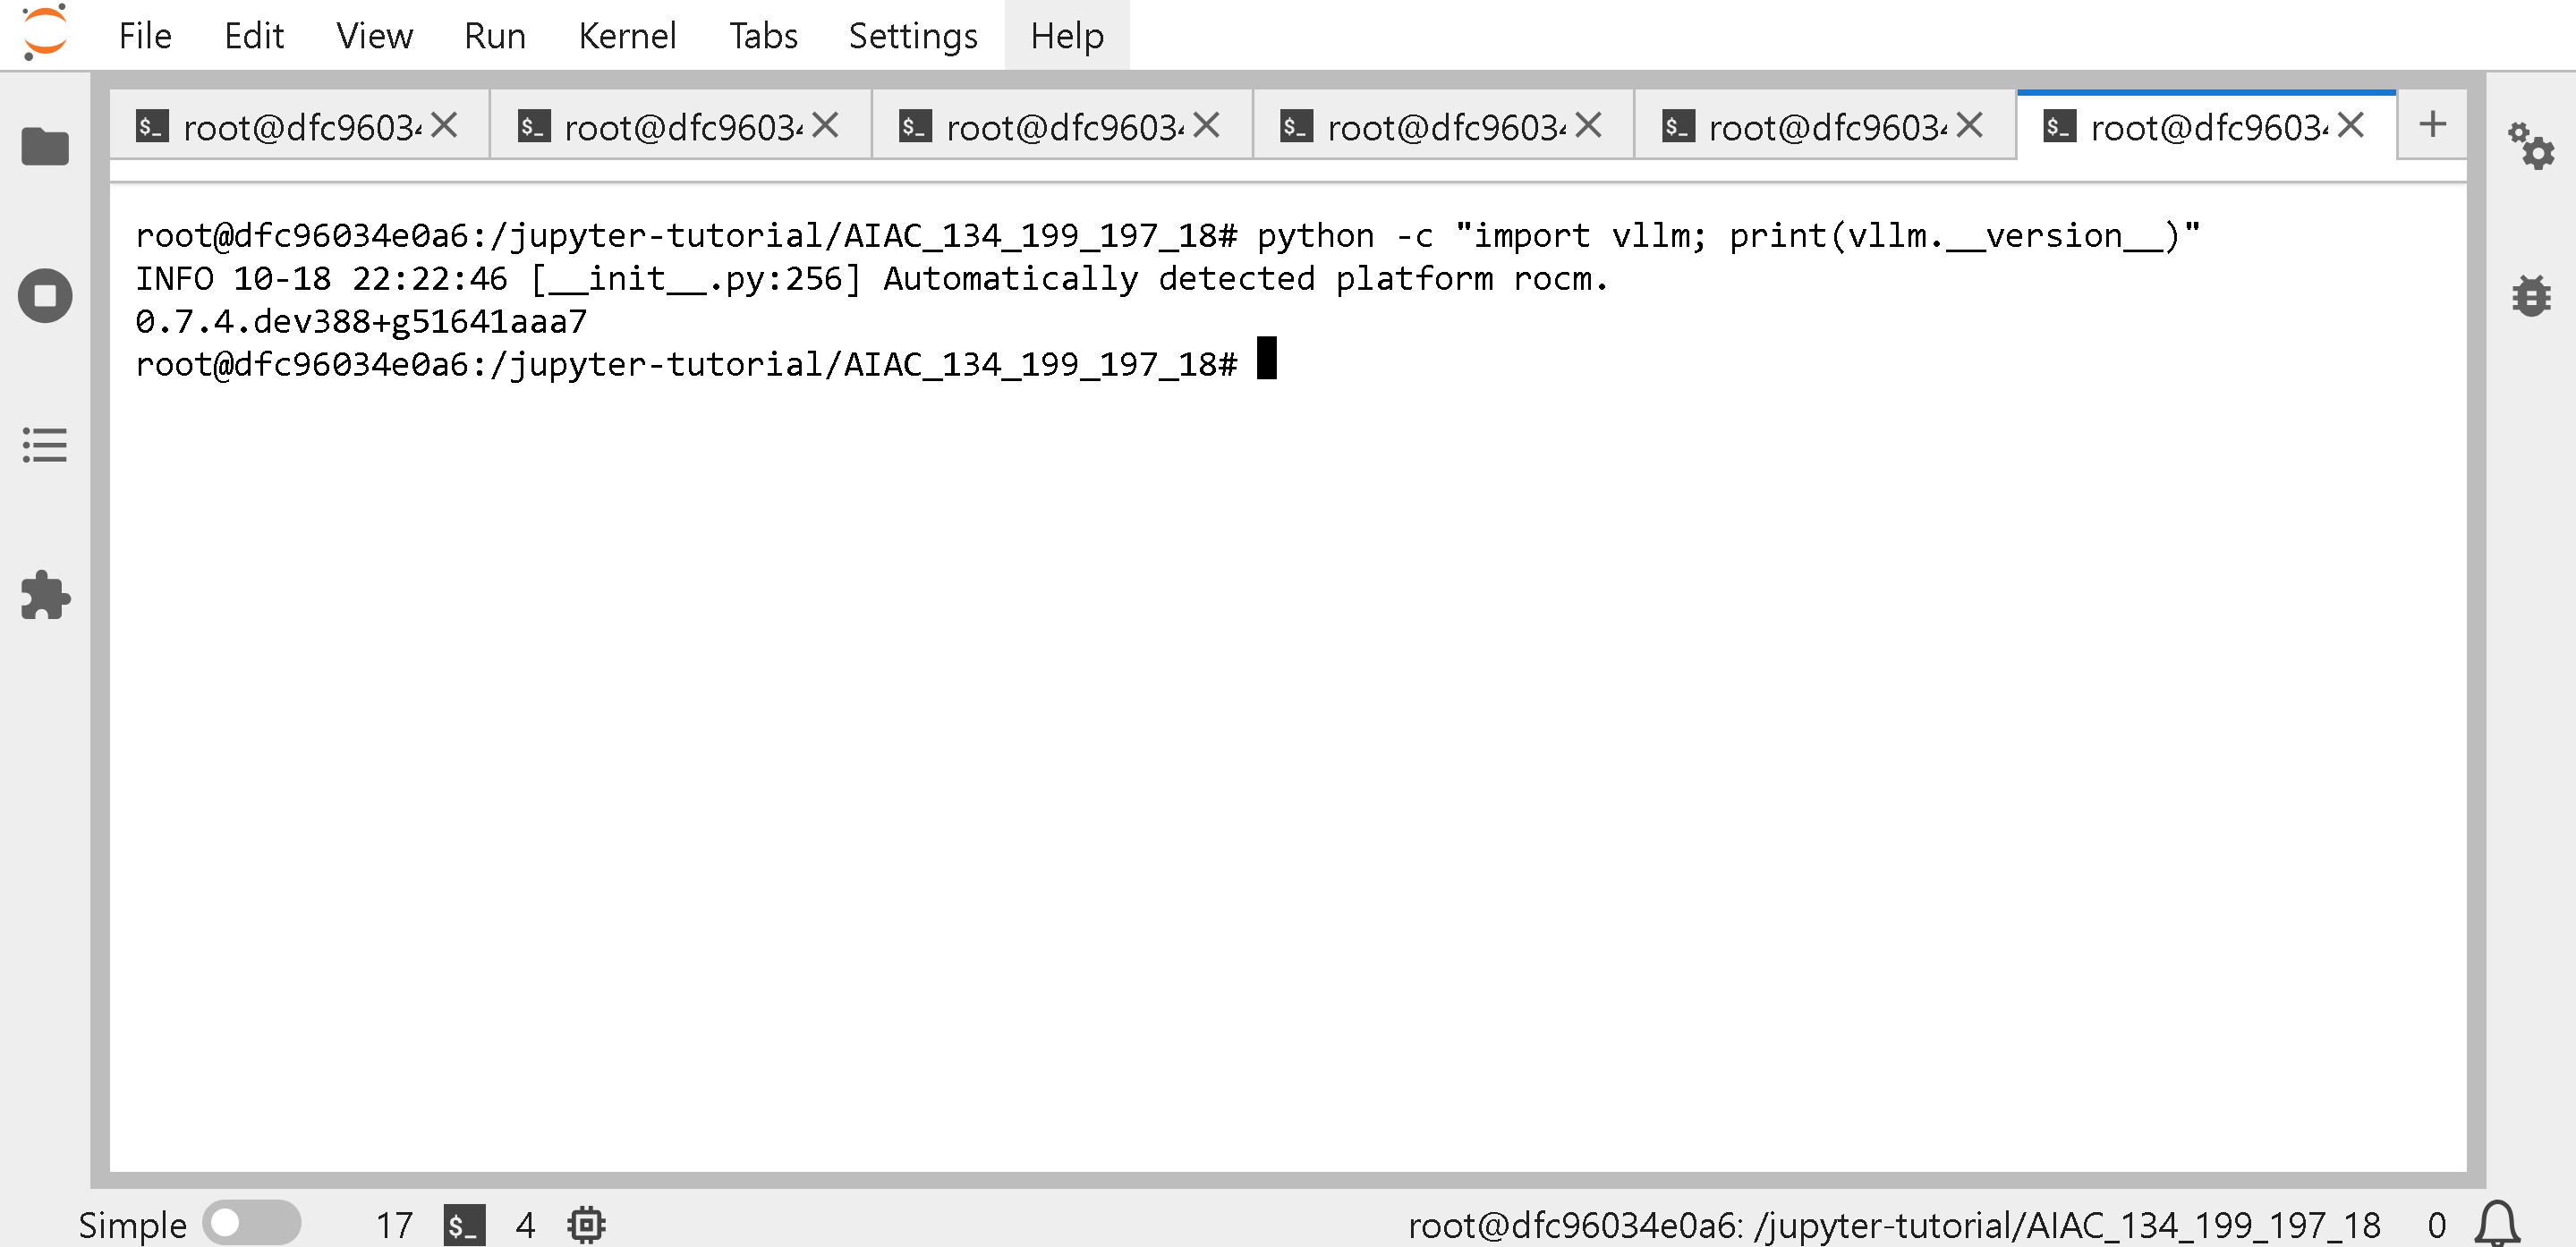
Wenn Sie `vllm serve Unsloth/gpt-oss-20b` verwenden, nutzen Sie möglicherweise eine alte vLLM-Version. `python -c "import vllm; print(vllm.__version__)"` um die vLLM-Version zu erhalten.
Im vorgefertigten Hackathon-Docker erhalten Sie `0.7.4` , was leider neuere Modelle wie GPT-OSS nicht unterstützt; andere Modelle funktionieren jedoch wie `vllm serve Unsloth/Llama-3.3-70B-Instruct --port 8001 --max-model-len 48000 --gpu-memory-utilization 0.85`
### :cupcake:vLLM auf AMD auf die neueste Version aktualisieren
{% hint style="warning" %}
**GPT-OSS kann nach dem Build aus dem Quellcode noch nicht in vLLM ausgeführt werden – bitte sehen Sie vorerst** [**https://rocm.blogs.amd.com/ecosystems-and-partners/openai-day-0/README.html**](https://rocm.blogs.amd.com/ecosystems-and-partners/openai-day-0/README.html) **für Docker zum Ausführen von gpt-oss – leider kann der Hackathon kein Docker-in-Docker verwenden. Möglicherweise erhalten Sie den Fehler:**
{% code overflow="wrap" %}
```
ImportError: 'GFX950MXScaleLayout' kann nicht aus 'triton_kernels.tensor_details.layout' importiert werden (/usr/local/lib/python3.12/dist-packages/triton_kernels/tensor_details/layout.py)
(EngineCore_DP0 pid=44662) Prozess EngineCore_DP0:
```
{% endcode %}
{% endhint %}
Um die neueste vLLM-Version zu erhalten, siehe , führen Sie insbesondere das Folgende aus, nachdem Sie alle Prozesse, die die AMD-GPU verwenden, über [#how-do-i-free-amd-gpu-memory](#how-do-i-free-amd-gpu-memory "mention")
{% code overflow="wrap" %}
```bash
# Installieren Sie PyTorch
pip uninstall torch -y
pip uninstall pytorch-triton-rocm -y
pip uninstall triton -y
pip install --upgrade torch==2.8.0 pytorch-triton-rocm torchvision torchaudio torchao==0.13.0 xformers --index-url https://download.pytorch.org/whl/rocm6.4
# Installieren Sie OpenAI-Triton-Kernels
pip install git+https://github.com/triton-lang/triton.git@05b2c186c1b6c9a08375389d5efe9cb4c401c075#subdirectory=python/triton_kernels
```
{% endcode %}
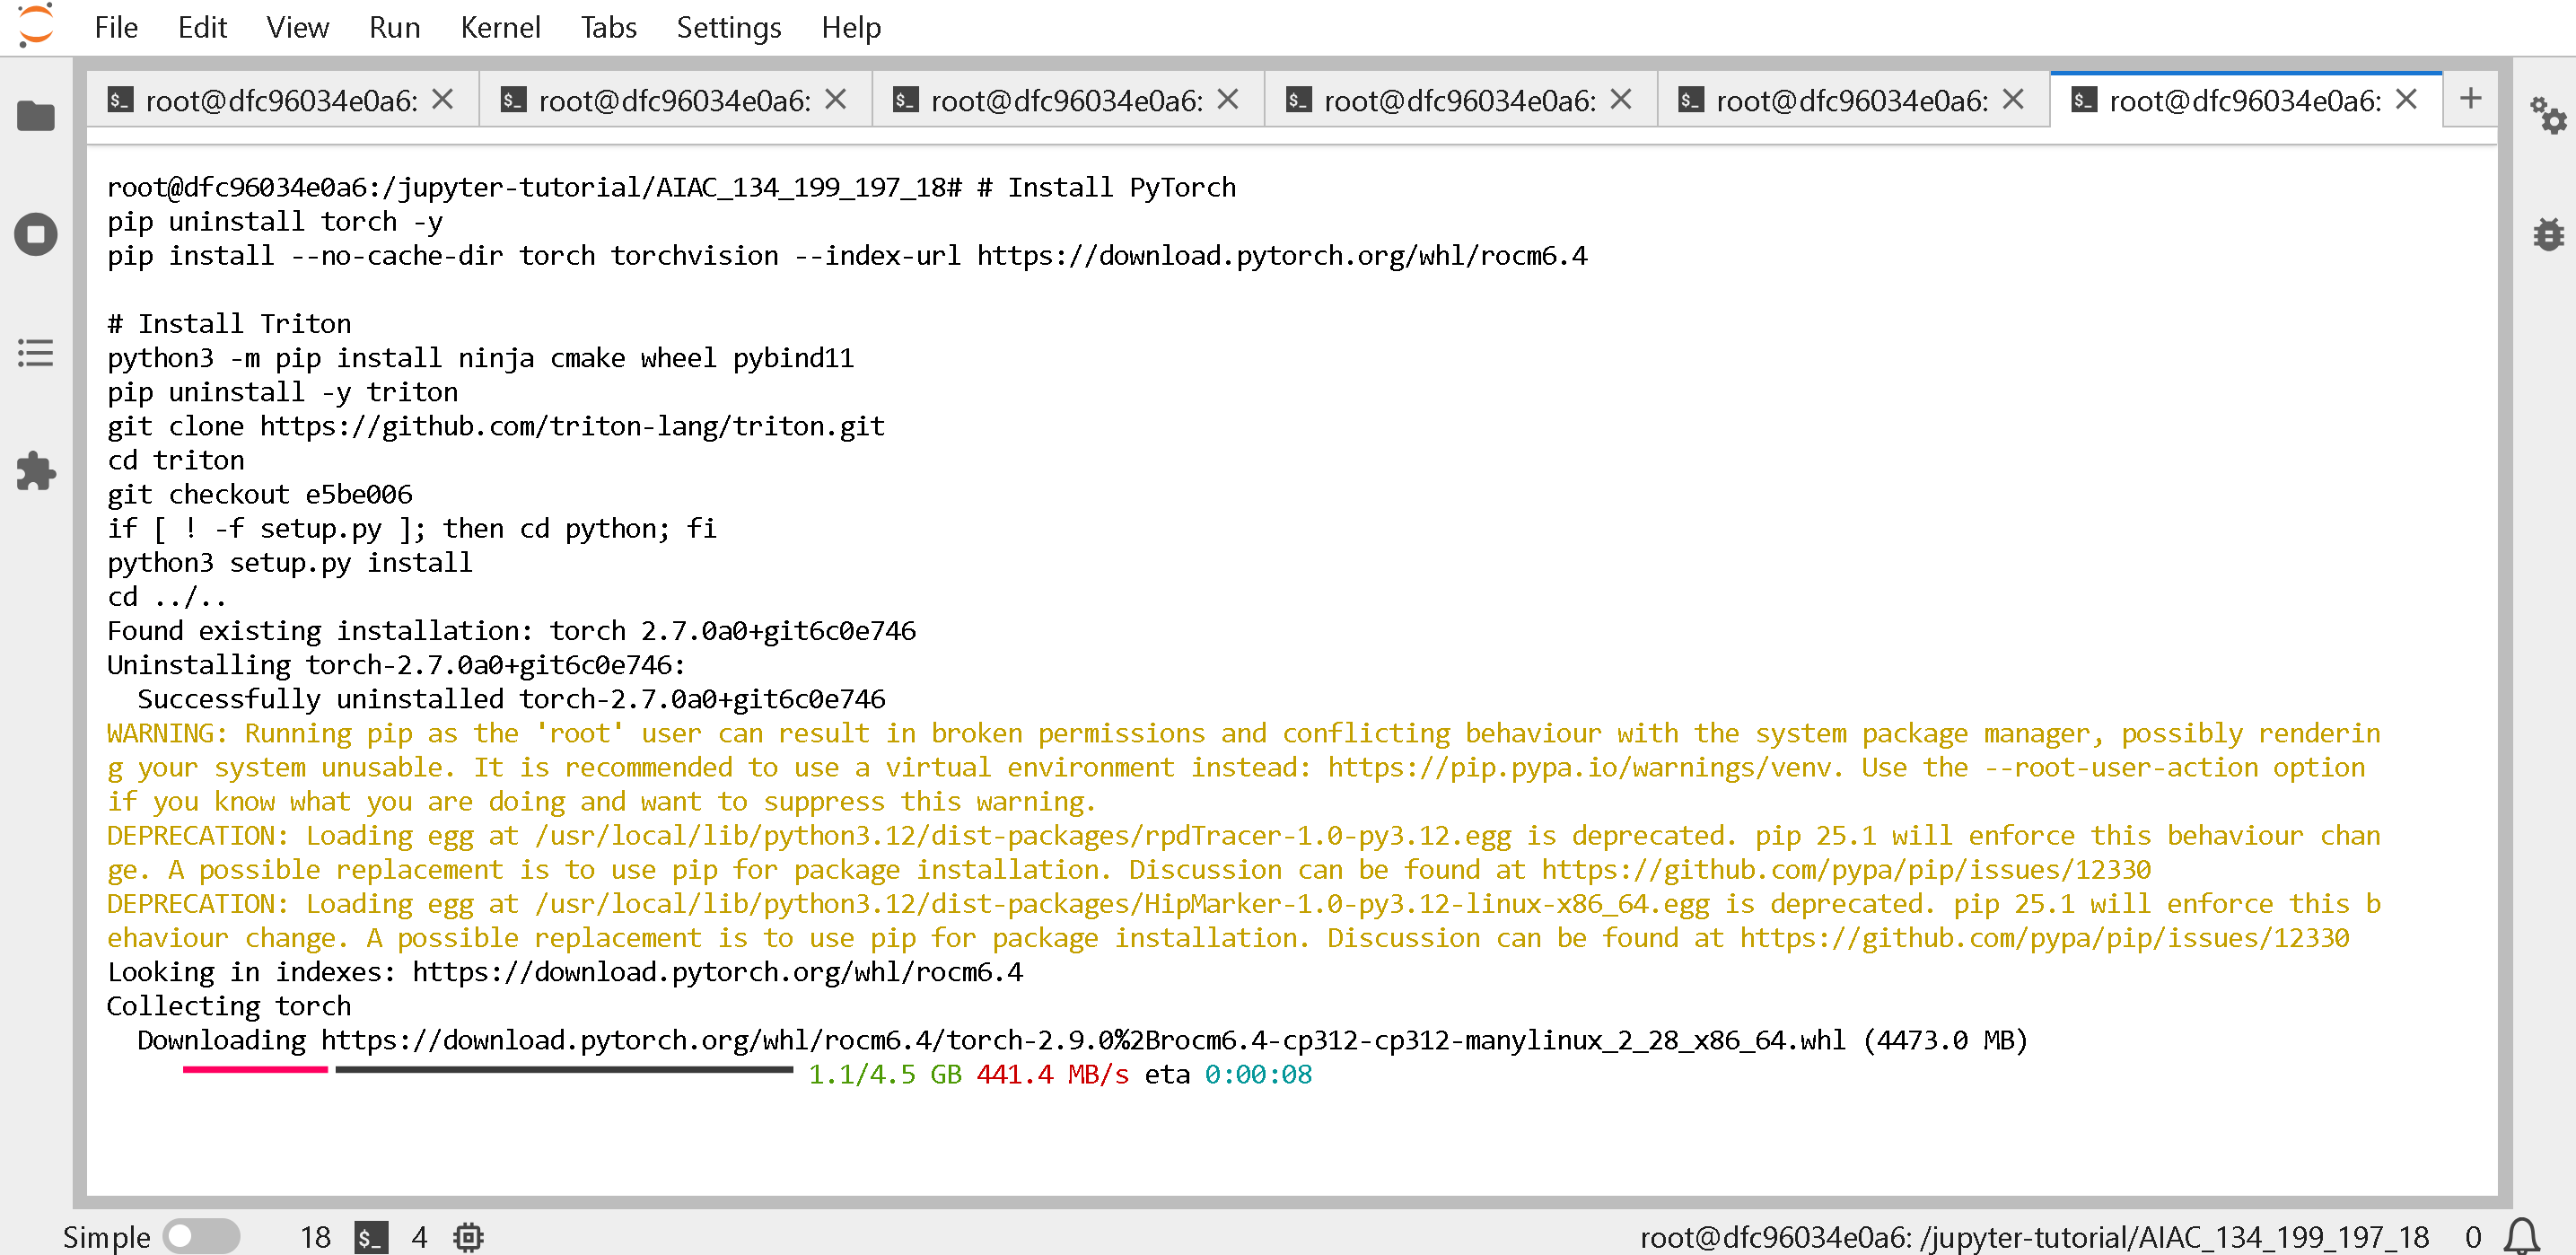
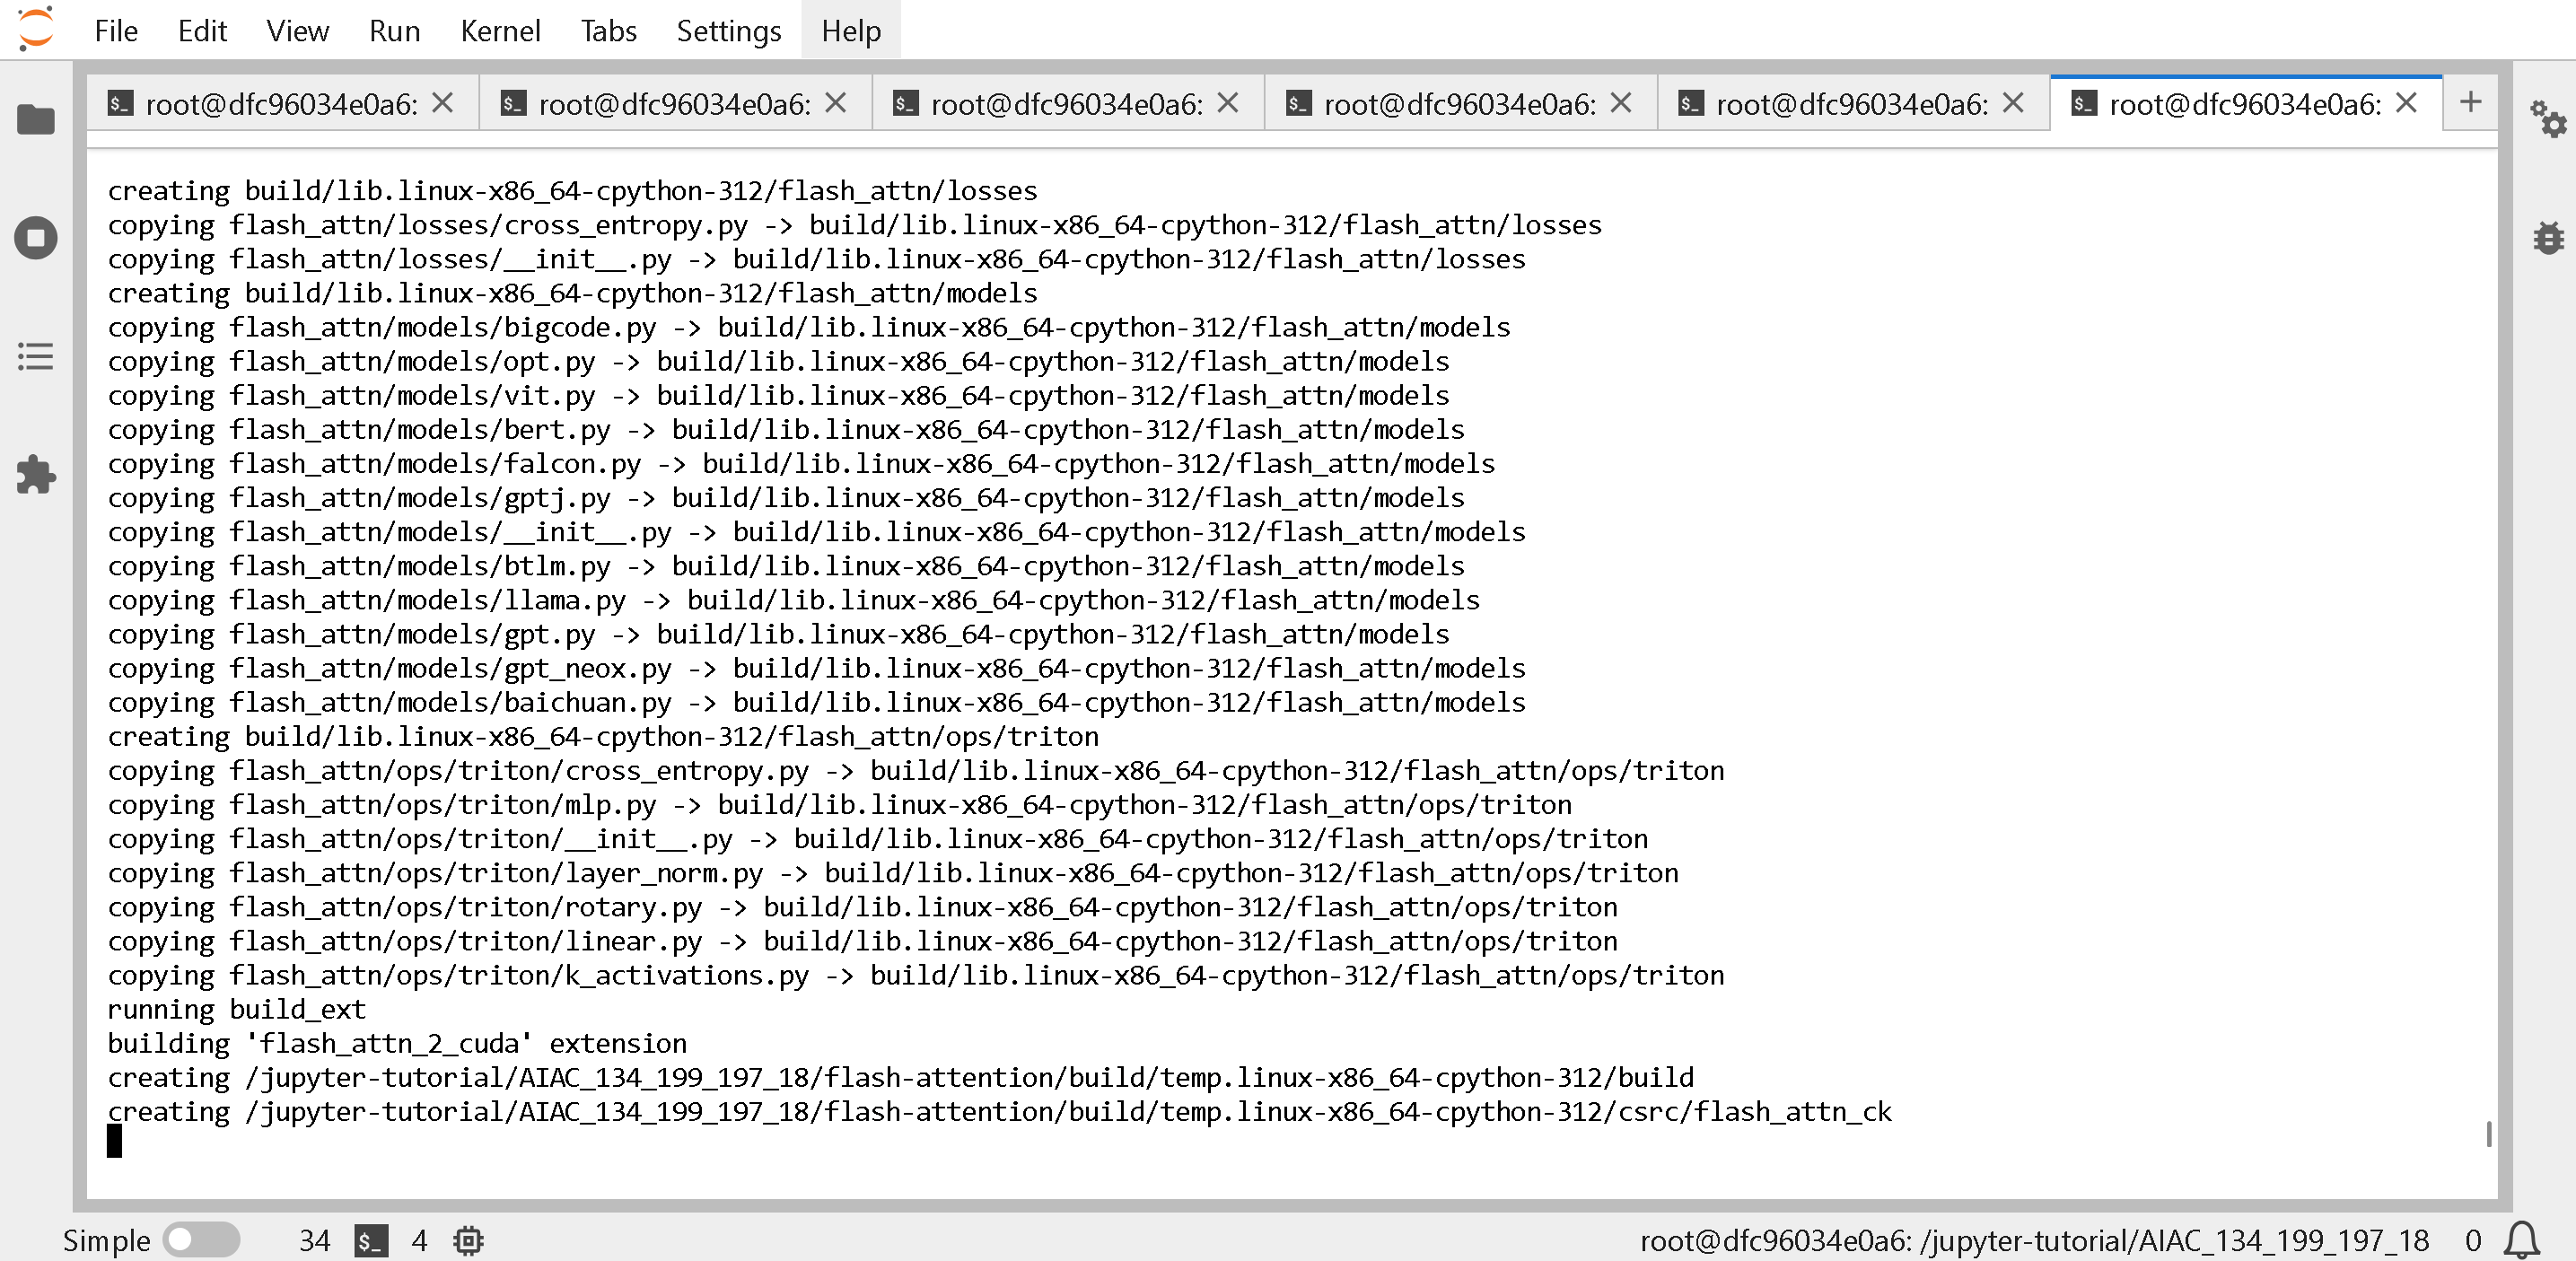
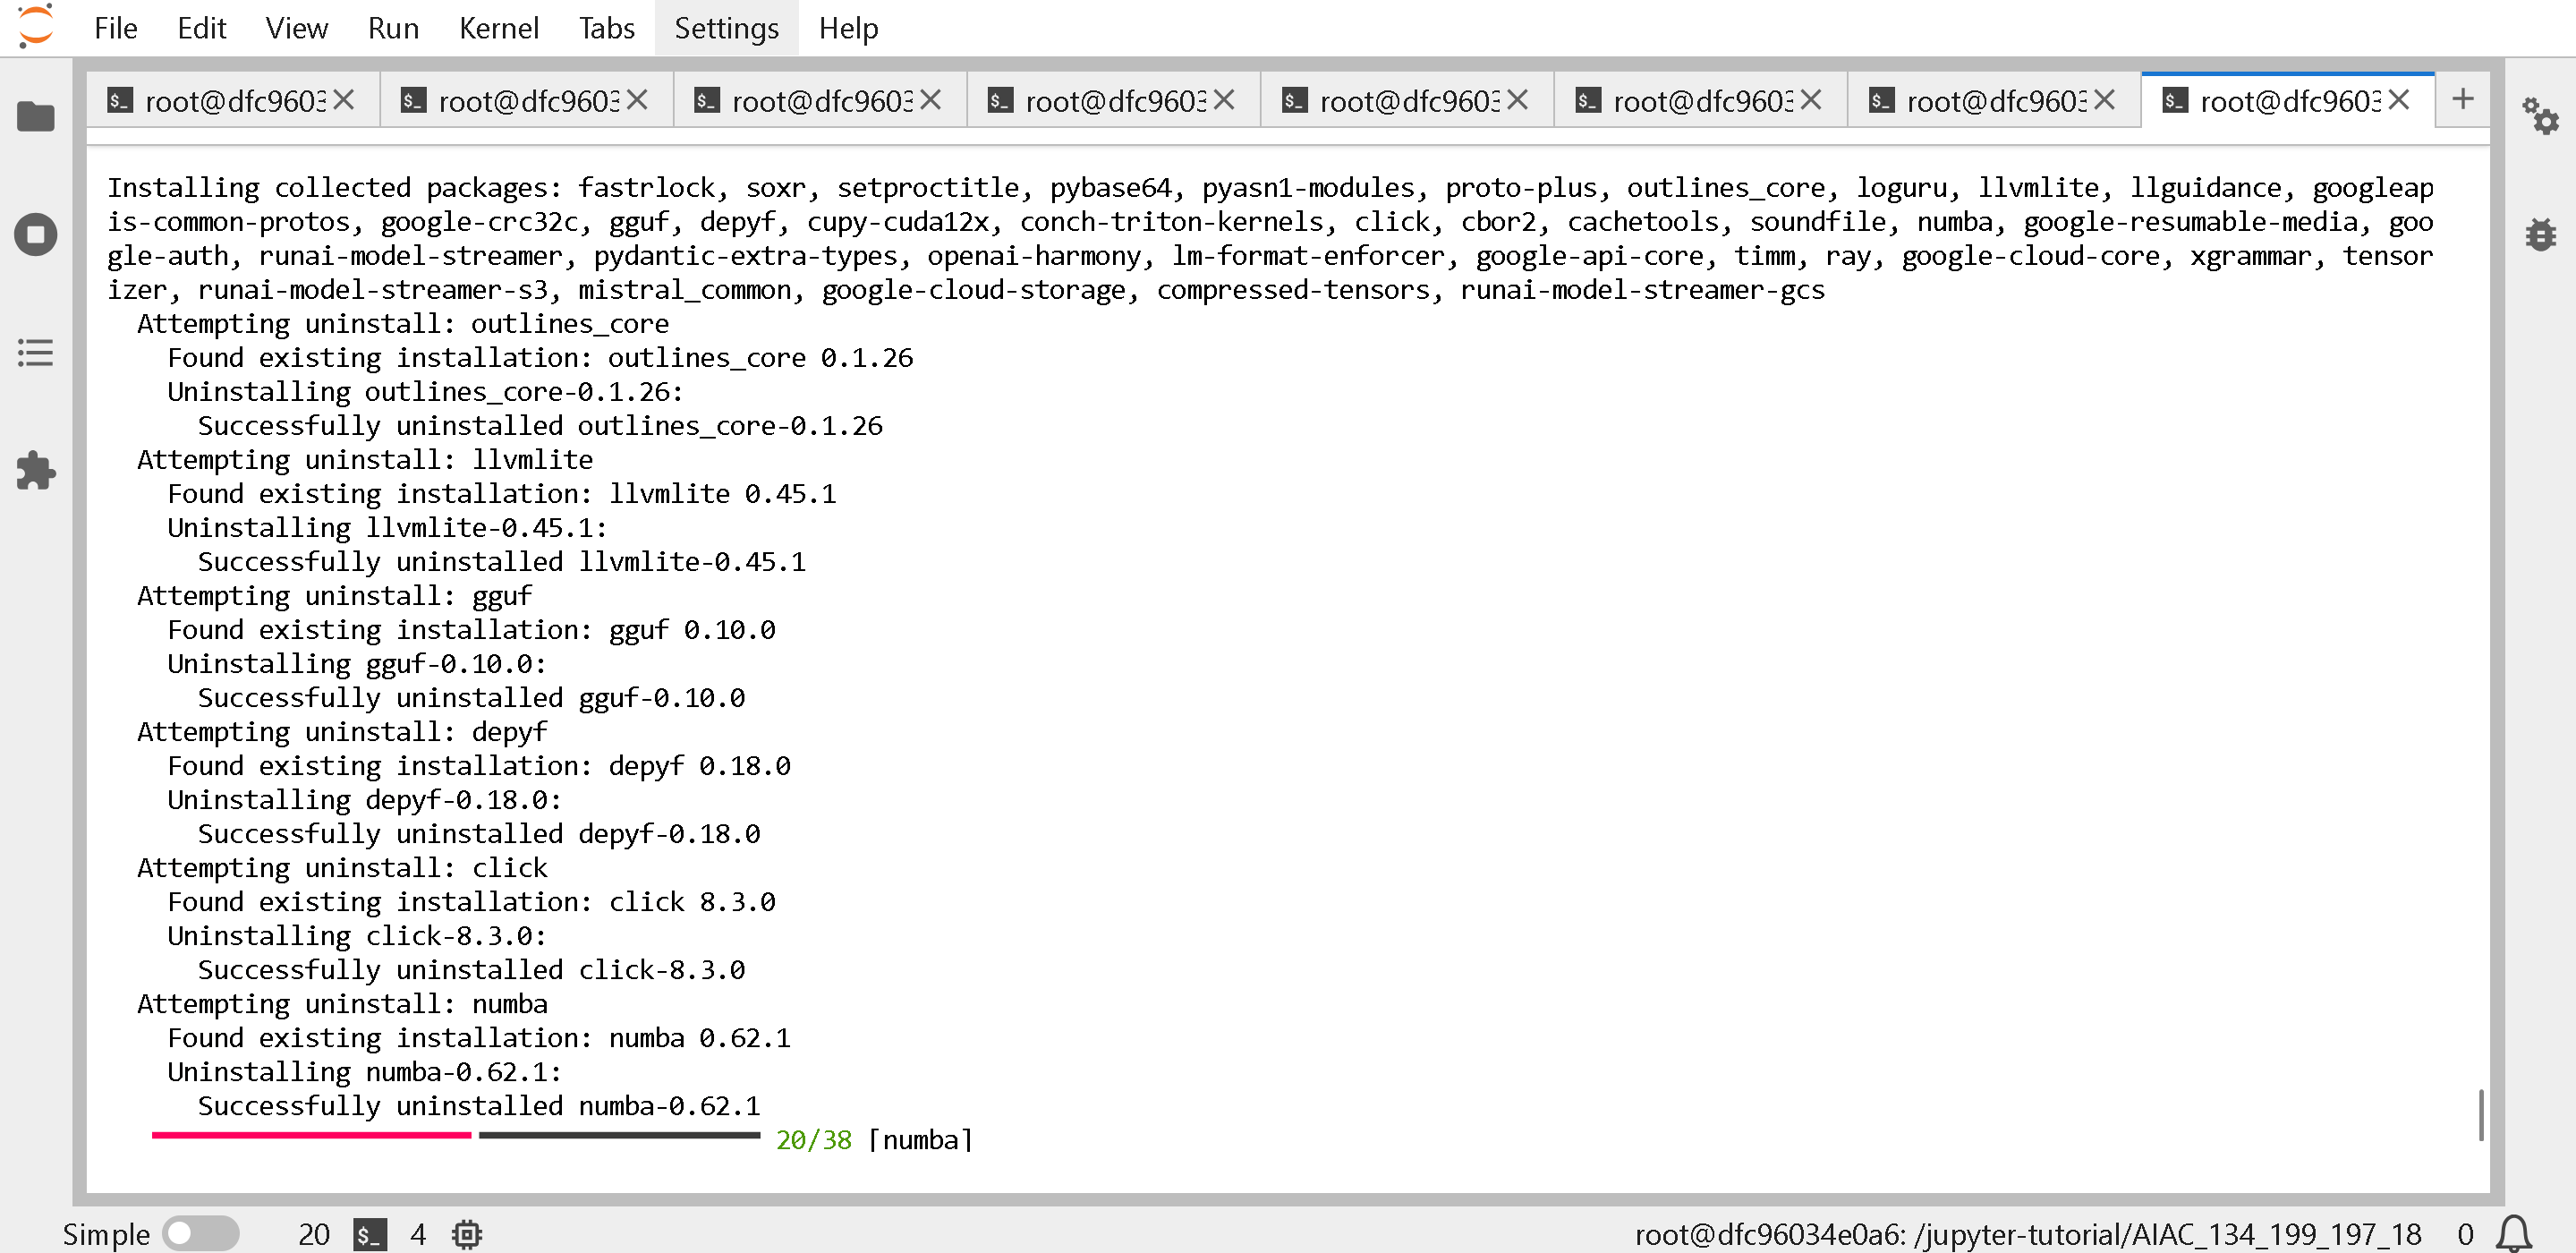
Die Ausführung des obigen Befehls wird Folgendes ergeben (Erinnerung: zuerst alle Prozesse beenden, die die GPU verwenden! Siehe [#how-do-i-free-amd-gpu-memory](#how-do-i-free-amd-gpu-memory "mention"))
(OPTIONAL aufklappbarer Code) Um Flash Attention bauen über (dies dauert 30 Minuten bis 1 Stunde) Also ist dies optional, wenn Sie nicht 30 Minuten bis 1 Stunde warten möchten! Ich würde diesen Schritt im Allgemeinen überspringen. Erweitern Sie diese Zelle, wenn Sie Flash Attention installieren möchten.
{% code overflow="wrap" %}
```bash
# ********OPTIONAL********* Sie müssen möglicherweise 1 Stunde warten!!
# ********OPTIONAL********* Sie müssen möglicherweise 1 Stunde warten!!
git clone https://github.com/Dao-AILab/flash-attention.git
cd flash-attention
git checkout 1a7f4dfa
git submodule update --init
# ********OPTIONAL********* Sie müssen möglicherweise 1 Stunde warten!!
# ********OPTIONAL********* Sie müssen möglicherweise 1 Stunde warten!!
ARCH=$(rocminfo | grep -m1 -oE 'gfx[0-9]+[a-z]*')
Erkannte GPU-Architektur: $ARCH
GPU_ARCHS="$ARCH" python3 setup.py install
cd ..
# ********OPTIONAL********* Sie müssen möglicherweise 1 Stunde warten!!
```
{% endcode %}
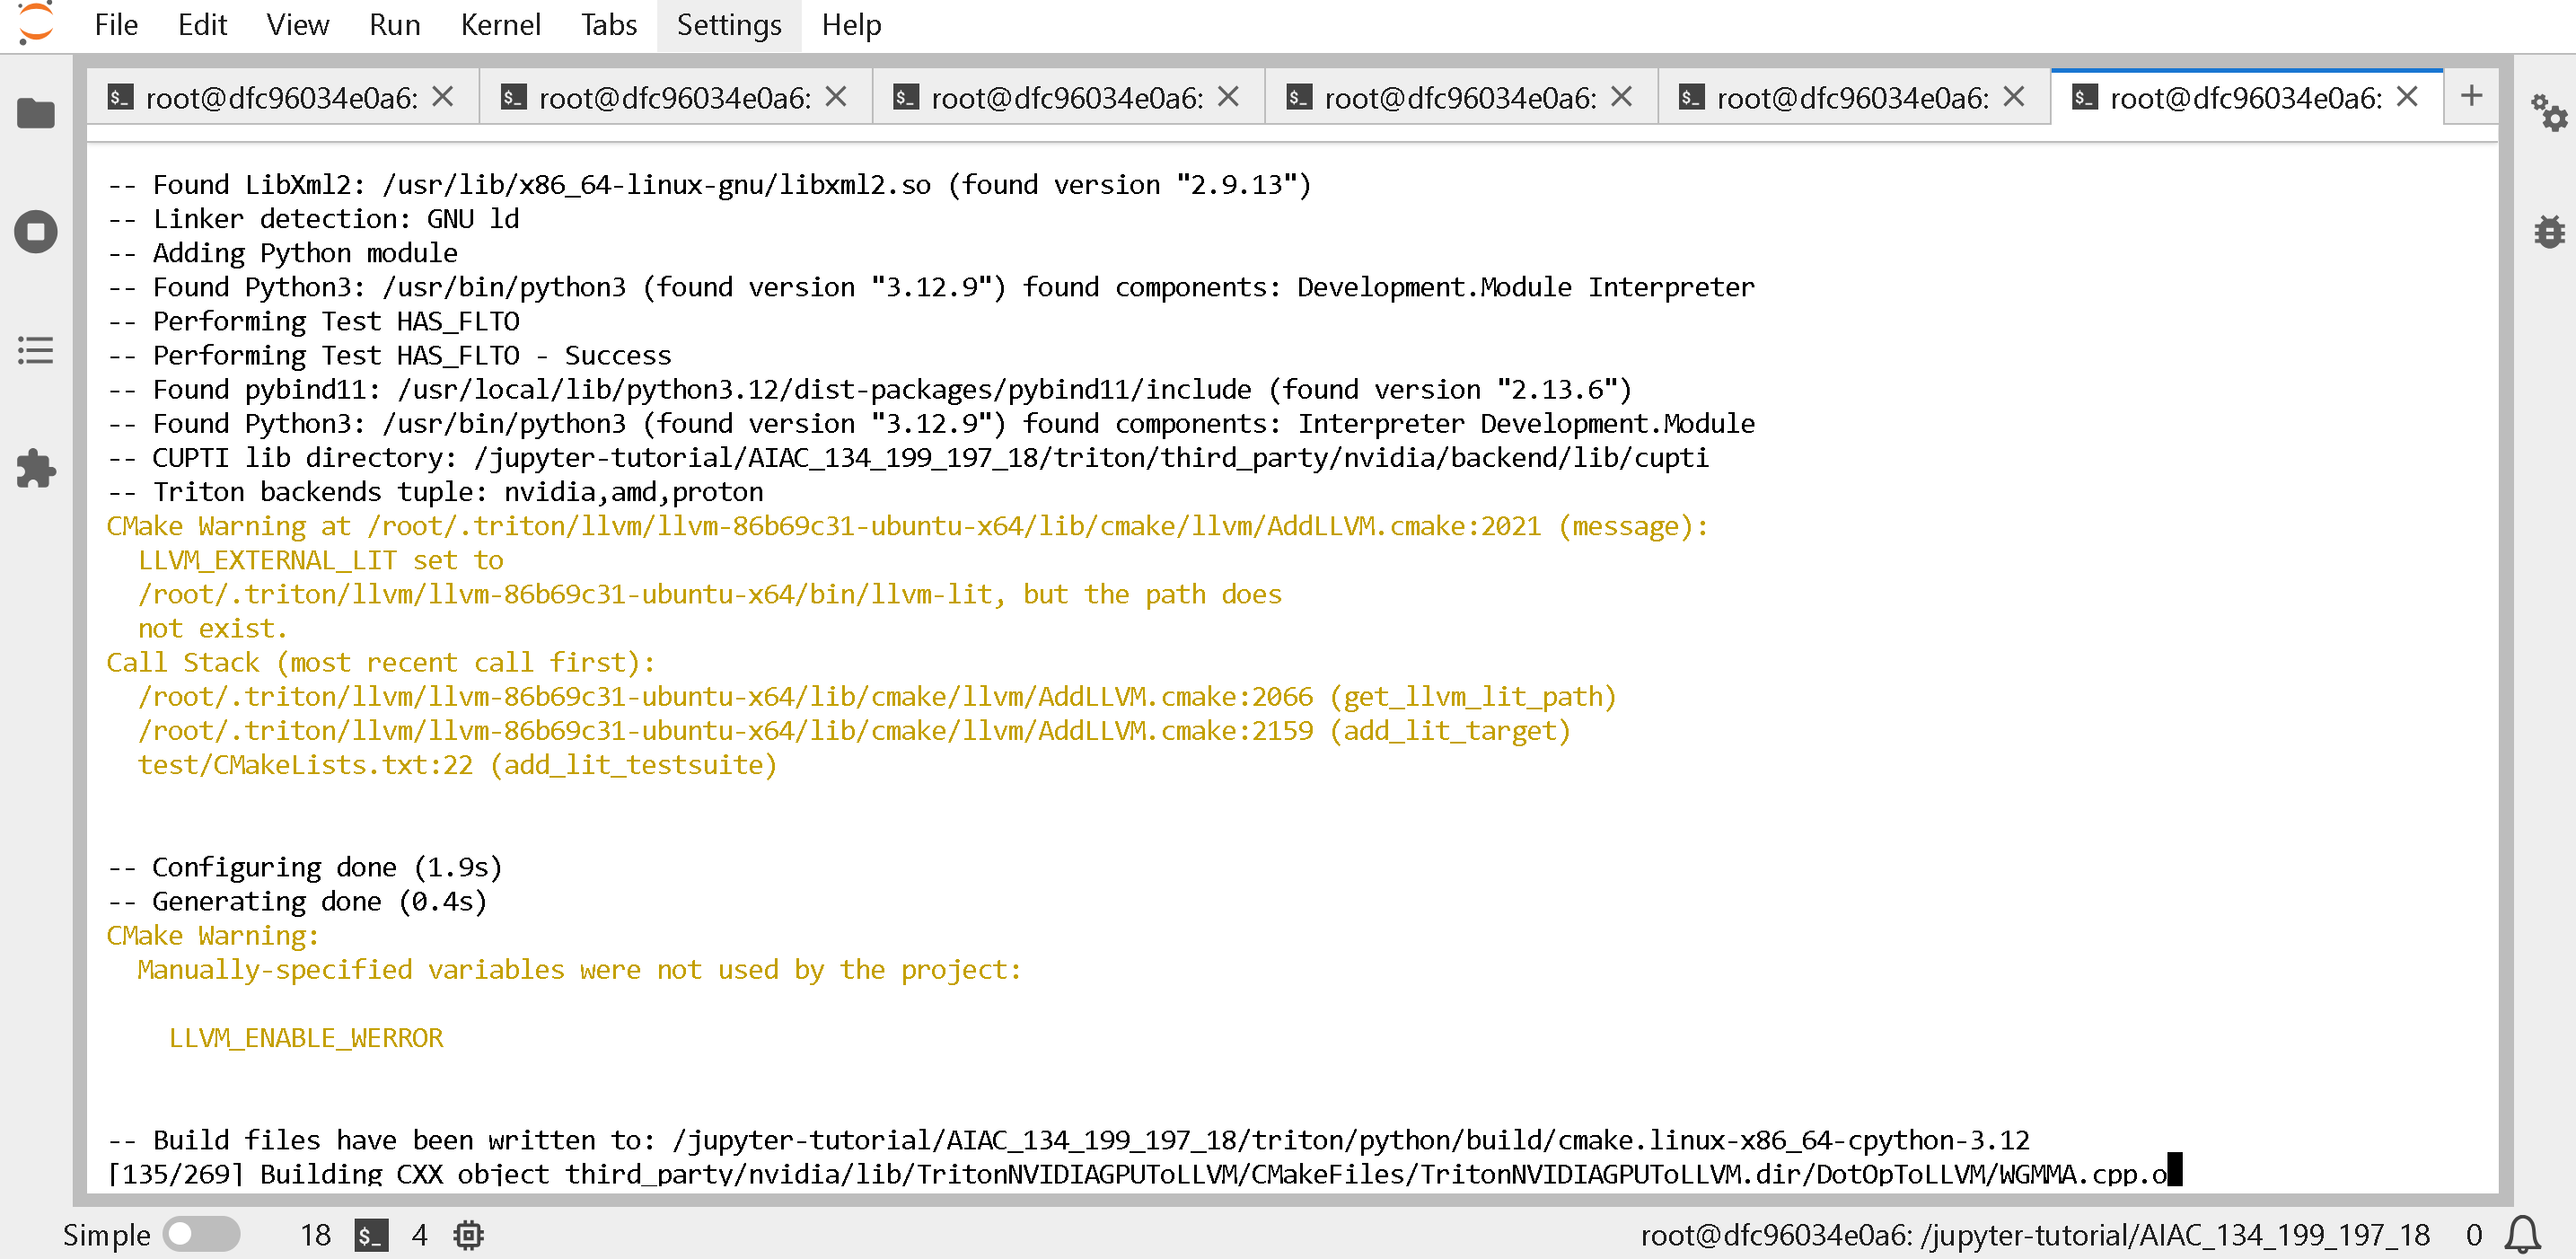
Sie werden Folgendes sehen:
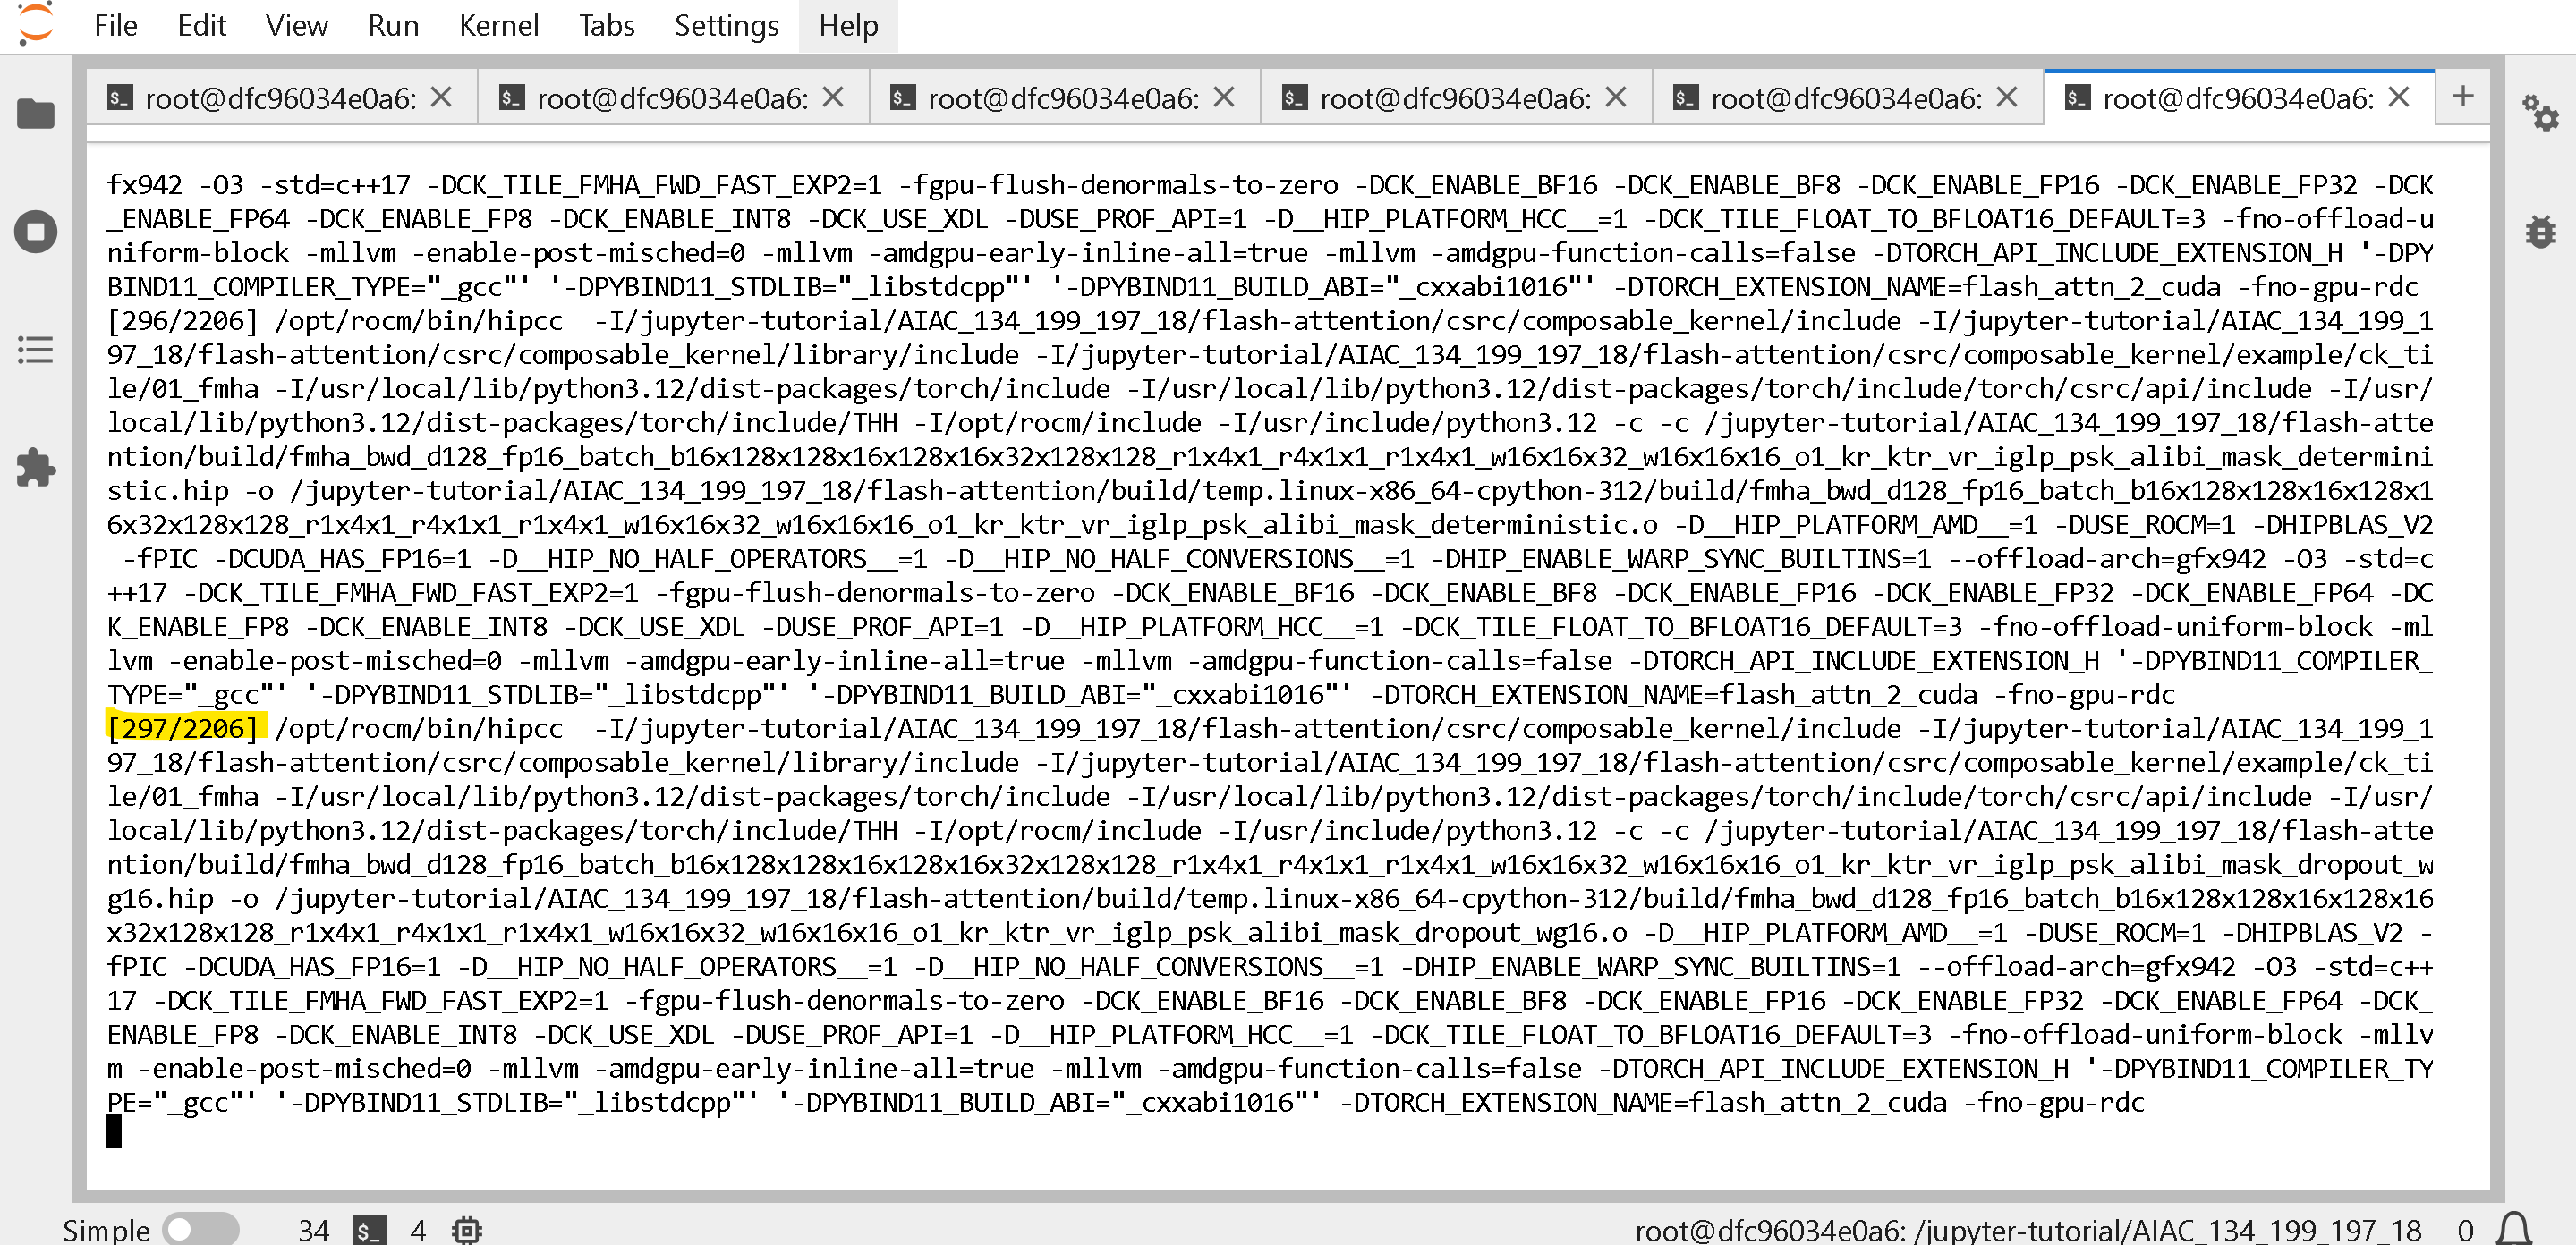
Um den Fortschritt für Flash-Attention zu überwachen (was sehr lange dauern kann), achten Sie auf den Fortschritt \[296/2206].
**(NICHT OPTIONAL)** Dann bauen Sie aiter [AI Tensor Engine für ROCm](https://github.com/ROCm/aiter) (dies dauert 5 Minuten)
{% code overflow="wrap" %}
```bash
python3 -m pip uninstall -y aiter
git clone --recursive https://github.com/ROCm/aiter.git
cd aiter
git checkout $AITER_BRANCH_OR_COMMIT
git submodule sync; git submodule update --init --recursive
python3 setup.py develop
cd ..
```
{% endcode %}
**(NICHT OPTIONAL)** Dann bauen Sie vLLM:
```bash
pip install --upgrade pip
pip uninstall vllm -y
pip install --upgrade -qqq --no-cache-dir --force-reinstall --no-deps unsloth unsloth_zoo
pip uninstall bitsandbytes -y
pip install "unsloth[amd] @ git+https://github.com/unslothai/unsloth"
# AMD SMI bauen und installieren
pip install /opt/rocm/share/amd_smi
# Abhängigkeiten installieren
pip install --upgrade numba \\
scipy \\
huggingface-hub[cli,hf_transfer] \\
setuptools_scm
git clone --depth 1 --branch "v0.11.0" https://github.com/vllm-project/vllm.git vllm_build
cd vllm_build
pip install -r requirements/rocm.txt
# vLLM für MI210/MI250/MI300 bauen.
export PYTORCH_ROCM_ARCH="$(rocminfo | grep -m1 -oE 'gfx[0-9]+[a-z]*')"
python3 setup.py develop
cd ..
```
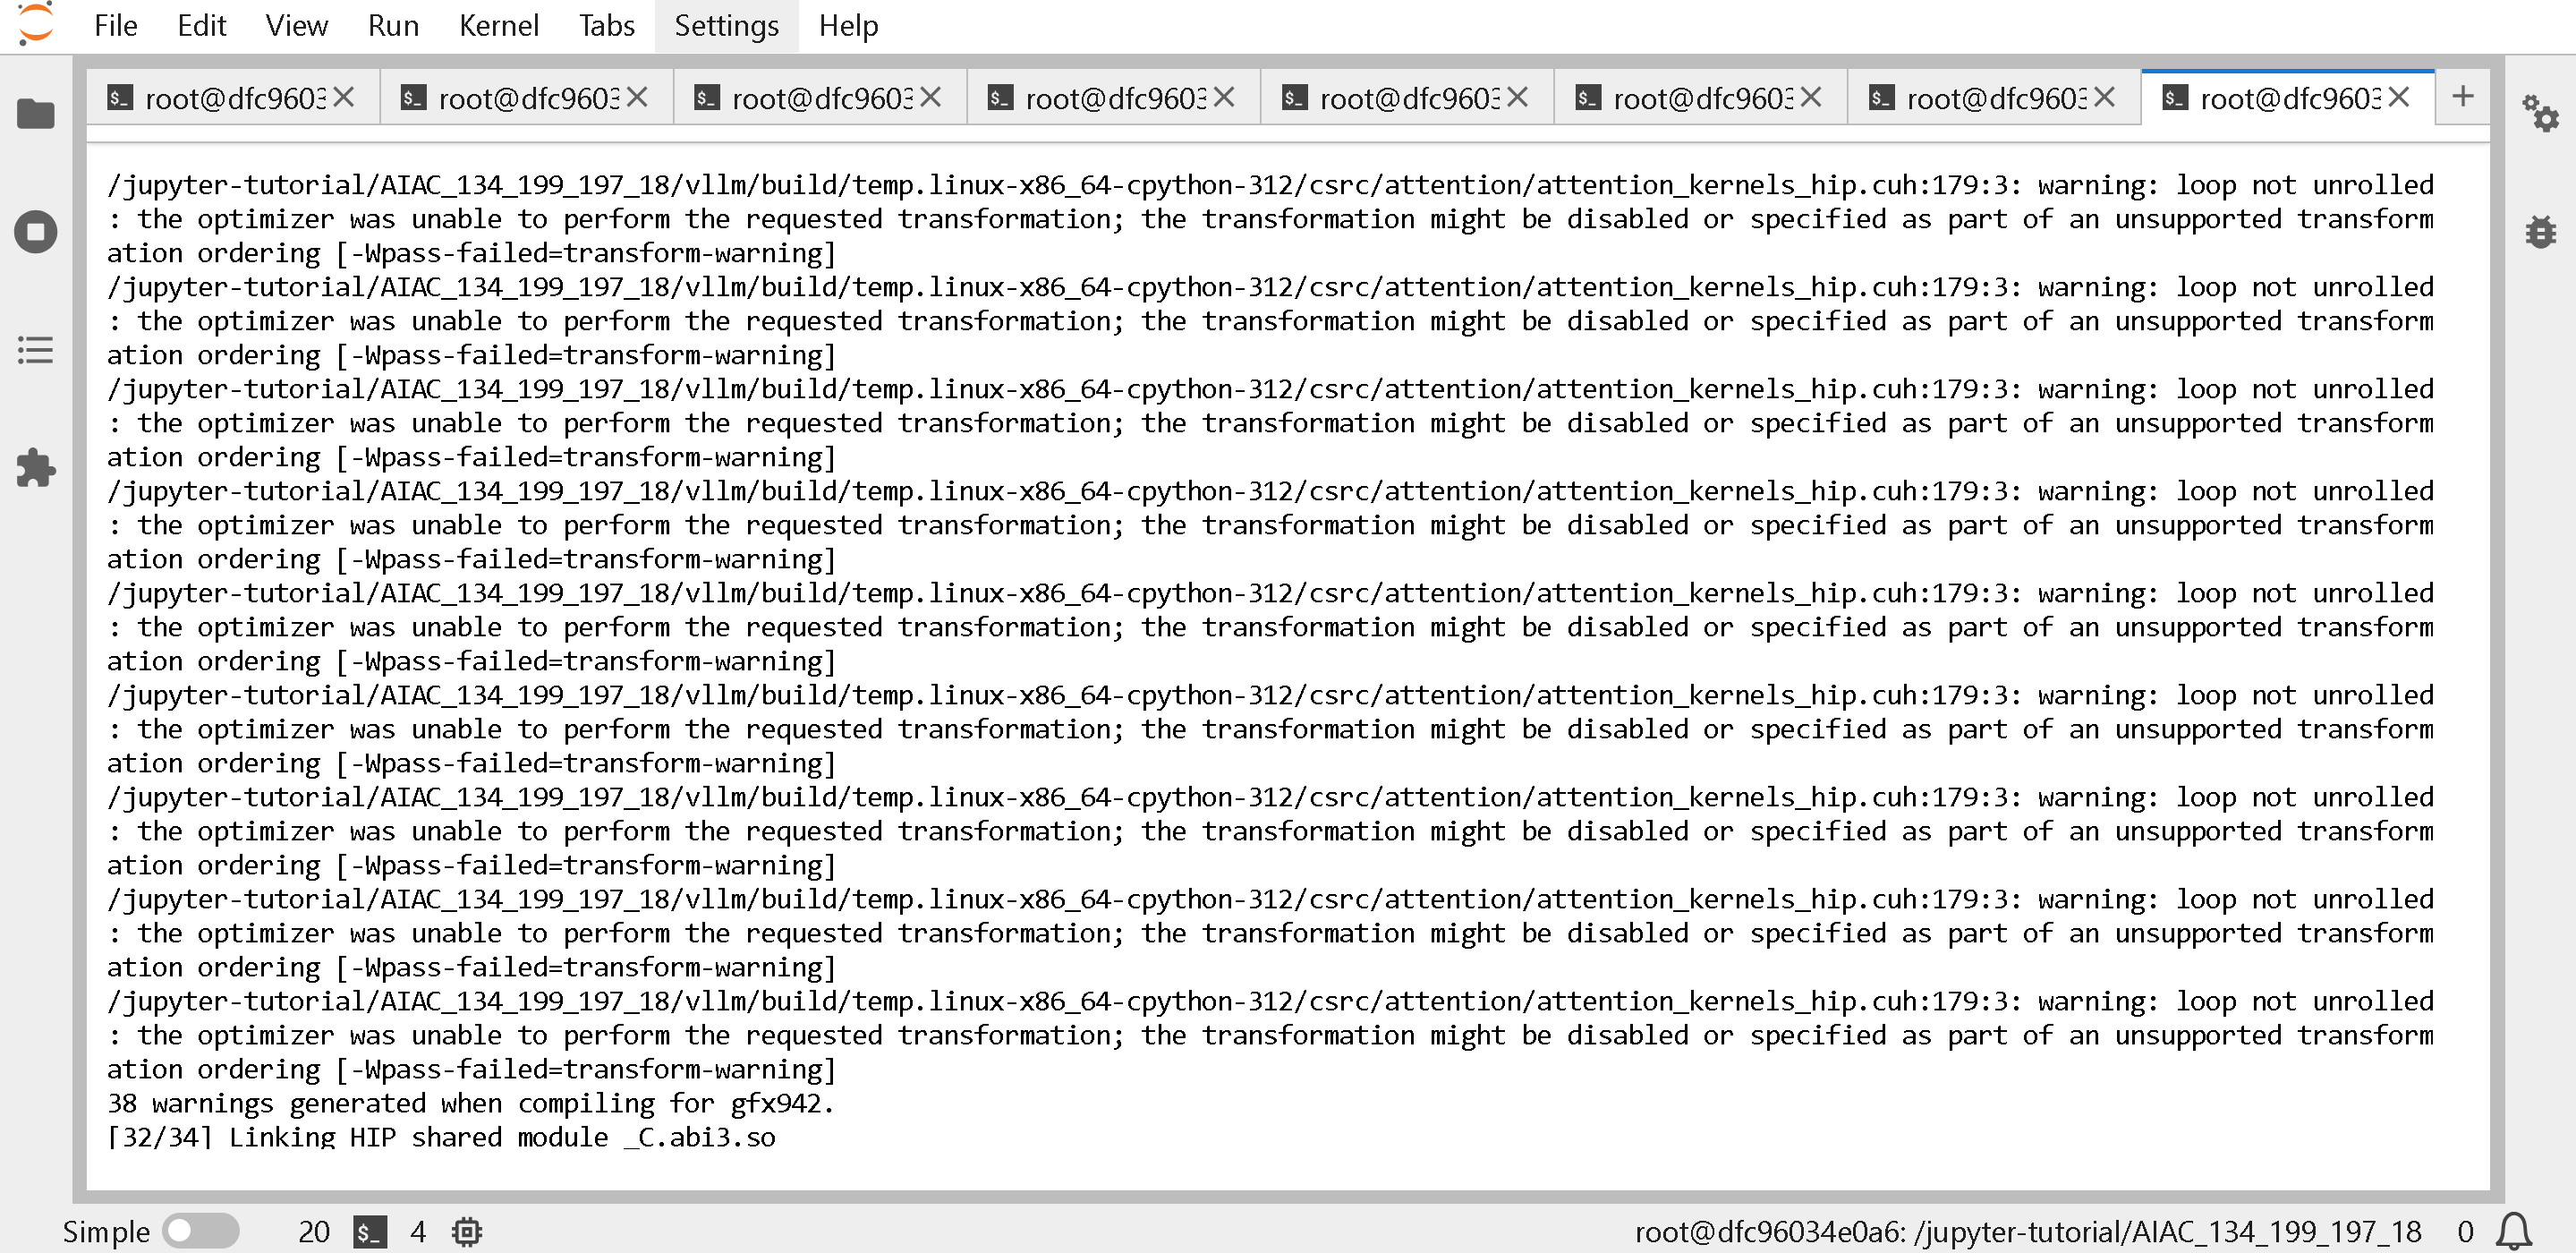
Sie werden das Folgende sehen (**bitte 5 bis 10 Minuten warten!**)
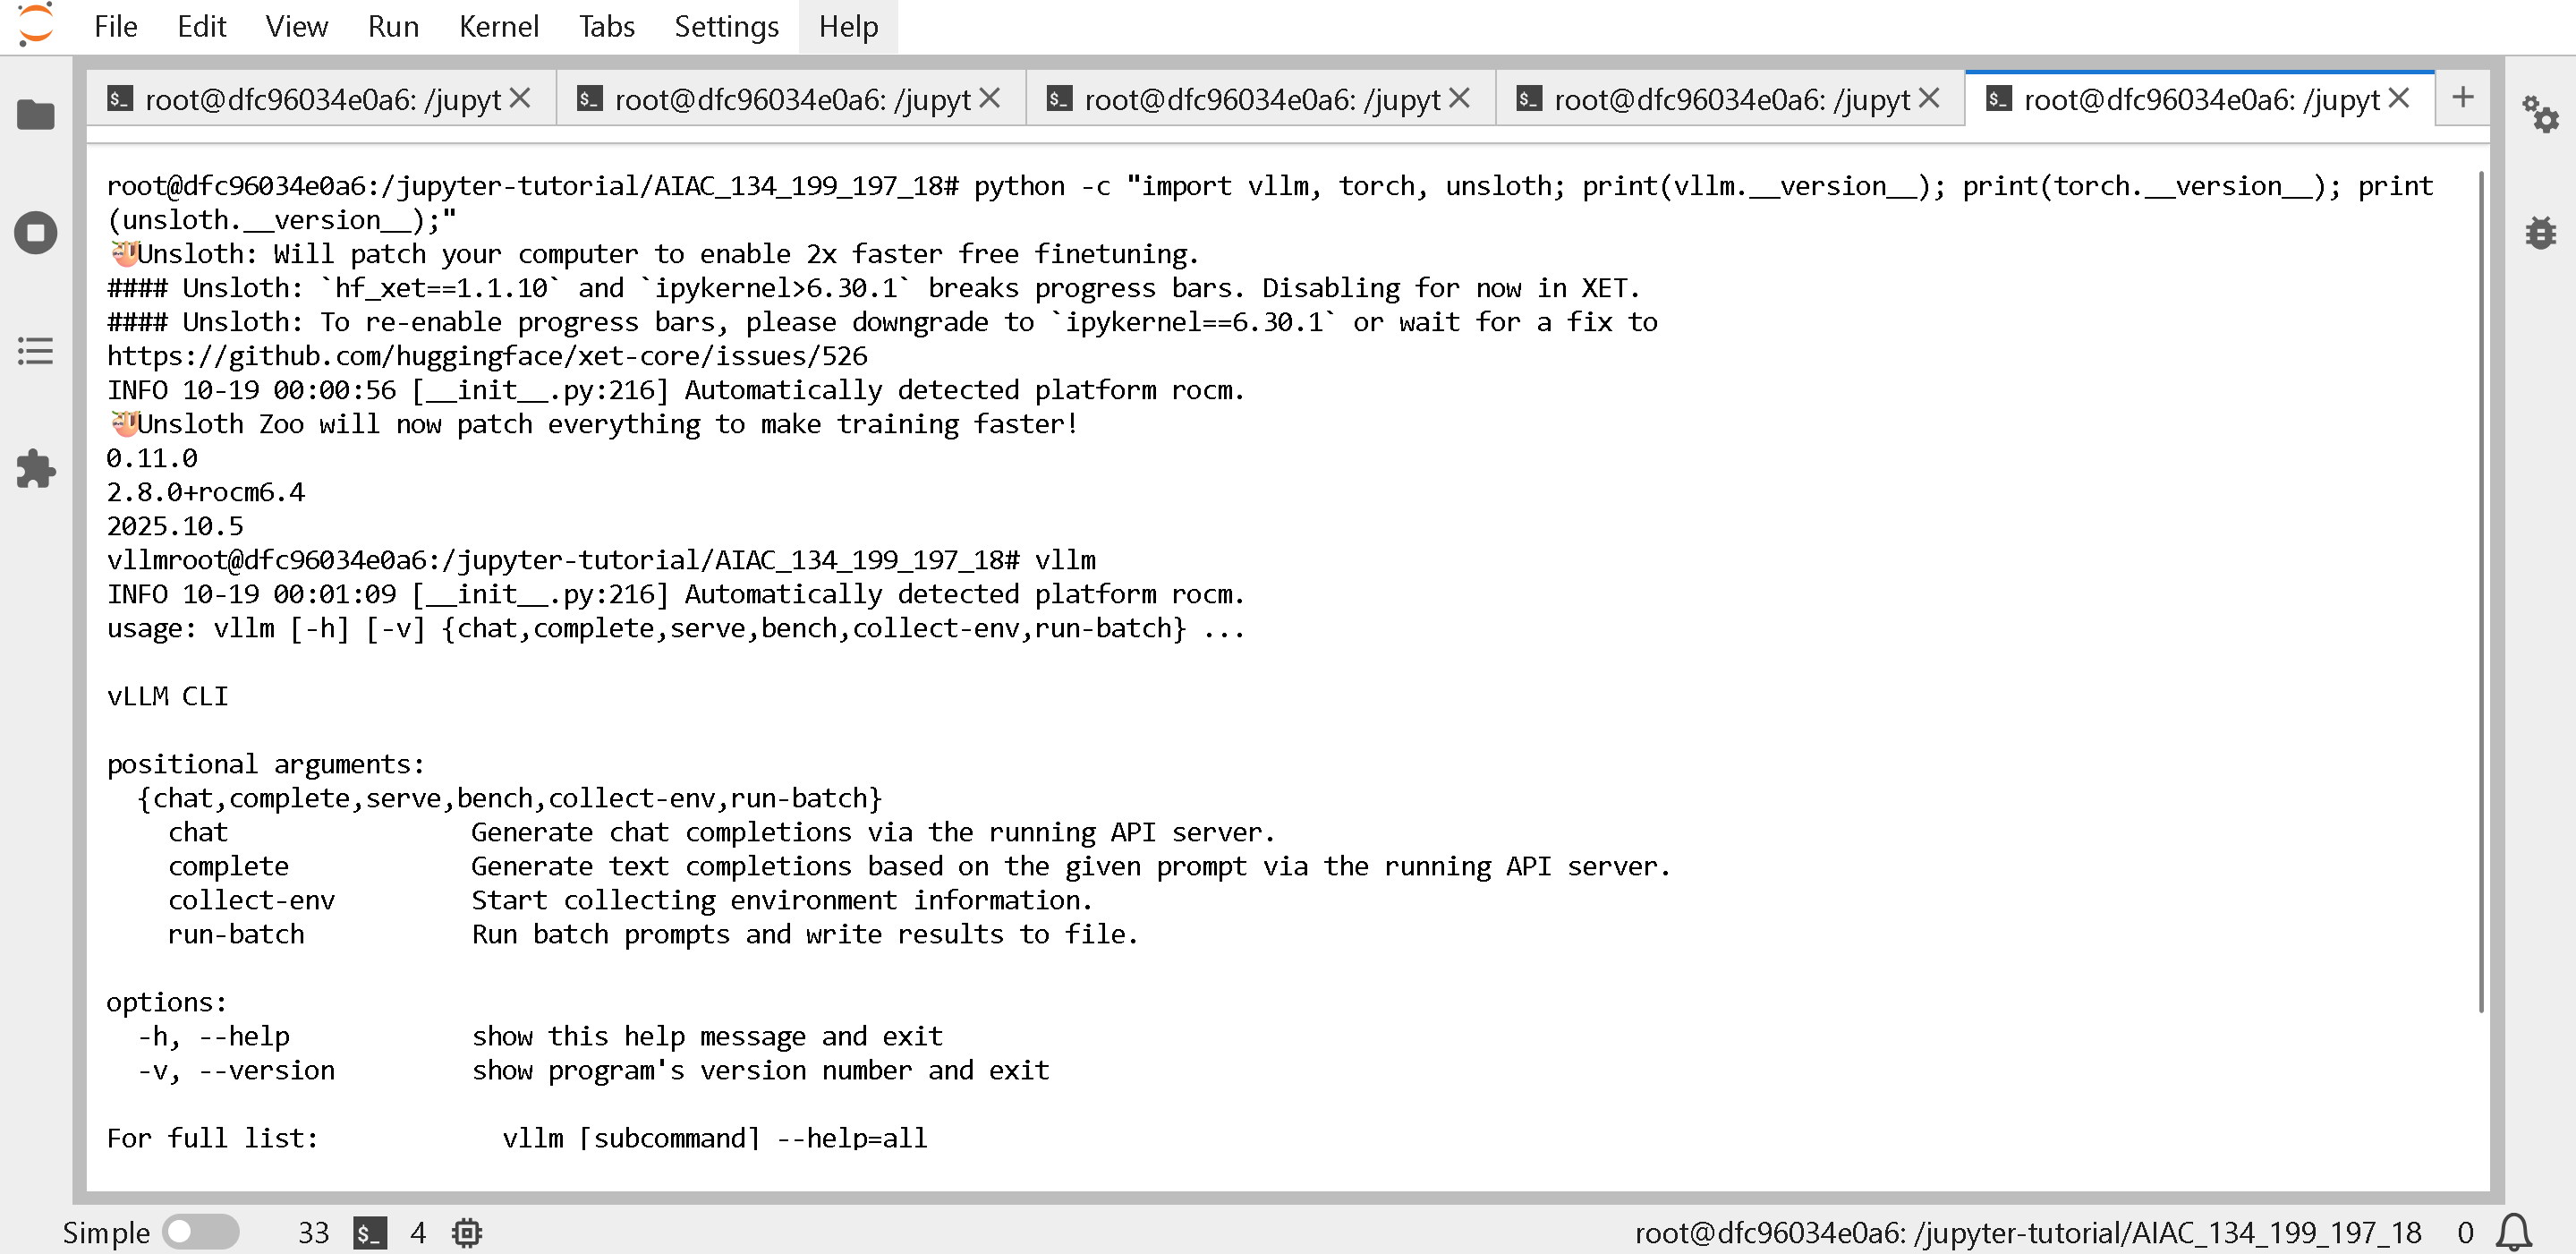
Bestätigen Sie, dass vLLM und torch aktualisiert wurden über
{% code overflow="wrap" %}
```bash
python -c "import vllm, torch, unsloth; print(vllm.__version__); print(torch.__version__); print(unsloth.__version__);"
vllm
```
{% endcode %}
was zeigen sollte, dass vLLM 0.11.0 oder höher ist, und torch MUSS ab Oktober 2025 2.8.0 sein. Der Typ `vllm` um zu bestätigen, dass vLLM wie erwartet funktioniert.
```
🦥 Unsloth Zoo patcht jetzt alles, um das Training schneller zu machen!
0.11.0
2.8.0+rocm6.4
2025.10.6
```
### :book:unsloth/gpt-oss-20b in vLLM ausführen
{% hint style="warning" %}
**GPT-OSS kann nach dem Build aus dem Quellcode noch nicht in vLLM ausgeführt werden – bitte sehen Sie vorerst** [**https://rocm.blogs.amd.com/ecosystems-and-partners/openai-day-0/README.html**](https://rocm.blogs.amd.com/ecosystems-and-partners/openai-day-0/README.html) **für Docker zum Ausführen von gpt-oss – leider kann der Hackathon kein Docker-in-Docker verwenden. Möglicherweise erhalten Sie den Fehler:**
{% code overflow="wrap" %}
```
ImportError: 'GFX950MXScaleLayout' kann nicht aus 'triton_kernels.tensor_details.layout' importiert werden (/usr/local/lib/python3.12/dist-packages/triton_kernels/tensor_details/layout.py)
(EngineCore_DP0 pid=44662) Prozess EngineCore_DP0:
```
{% endcode %}
{% endhint %}
Nach dem Aktualisieren von vLLM über [#updating-vllm-to-the-latest-on-amd](#updating-vllm-to-the-latest-on-amd "mention"), können Sie ausführen [gpt-oss-20b](https://huggingface.co/unsloth/gpt-oss-20b)! Siehe [#optimal-vllm-commands-on-amd](#optimal-vllm-commands-on-amd "mention") für bessere optimale Befehle zum Ausführen von vllm auf AMD-GPUs (möglicherweise erhalten Sie schnellere Inferenz!)
{% code overflow="wrap" %}
```bash
export VLLM_ROCM_USE_AITER=1
export VLLM_ROCM_USE_AITER_MHA=0
vllm serve unsloth/gpt-oss-20b \\
--no-enable-prefix-caching \\
--compilation-config '{"full_cuda_graph": true}' \\
--port 8001 \
--max-model-len 48000 \\
--gpu-memory-utilization 0.85
```
{% endcode %}
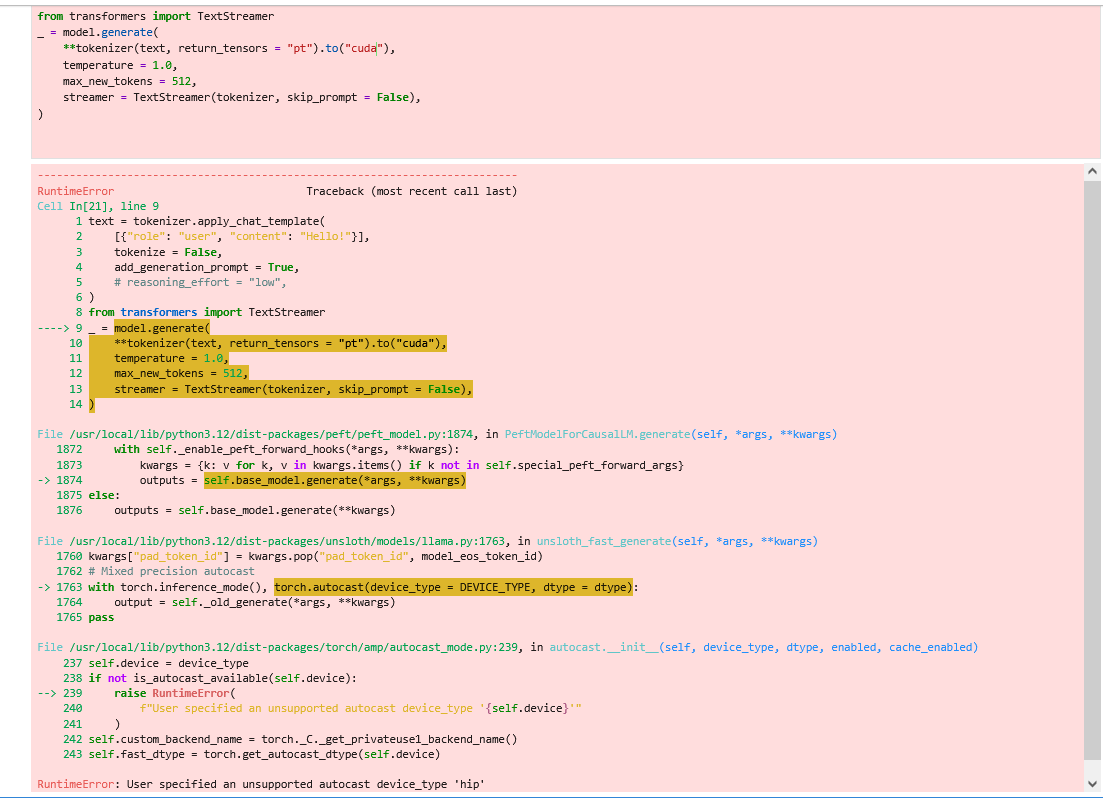
### :interrobang:RuntimeError: Vom Benutzer angegebenes nicht unterstütztes autocast device\_type 'hip'
**Bitte aktualisieren Sie Unsloth!** Siehe unten [#updating-unsloth](#updating-unsloth "mention")
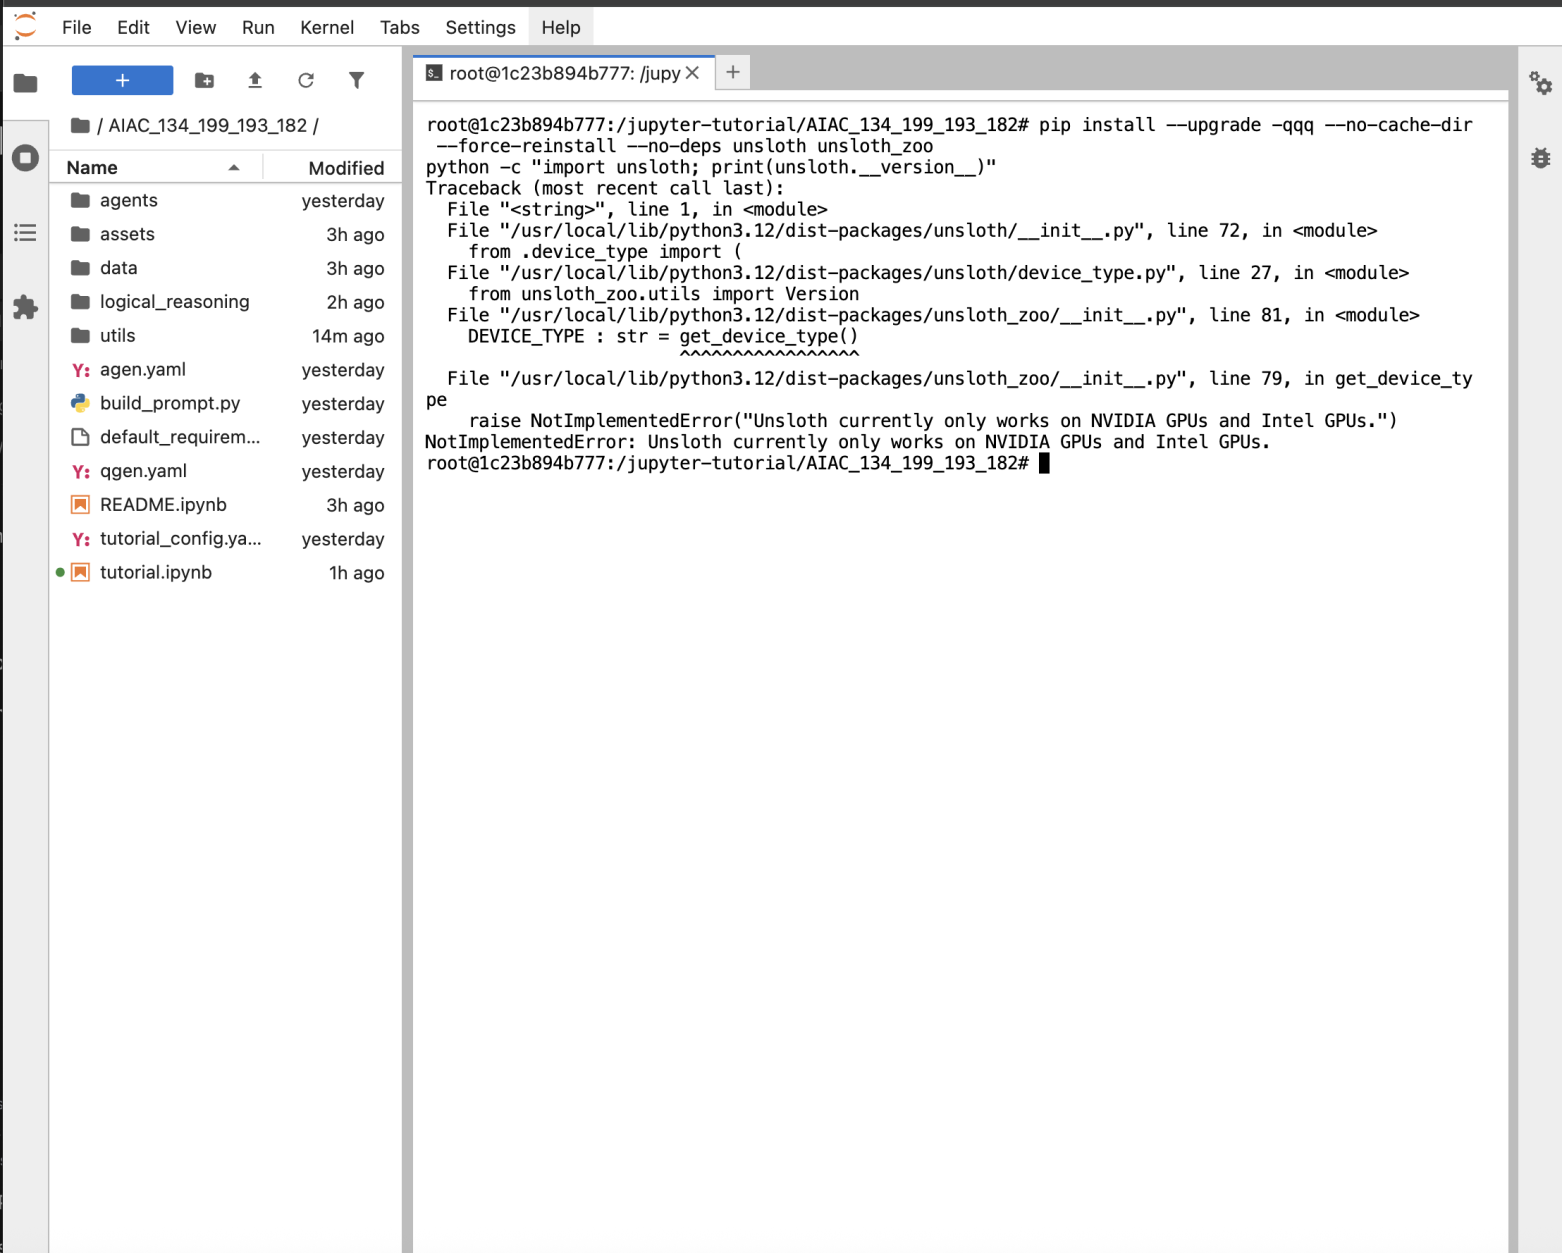
### :bug:NotImplementedError: Unsloth ist derzeit in Ordnung
### :new:Unsloth aktualisieren
**Aktualisieren Sie zuerst Unsloth** und bestätigen Sie, dass alles wie erwartet funktioniert – klicken Sie auf **Terminal**
Führen Sie dann das Folgende unten im **Terminal** um Unsloth zu aktualisieren – **stellen Sie sicher, dass die Version 2025.10.5 oder höher ist.**
```
pip install --upgrade -qqq --no-cache-dir --force-reinstall --no-deps unsloth unsloth_zoo
pip uninstall bitsandbytes -y
pip install "unsloth[amd] @ git+https://github.com/unslothai/unsloth"
python -c "import unsloth; print(unsloth.__version__)"
```
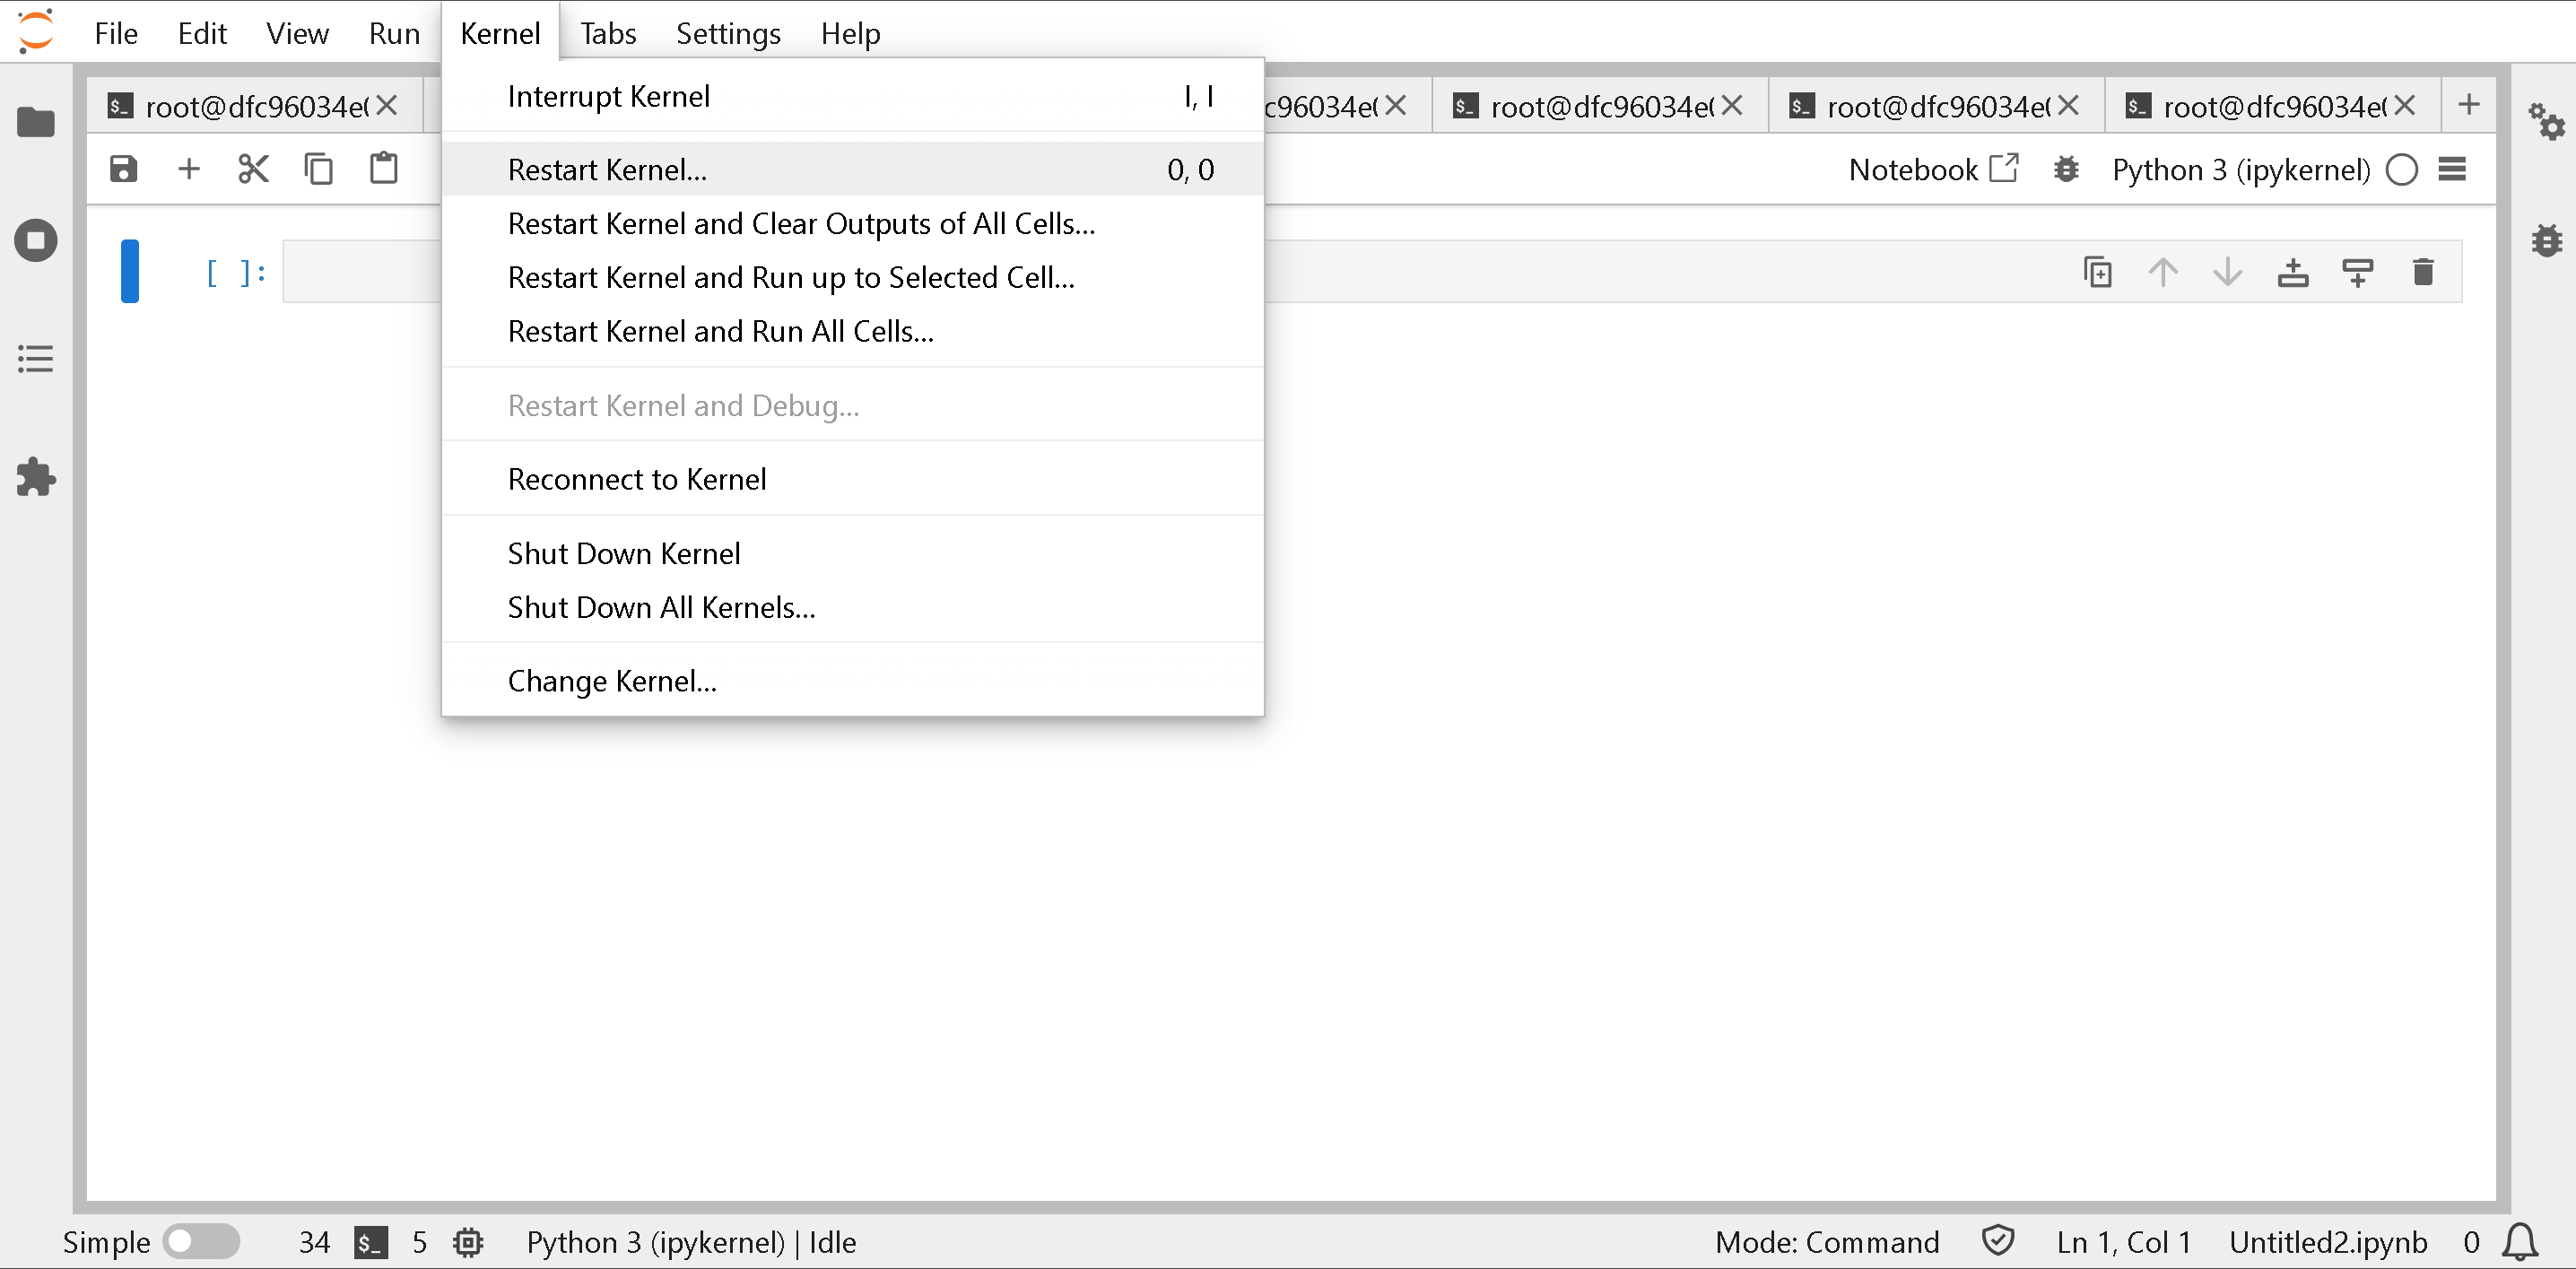
**Sie müssen die Laufzeitumgebung ebenfalls NEU STARTEN**
### :interrobang:terminate called after throwing an instance of 'std::logic\_error' what()
Bitte überprüfen Sie, dass Sie auf `torch==2.8.0`. Führen Sie Folgendes erneut aus:
{% code overflow="wrap" %}
```bash
pip install --upgrade torch==2.8.0 pytorch-triton-rocm torchvision torchaudio torchao==0.13.0 xformers --index-url https://download.pytorch.org/whl/rocm6.4
```
{% endcode %}
### :question:System wurde nicht gestartet, Verbindung zum Bus fehlgeschlagen
Möglicherweise sehen Sie Folgendes:
```
root@270fa7fa9157:/jupyter-tutorial/AIAC_129_212_183_103/assets# reboot
System wurde nicht mit systemd als Init-System (PID 1) gestartet. Kann nicht betrieben werden.
Verbindung zum Bus fehlgeschlagen: Host ist ausgefallen
Mit dem Init-Daemon konnte nicht gesprochen werden.
```
Bitte schreiben Sie uns, damit wir die Maschine neu starten können!
### :bug:Konfigurierte ROCm-Binärdatei nicht gefunden - get\_native\_library()
Dies zeigt, dass bitsandbytes wie unten nicht korrekt installiert ist:
{% code overflow="wrap" %}
```
Rückverfolgung (letzter Aufruf zuletzt):
Datei "/usr/local/lib/python3.12/dist-packages/bitsandbytes/cextension.py", Zeile 313, in
lib = get_native_library()
^^^^^^^^^^^^^^^^^^^^
Datei "/usr/local/lib/python3.12/dist-packages/bitsandbytes/cextension.py", Zeile 282, in get_native_library
raise RuntimeError(f"Configured {BNB_BACKEND} binary not found at {cuda_binary_path}")
RuntimeError: Konfigurierte ROCm-Binärdatei nicht gefunden unter /usr/local/lib/python3.12/dist-packages/bitsandbytes/libbitsandbytes_rocm64.so
```
{% endcode %}
Bitte beachten Sie [#updating-unsloth](#updating-unsloth "mention")um bitsandbytes und Unsloth zu aktualisieren!
### :exclamation:NotImplementedError: Kann nicht aus einem Meta-Tensor kopieren; keine Daten!
Dies bedeutet, dass Ihnen der Speicher ausgegangen ist. Siehe [#how-do-i-free-amd-gpu-memory](#how-do-i-free-amd-gpu-memory "mention") zum Freigeben des GPU-Speichers.
{% code overflow="wrap" %}
```
--------------------------------------------------------------------------
NotImplementedError Rückverfolgung (letzter Aufruf zuletzt)
Zelle In[18], Zeile 8
5 tokenizer.pad_token_id = tokenizer.eos_token_id
7 # Trainer mit ROCm-freundlichen Einstellungen und ordnungsgemäßer Datenverarbeitung einrichten
----> 8 trainer = SFTTrainer(
9 model=model,
...
--> 235 lm_head_bad = lm_head_bad.cpu().float().numpy().round(3)
236 from collections import Counter
237 counter = Counter()
NotImplementedError: Kann nicht aus einem Meta-Tensor kopieren; keine Daten!
```
{% endcode %}
### :thought\_balloon:Import von vllm.\_C mit ModuleNotFoundError("No module named 'vllm.\_C'") fehlgeschlagen
Bitte installieren Sie vLLM neu. Verwenden Sie `vllm_build` als den Ordner, in den Sie git klonen, und nicht `vllm`. [#updating-vllm-to-the-latest-on-amd](#updating-vllm-to-the-latest-on-amd "mention")
### :hushed:ModuleNotFoundError: Kein Modul namens 'vllm'
Bitte tun Sie nicht `rm -rf vllm_build` den Ordner, den Sie gebaut haben. Oder installieren Sie vllm neu über [#updating-vllm-to-the-latest-on-amd](#updating-vllm-to-the-latest-on-amd "mention")
### :ledger:ipykernel>6.30.1 beschädigt Fortschrittsbalken.
Wenn Sie Folgendes sehen:
{% code overflow="wrap" %}
```
🦥 Unsloth: Wird Ihren Computer patchen, um 2x schnelleres kostenloses Finetuning zu ermöglichen.
#### Unsloth: `hf_xet==1.1.10` und `ipykernel>6.30.1` beschädigen Fortschrittsbalken. Vorerst in XET deaktiviert.
#### Unsloth: Um Fortschrittsbalken wieder zu aktivieren, reduzieren Sie bitte auf `ipykernel==6.30.1` oder warten Sie auf einen Fix für
https://github.com/huggingface/xet-core/issues/526
```
{% endcode %}
Ignorieren Sie es vorerst – Sie werden beim Herunterladen und Hochladen von Modellen einfach keine Fortschrittsbalken sehen.
### :bug:AssertionError: Kein MXFP4-MoE-Backend
Wenn Sie gpt-oss-20b ausführen und dies während vLLM sehen, installieren Sie vLLM bitte über neu [#updating-vllm-to-the-latest-on-amd](#updating-vllm-to-the-latest-on-amd "mention")
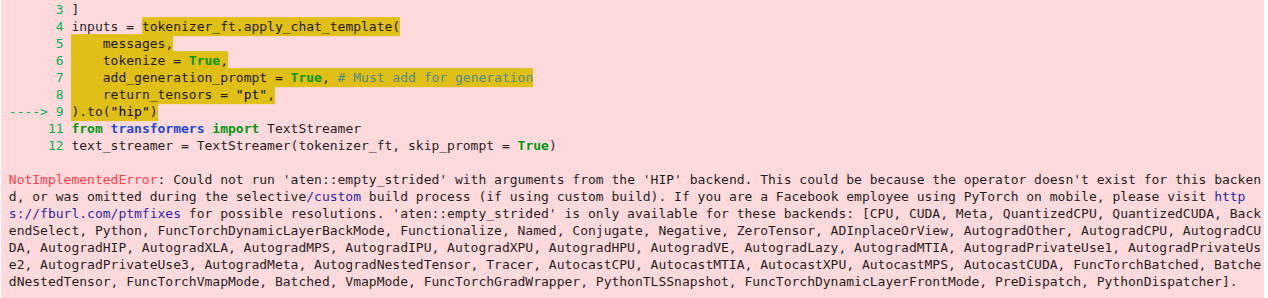
### :head\_bandage:NotImplementedError: \`aten::empty\_strided\` konnte nicht ausgeführt werden
Bitte verwenden Sie `.to("cuda")` und nicht `.to("hip")` Aktualisieren Sie außerdem Unsloth [#updating-unsloth](#updating-unsloth "mention")
### :bug:NotImplementedError: 'aten::empty.memory\_format' konnte nicht ausgeführt werden
Bitte beachten Sie [#updating-unsloth](#updating-unsloth "mention")um bitsandbytes und Unsloth zu aktualisieren!
---
# Agent Instructions
This documentation is published with GitBook. GitBook is the documentation platform designed so that both humans and AI agents can read, navigate, and reason over technical content effectively. Learn more at gitbook.com.
## Querying This Documentation
If you need additional information that is not directly available in this page, you can query the documentation by asking a question.
Perform an HTTP GET request on the following URL with the `ask` and `goal` query parameters:
```
GET https://unsloth.ai/docs/de/blog/unsloth-amd-pytorch-synthetic-data-hackathon.md?ask=&goal=
```
`ask` is the immediate question: it should be specific, self-contained, and written in natural language.
`goal` is what the user is ultimately trying to achieve, the reason they need the answer. Sharing it helps GitBook give you a better, more relevant answer. A goal is most helpful when it describes the outcome the user wants rather than restating the question. For example, with `ask=how do I create an API token`, a goal like `automate deployments from our CI pipeline` lets GitBook tailor the answer to that use case.
The response will contain a direct answer to the question and relevant excerpts and sources from the documentation.
Use this mechanism when the answer is not explicitly present in the current page, you need clarification or additional context, or you want to retrieve related documentation sections.
%20(1).png?alt=media)
%20(1).png?alt=media)