> For the complete documentation index, see [llms.txt](https://unsloth.ai/docs/llms.txt). Markdown versions of documentation pages are available by appending `.md` to page URLs; this page is available as [Markdown](https://unsloth.ai/docs/blog/unsloth-amd-pytorch-synthetic-data-hackathon.md).
# Unsloth AMD PyTorch Synthetic Data Hackathon
Tips & tricks, troubleshooting and guide to run Unsloth on an AMD GPU.
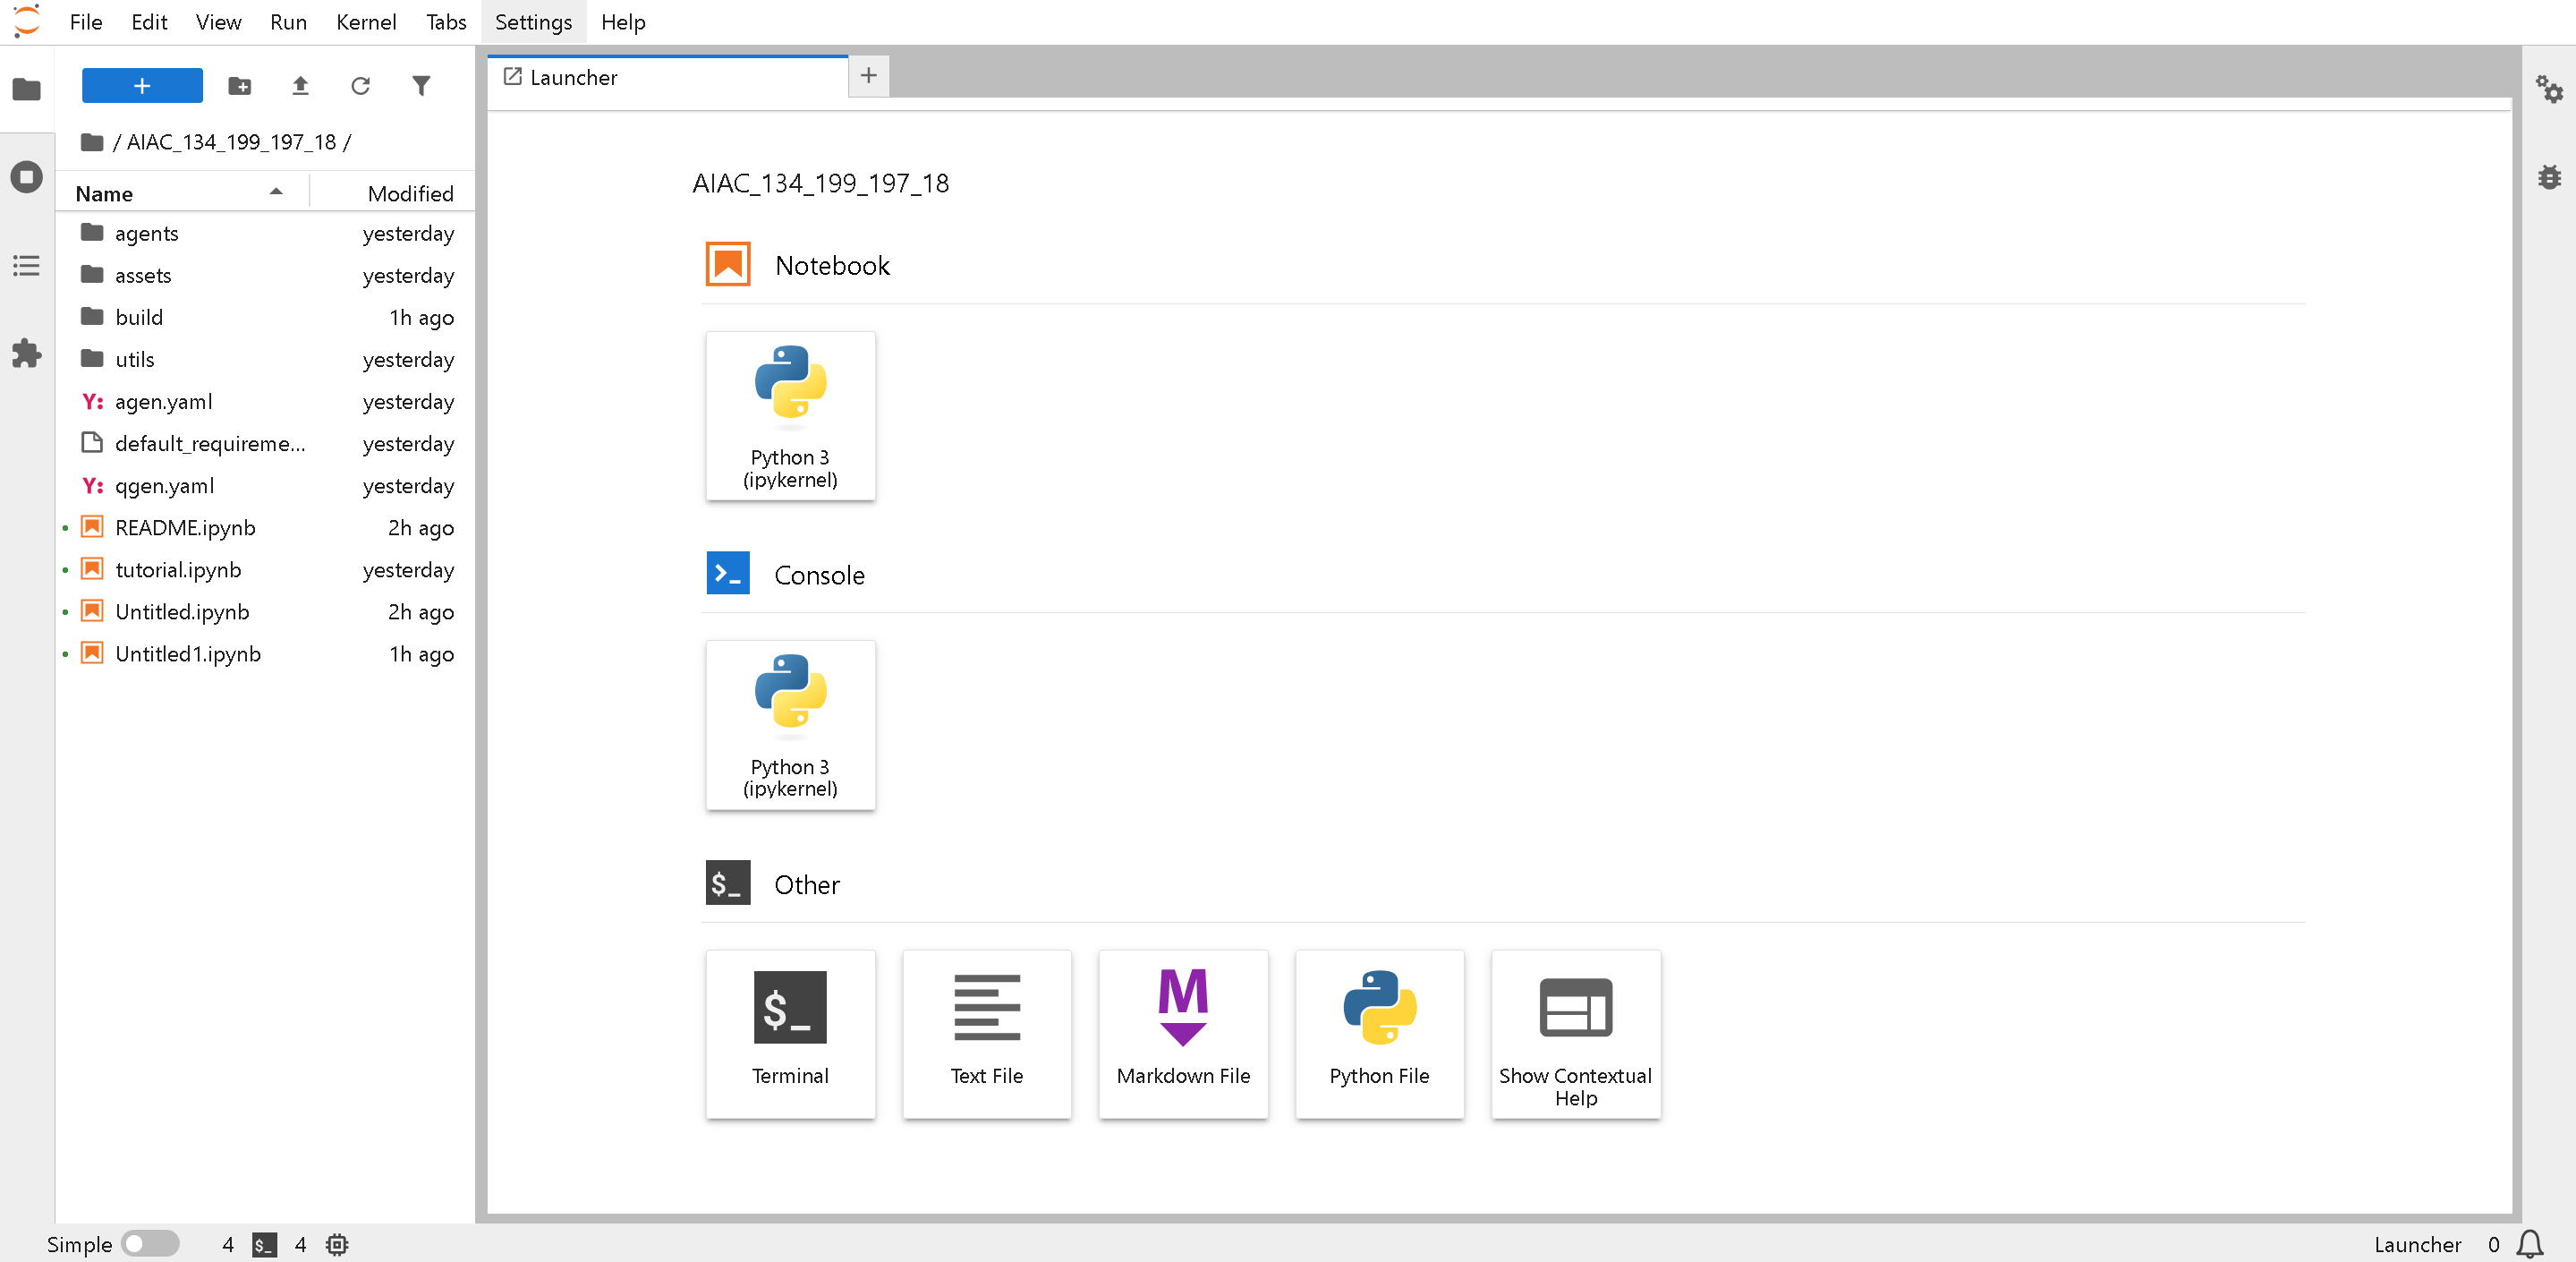
Once you get access to a MI300 machine, you will see a Jupyter Notebook interface:
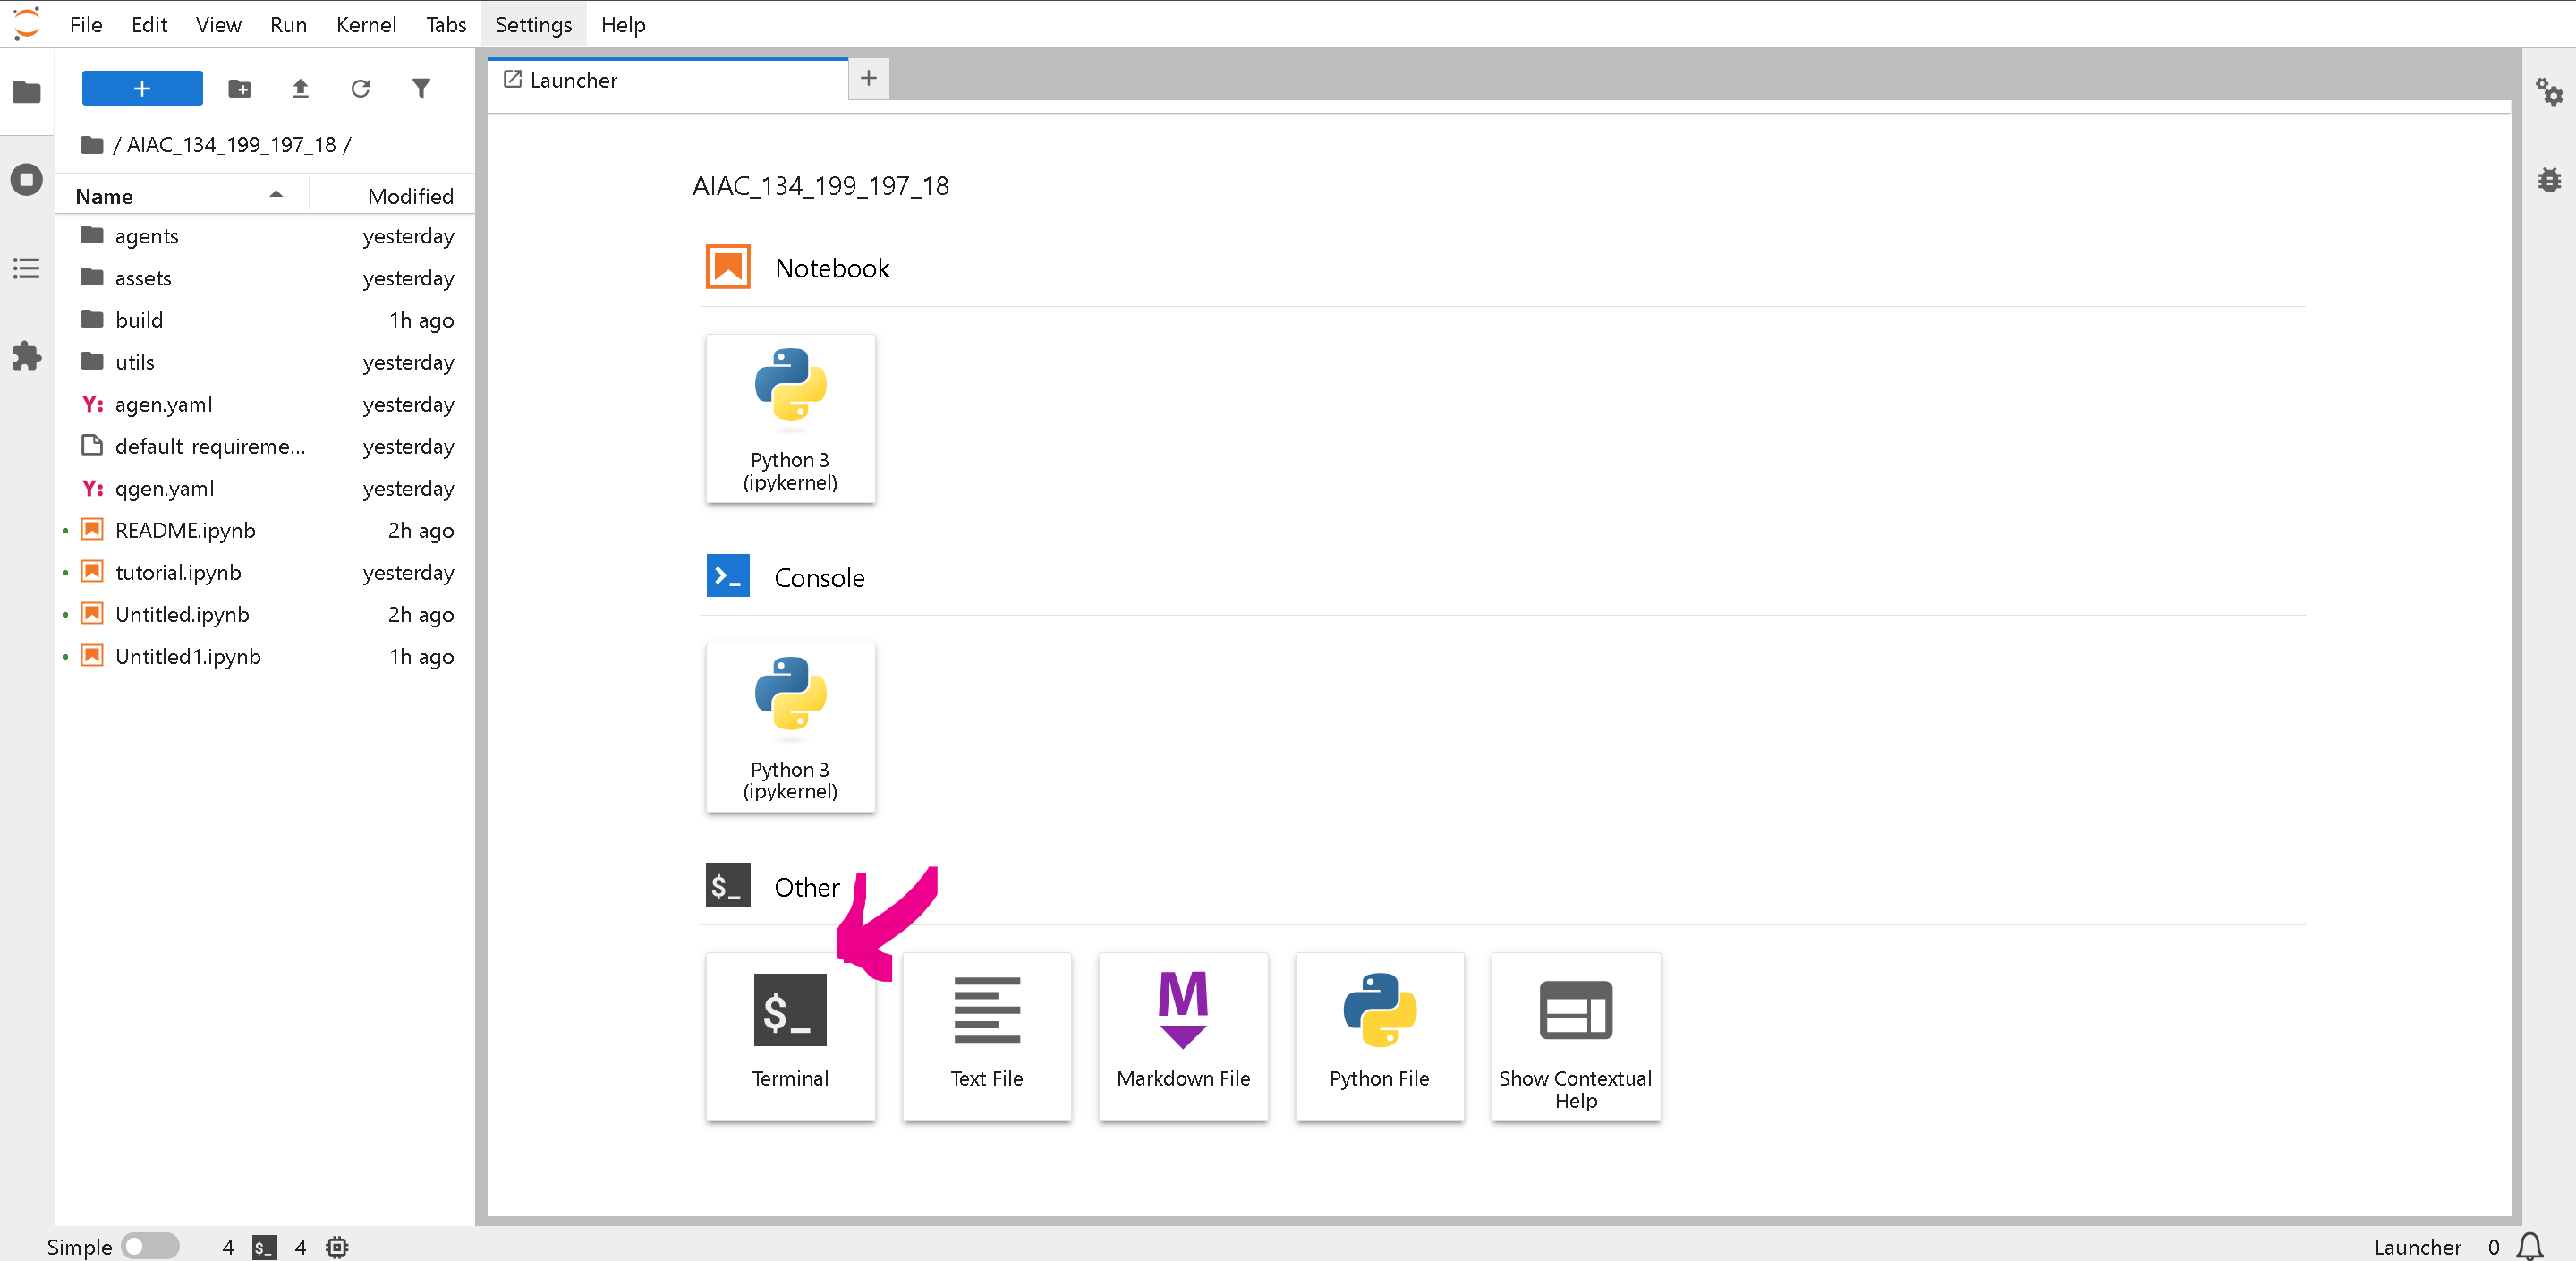
**First, update Unsloth** and confirm everything works as expected - click on **Terminal**
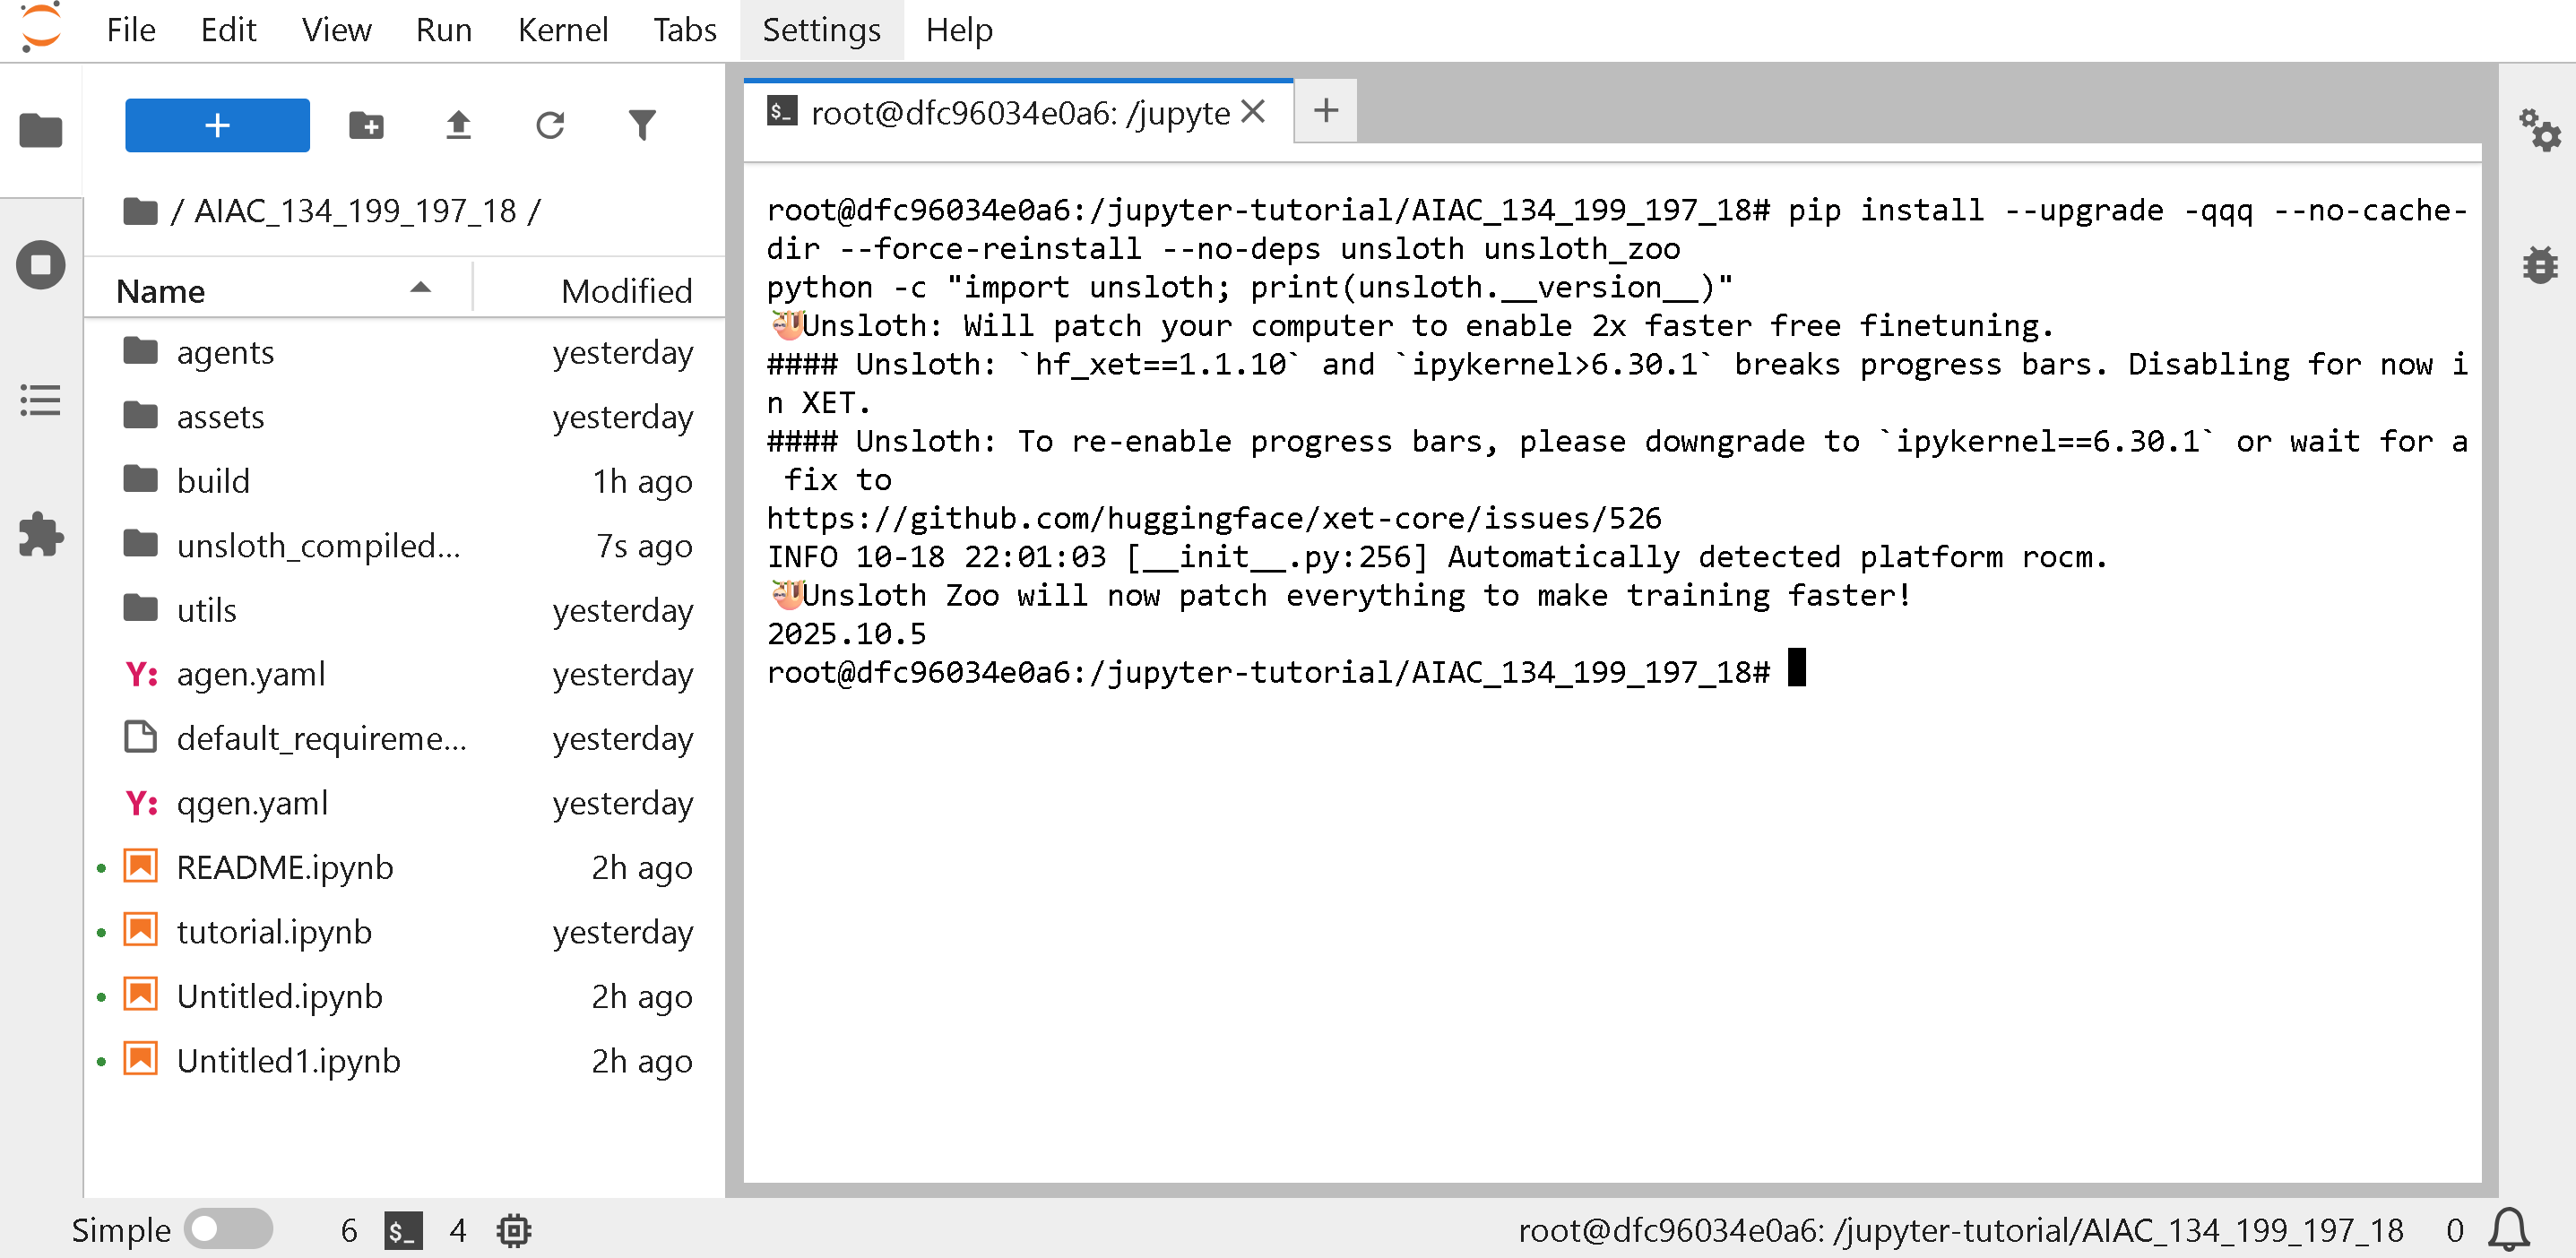
Then run the below in the **Terminal** to update Unsloth - ensure the version is **2025.10.5** or higher.
```
pip install --upgrade -qqq --no-cache-dir --force-reinstall --no-deps unsloth unsloth_zoo
python -c "import unsloth; print(unsloth.__version__)"
```
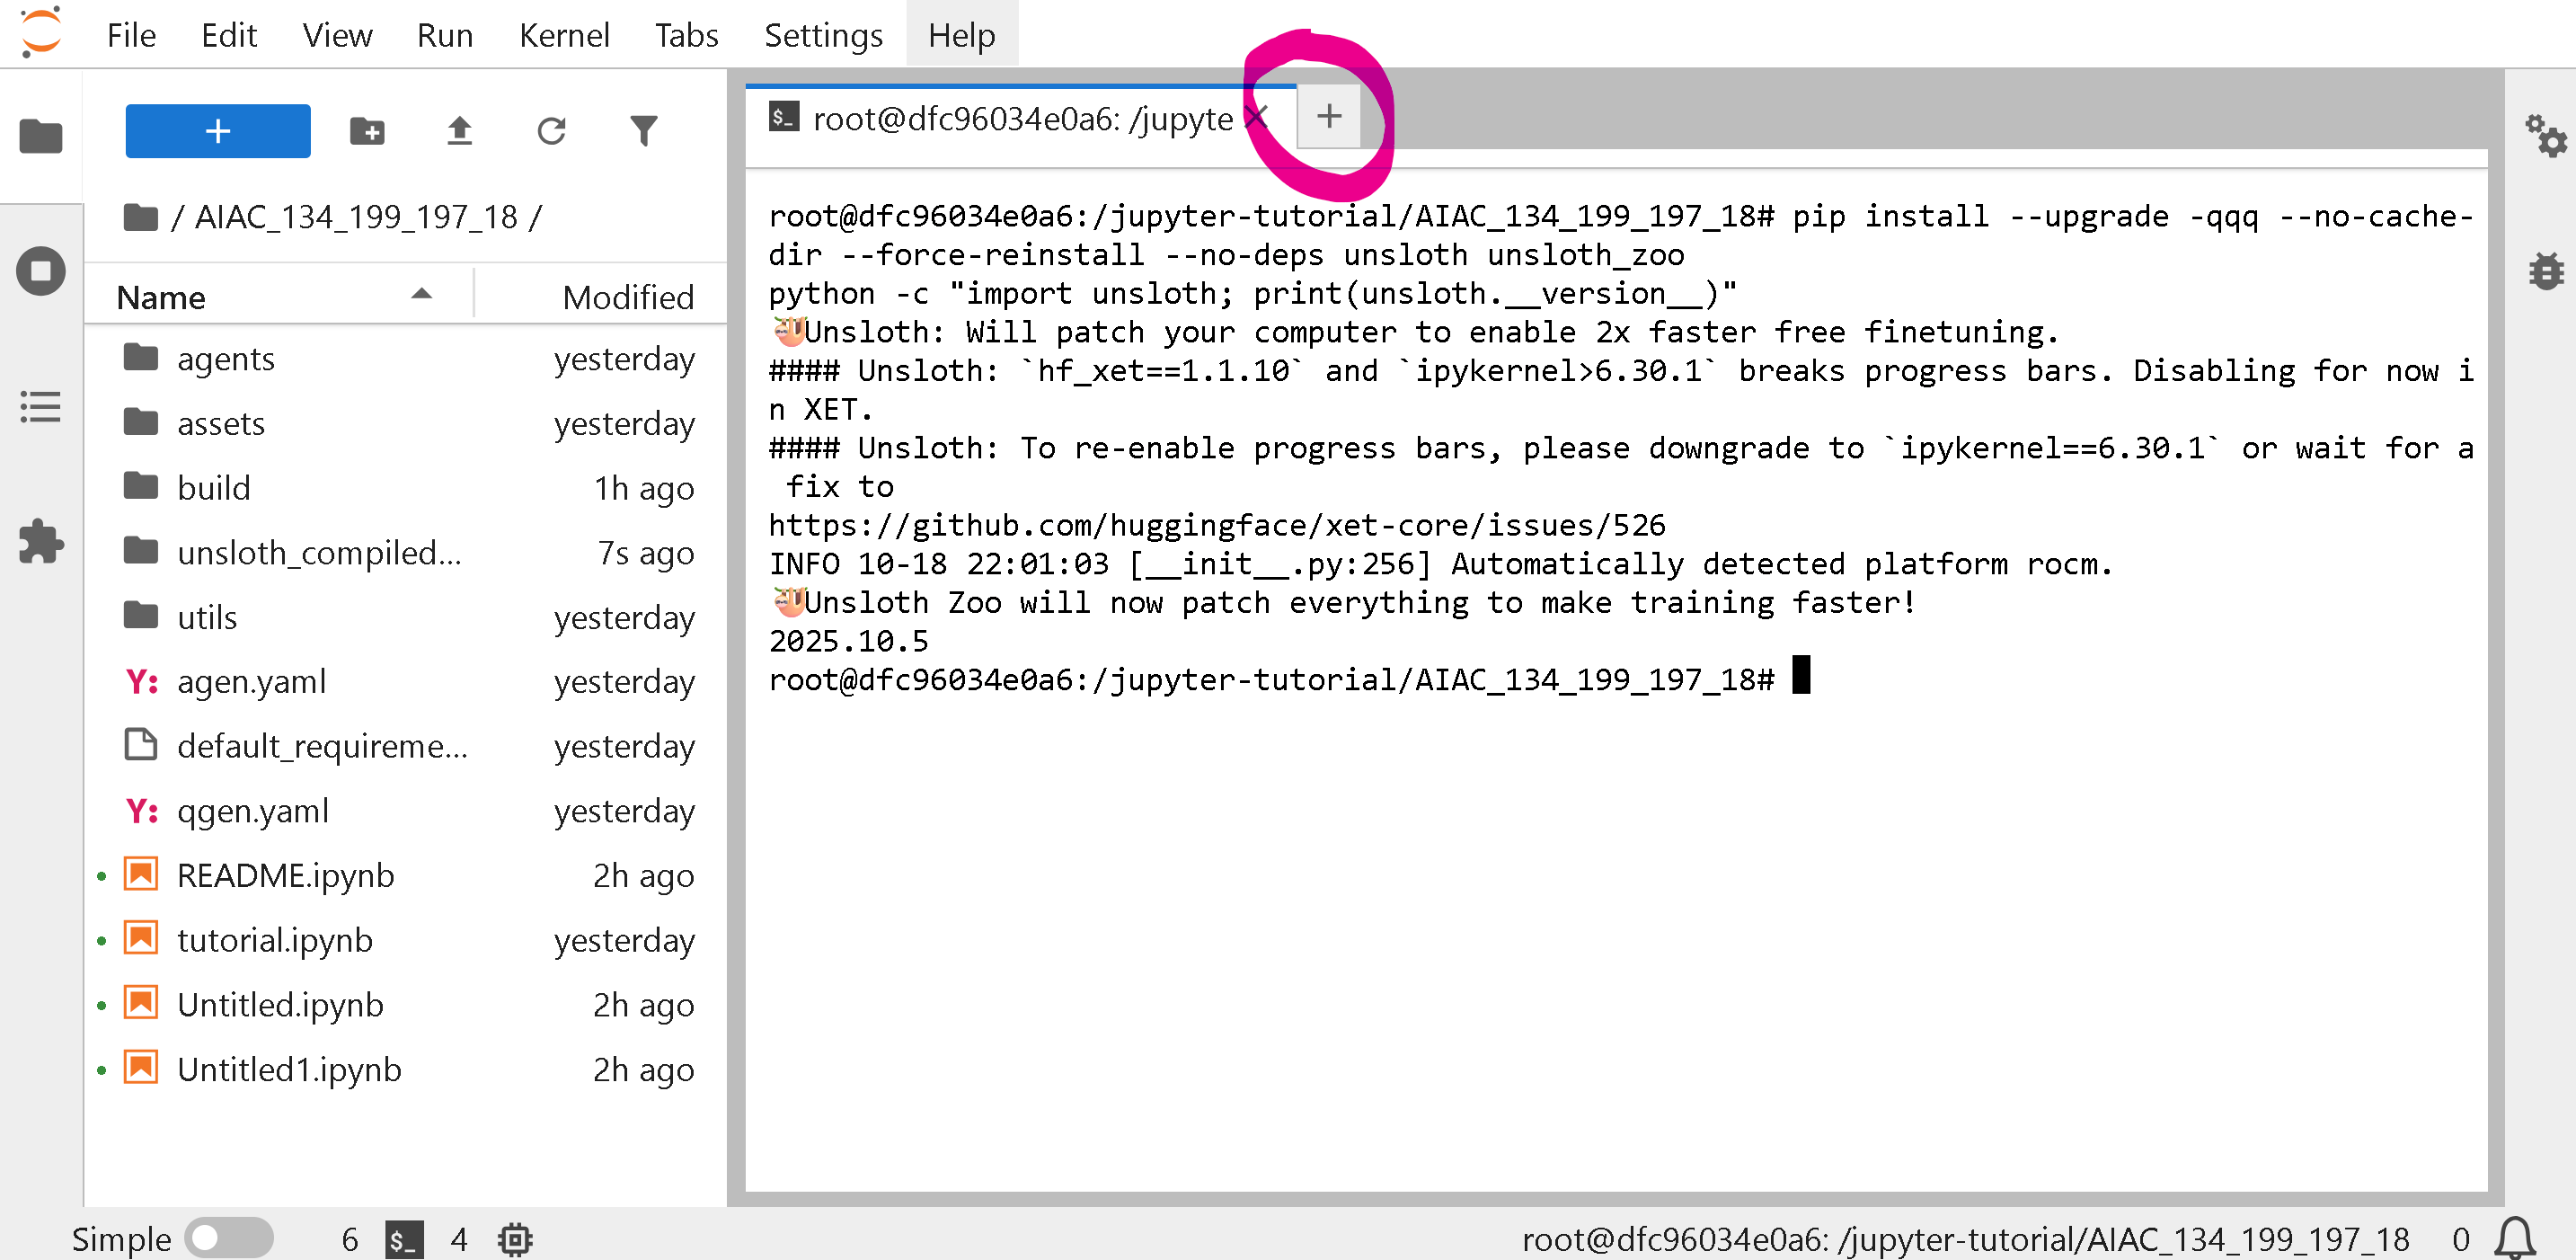
To make a new Notebook or Terminal, click on the PLUS button
{% hint style="success" %}
**Open up the README.ipynb file to read instructions and marking criteria**
{% endhint %}
### :butterfly:TUTORIAL 1: Confirming Unsloth works
Confirm our simple Llama 3.2 1B / 3B conversational notebook runs as expected in a new **Terminal**.
{% code overflow="wrap" %}
```bash
wget "https://raw.githubusercontent.com/unslothai/notebooks/refs/heads/main/python_scripts/Llama3.2_(1B_and_3B)-Conversational.py" -O llama_basic.py
python llama_basic.py
```
{% endcode %}
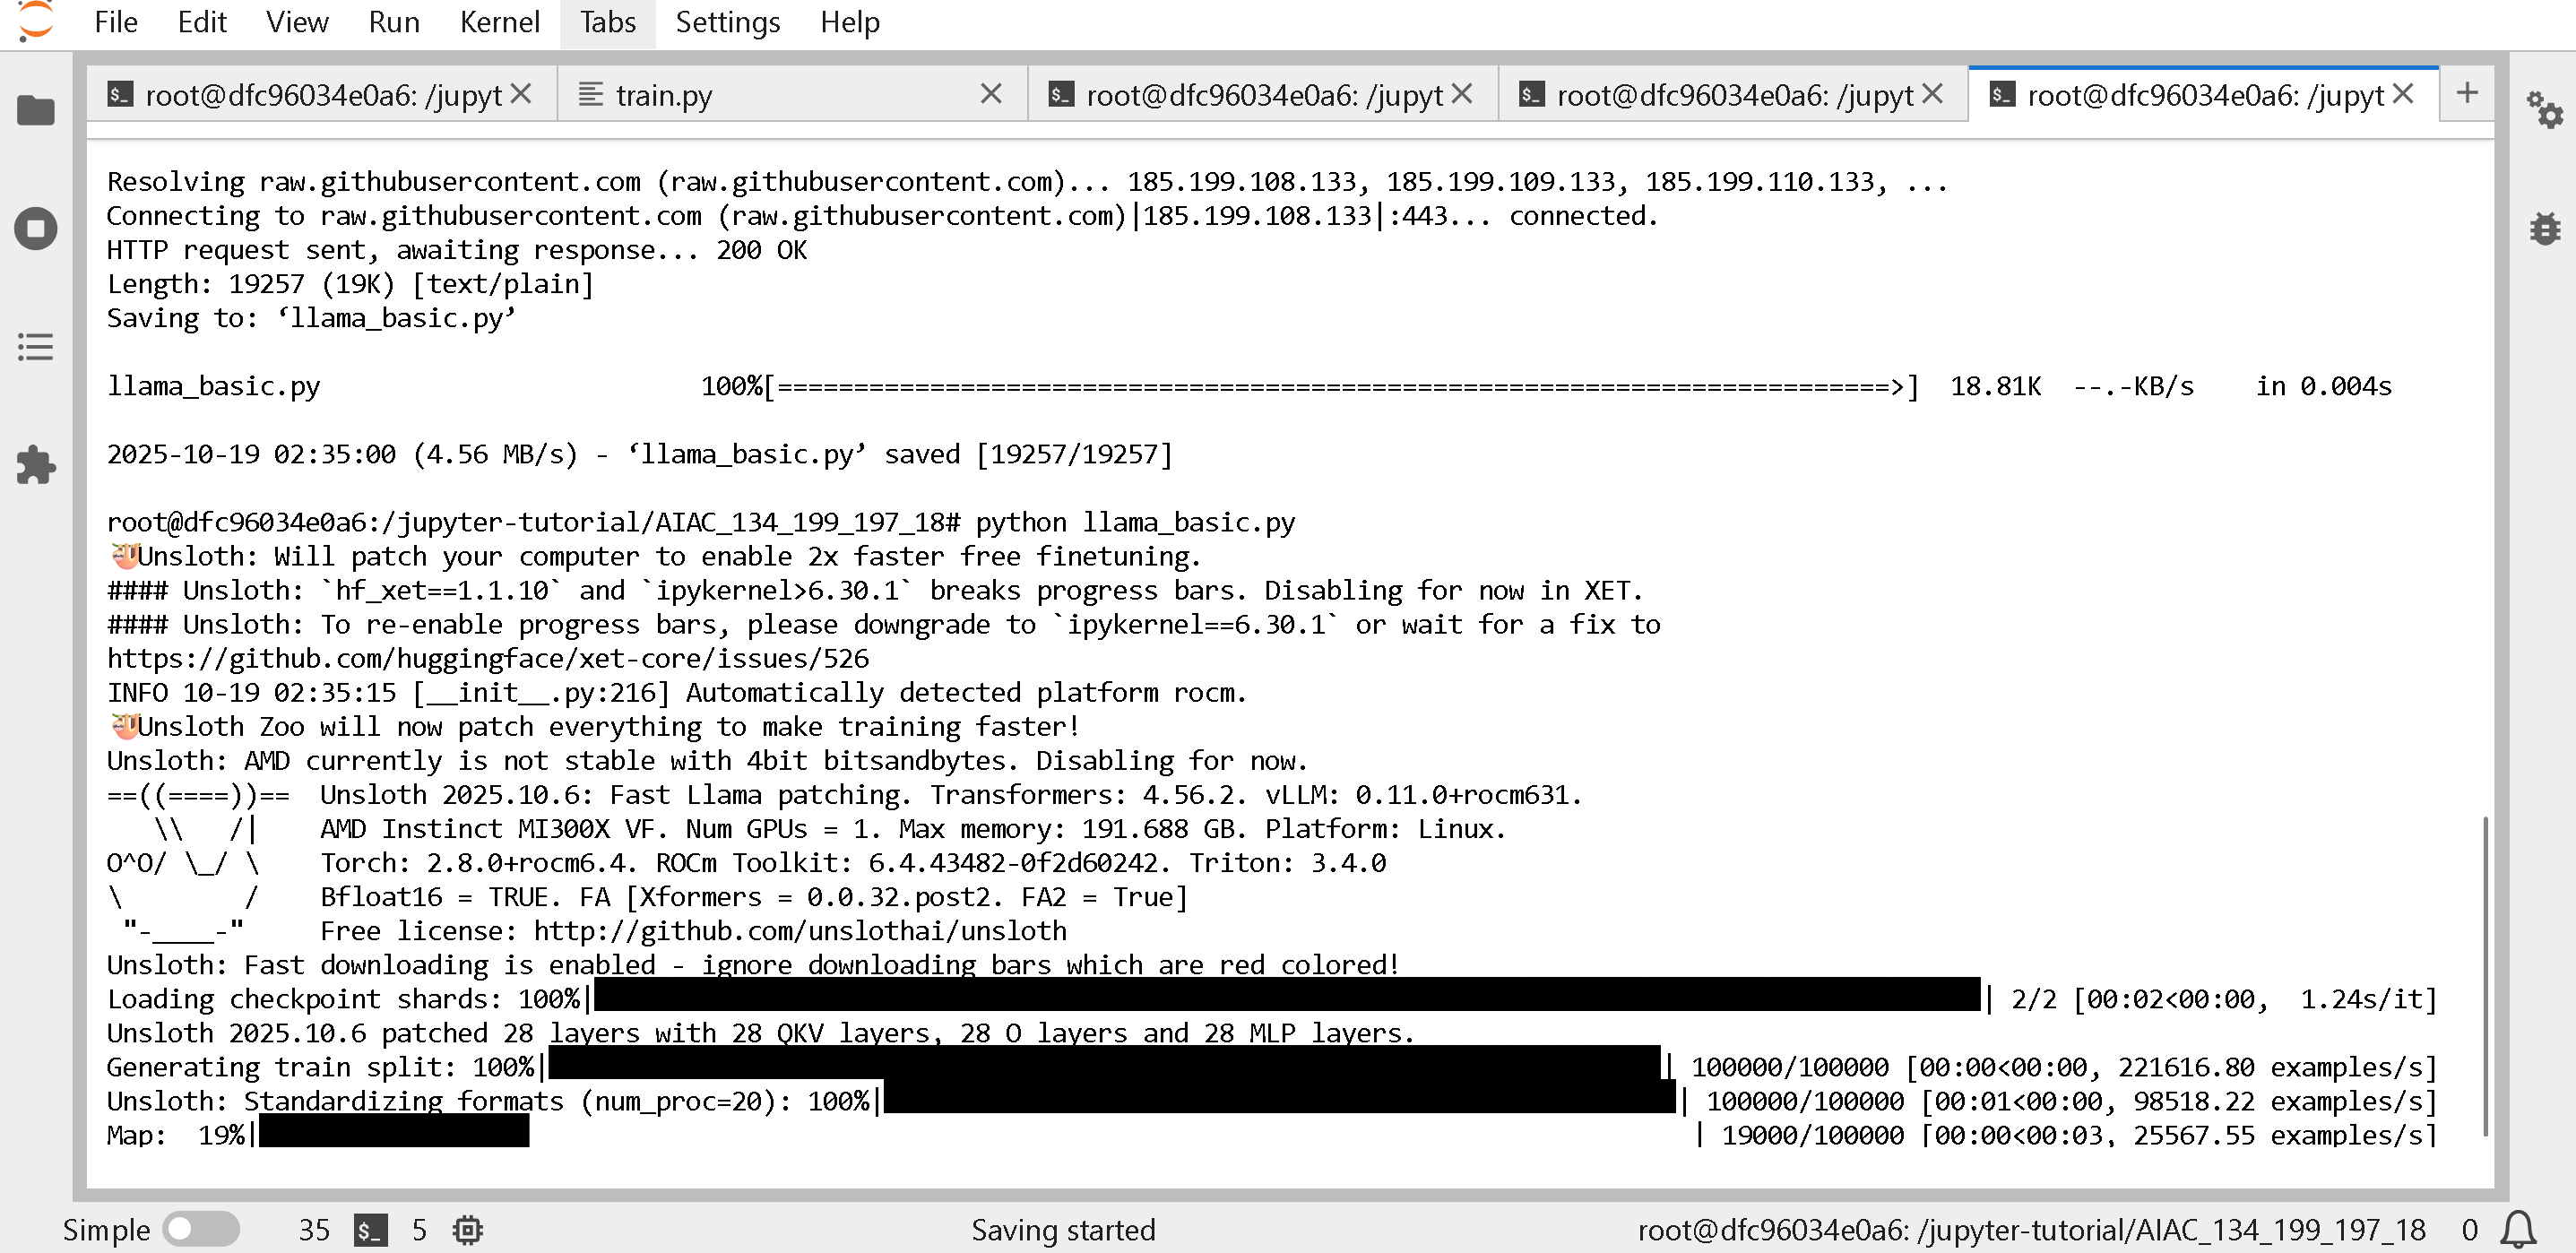
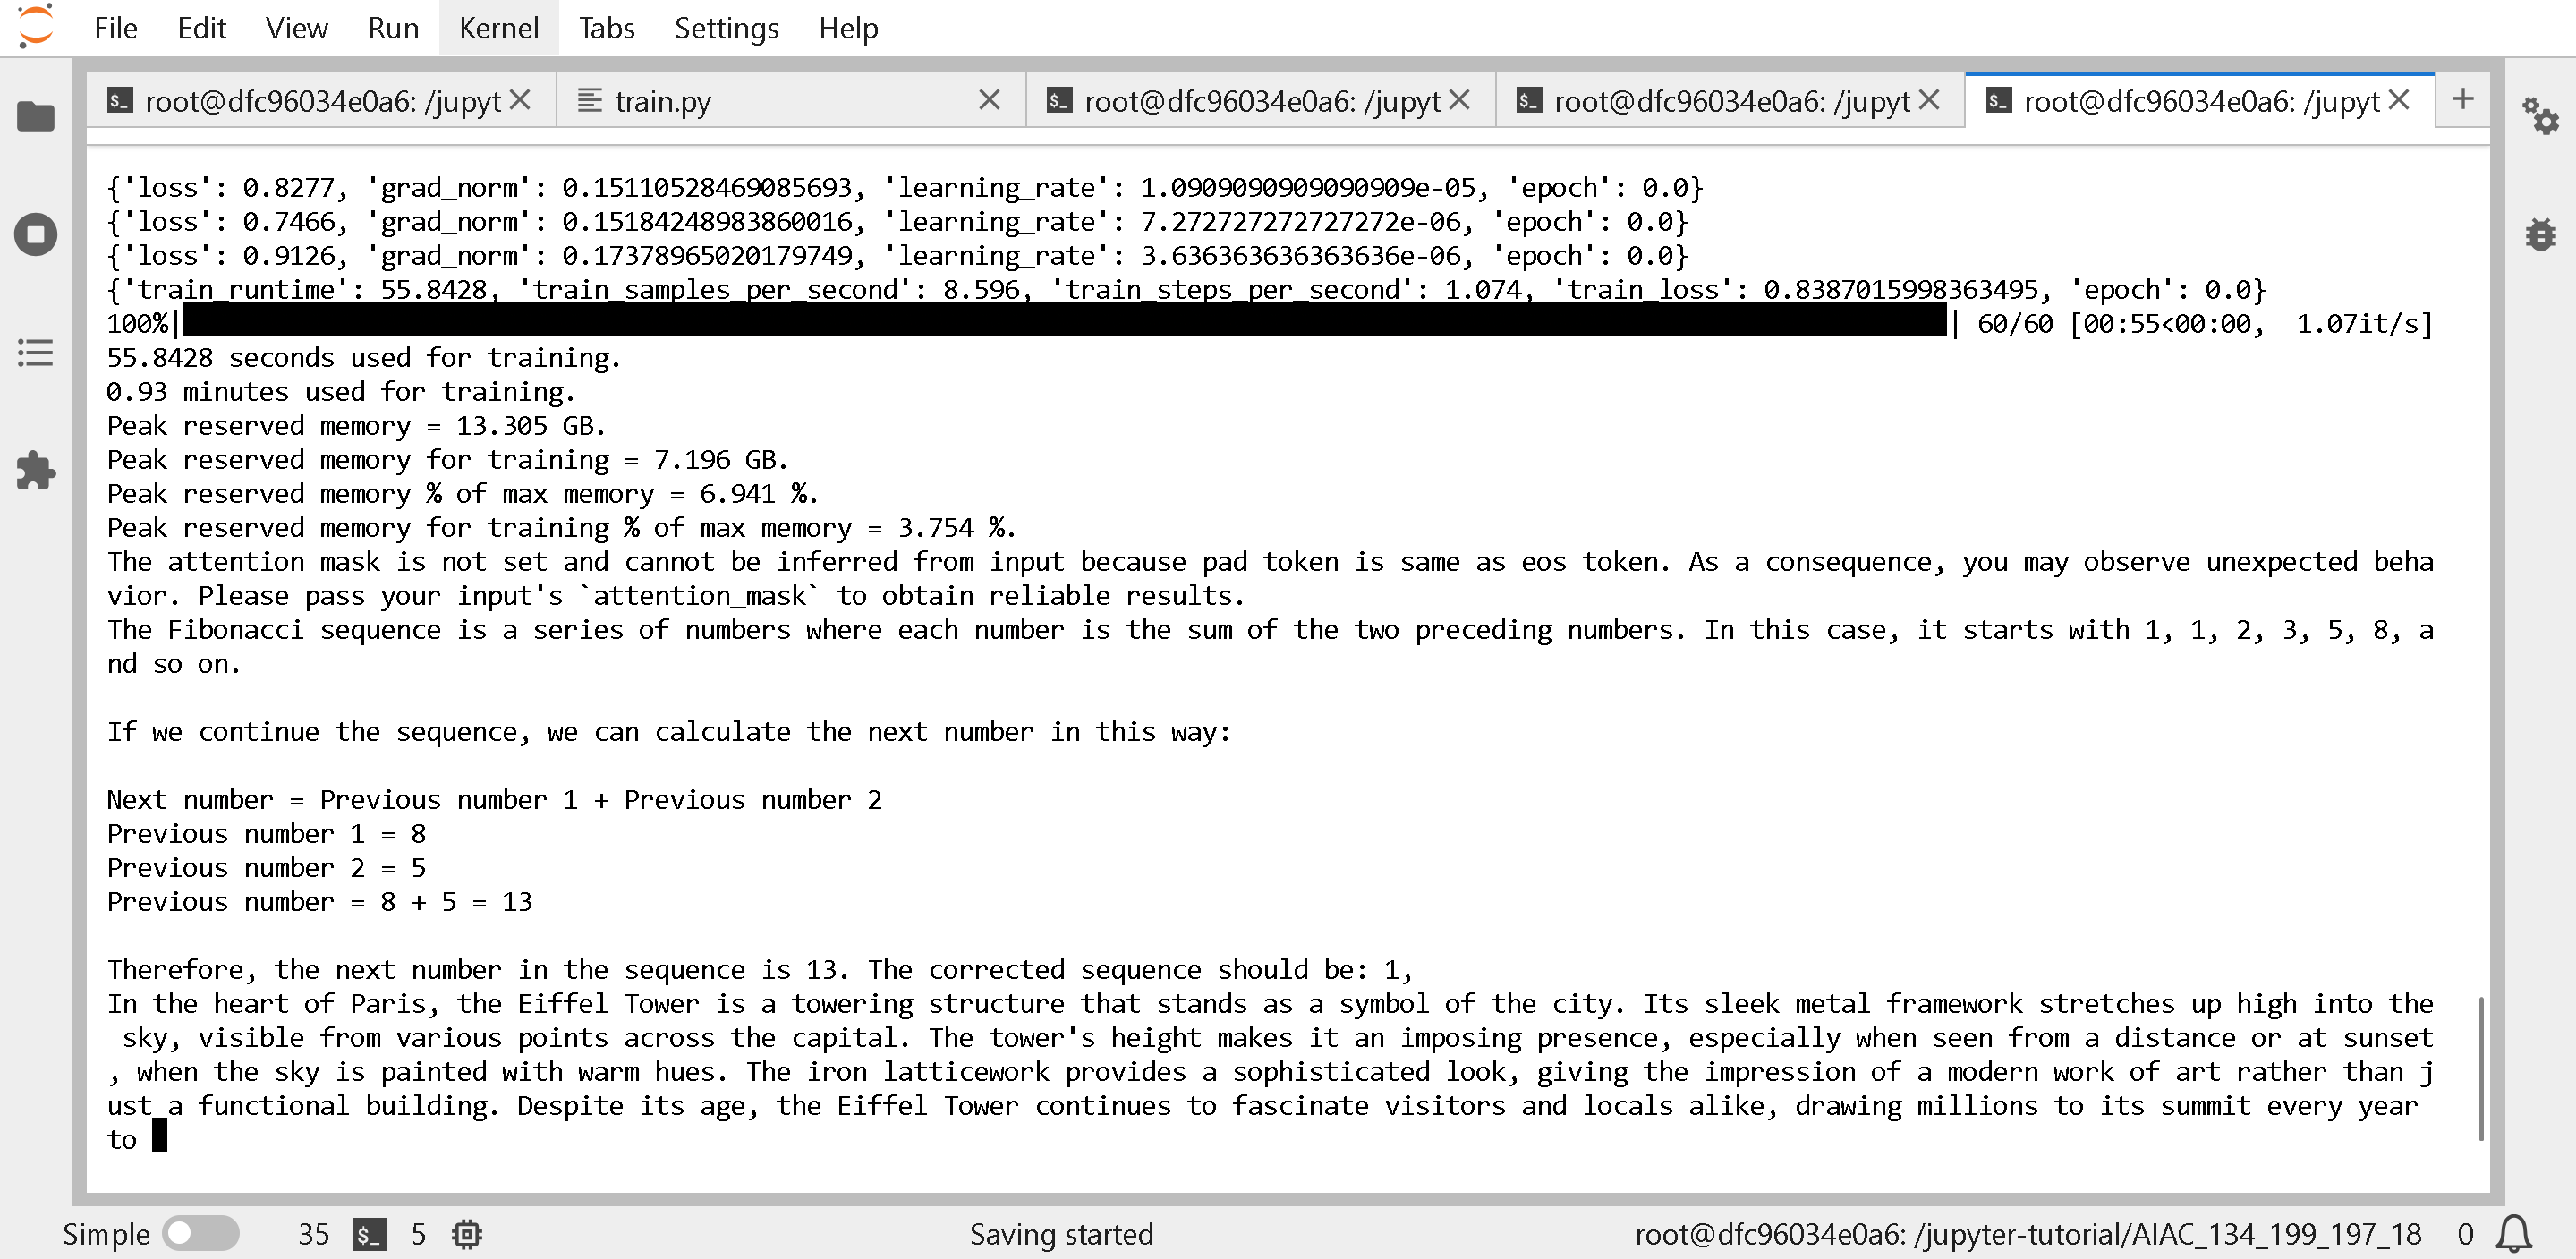
You should see the below (it'll take 2 minutes). If anything breaks, try updating Unsloth first via
{% code overflow="wrap" %}
```bash
pip install --upgrade -qqq --no-cache-dir --force-reinstall --no-deps unsloth unsloth_zoo
python -c "import unsloth; print(unsloth.__version__)"
```
{% endcode %}
### :sloth:TUTORIAL 2: Running synthetic data generation
{% hint style="success" %}
**You can also run the tutorial.ipynb which should be on our machine immediately without looking below:**
{% endhint %}
Now let's try the example at and also
First make a new **Terminal** again - the PLUS button will allow a new **Terminal**.
Run vLLM to load up Llama 3.3 70B Instruct in a new **Terminal** (use the PLUS button for a new Terminal)
{% code overflow="wrap" %}
```
vllm serve Unsloth/Llama-3.3-70B-Instruct --port 8001 --max-model-len 48000 --gpu-memory-utilization 0.85
```
{% endcode %}
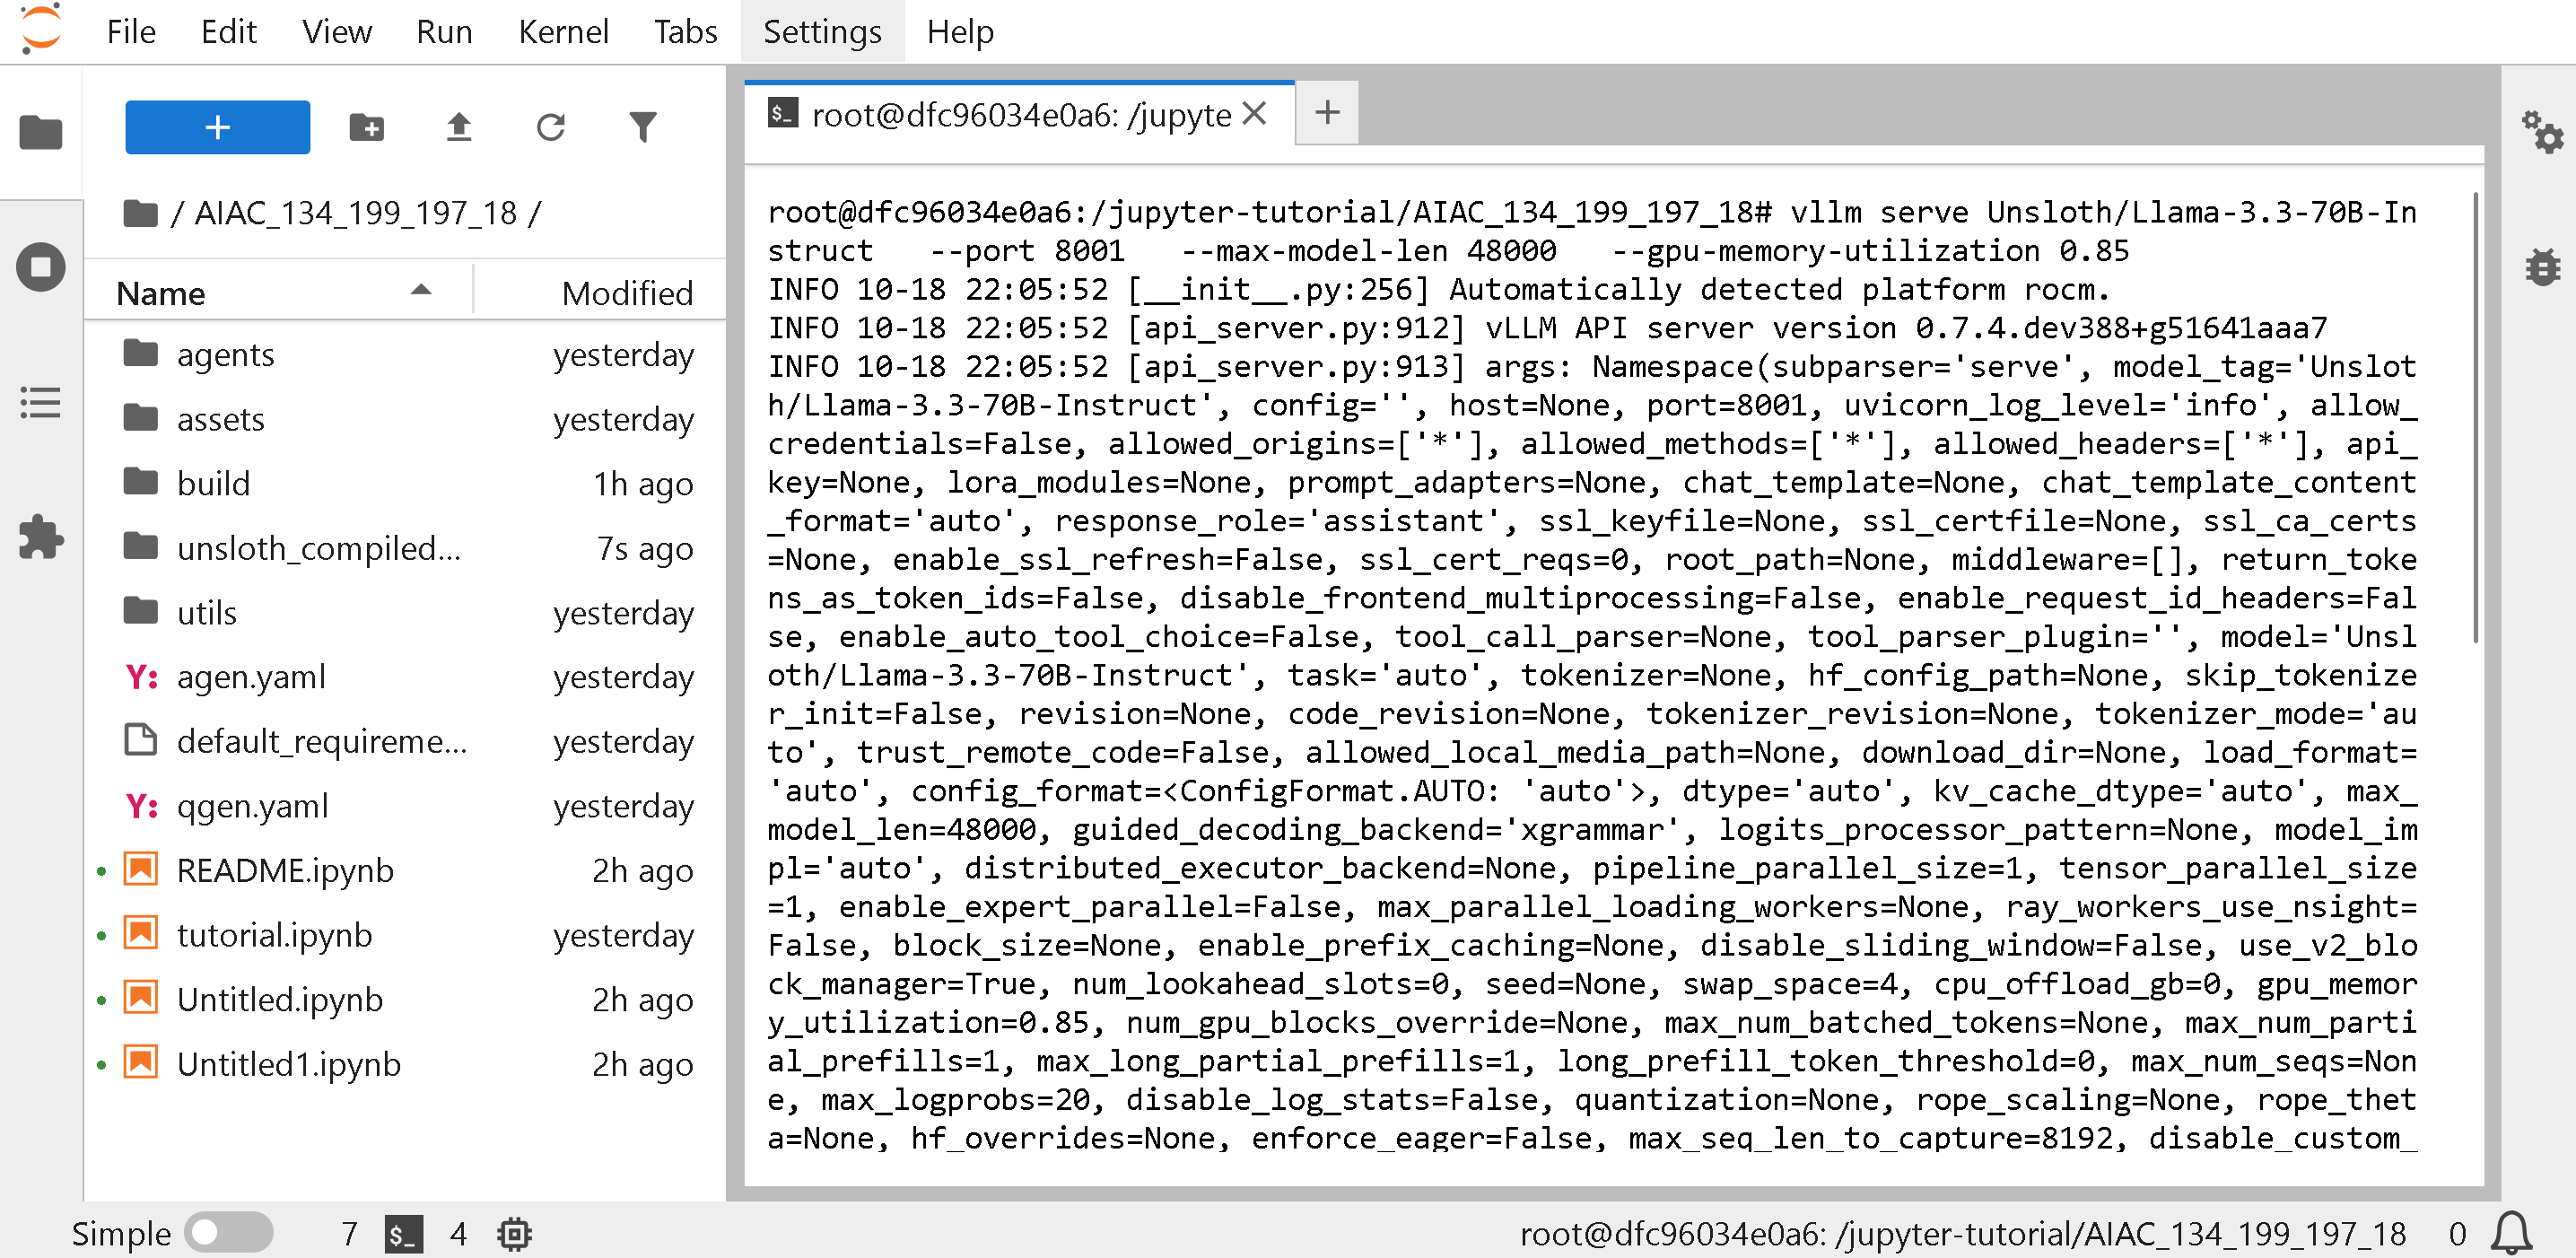
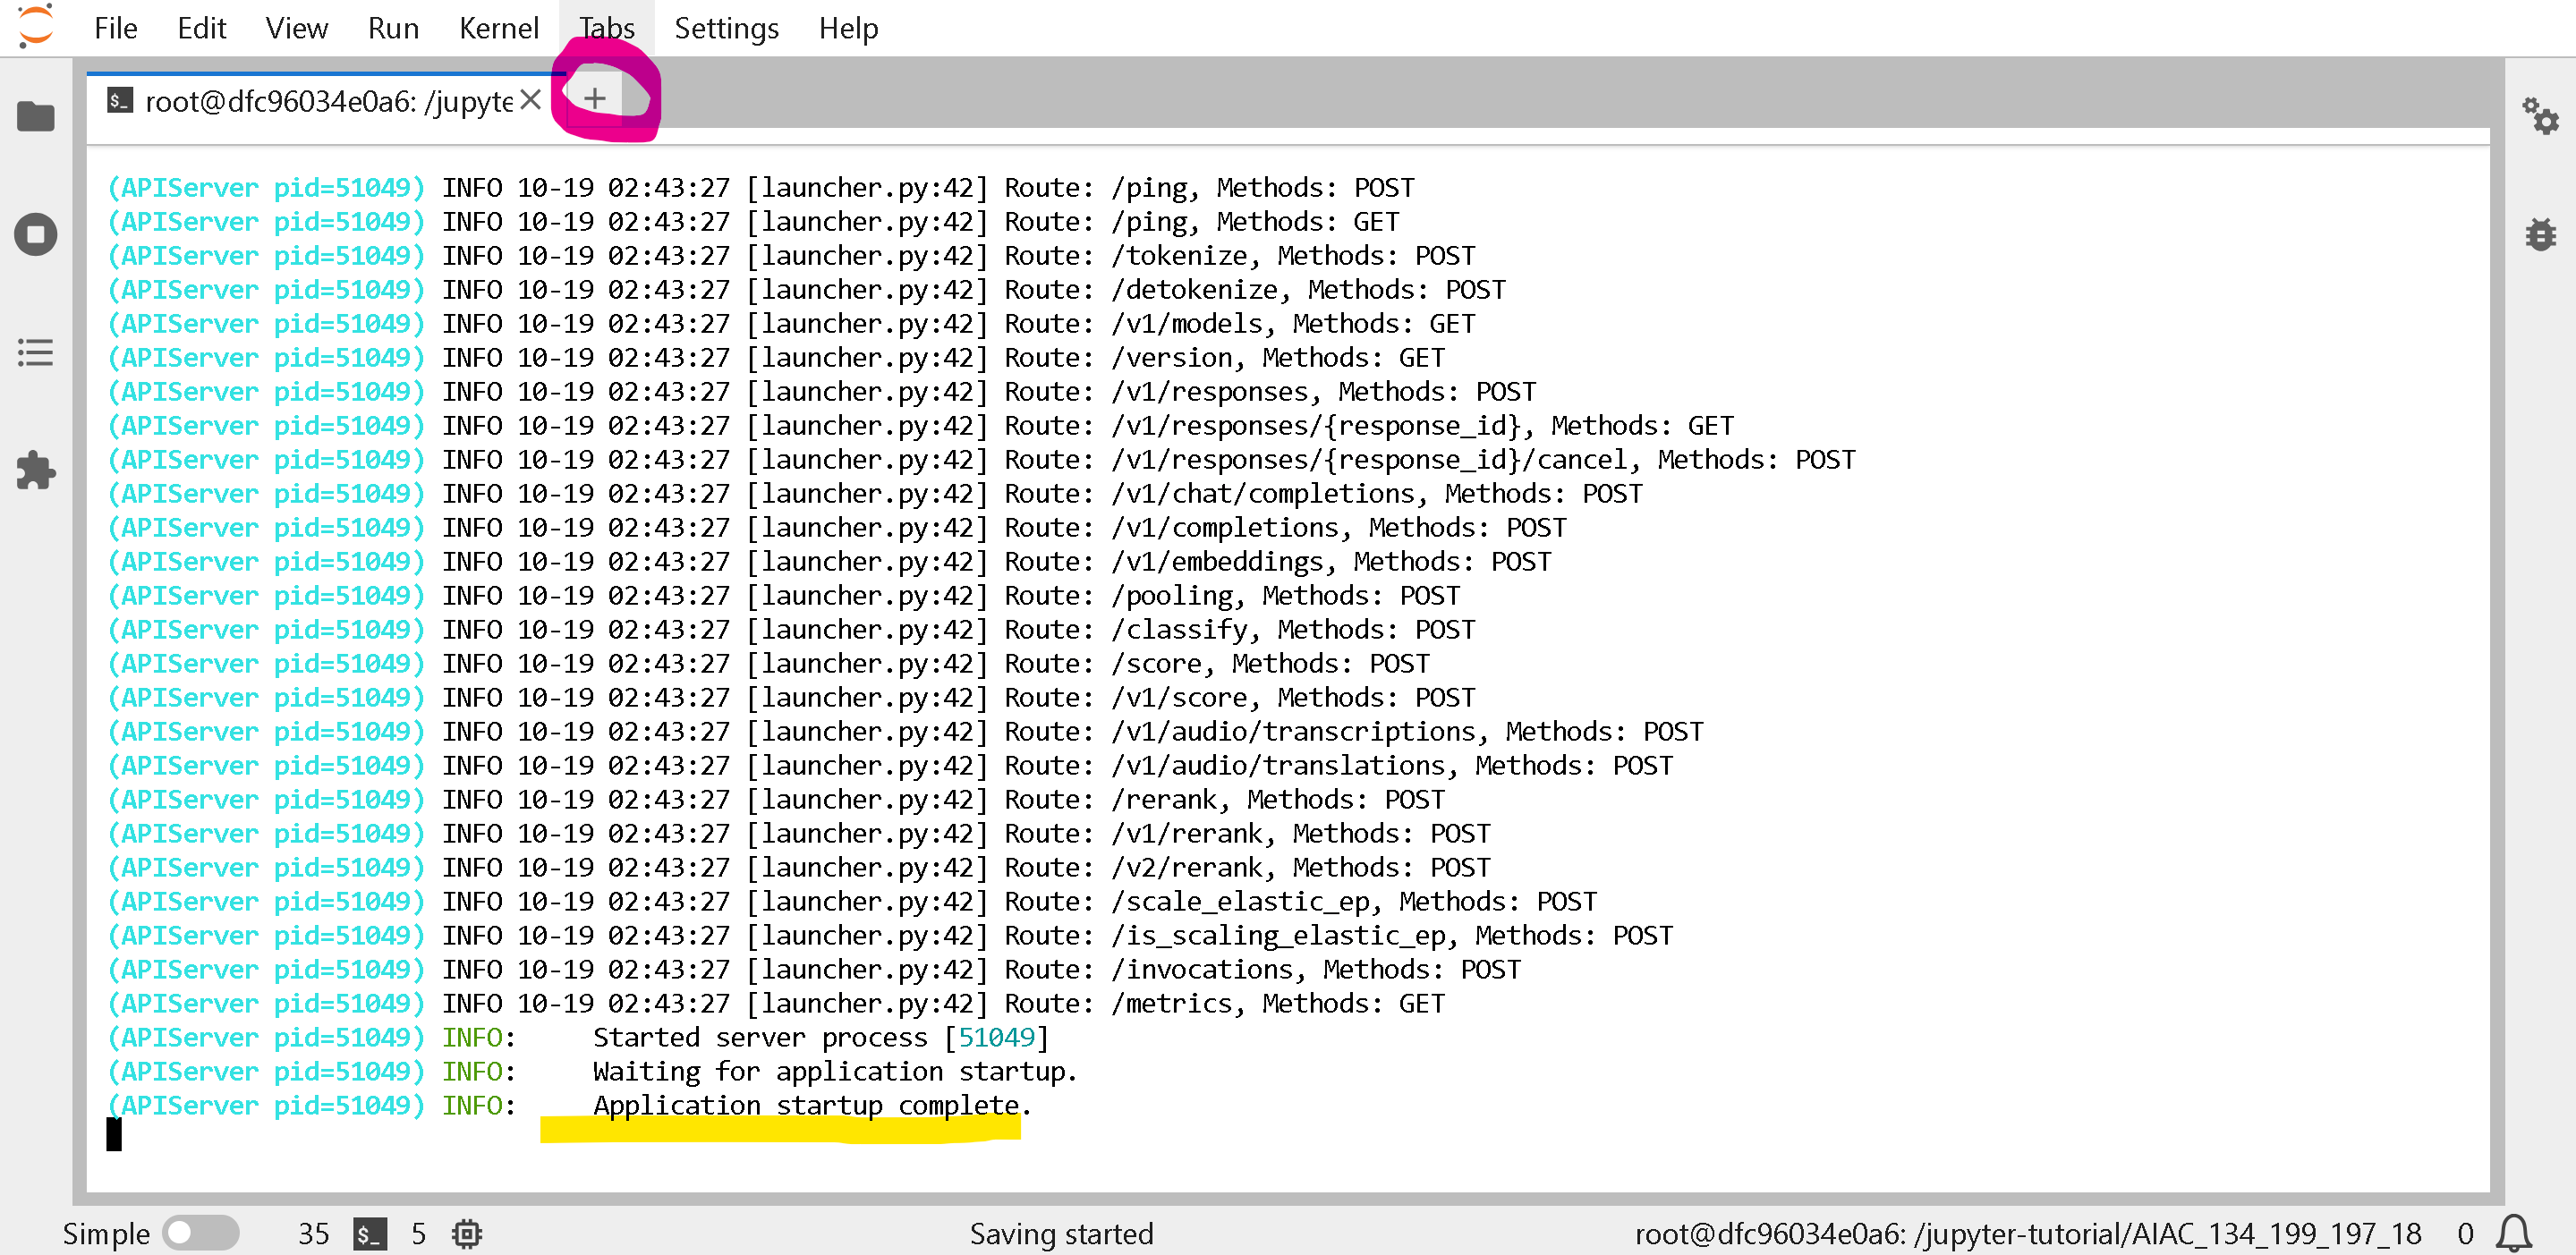
You will see:
Wait until you see `INFO: Application startup complete.` then click the PLUS button to open a new tab
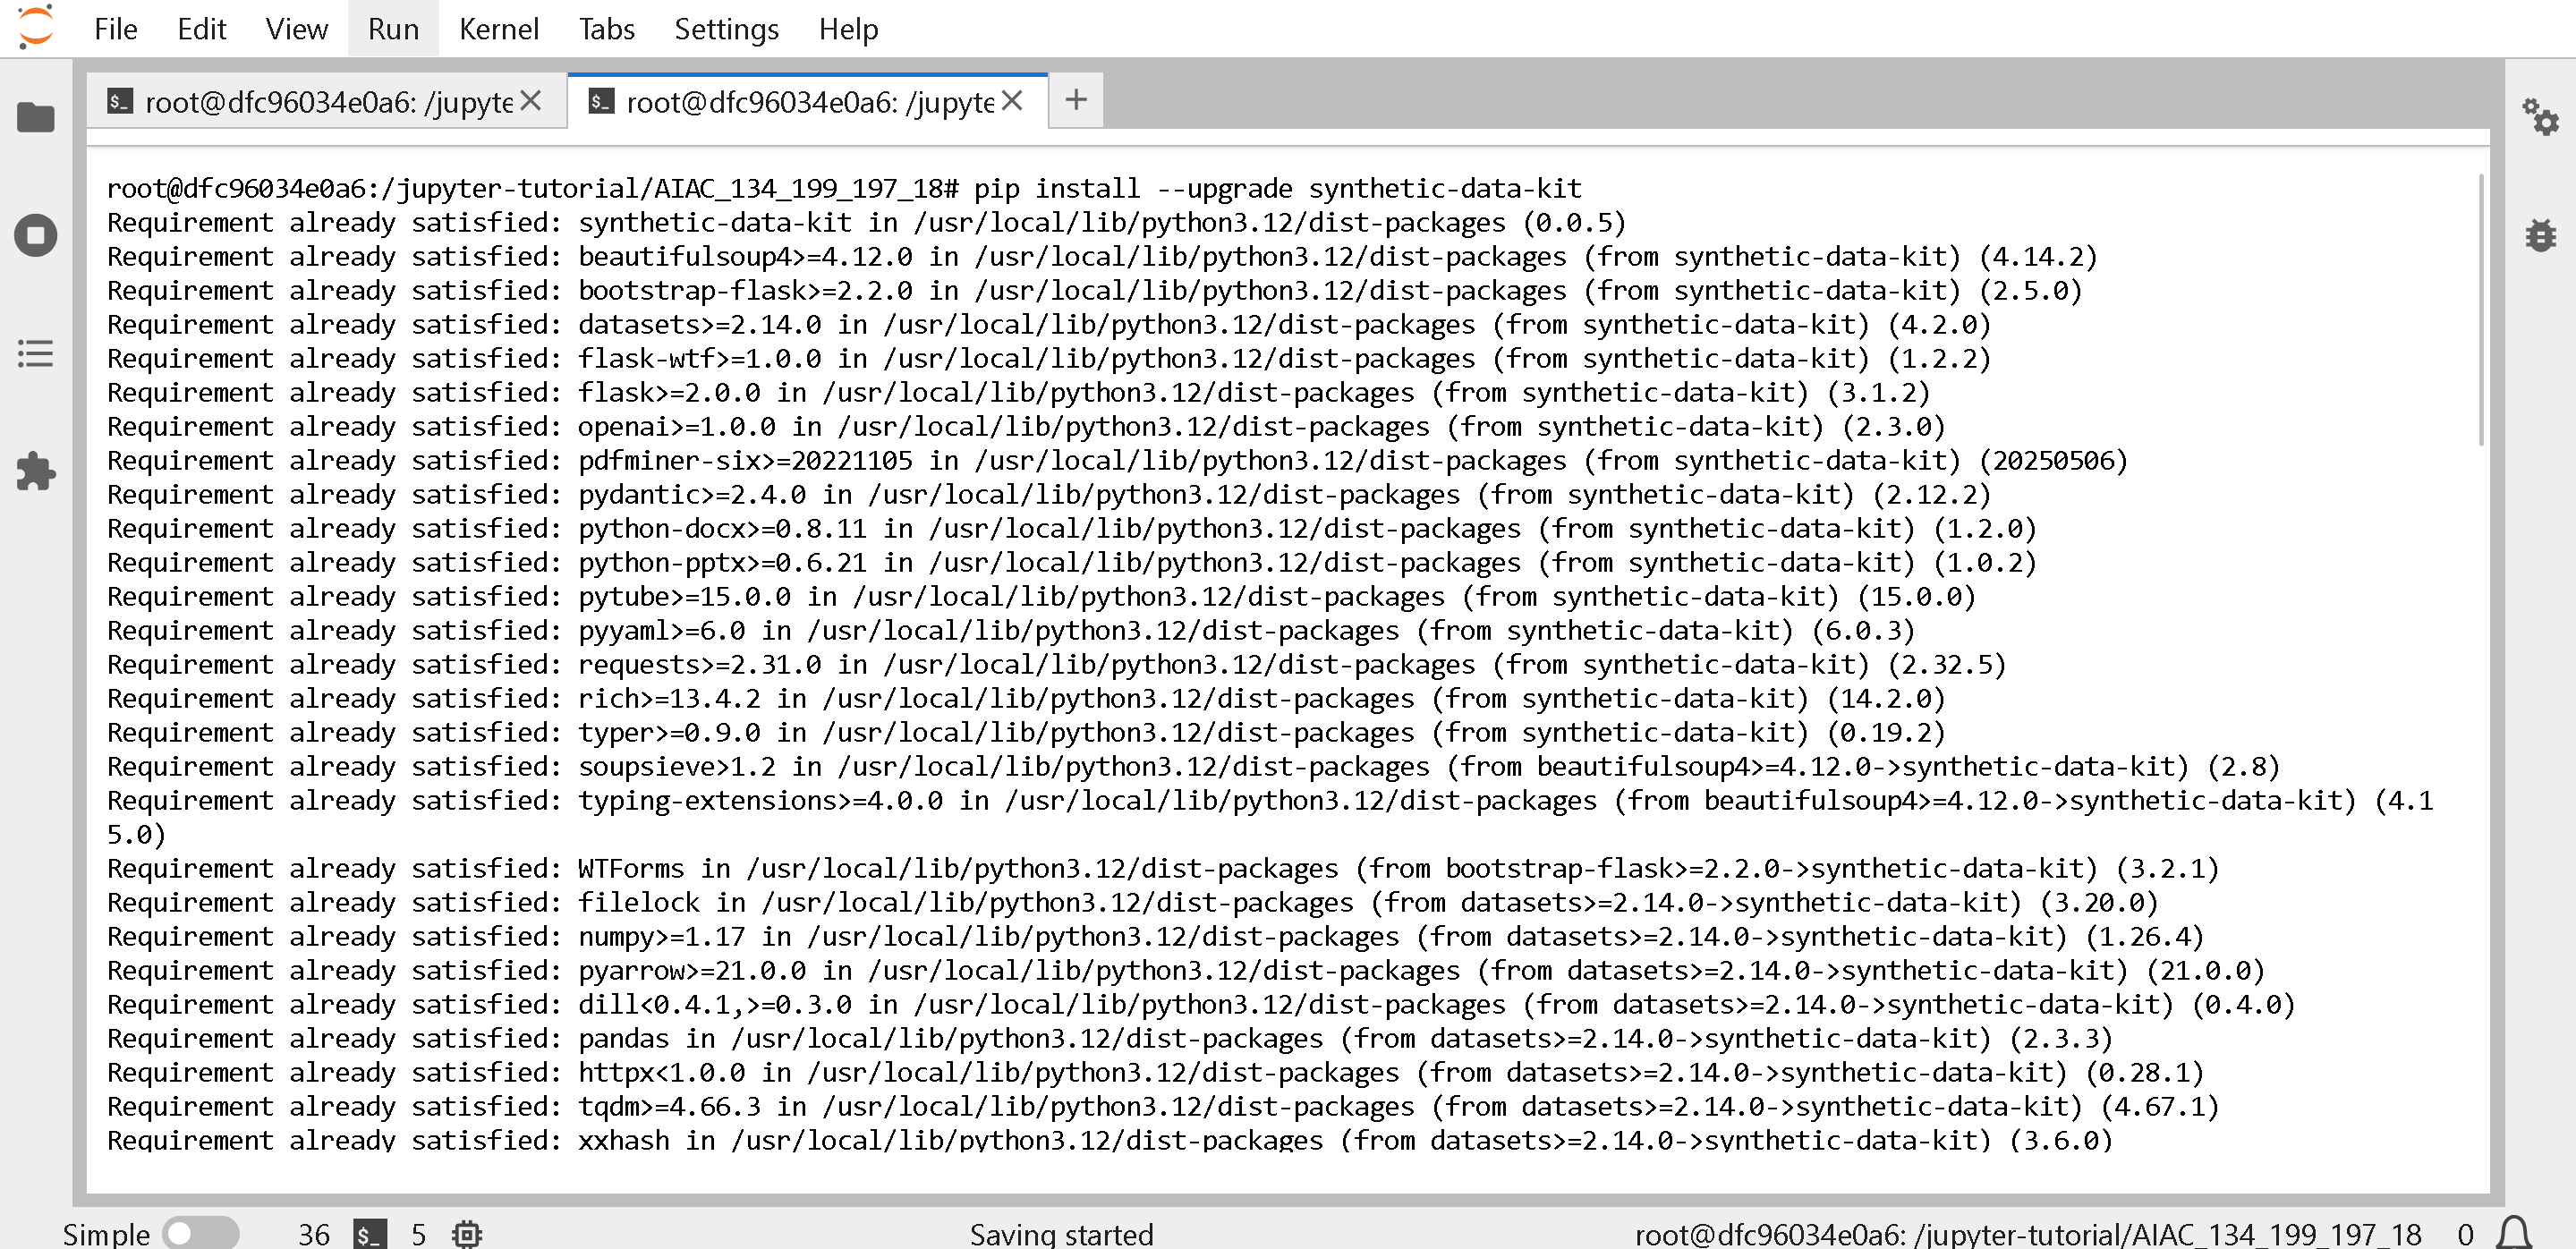
Install **synthetic-data-kit** in a new **Terminal** window.
```
pip install --upgrade synthetic-data-kit
```
Get `config.yaml` either from , or below:
{% file src="/files/SVKLOJvI3xvZxJmzGe1p" %}
{% code overflow="wrap" %}
```bash
wget https://raw.githubusercontent.com/edamamez/Unsloth-AMD-Fine-Tuning-Synthetic-Data/refs/heads/main/config.yaml -O config.yaml
```
{% endcode %}
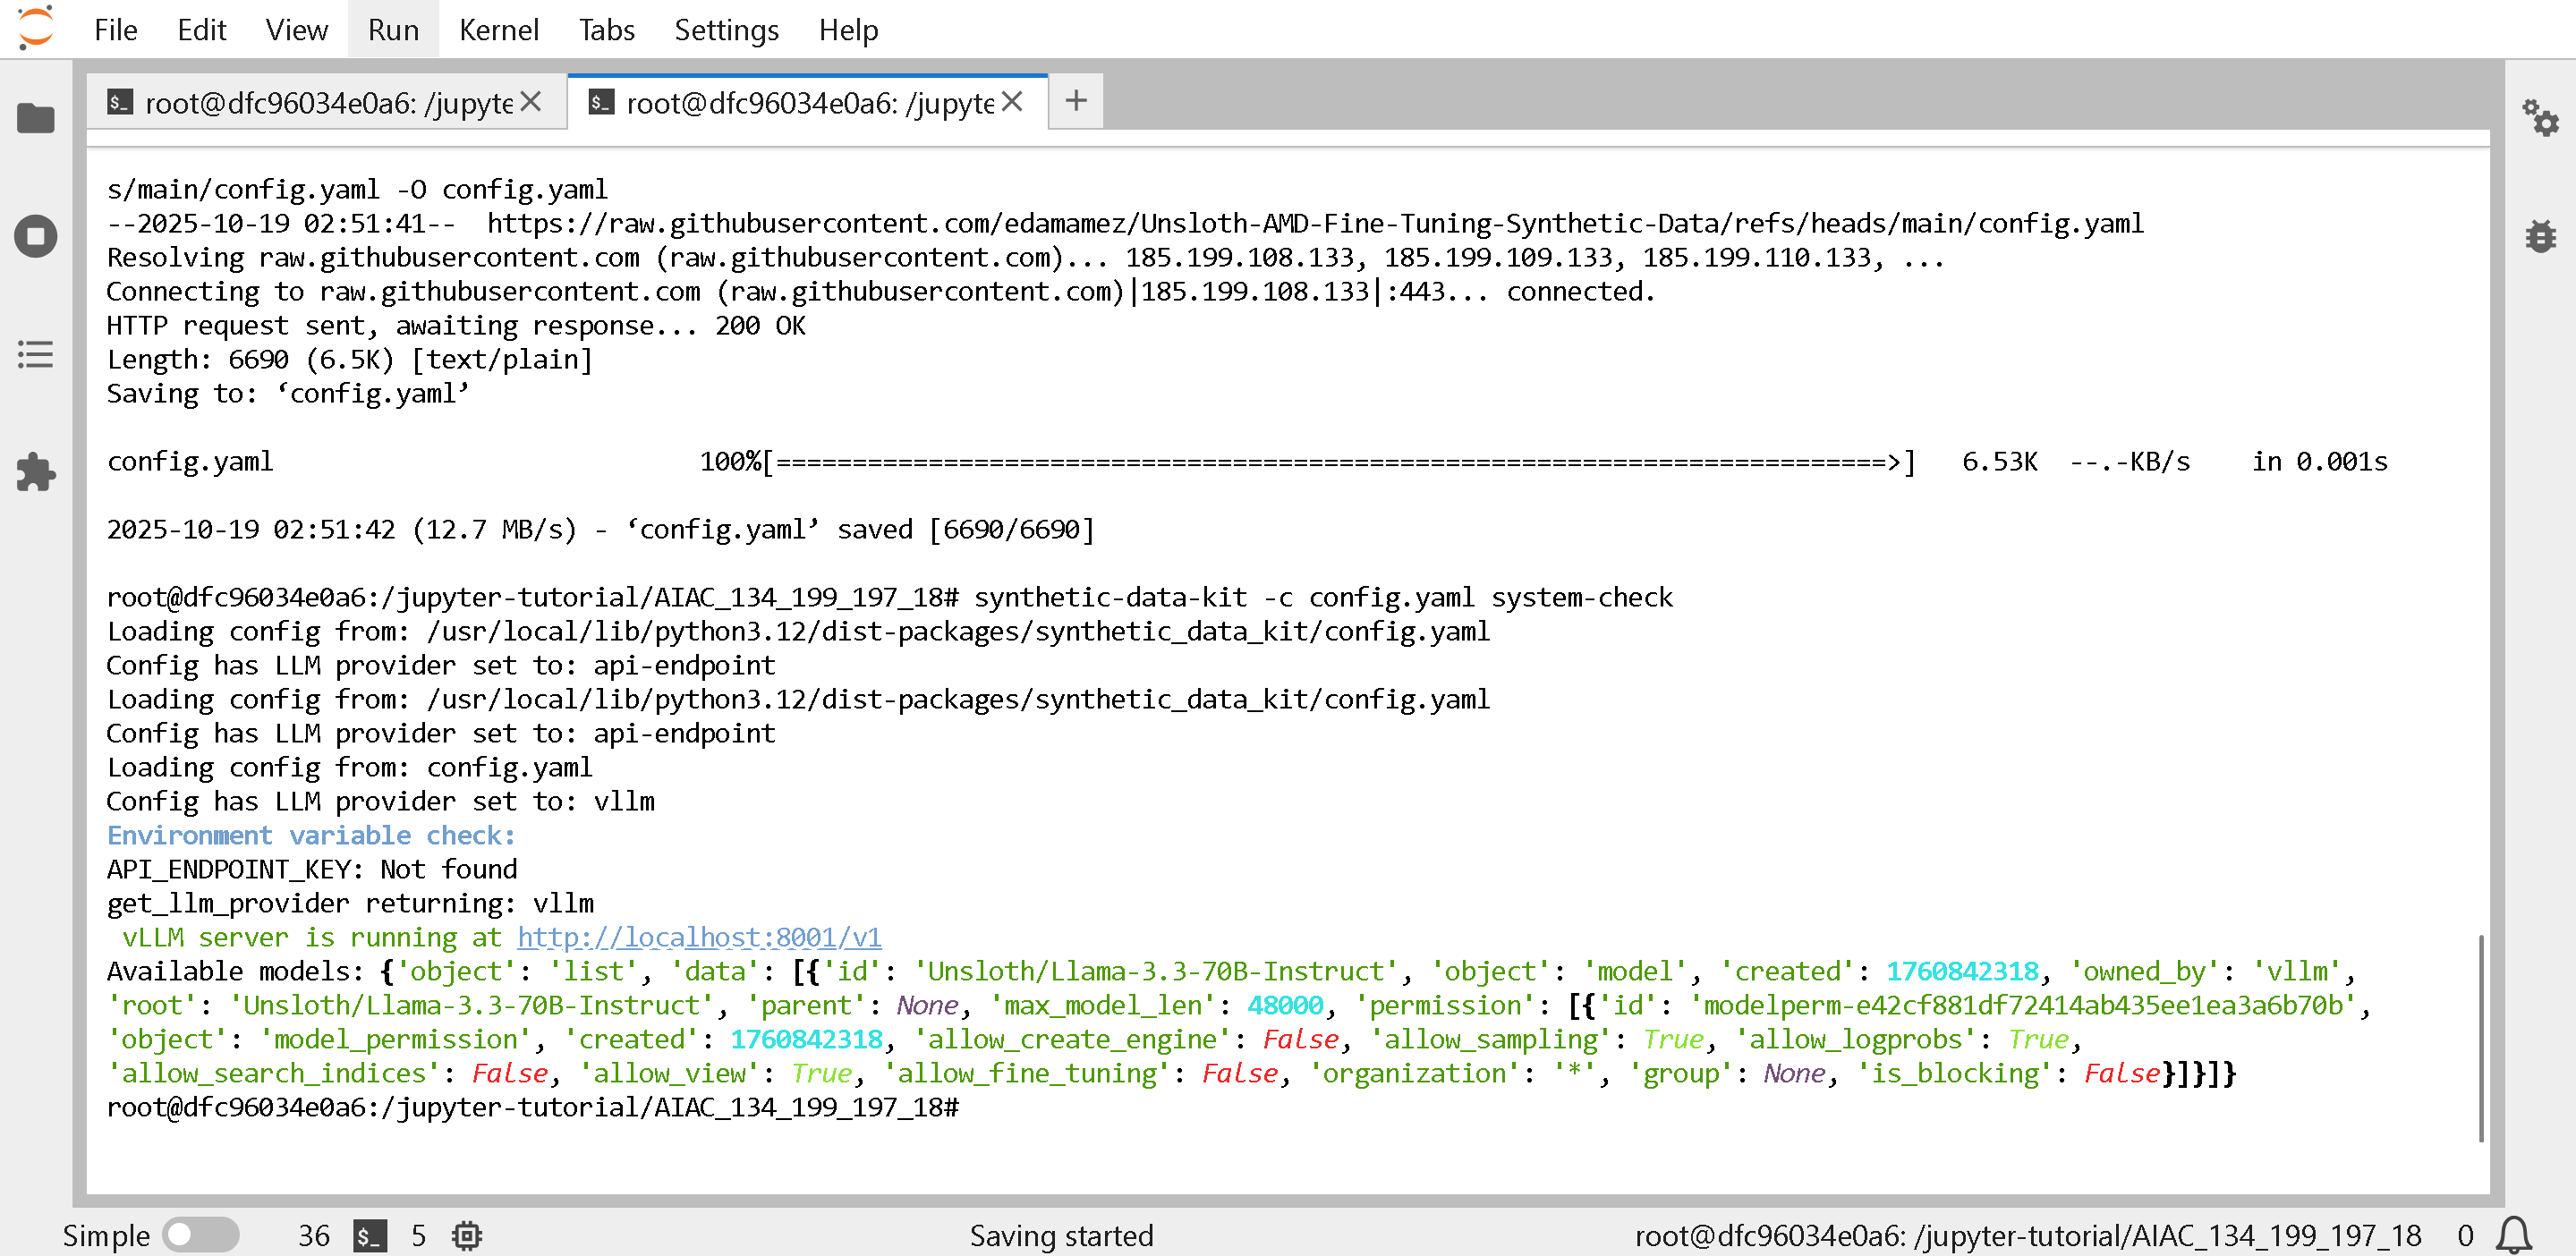
Check if synthetic data kit worked via. If you see errors, confirm vLLM is running in the 1st cell.
{% code overflow="wrap" %}
```bash
synthetic-data-kit -c config.yaml system-check
```
{% endcode %}
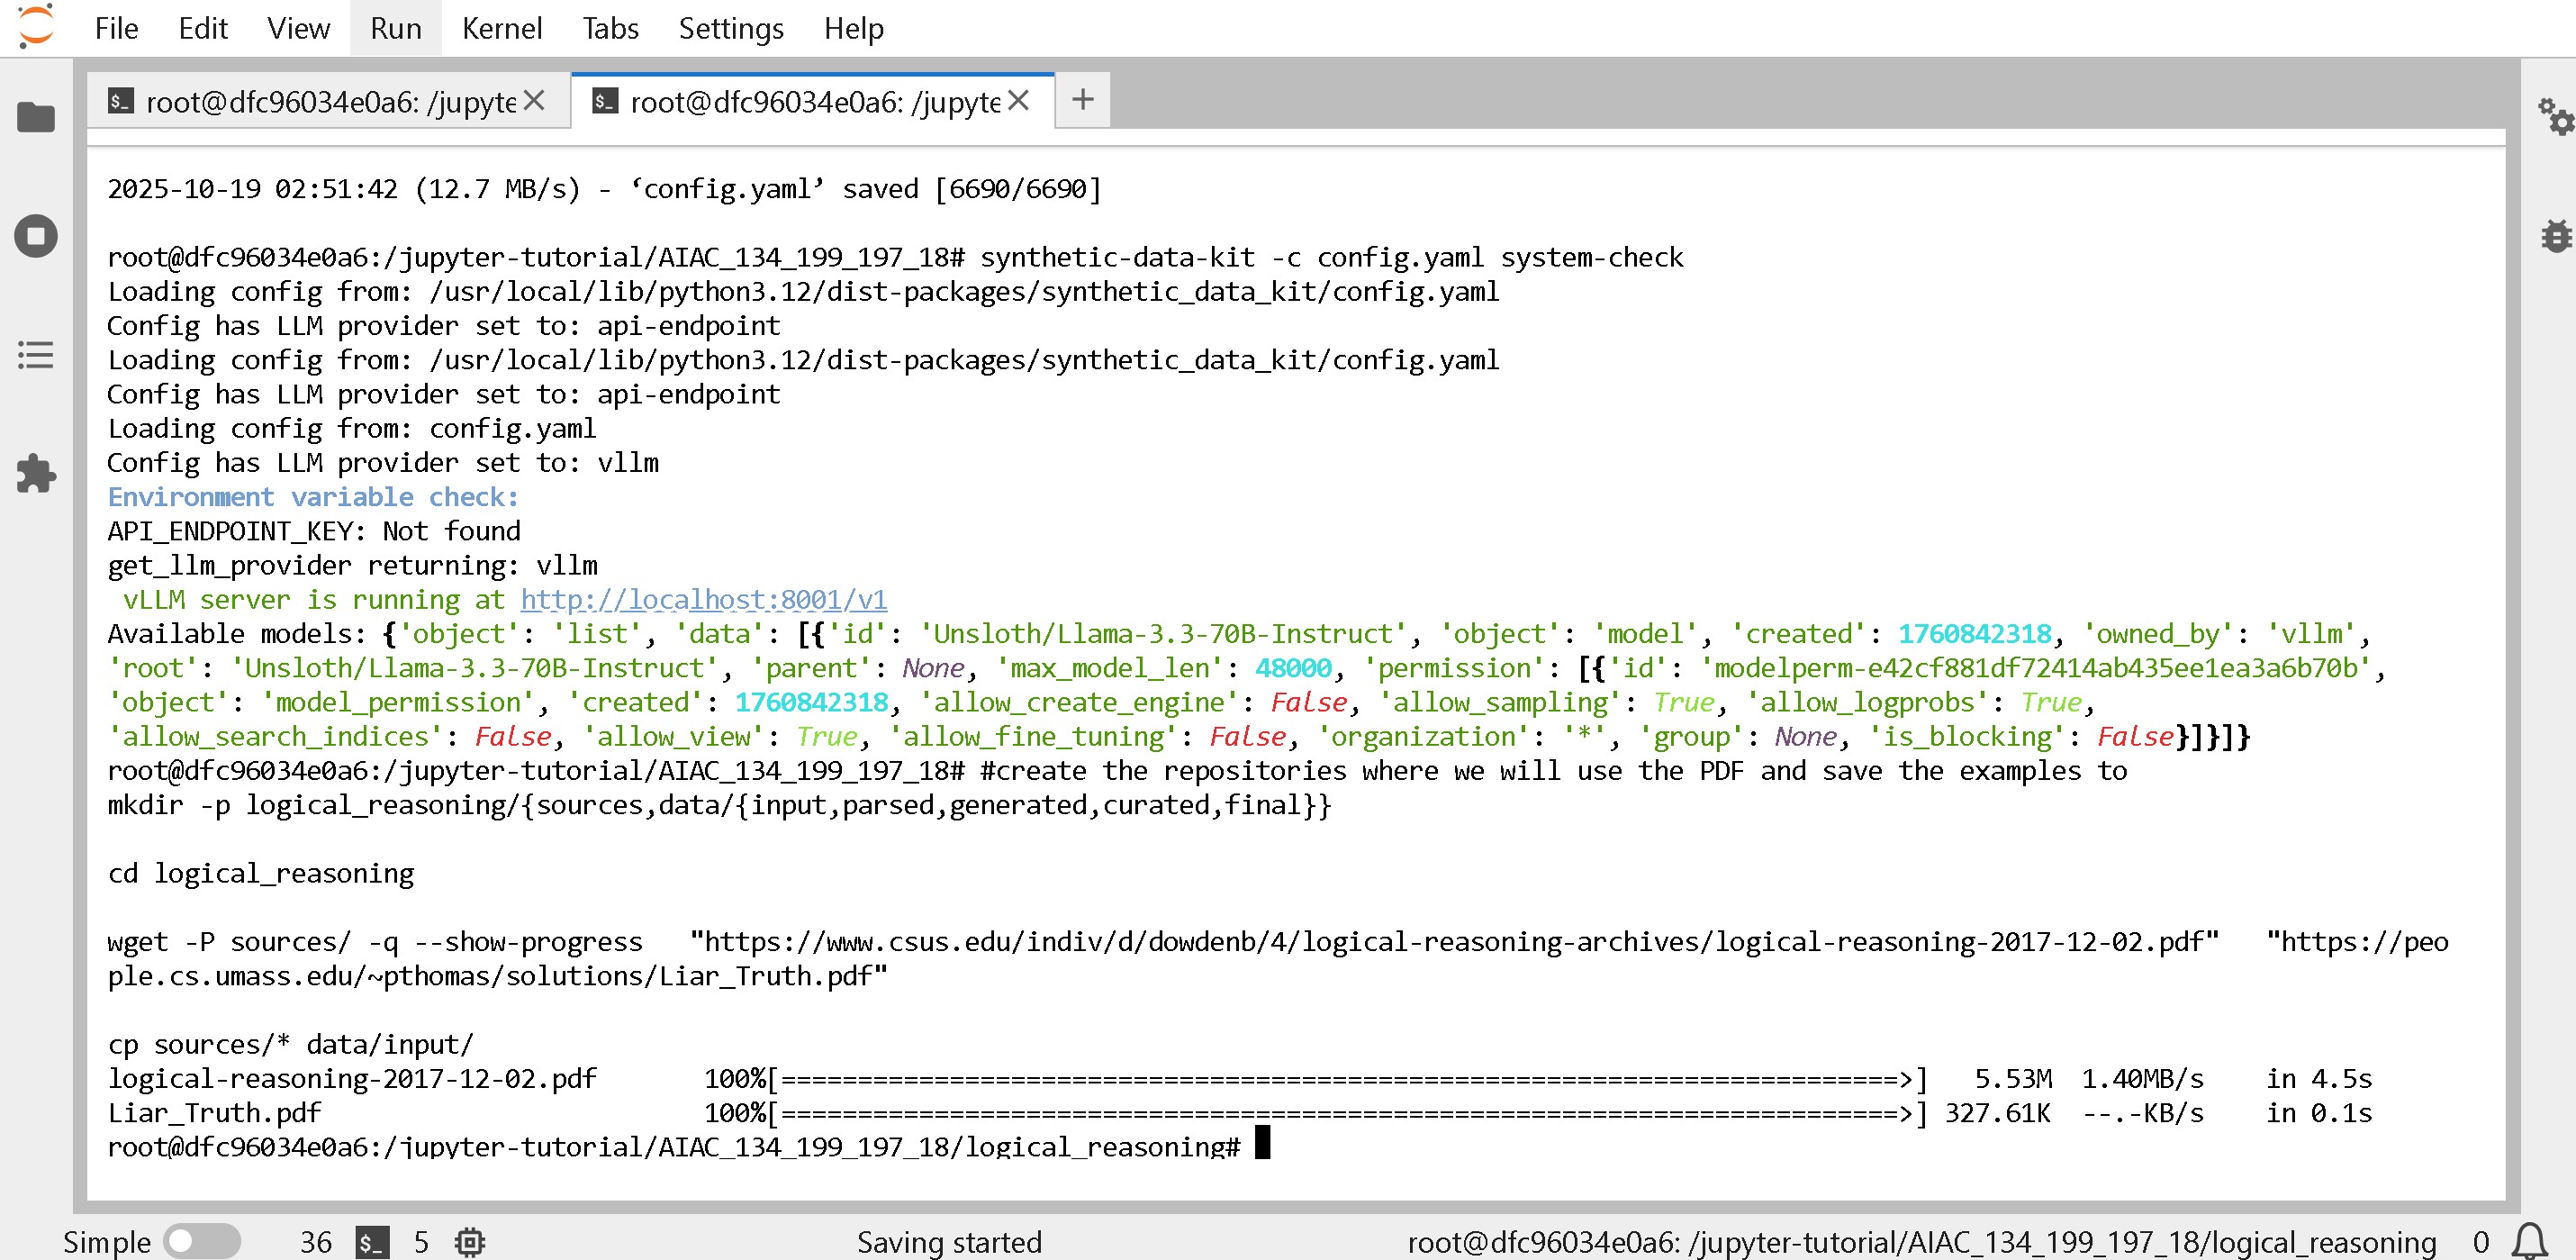
Now, get some files we will use for processing:
{% code overflow="wrap" %}
```bash
# Create the repositories where we will use the PDF and save the examples to
mkdir -p logical_reasoning/{sources,data/{input,parsed,generated,curated,final}}
wget -P logical_reasoning/sources/ -q --show-progress "https://www.csus.edu/indiv/d/dowdenb/4/logical-reasoning-archives/logical-reasoning-2017-12-02.pdf" "https://people.cs.umass.edu/~pthomas/solutions/Liar_Truth.pdf"
cp logical_reasoning/sources/* logical_reasoning/data/input/
cp config.yaml logical_reasoning
```
{% endcode %}
Now let's ingest the data and process it:
{% code overflow="wrap" %}
```bash
cd logical_reasoning
synthetic-data-kit ingest ./data/input/ --verbose
```
{% endcode %}
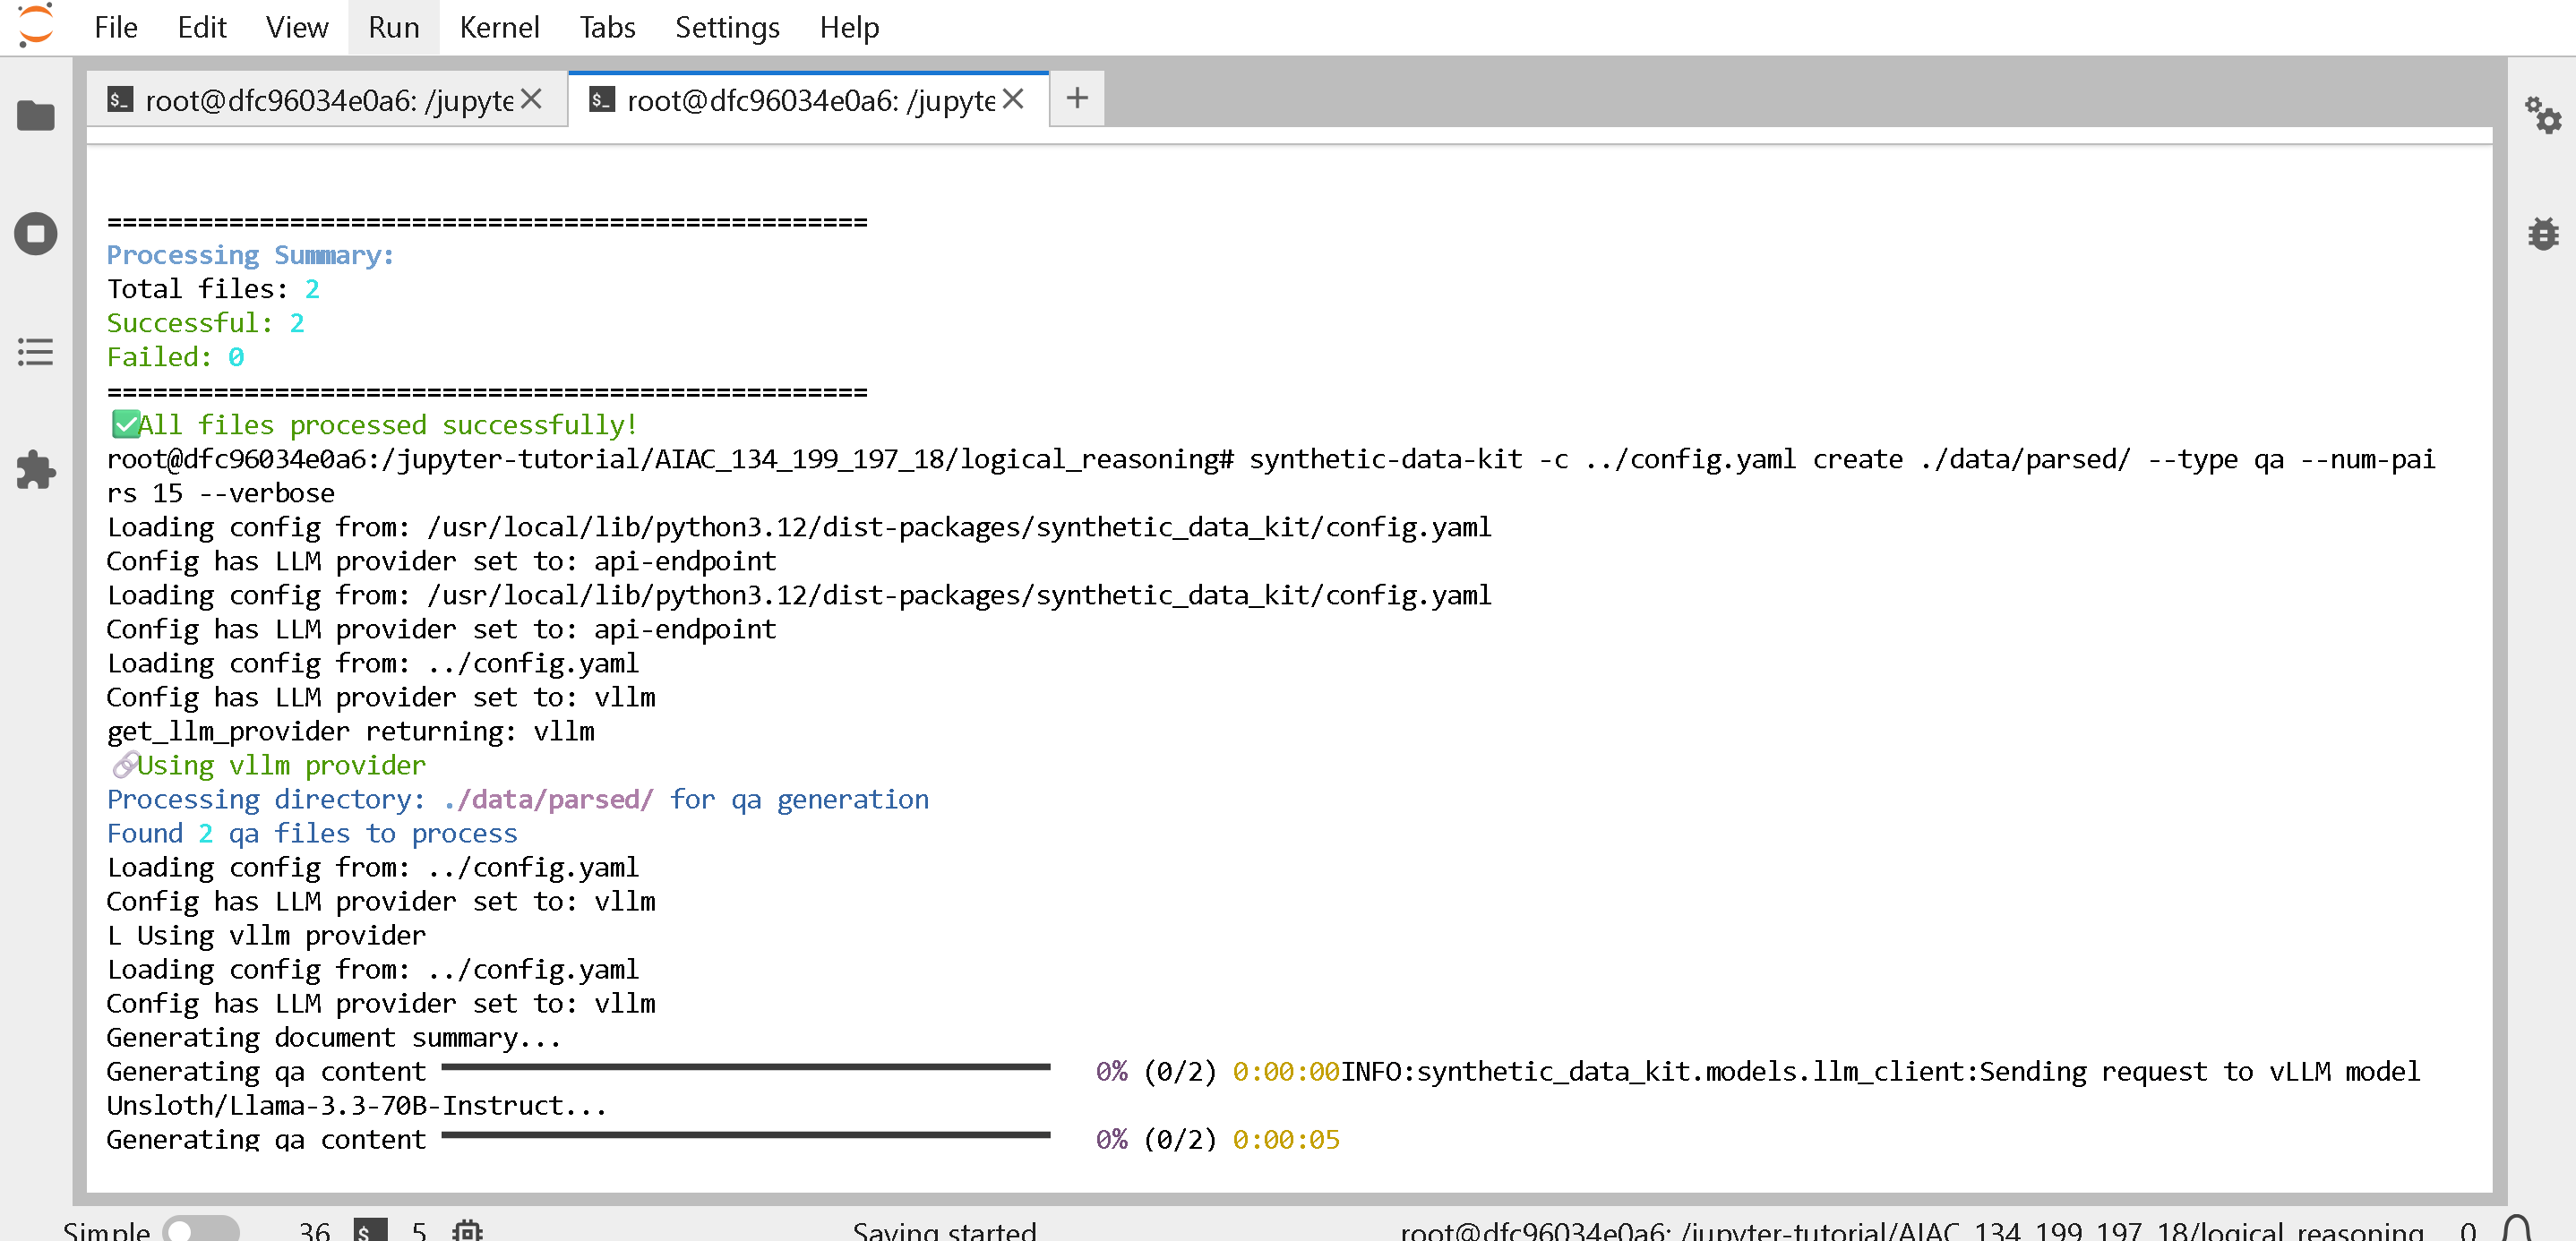
Now, either create Q\&A (question & answer pairs) or CoT (chain of thought) pairs (it might take 3 minutes)
{% code overflow="wrap" %}
```bash
synthetic-data-kit -c ../config.yaml create ./data/parsed/ --type qa --num-pairs 15 --verbose
##### OR #####
synthetic-data-kit -c ../config.yaml create ./data/parsed/ --type cot --num-pairs 15 --verbose
```
{% endcode %}
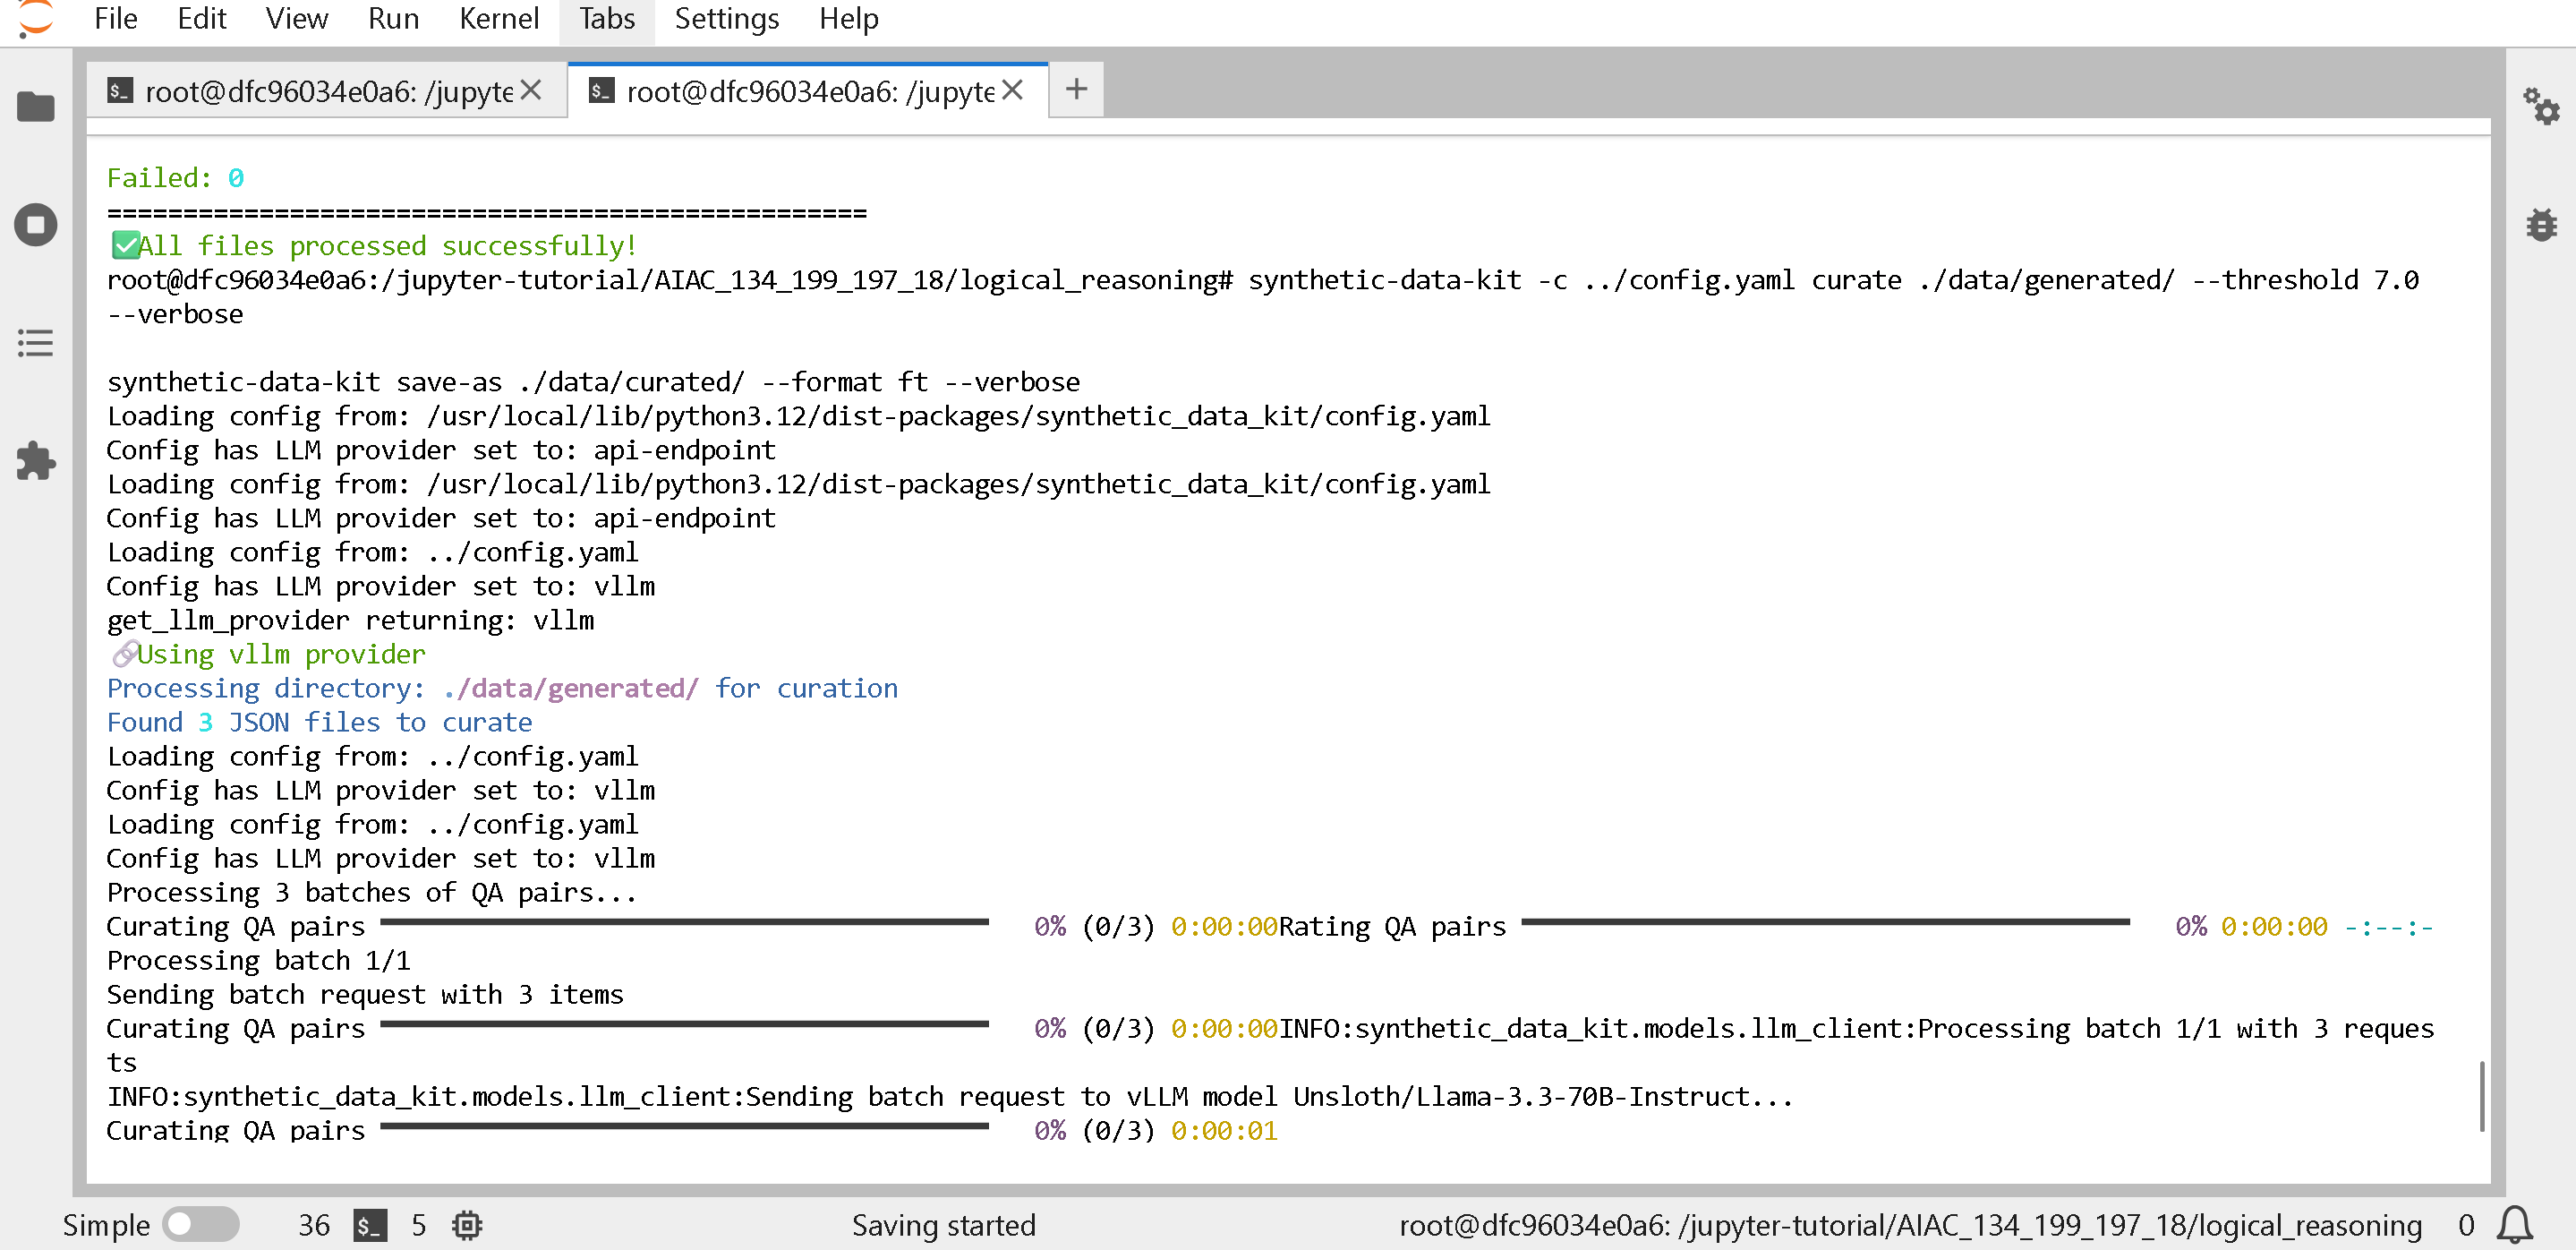
Now let's ask a a LLM to curate the data and call LLM as a judge to remove less desirable synthetic data rows, then we save the output - it might take 3 minutes
{% code overflow="wrap" %}
```bash
synthetic-data-kit -c ../config.yaml curate ./data/generated/ --threshold 7.0 --verbose
synthetic-data-kit save-as ./data/curated/ --format ft --verbose
```
{% endcode %}
Once again, **SHUT DOWN the vLLM service to save VRAM!!! Go to the previous tab, and CTRL+C 3 times. Or see** [#how-do-i-free-amd-gpu-memory](#how-do-i-free-amd-gpu-memory "mention")
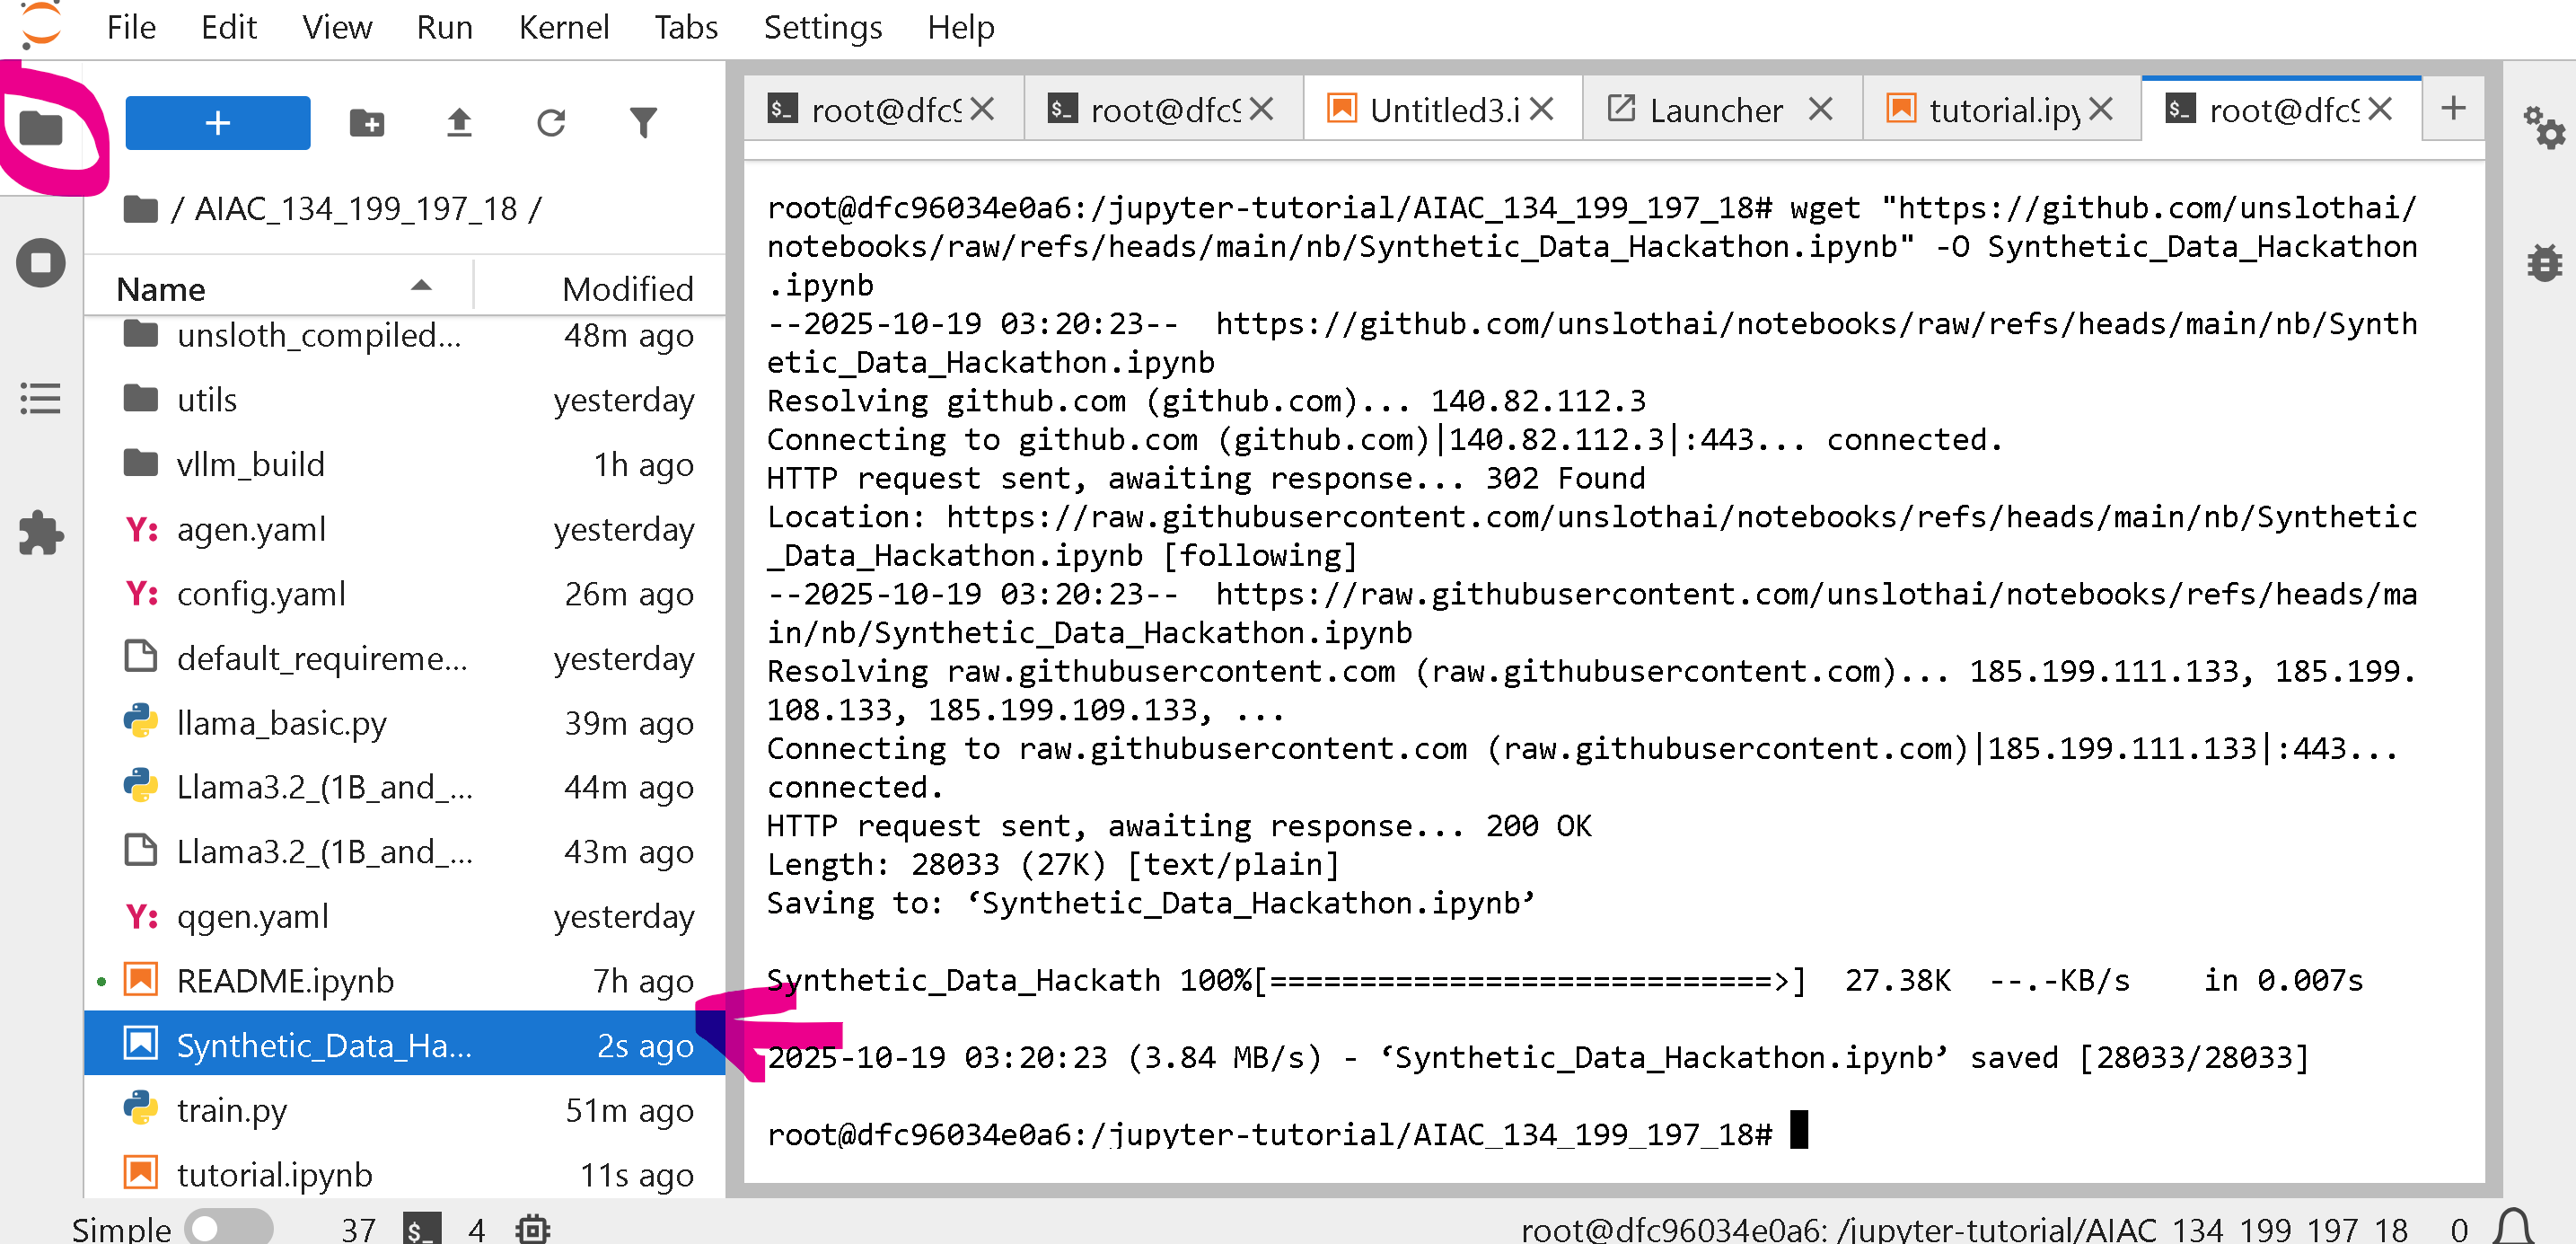
Now get the notebook which we will run at :
{% code overflow="wrap" %}
```bash
wget "https://github.com/unslothai/notebooks/raw/refs/heads/main/nb/Synthetic_Data_Hackathon.ipynb" -O "Synthetic_Data_Hackathon.ipynb"
```
{% endcode %}
{% hint style="info" %}
If you get Out of Memory errors, shut down your vLLM instance - see [#how-do-i-free-amd-gpu-memory](#how-do-i-free-amd-gpu-memory "mention")
{% endhint %}
Click on the the left folder button and open up "Synthetic\_Data\_Hackathon.ipynb" (double click)
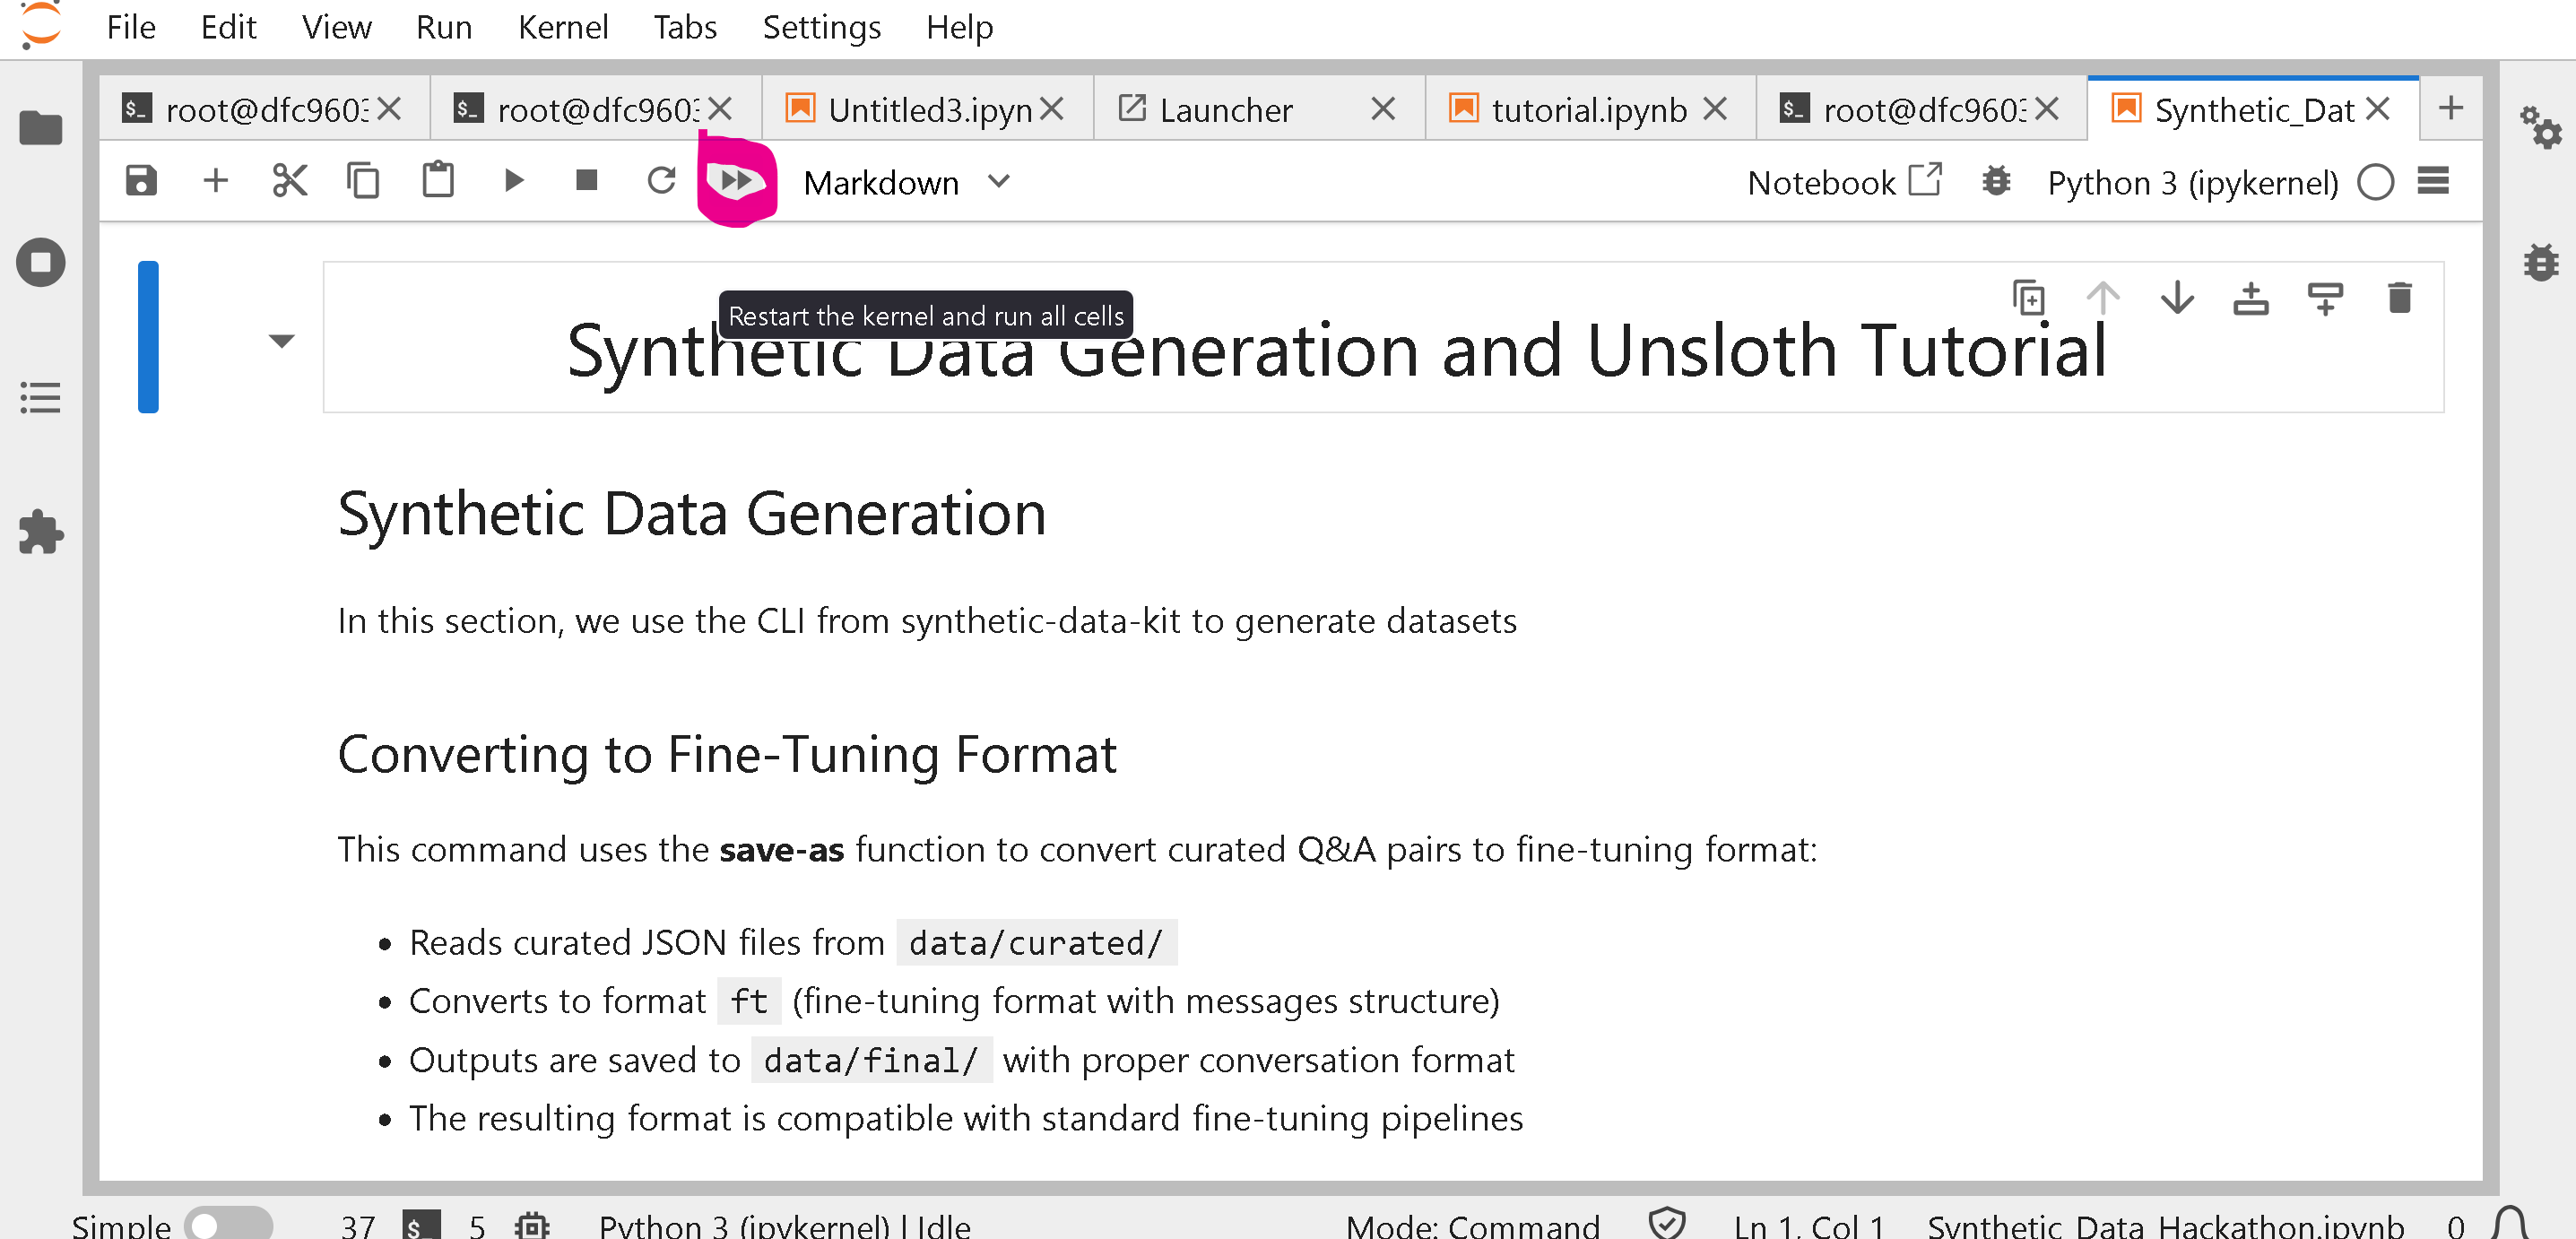
Then run all!
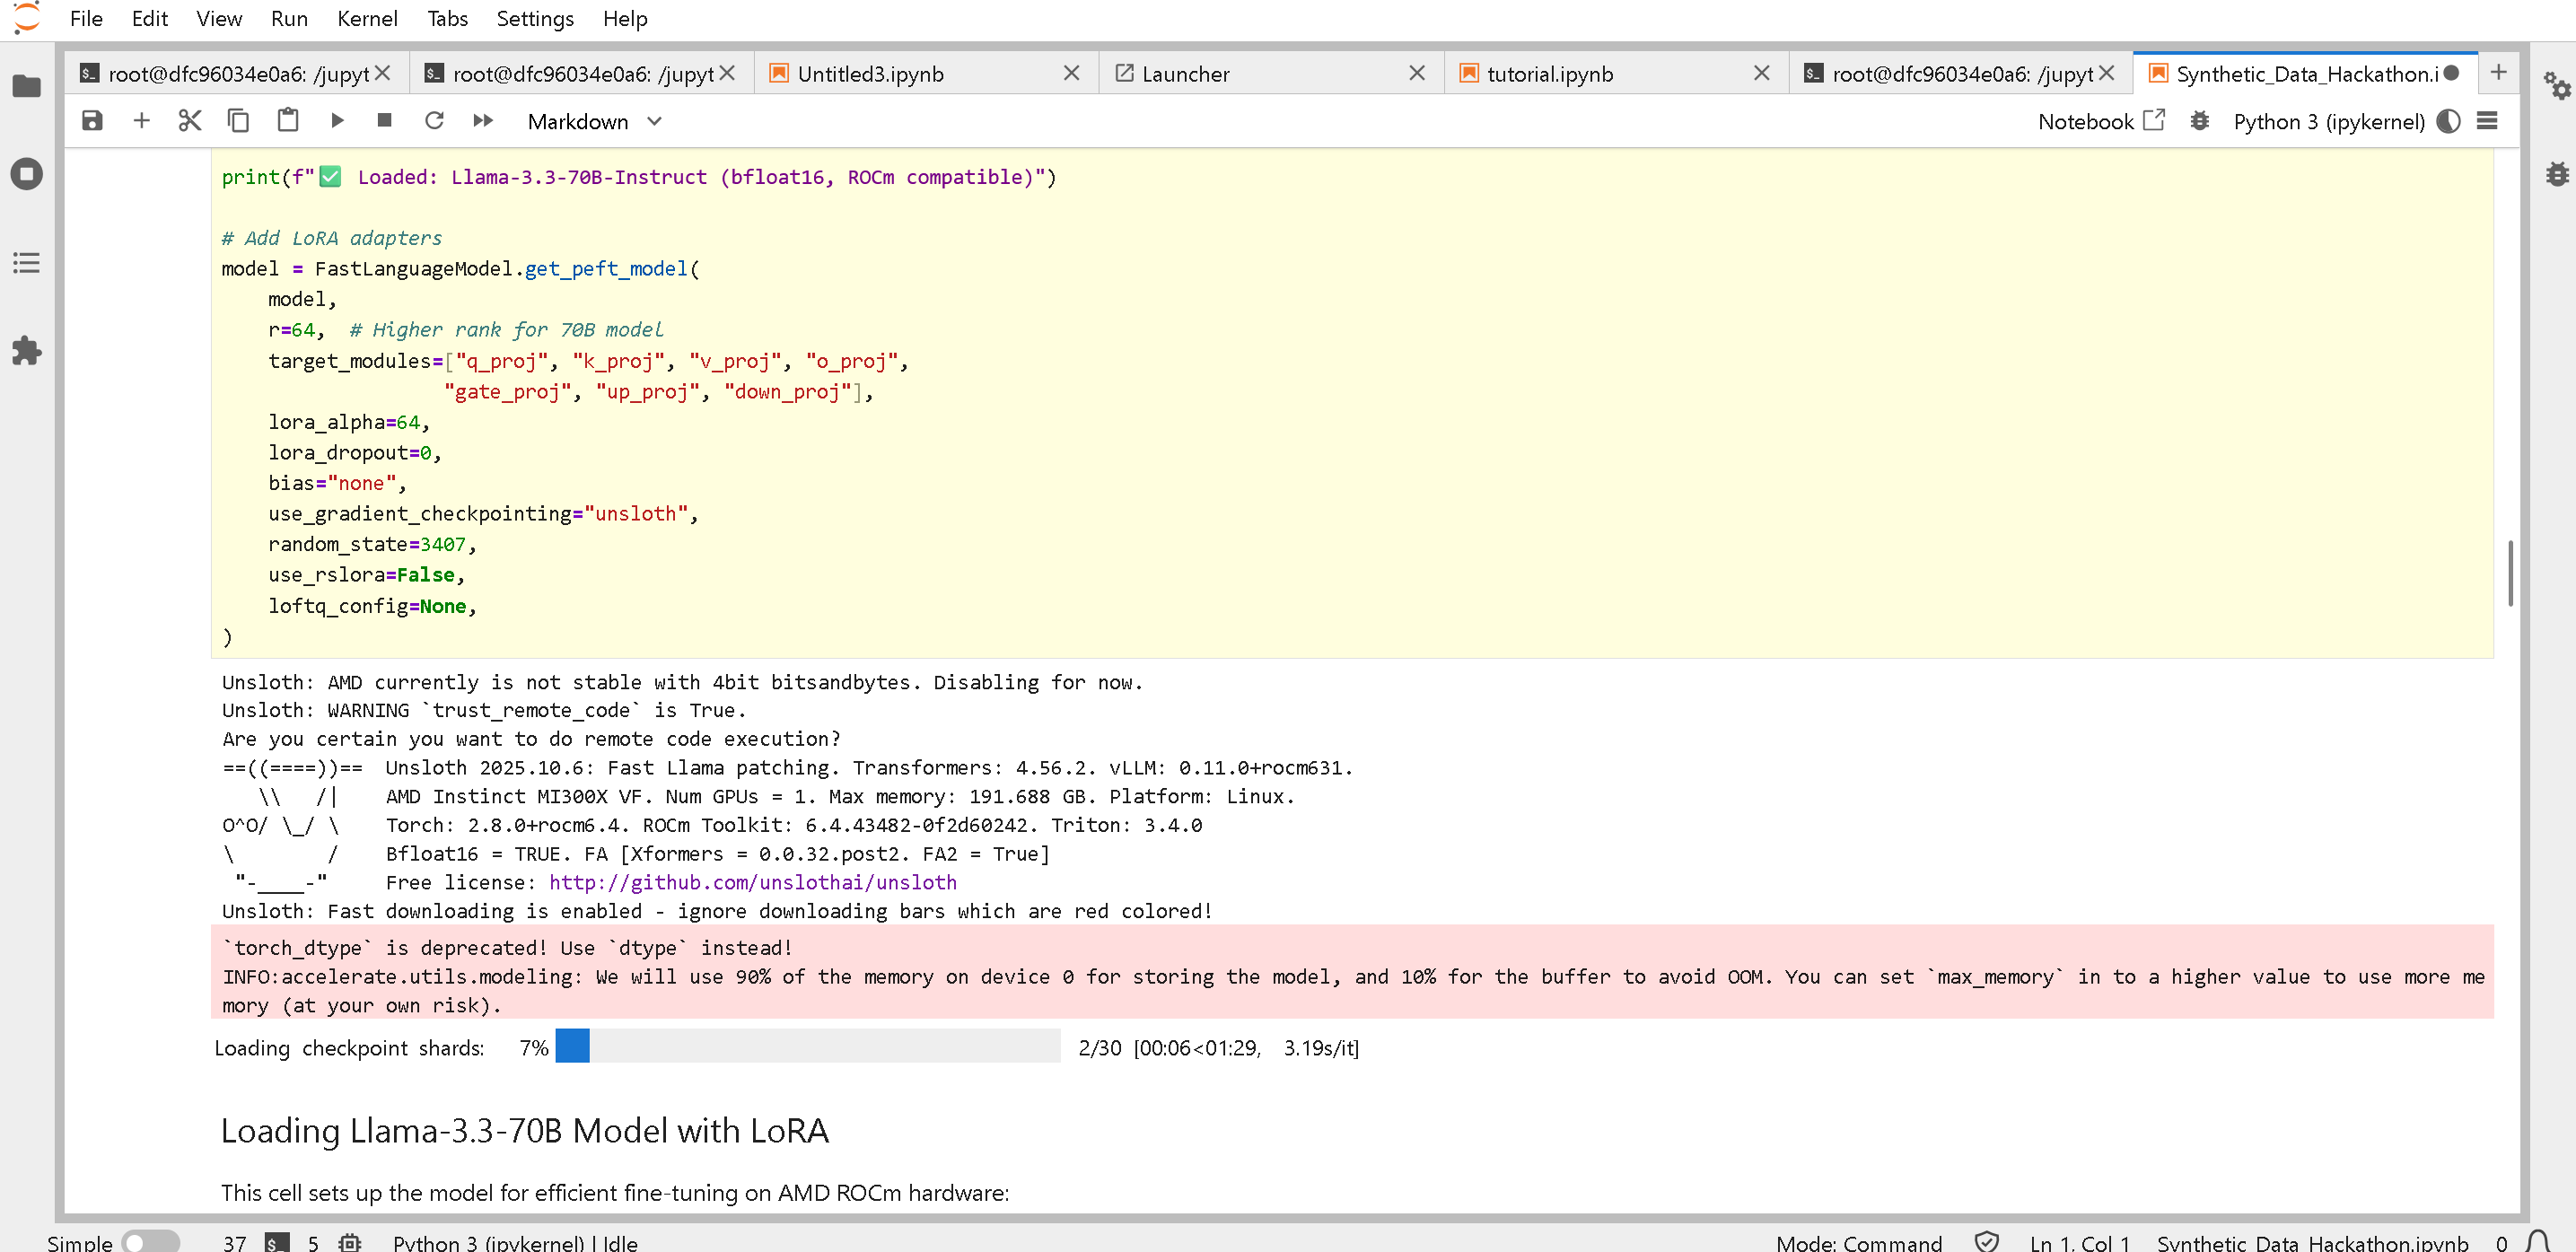
You will see in the middle of the notebook:
See for more details
### :dolphin:TUTORIAL 3: GPT-OSS Reinforcement Learning Auto Kernel Creation
You can run this as a notebook or via Python script!
Python script:
Notebook:
{% code overflow="wrap" %}
```bash
wget "https://raw.githubusercontent.com/unslothai/notebooks/refs/heads/main/nb/gpt_oss_(20B)_GRPO_BF16.ipynb" -O "Auto_Kernels_RL.ipynb"
```
{% endcode %}
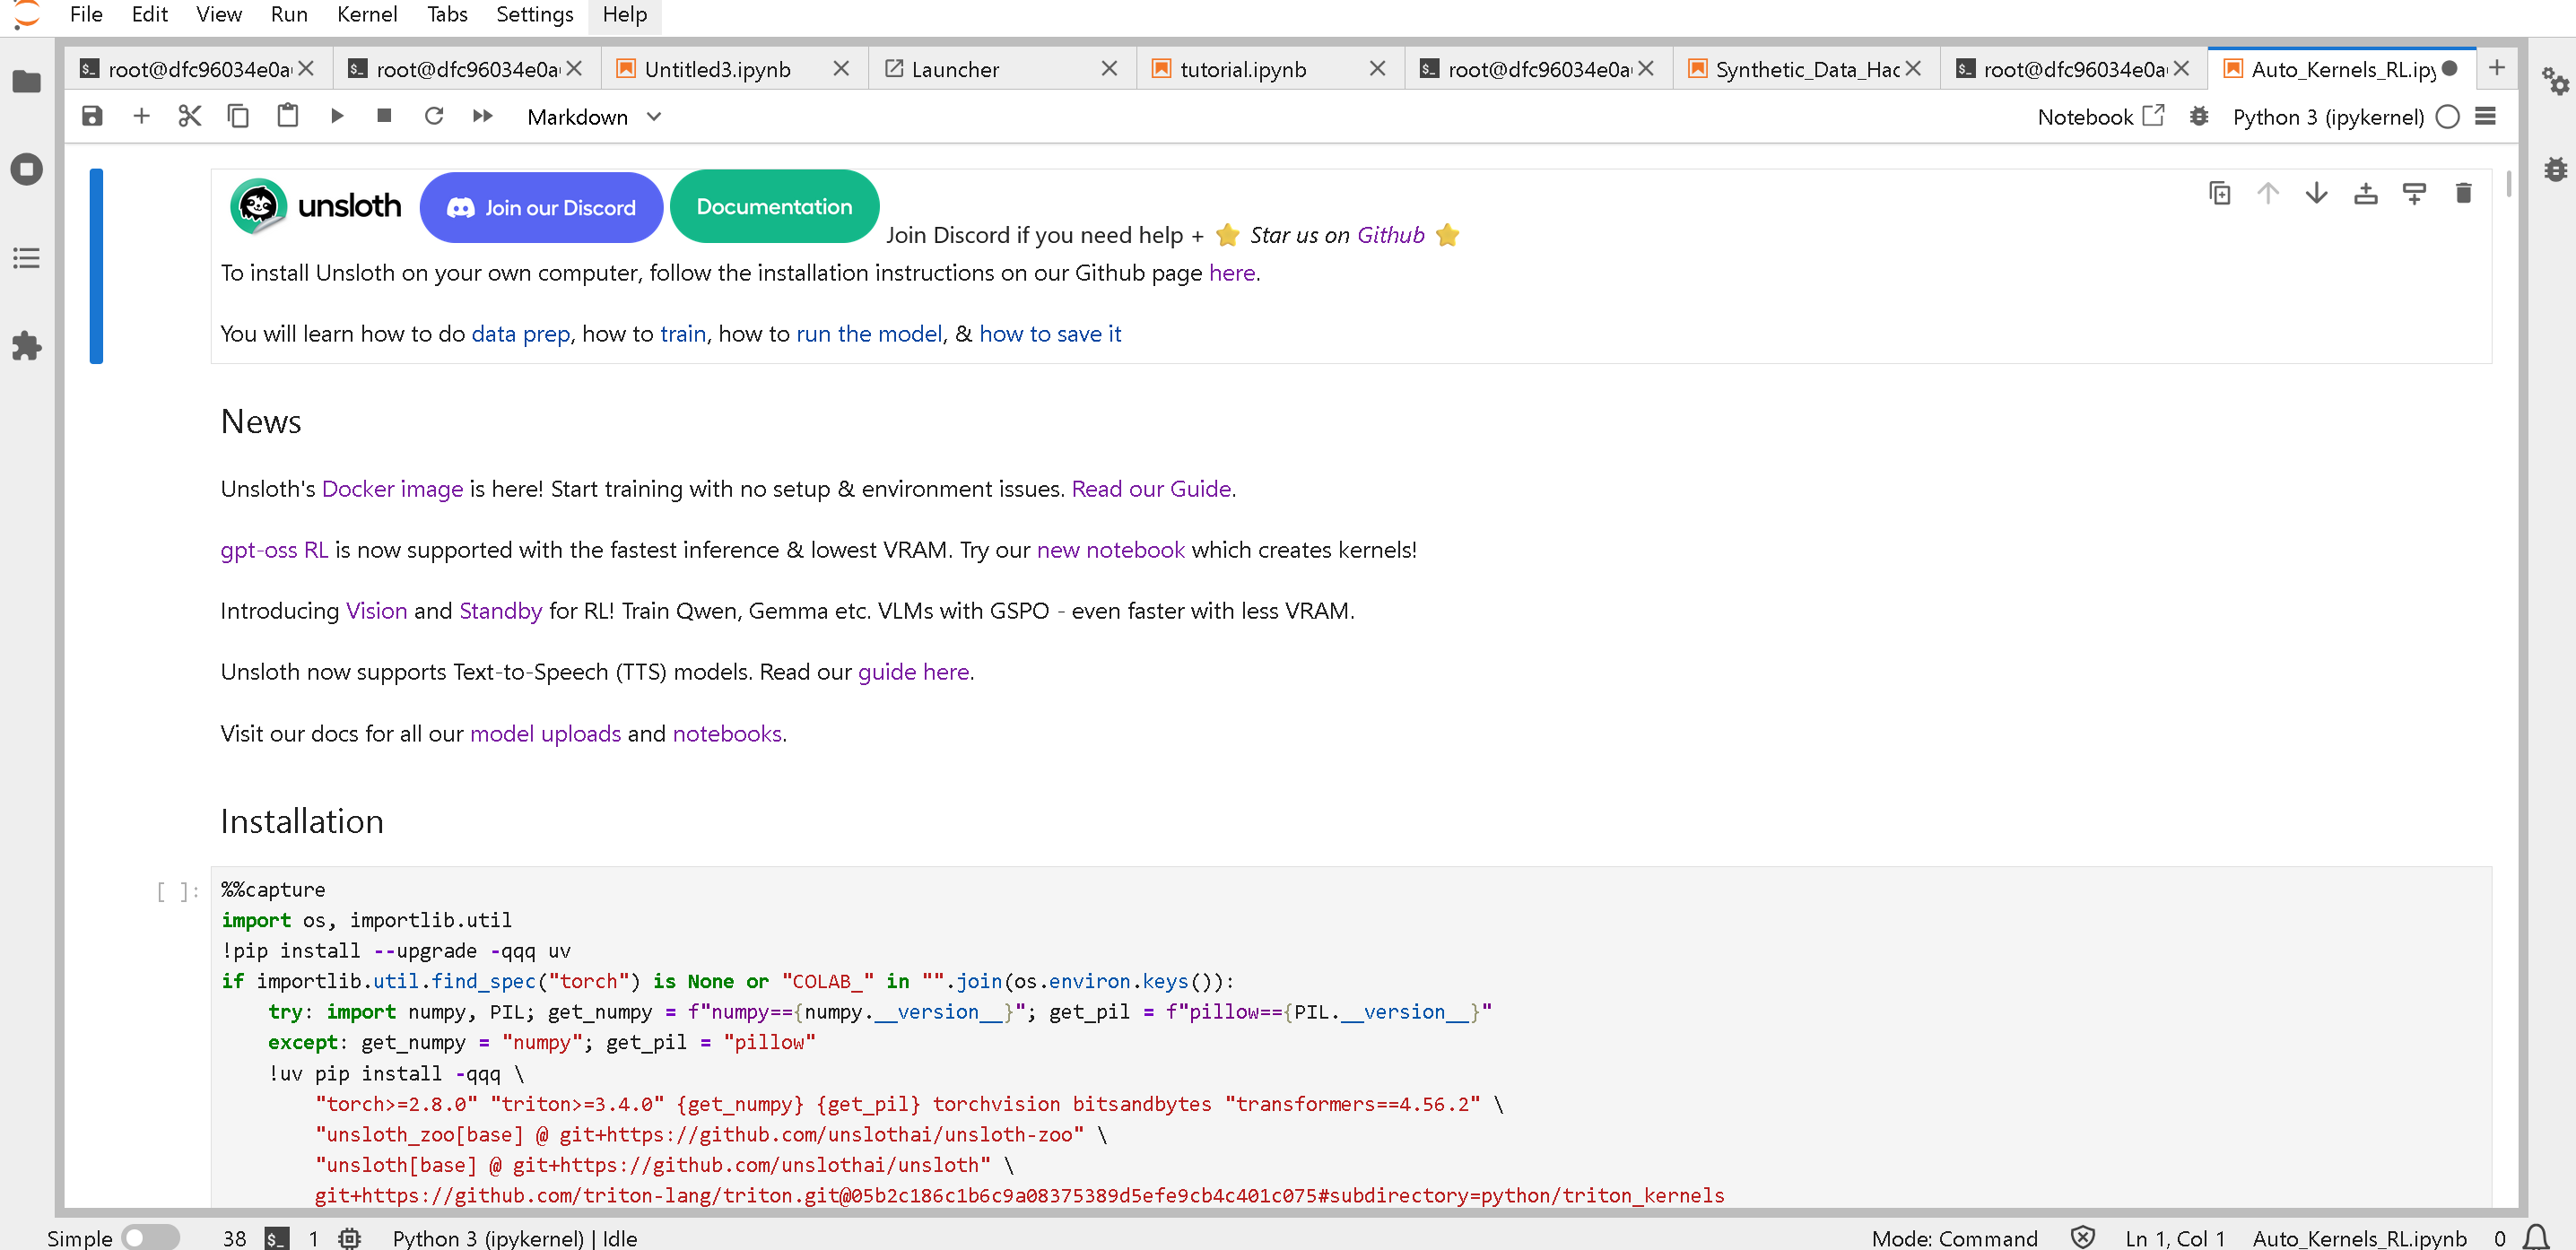
Then again like Tutorial 2, open the file "Auto\_Kernels\_RL.ipynb" and restart and run all!
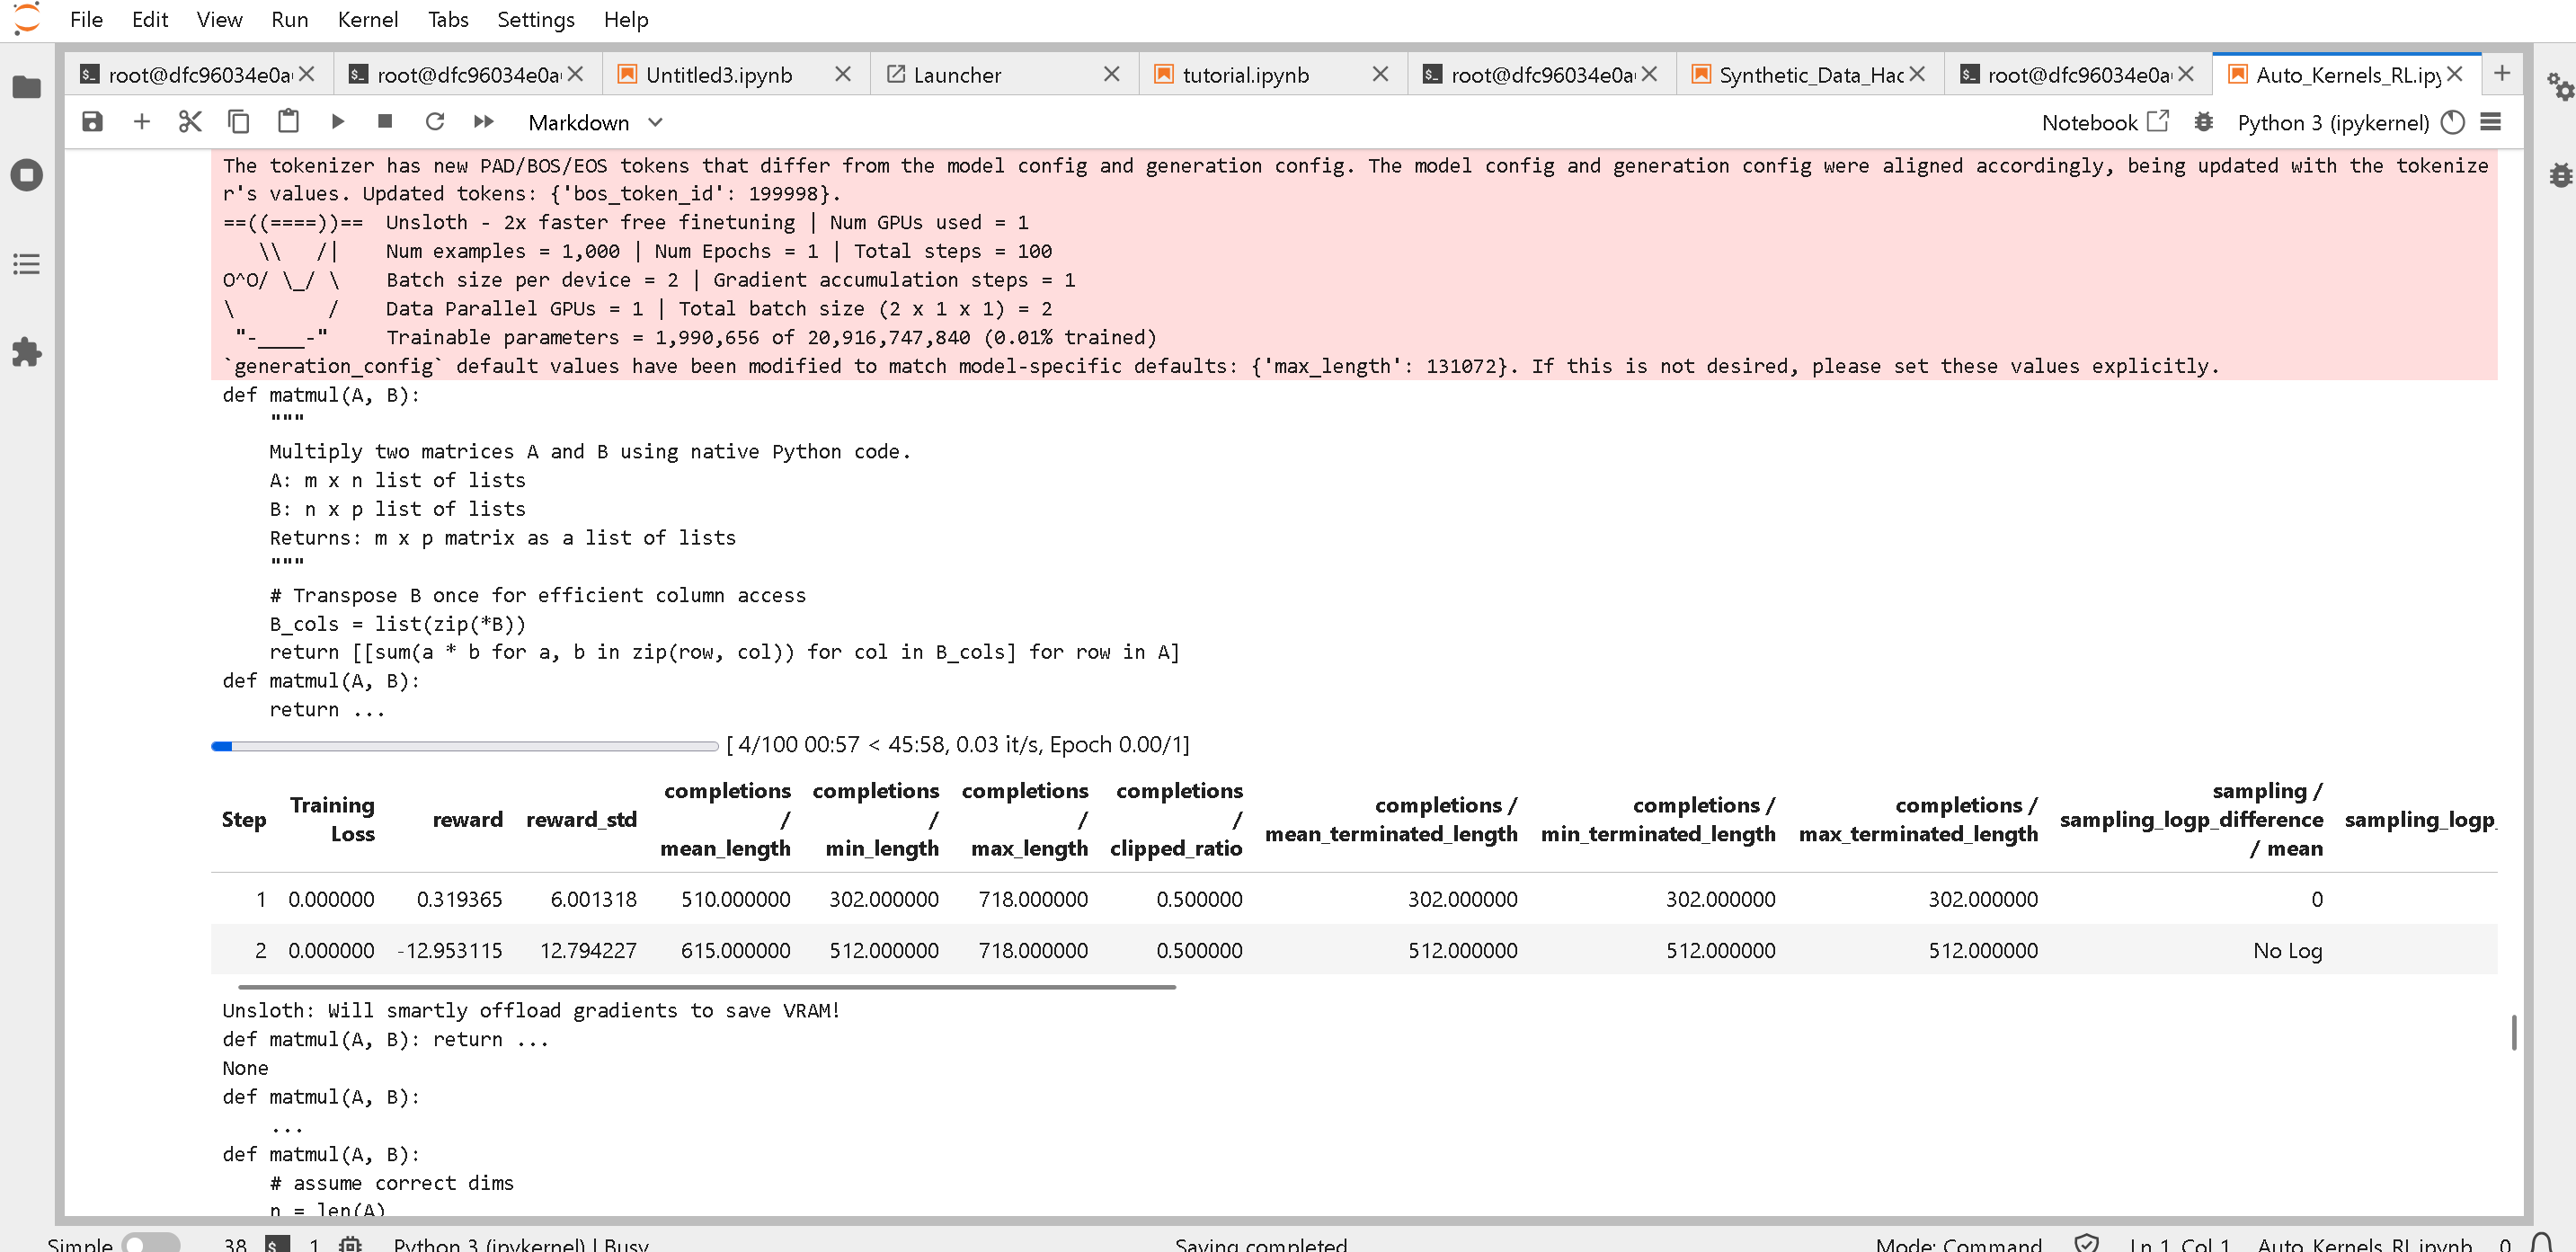
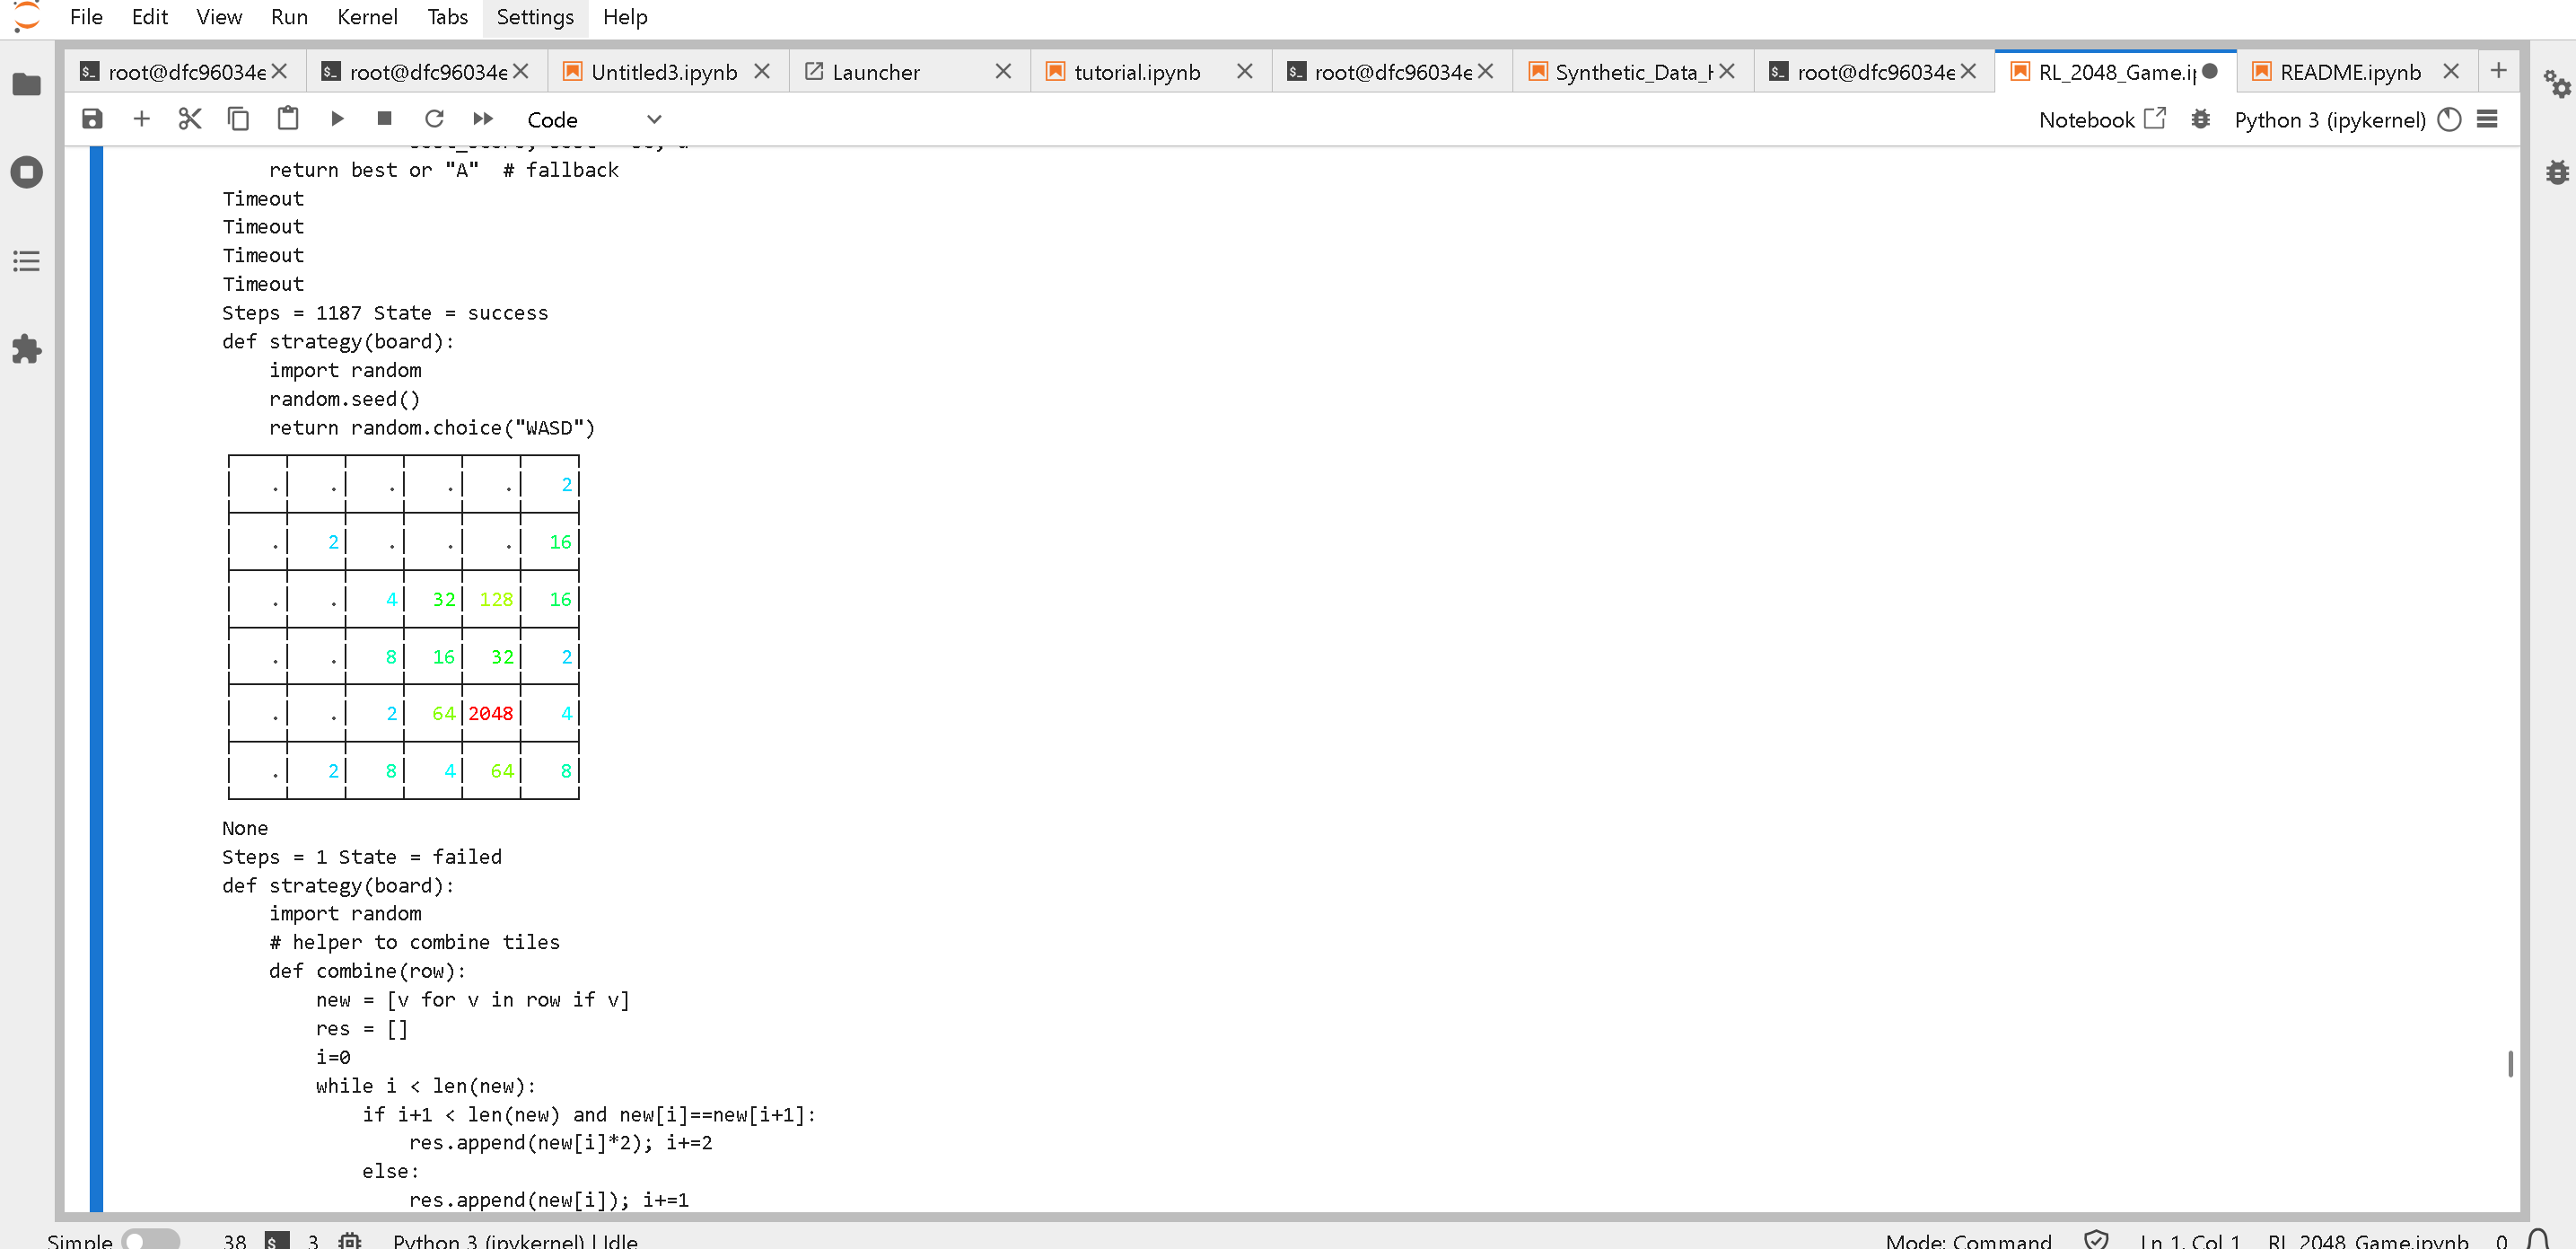
If you run it and scroll down, you will see the 2048 game being run via auto generated strategies through RL:
### :diamonds:TUTORIAL 4: GPT-OSS Reinforcement Learning 2048 Game
You can run this as a notebook or via Python script!
Python script:
Notebook:
{% code overflow="wrap" %}
```bash
wget "https://github.com/unslothai/notebooks/raw/refs/heads/main/nb/gpt_oss_(20B)_Reinforcement_Learning_2048_Game_BF16.ipynb" -O "RL_2048_Game.ipynb"
```
{% endcode %}
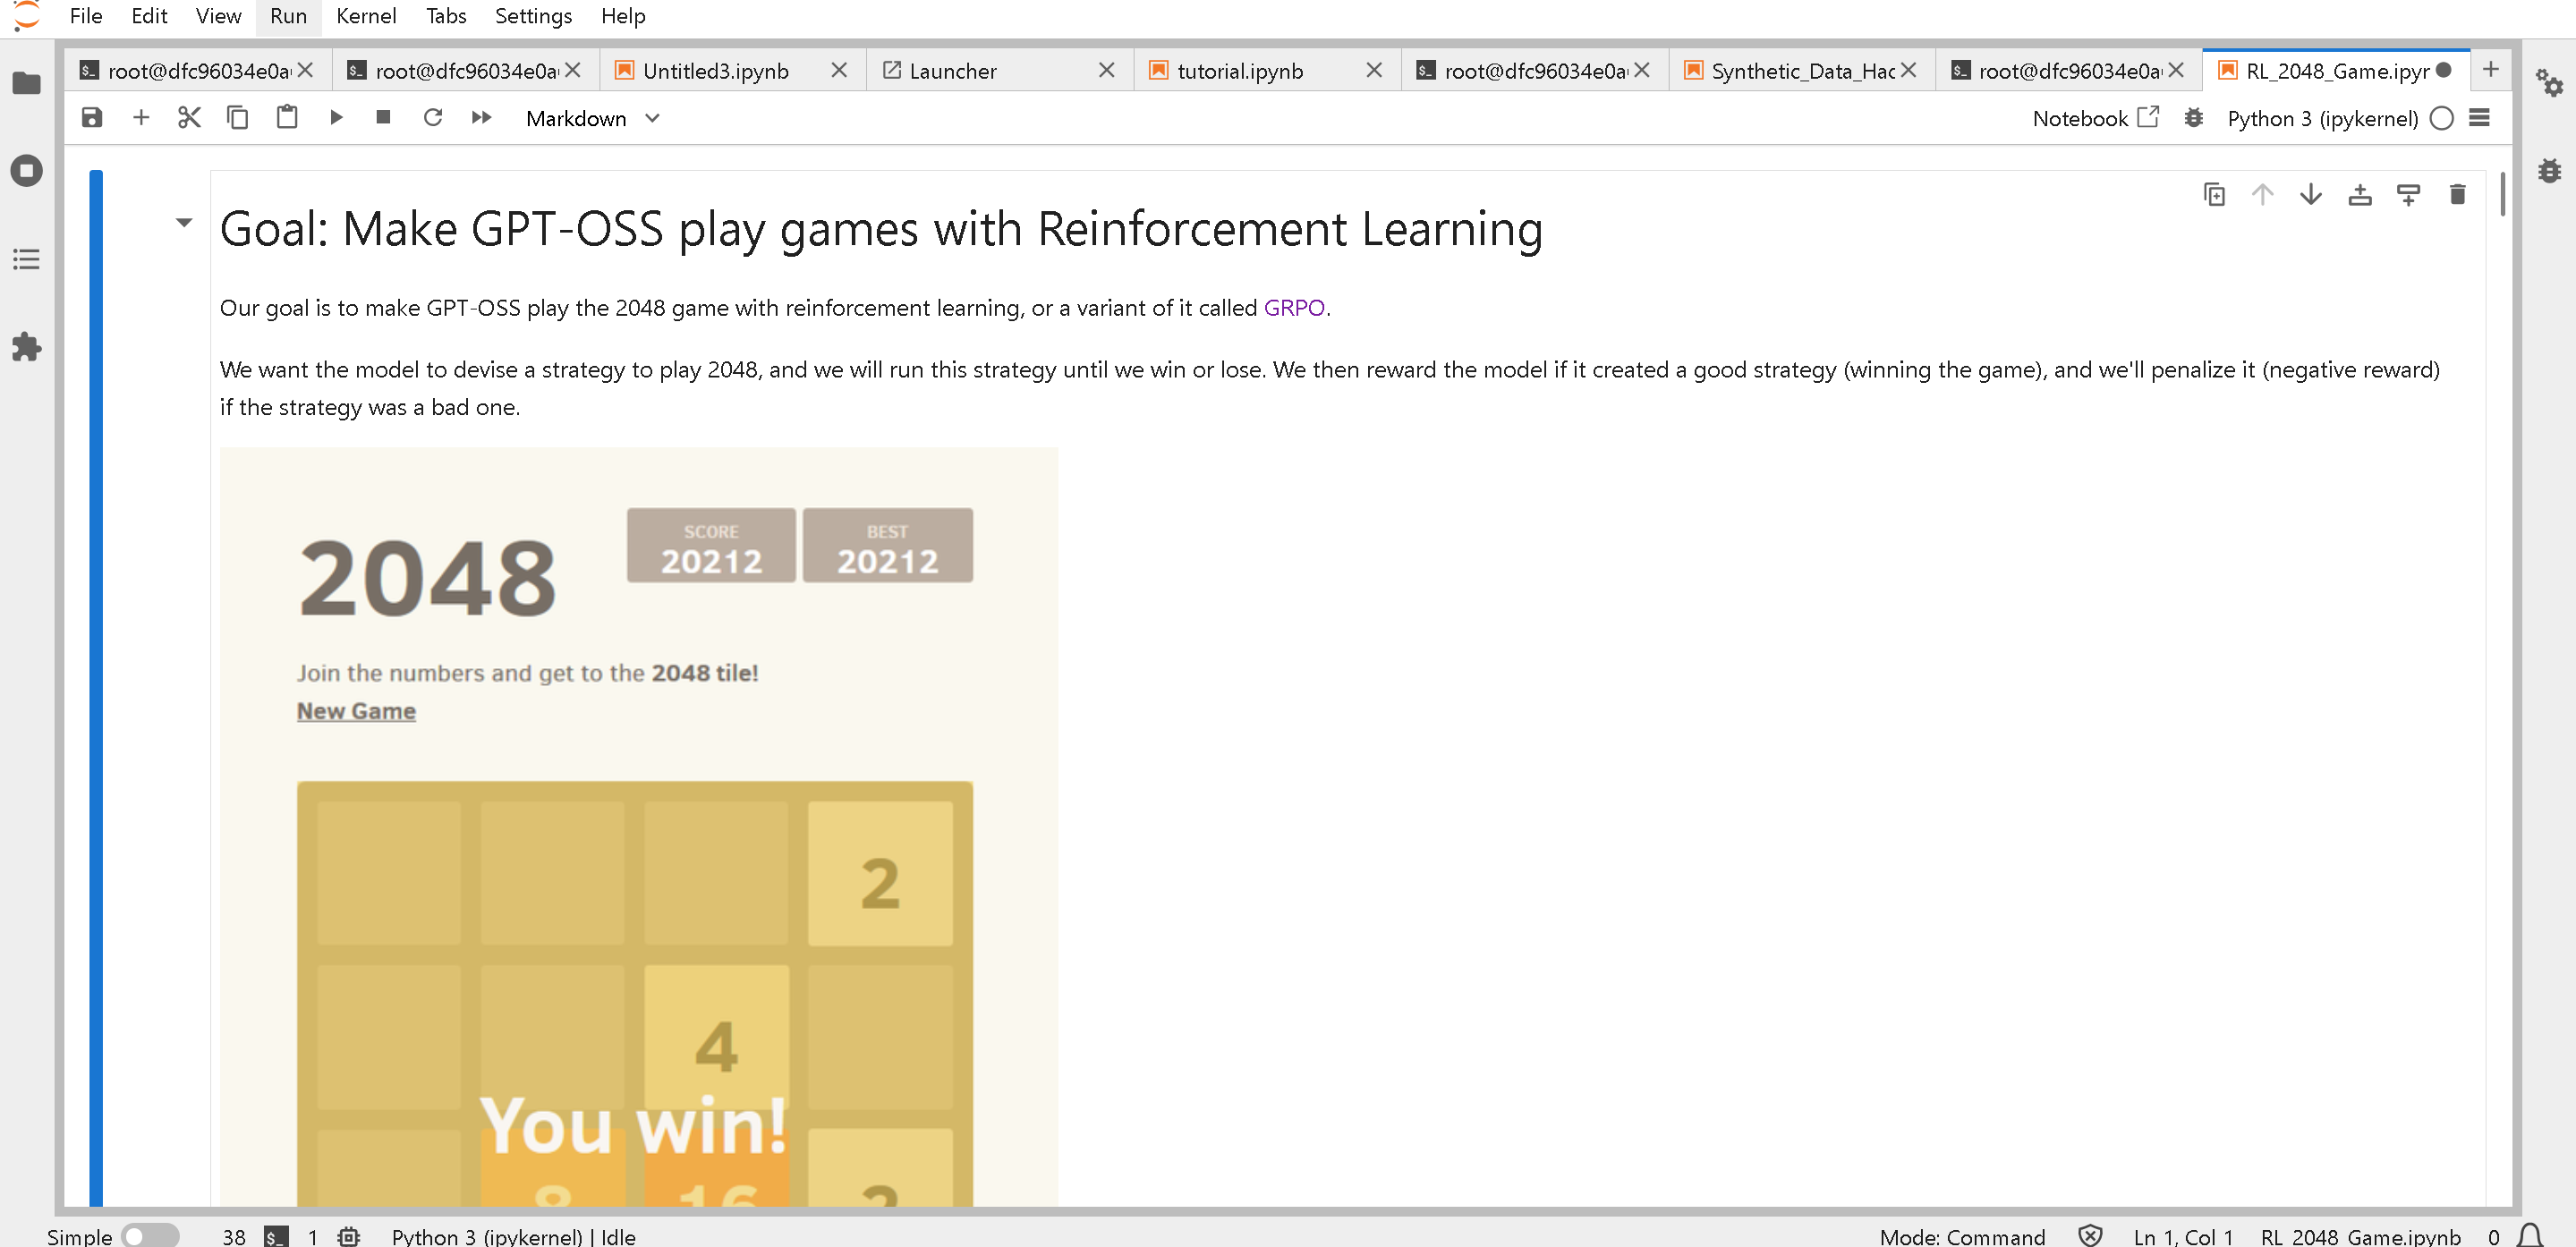
Then again like Tutorial 3, open the file "Auto\_Kernels\_RL.ipynb" and restart and run all!
When you scroll down, you will see the RL algorithm auto creating strategies to win 2048!
### :sunflower:Optimal vLLM commands on AMD
To serve models on AMD GPUs, please use the following commands which will boost performance. Confirm aiter and flash-attention are installed or see [#updating-vllm-to-the-latest-on-amd](#updating-vllm-to-the-latest-on-amd "mention")
For MI300X, MI325X and Radeon GPUs:
```bash
export VLLM_ROCM_USE_AITER=1
# VLLM_USE_AITER_UNIFIED_ATTENTION works only if Flash Attention is installed
export VLLM_USE_AITER_UNIFIED_ATTENTION=0
export VLLM_ROCM_USE_AITER_MHA=0
vllm serve unsloth/gpt-oss-20b \
--no-enable-prefix-caching \
--compilation-config '{"full_cuda_graph": true}'
```
For MI355X, do the below:
```bash
export VLLM_ROCM_USE_AITER=1
# VLLM_USE_AITER_UNIFIED_ATTENTION works only if Flash Attention is installed
export VLLM_USE_AITER_UNIFIED_ATTENTION=0
export VLLM_ROCM_USE_AITER_MHA=0
export VLLM_USE_AITER_TRITON_FUSED_SPLIT_QKV_ROPE=1
export VLLM_USE_AITER_TRITON_FUSED_ADD_RMSNORM_PAD=1
export TRITON_HIP_PRESHUFFLE_SCALES=1
export VLLM_USE_AITER_TRITON_GEMM=1
vllm serve unsloth/gpt-oss-120b \
--no-enable-prefix-caching \
--compilation-config '{"compile_sizes": [1, 2, 4, 8, 16, 24, 32, 64, 128, 256, 4096, 8192], "full_cuda_graph": true}' \
--block-size 64
```
## :tools:Troubleshooting and FAQs
### :free:How do I free AMD GPU memory?
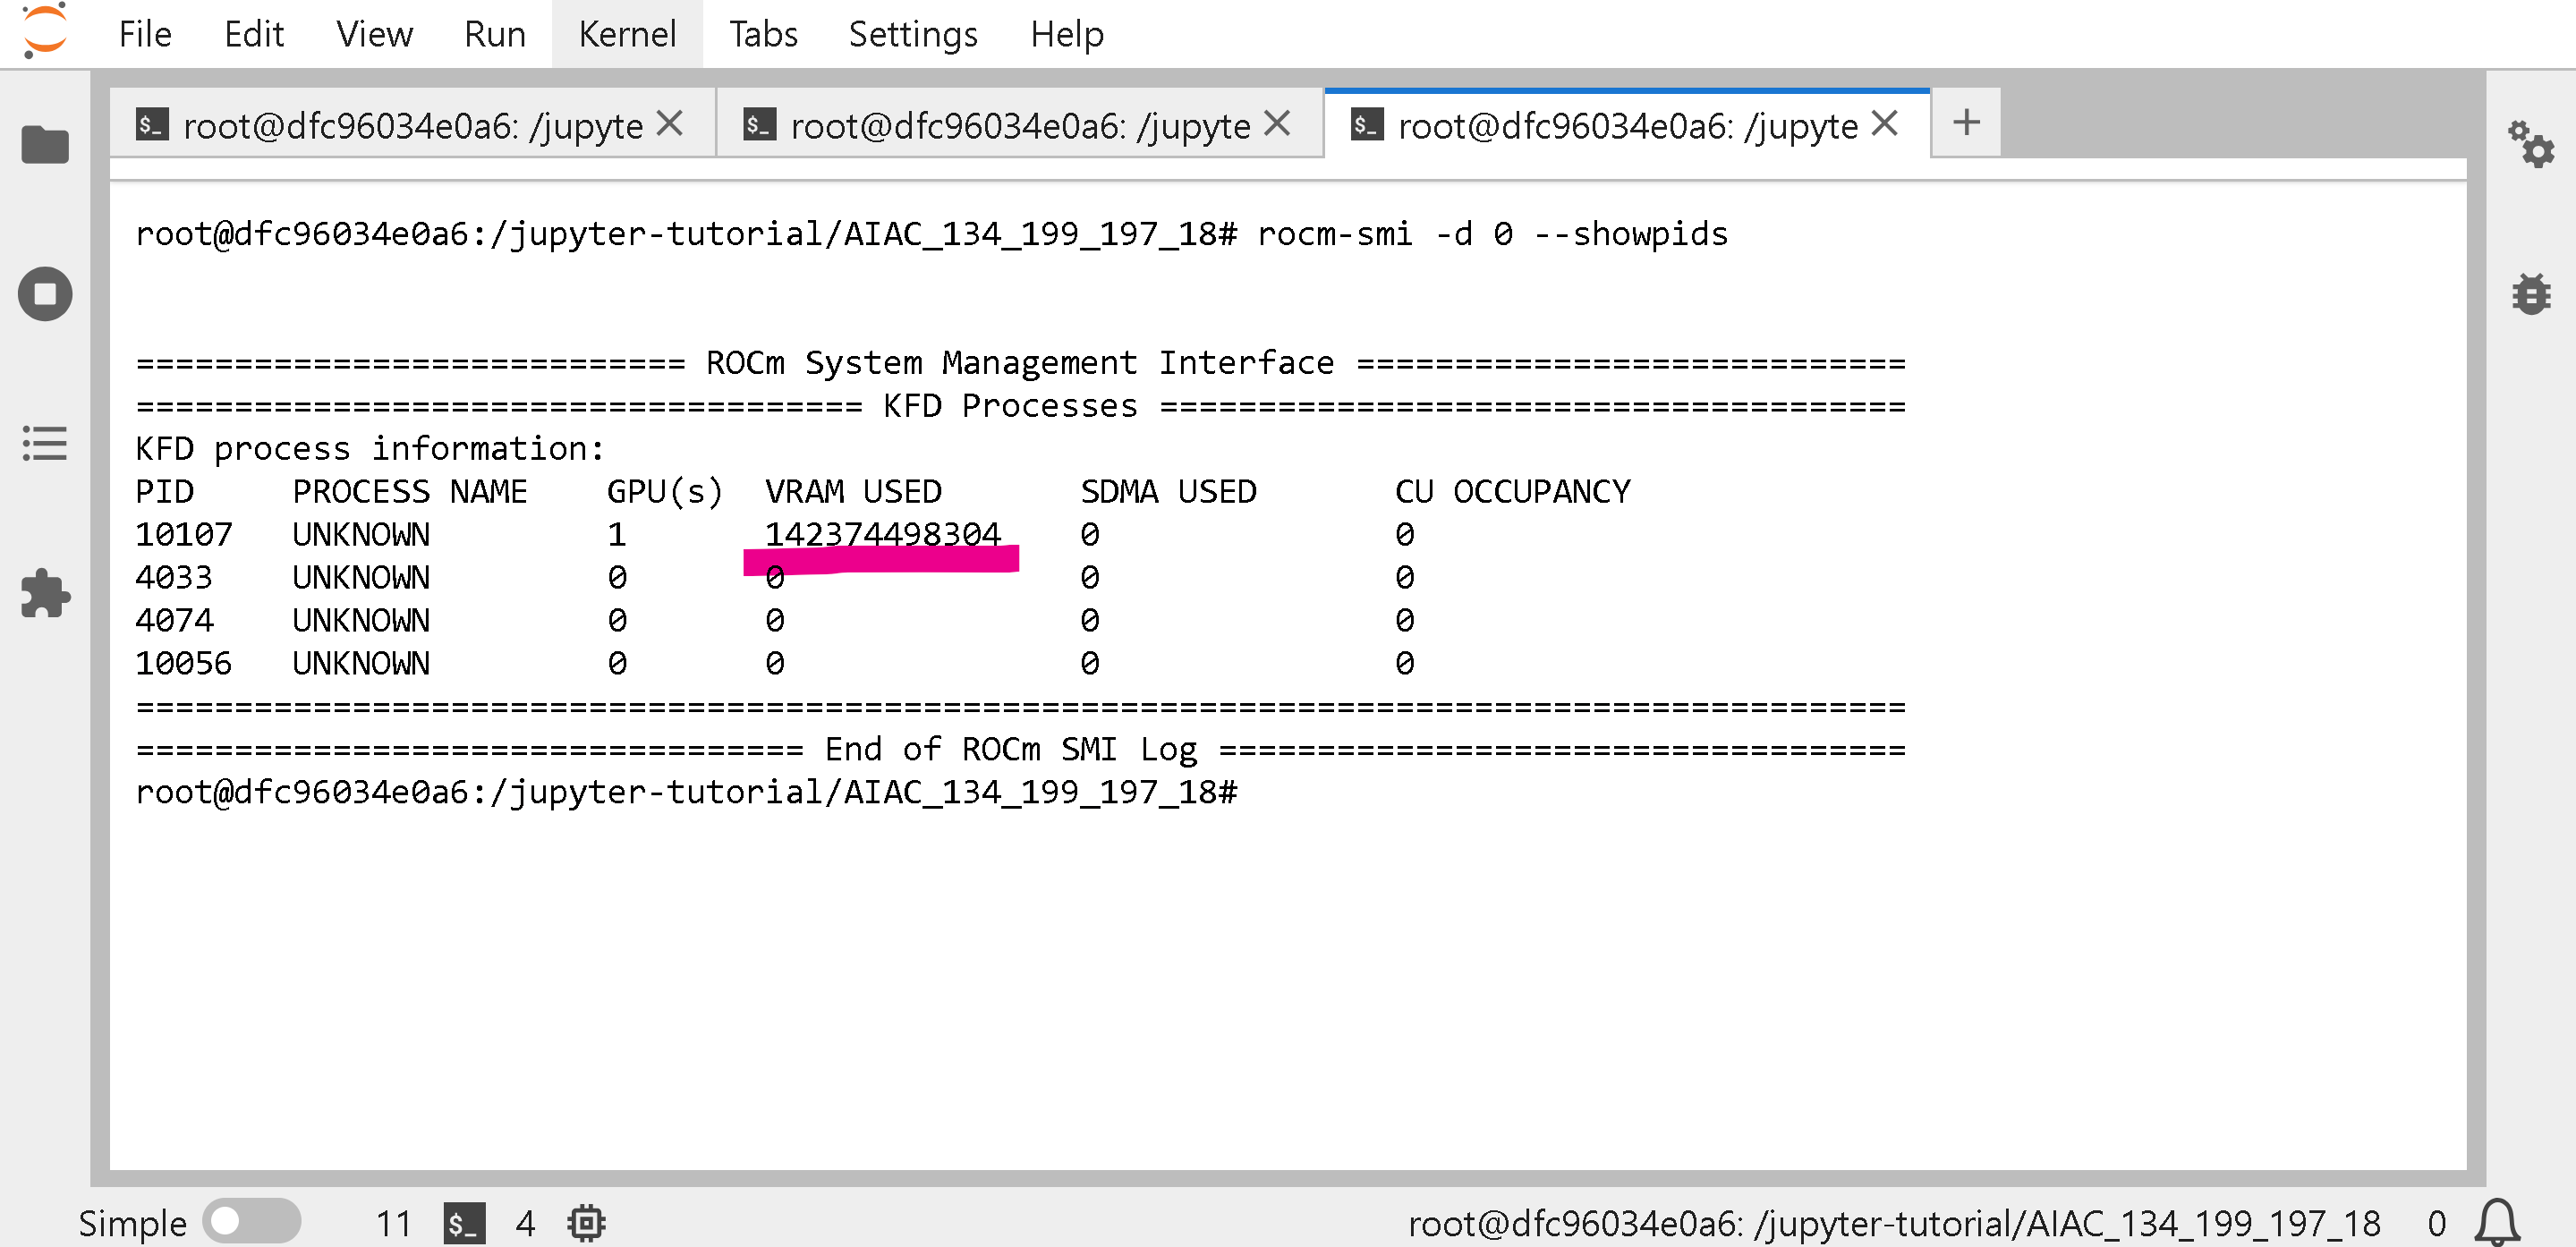
If you are on a Docker image (like the hackathon) run the below in a new **Terminal** `rocm-smi -d 0 --showpids` if on a local machine
```bash
# List local PIDs that have /dev/kfd or /dev/dri/render* open
for p in /proc/[0-9]*; do
readlink -f "$p/fd"/* 2>/dev/null | grep -qE '/dev/(kfd|dri/render)' || continue
cmd=$(tr -d '\0' < "$p/cmdline" 2>/dev/null | sed 's/ \+/ /g')
printf "%-8s %s\n" "${p##*/}" "${cmd:-[unknown]}"
done | sort -n
```
If in a local machine, simply do `rocm-smi -d 0 --showpids` and run `sudo kill -9 XXXX` where `XXXX` is the PID listed for that specific process that uses the most VRAM.
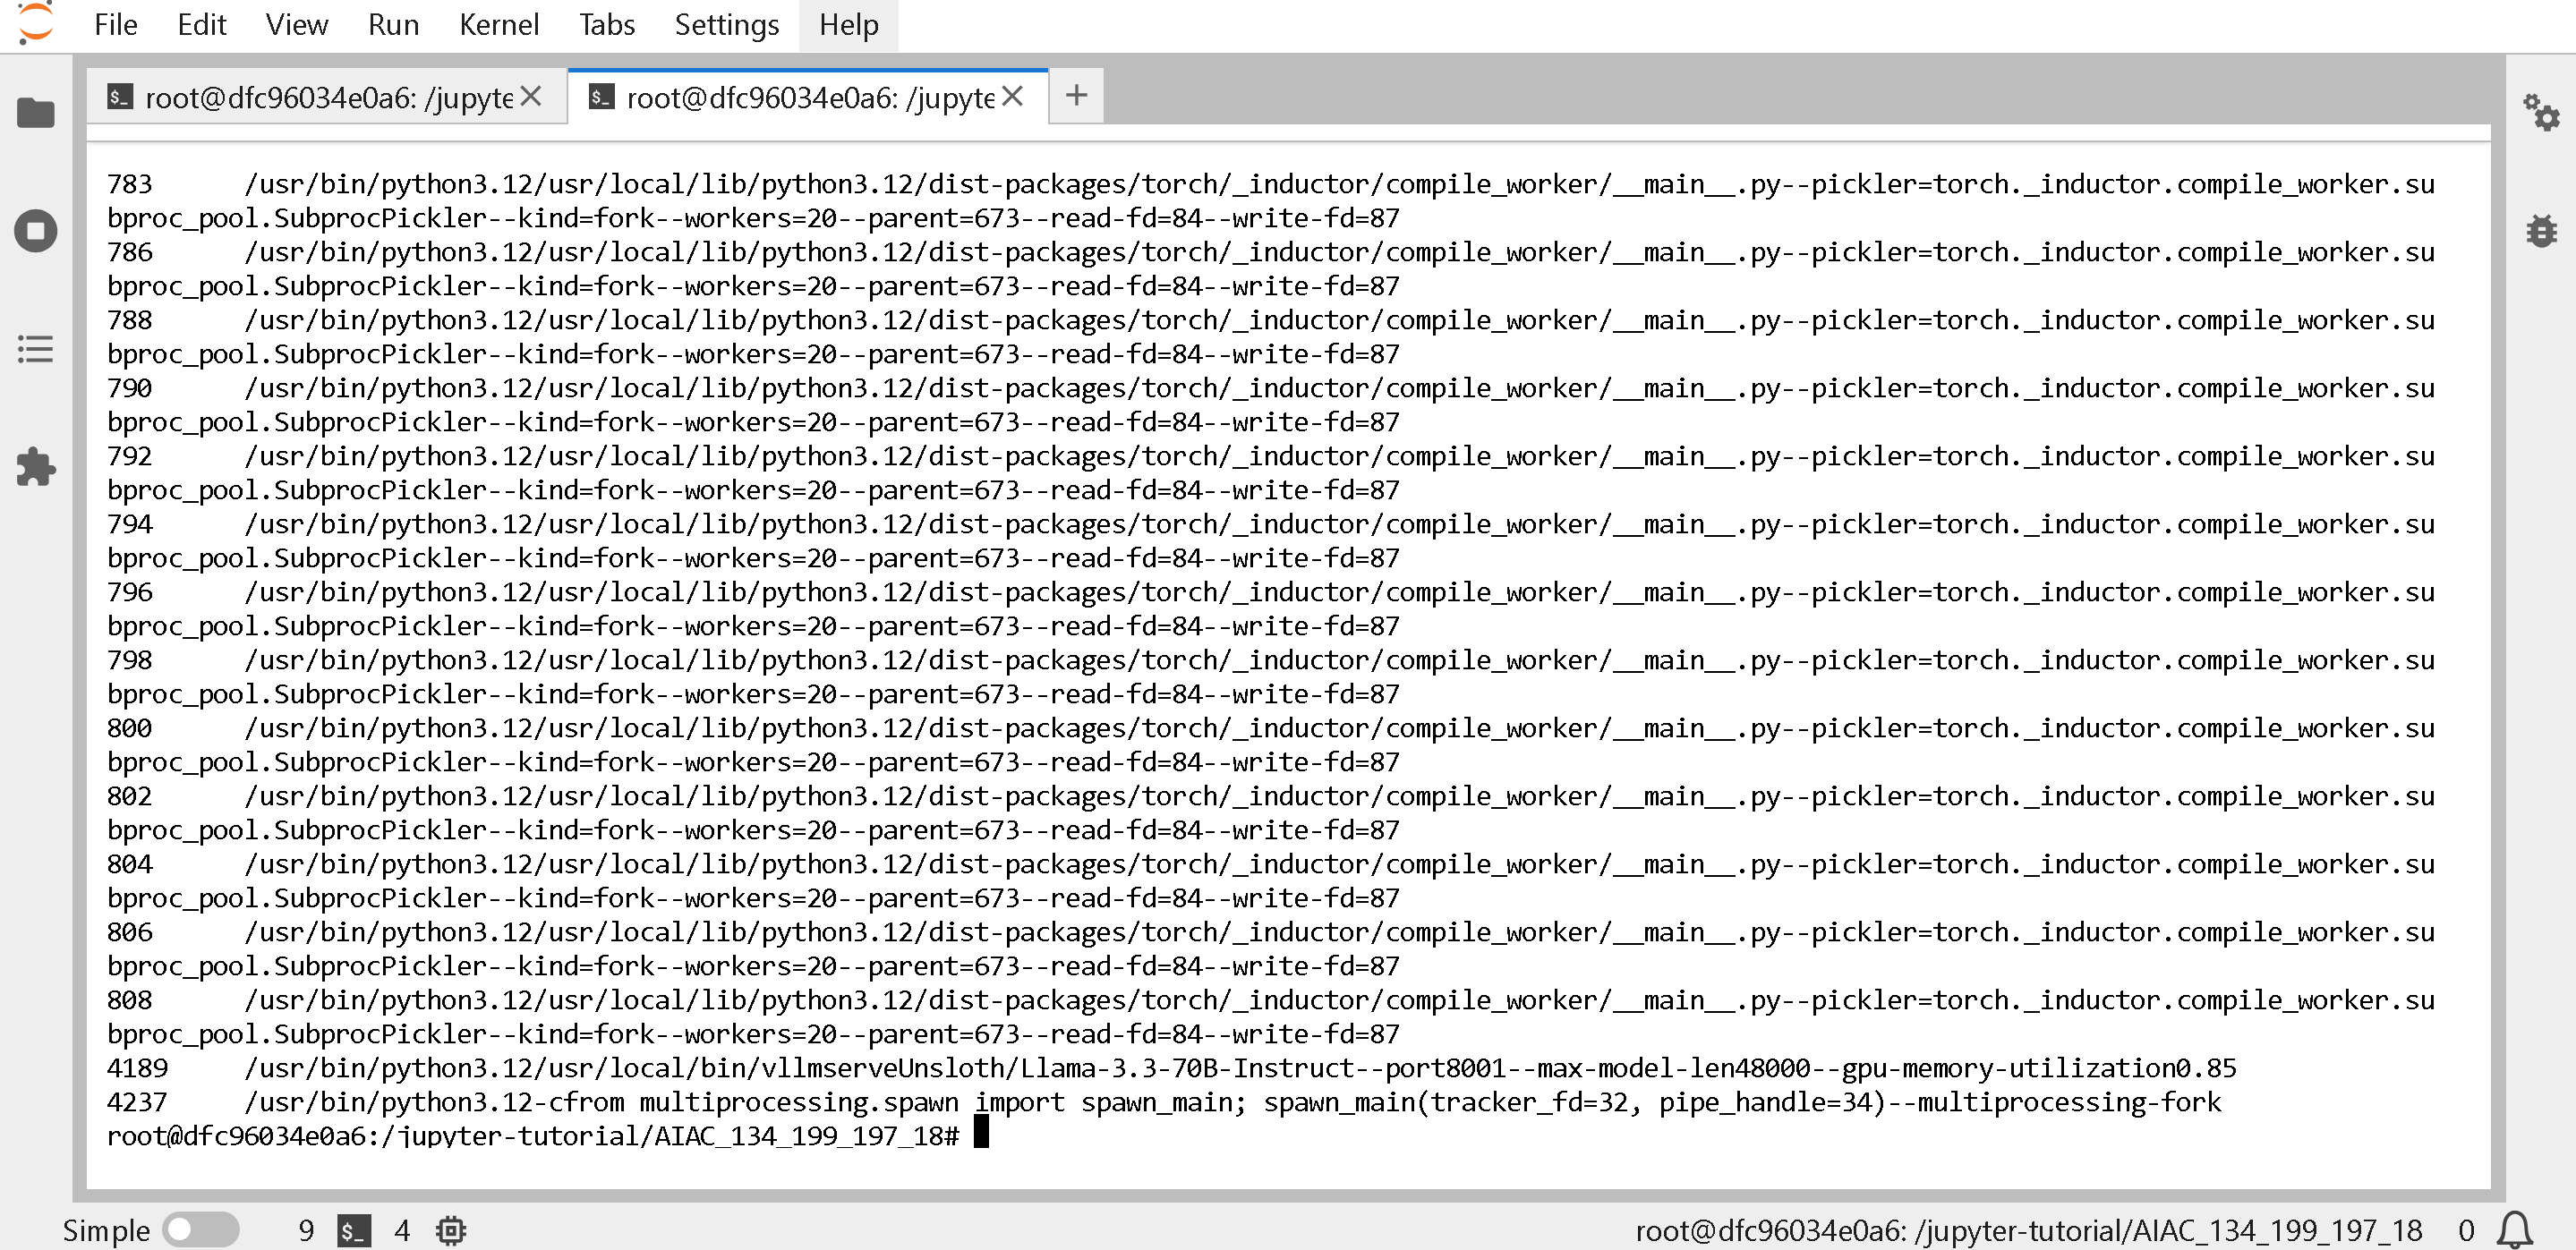
For the Docker image like in the hackathon, after running the first cell, you might see something like below:
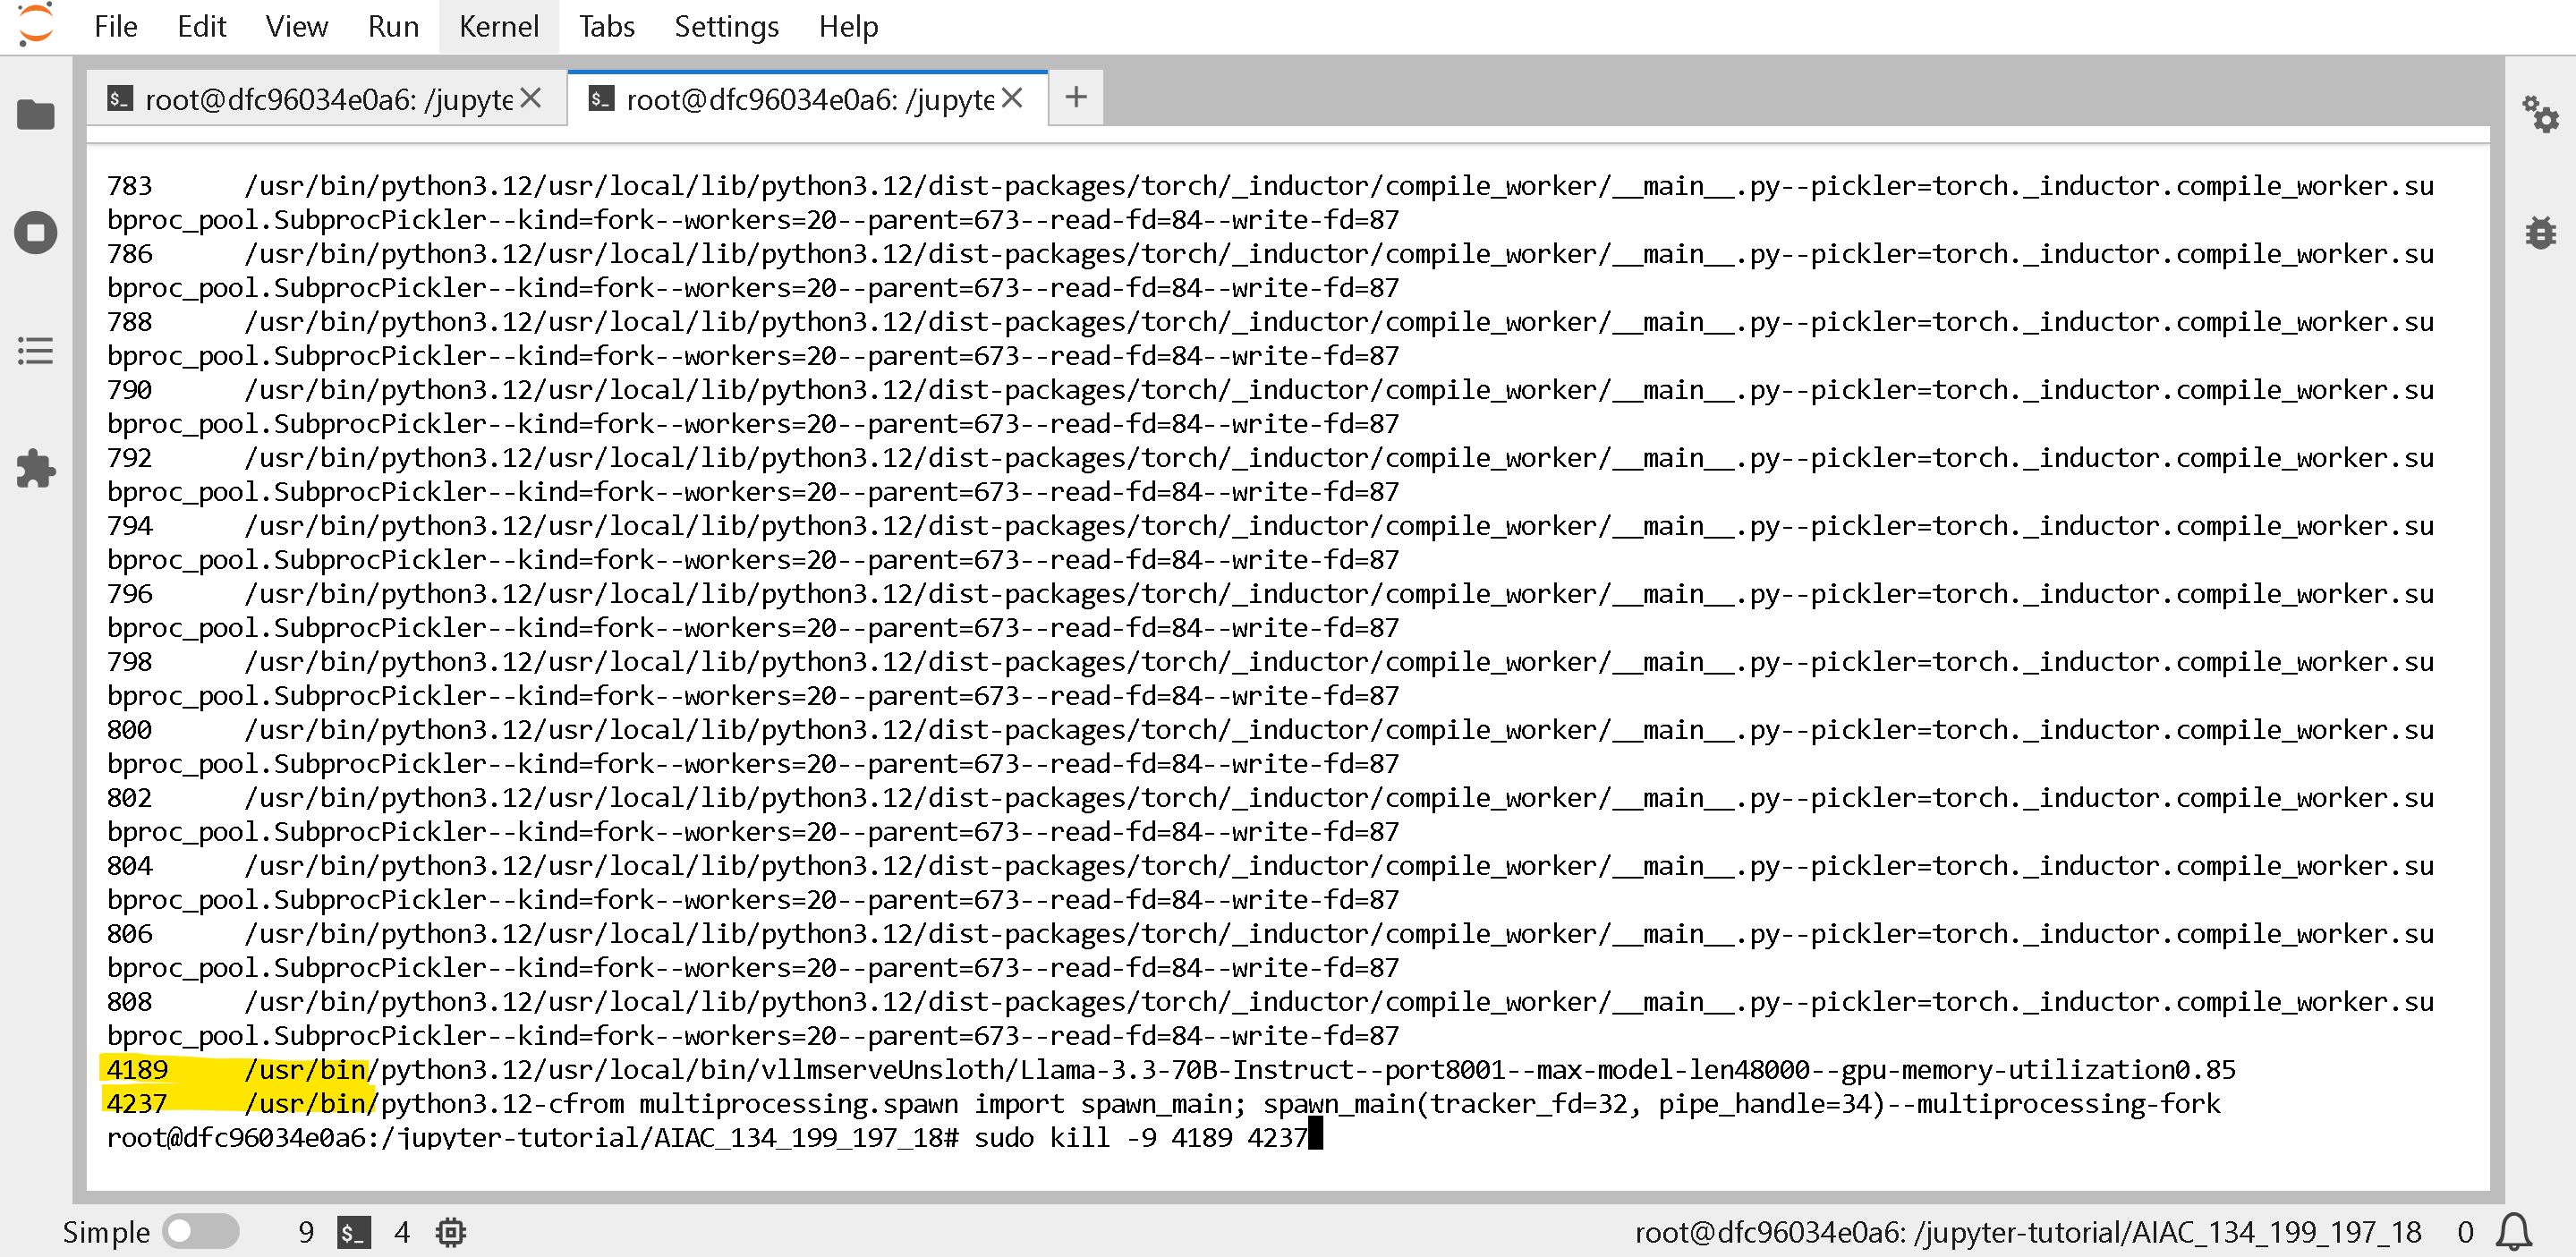
Then look for the process which is using the VRAM (like vLLM), and type `sudo kill -9 XXXX` where `XXXX` is the PID listed on the left column like below:
Confirm all GPU memory is freed via `rocm-smi -d 0 --showpids` For example below shows 0 memory usage:
If on the other hand you see the below, then rerun the first Docker cell image to kill the process again.
### :pencil:torch.OutOfMemoryError: HIP out of memory RuntimeError: Engine process failed to start.
Please see [#how-do-i-free-amd-gpu-memory](#how-do-i-free-amd-gpu-memory "mention") for checking if your GPU is using memory from another process and try deleting that process that is using memory.
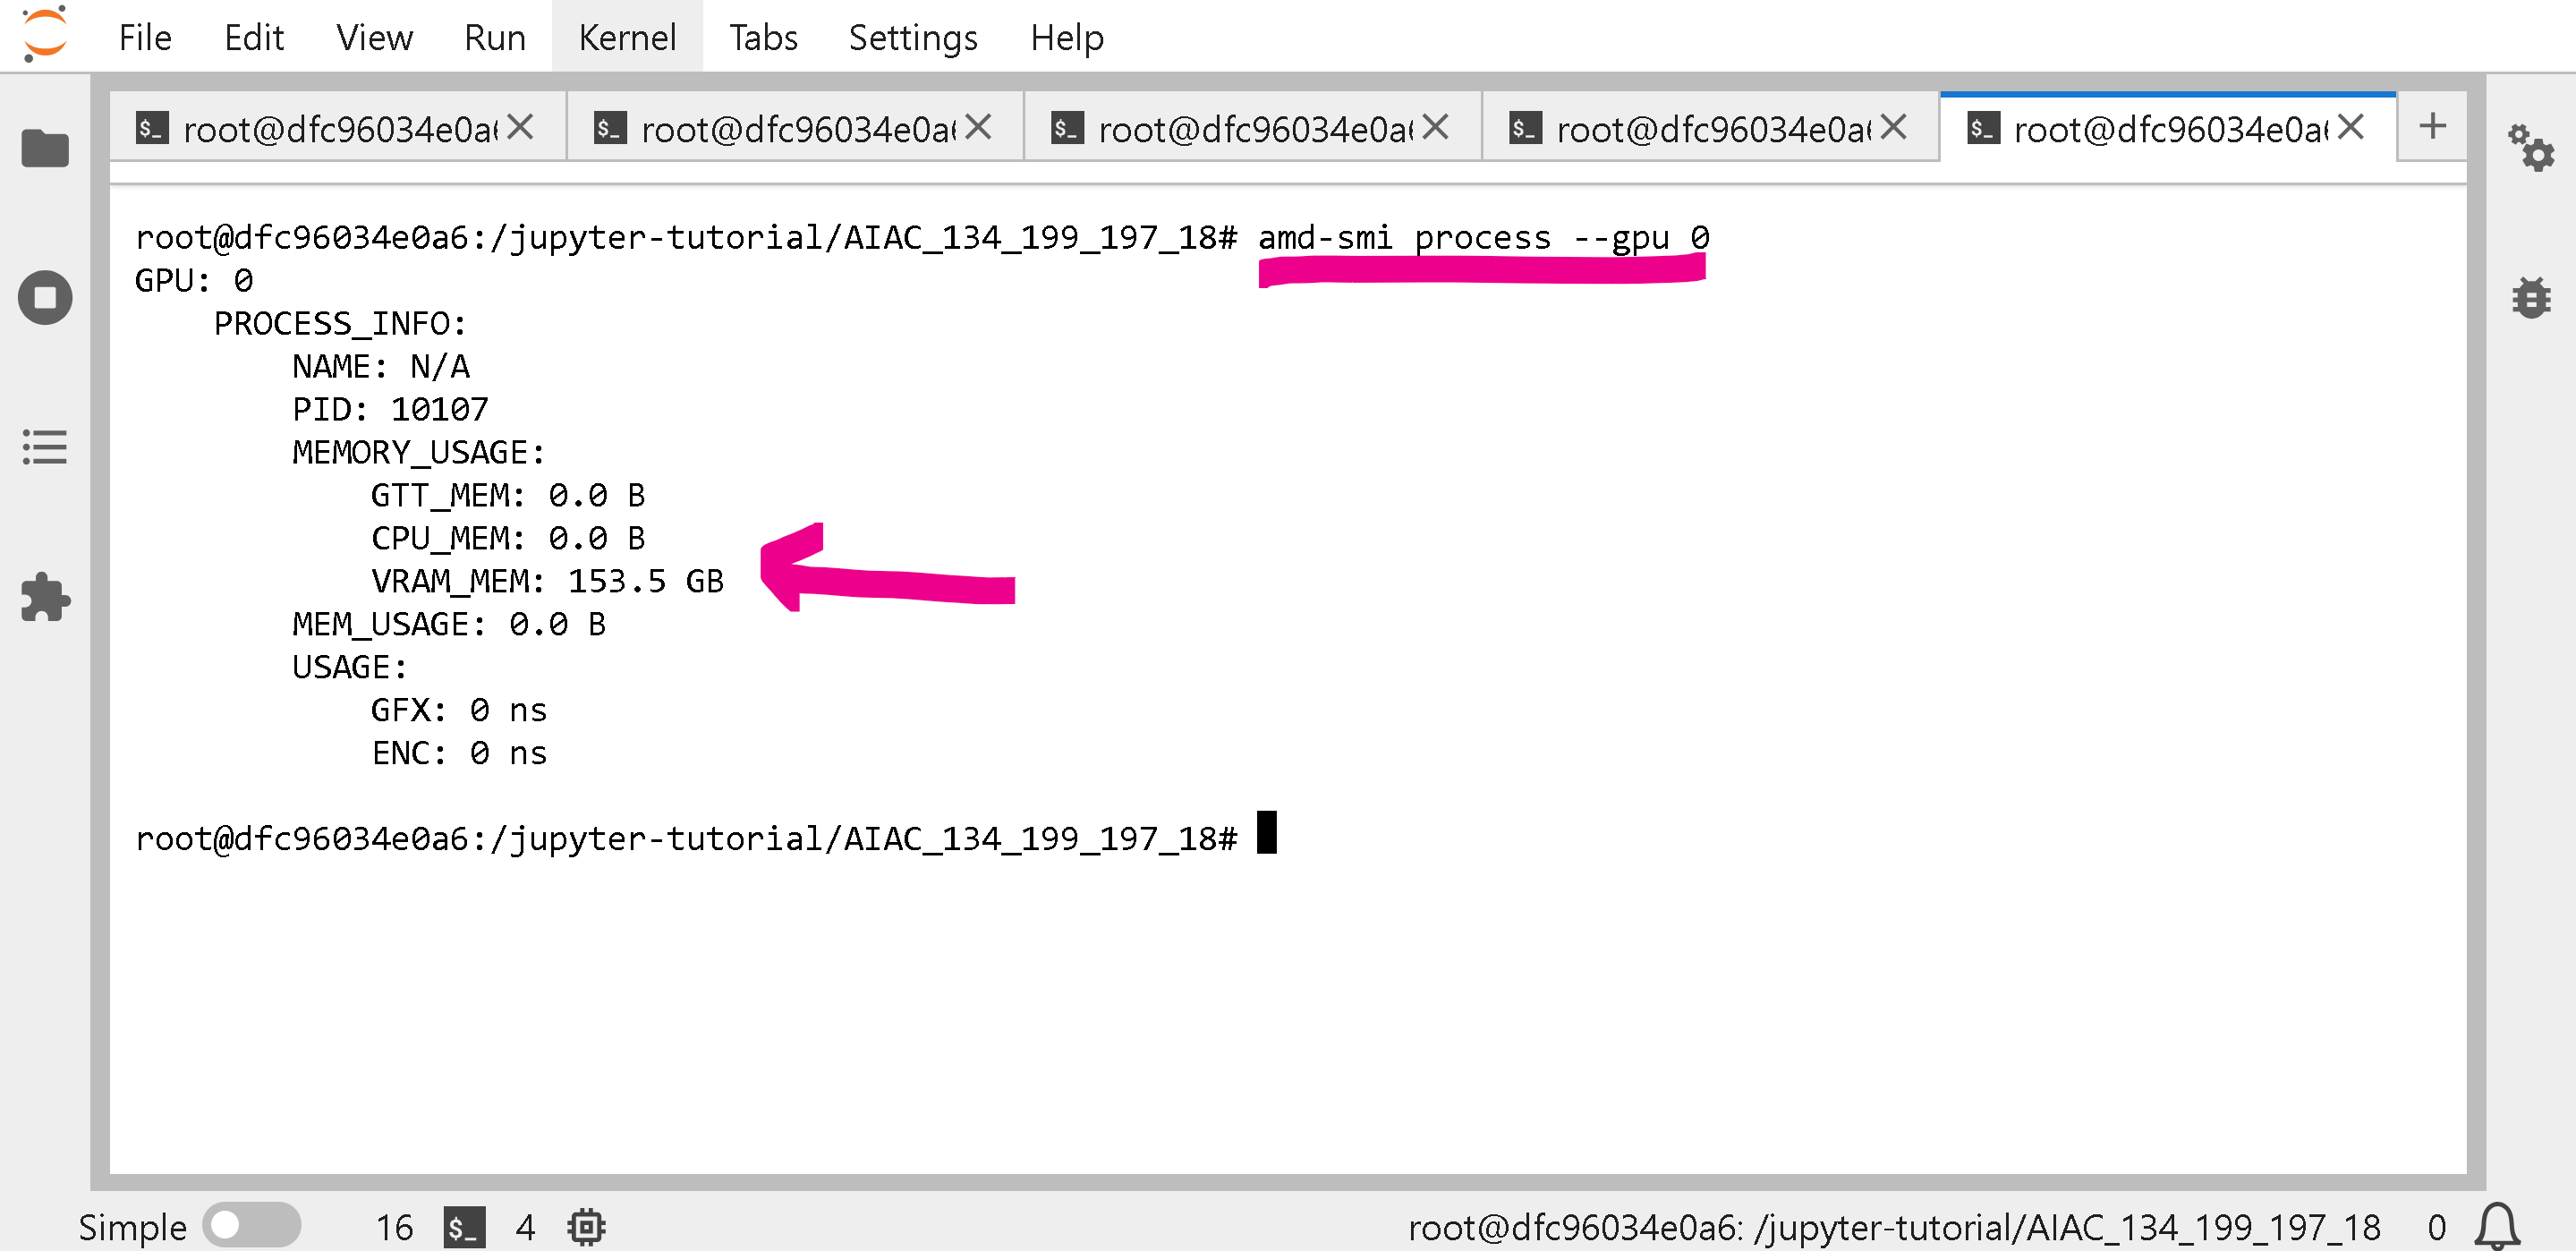
Also try `amd-smi process --gpu 0` to list all processes and the VRAM usage for all processes using the GPU:
### :arrow\_forward:No platform detected for vLLM, upgrading vLLM, gpt-oss on vLLM
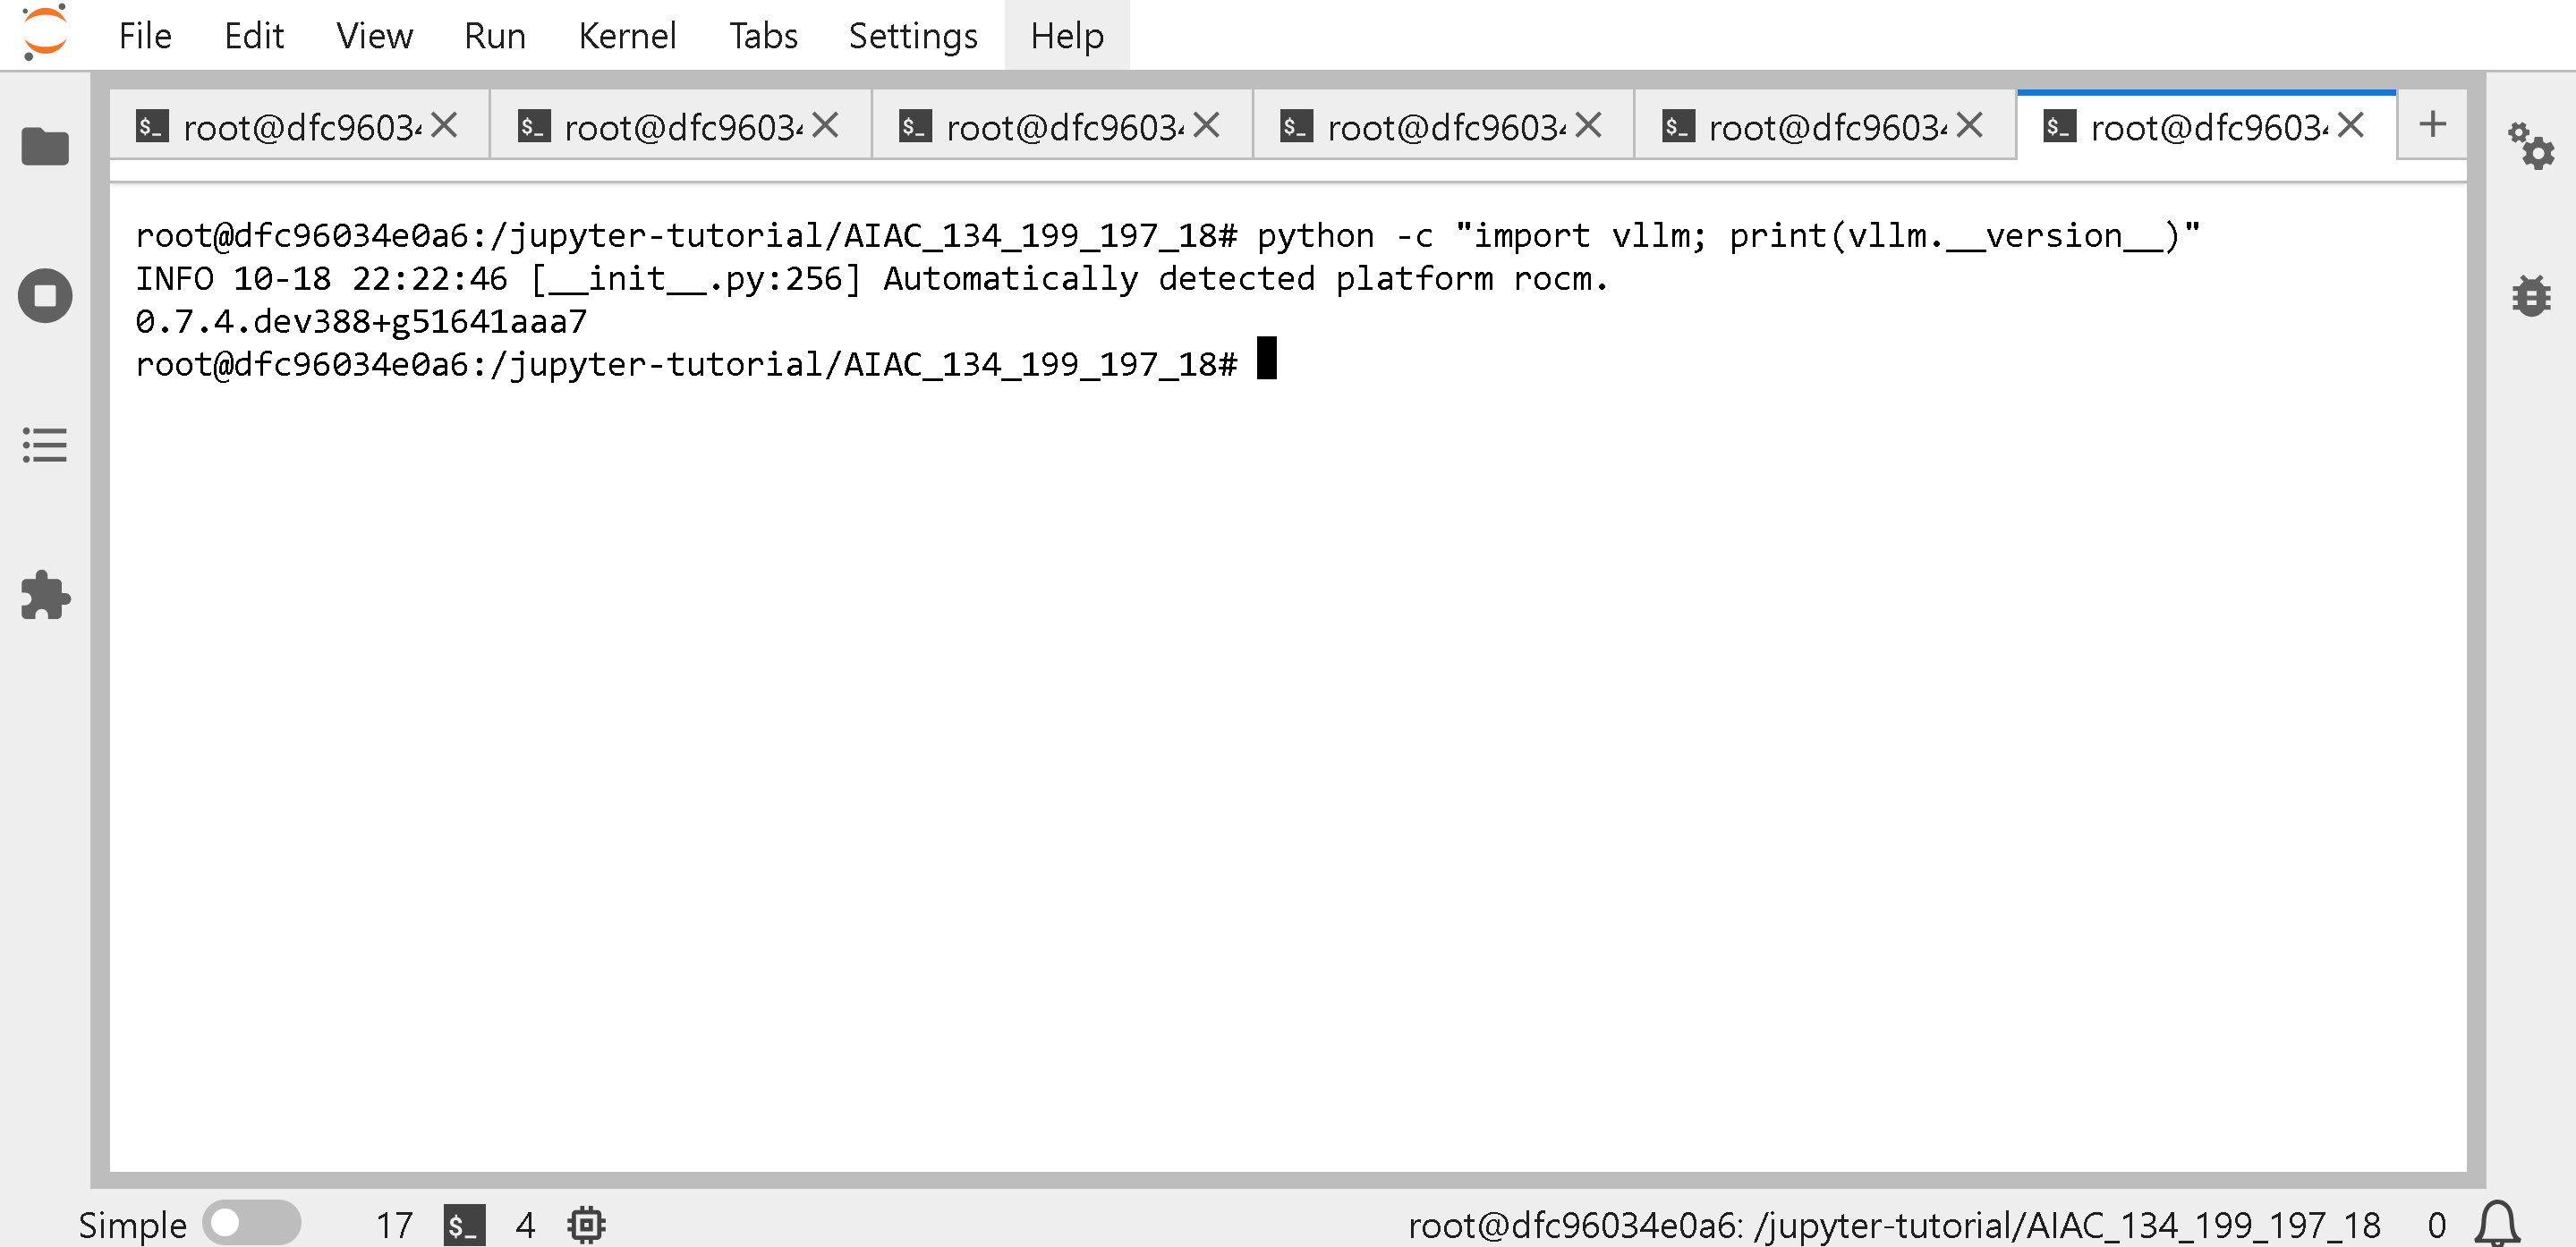
If you are running `vllm serve Unsloth/gpt-oss-20b` you might be using an old vLLM version. `python -c "import vllm; print(vllm.__version__)"` to get the vLLM version.
In the pre-built hackathon docker, you will get `0.7.4` , which unfortunately does not support newer models like GPT-OSS, however, other models work like `vllm serve Unsloth/Llama-3.3-70B-Instruct --port 8001 --max-model-len 48000 --gpu-memory-utilization 0.85`
### :cupcake:Updating vLLM to the latest on AMD
{% hint style="warning" %}
**GPT-OSS cannot yet run in vLLM after building from source - for now please see** [**https://rocm.blogs.amd.com/ecosystems-and-partners/openai-day-0/README.html**](https://rocm.blogs.amd.com/ecosystems-and-partners/openai-day-0/README.html) **for Docker running gpt-oss - the hackathon cannot use Docker inside of Docker sadly. You might get the error:**
{% code overflow="wrap" %}
```
ImportError: cannot import name 'GFX950MXScaleLayout' from 'triton_kernels.tensor_details.layout' (/usr/local/lib/python3.12/dist-packages/triton_kernels/tensor_details/layout.py)
(EngineCore_DP0 pid=44662) Process EngineCore_DP0:
```
{% endcode %}
{% endhint %}
To get the latest vLLM, please see , specifically run the below, after clearing all processes using the AMD GPU via [#how-do-i-free-amd-gpu-memory](#how-do-i-free-amd-gpu-memory "mention")
{% code overflow="wrap" %}
```bash
# Install PyTorch
pip uninstall torch -y
pip uninstall pytorch-triton-rocm -y
pip uninstall triton -y
pip install --upgrade torch==2.8.0 pytorch-triton-rocm torchvision torchaudio torchao==0.13.0 xformers --index-url https://download.pytorch.org/whl/rocm6.4
# Install OpenAI Triton kernels
pip install git+https://github.com/triton-lang/triton.git@05b2c186c1b6c9a08375389d5efe9cb4c401c075#subdirectory=python/triton_kernels
```
{% endcode %}
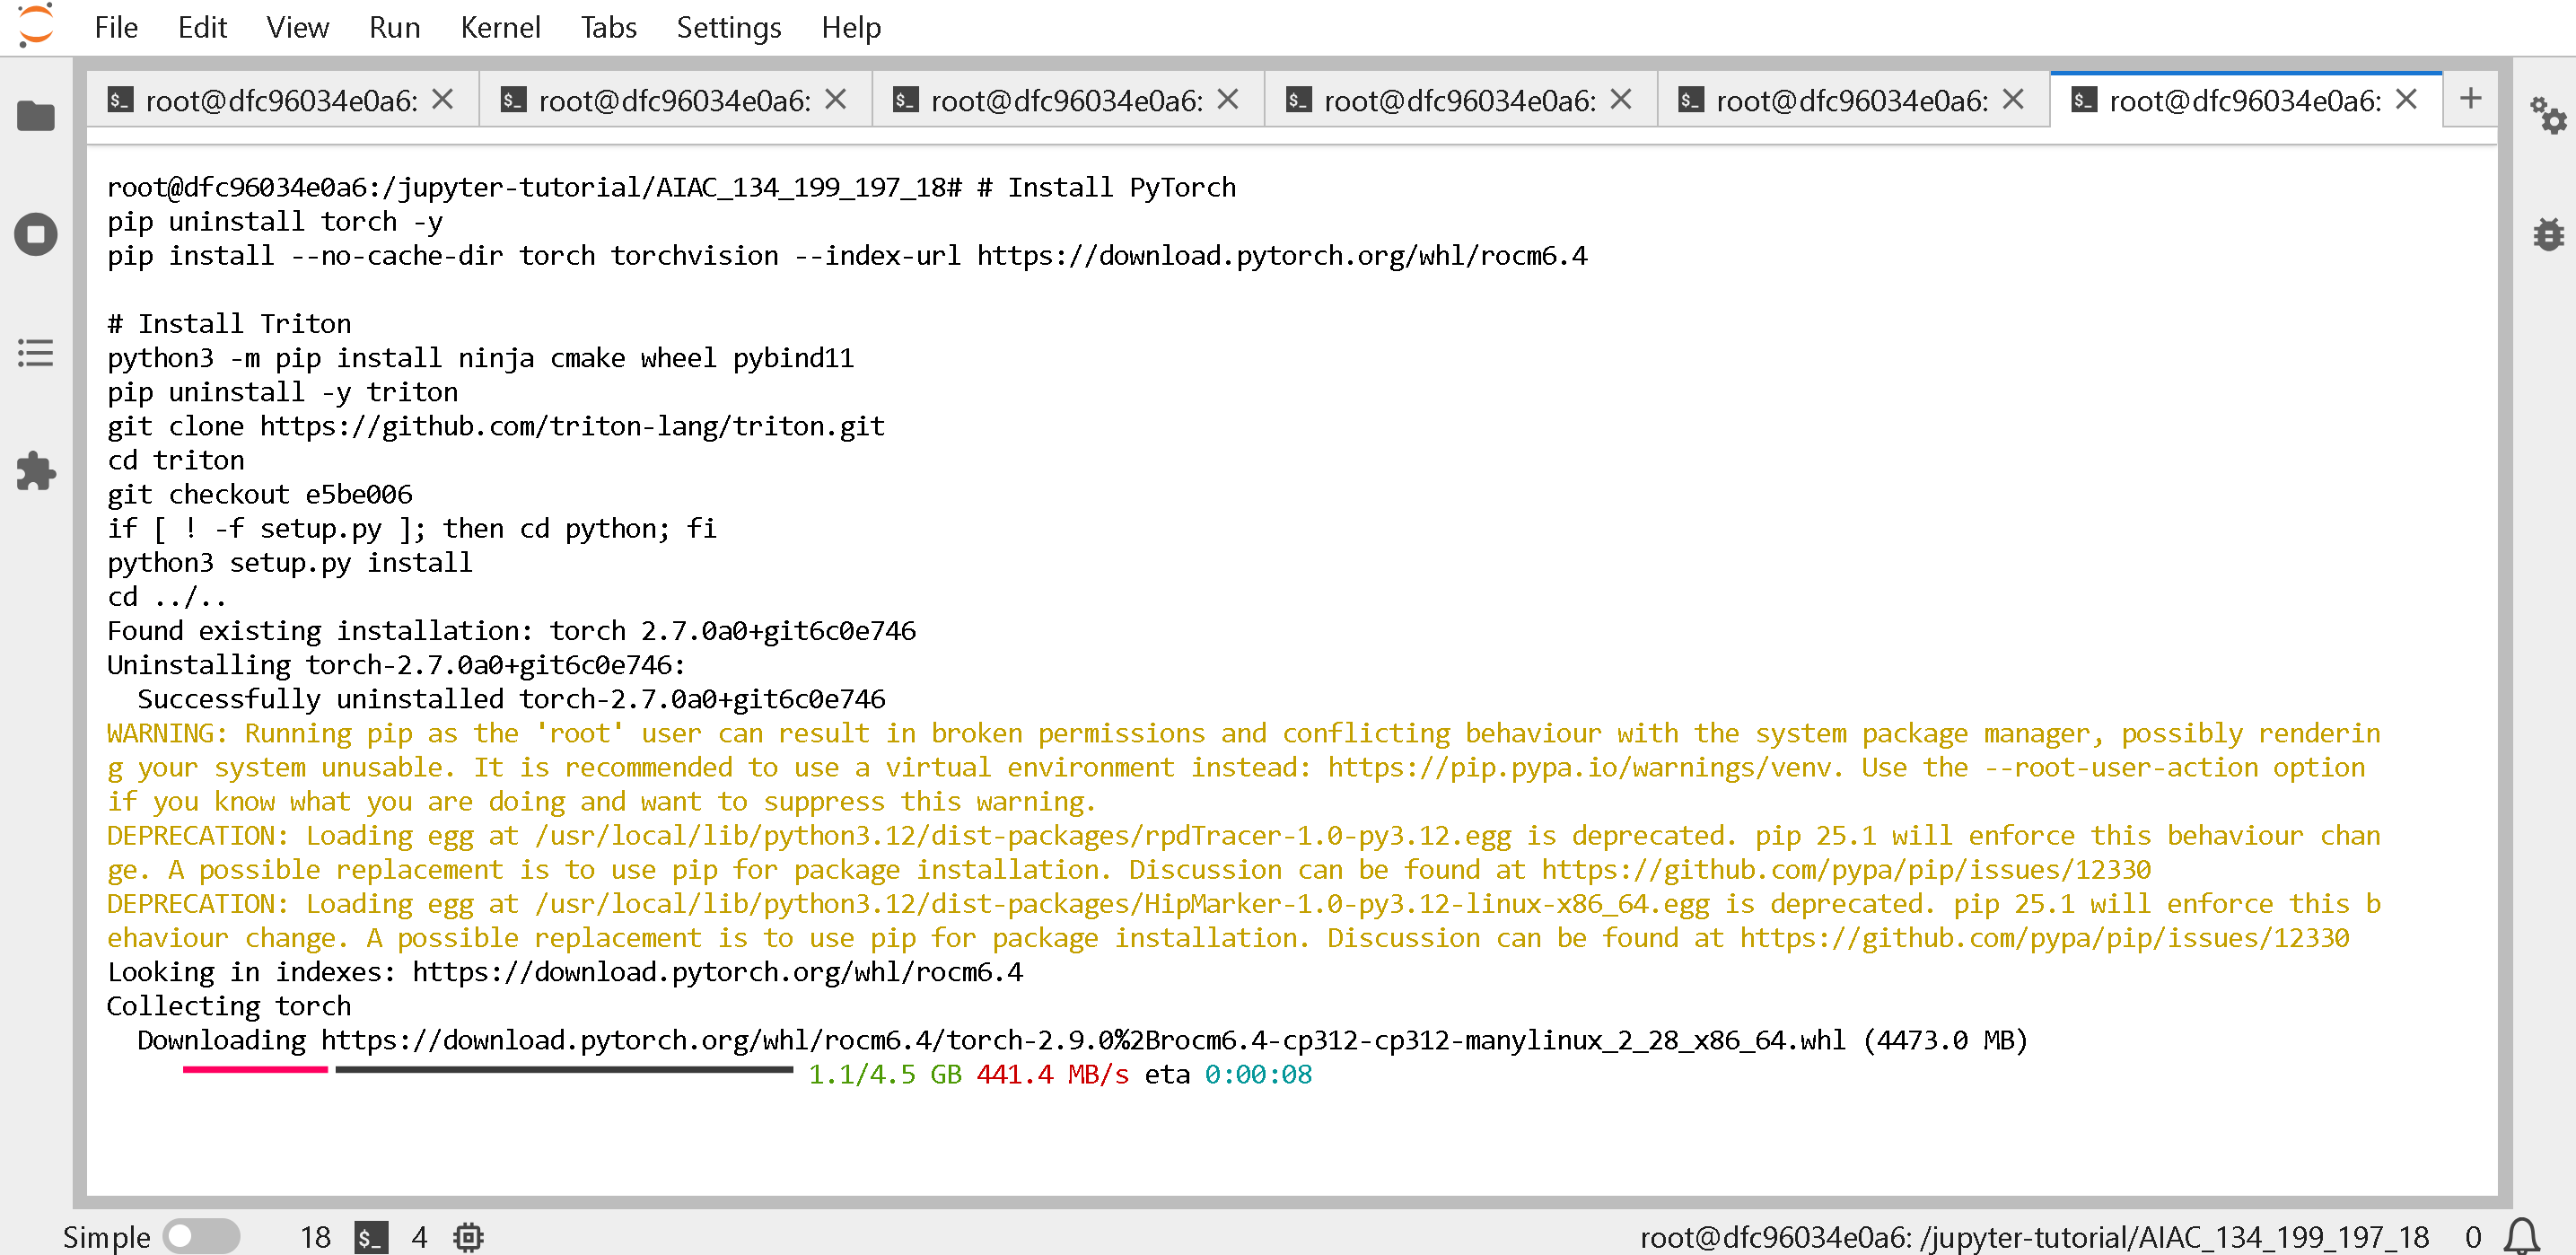
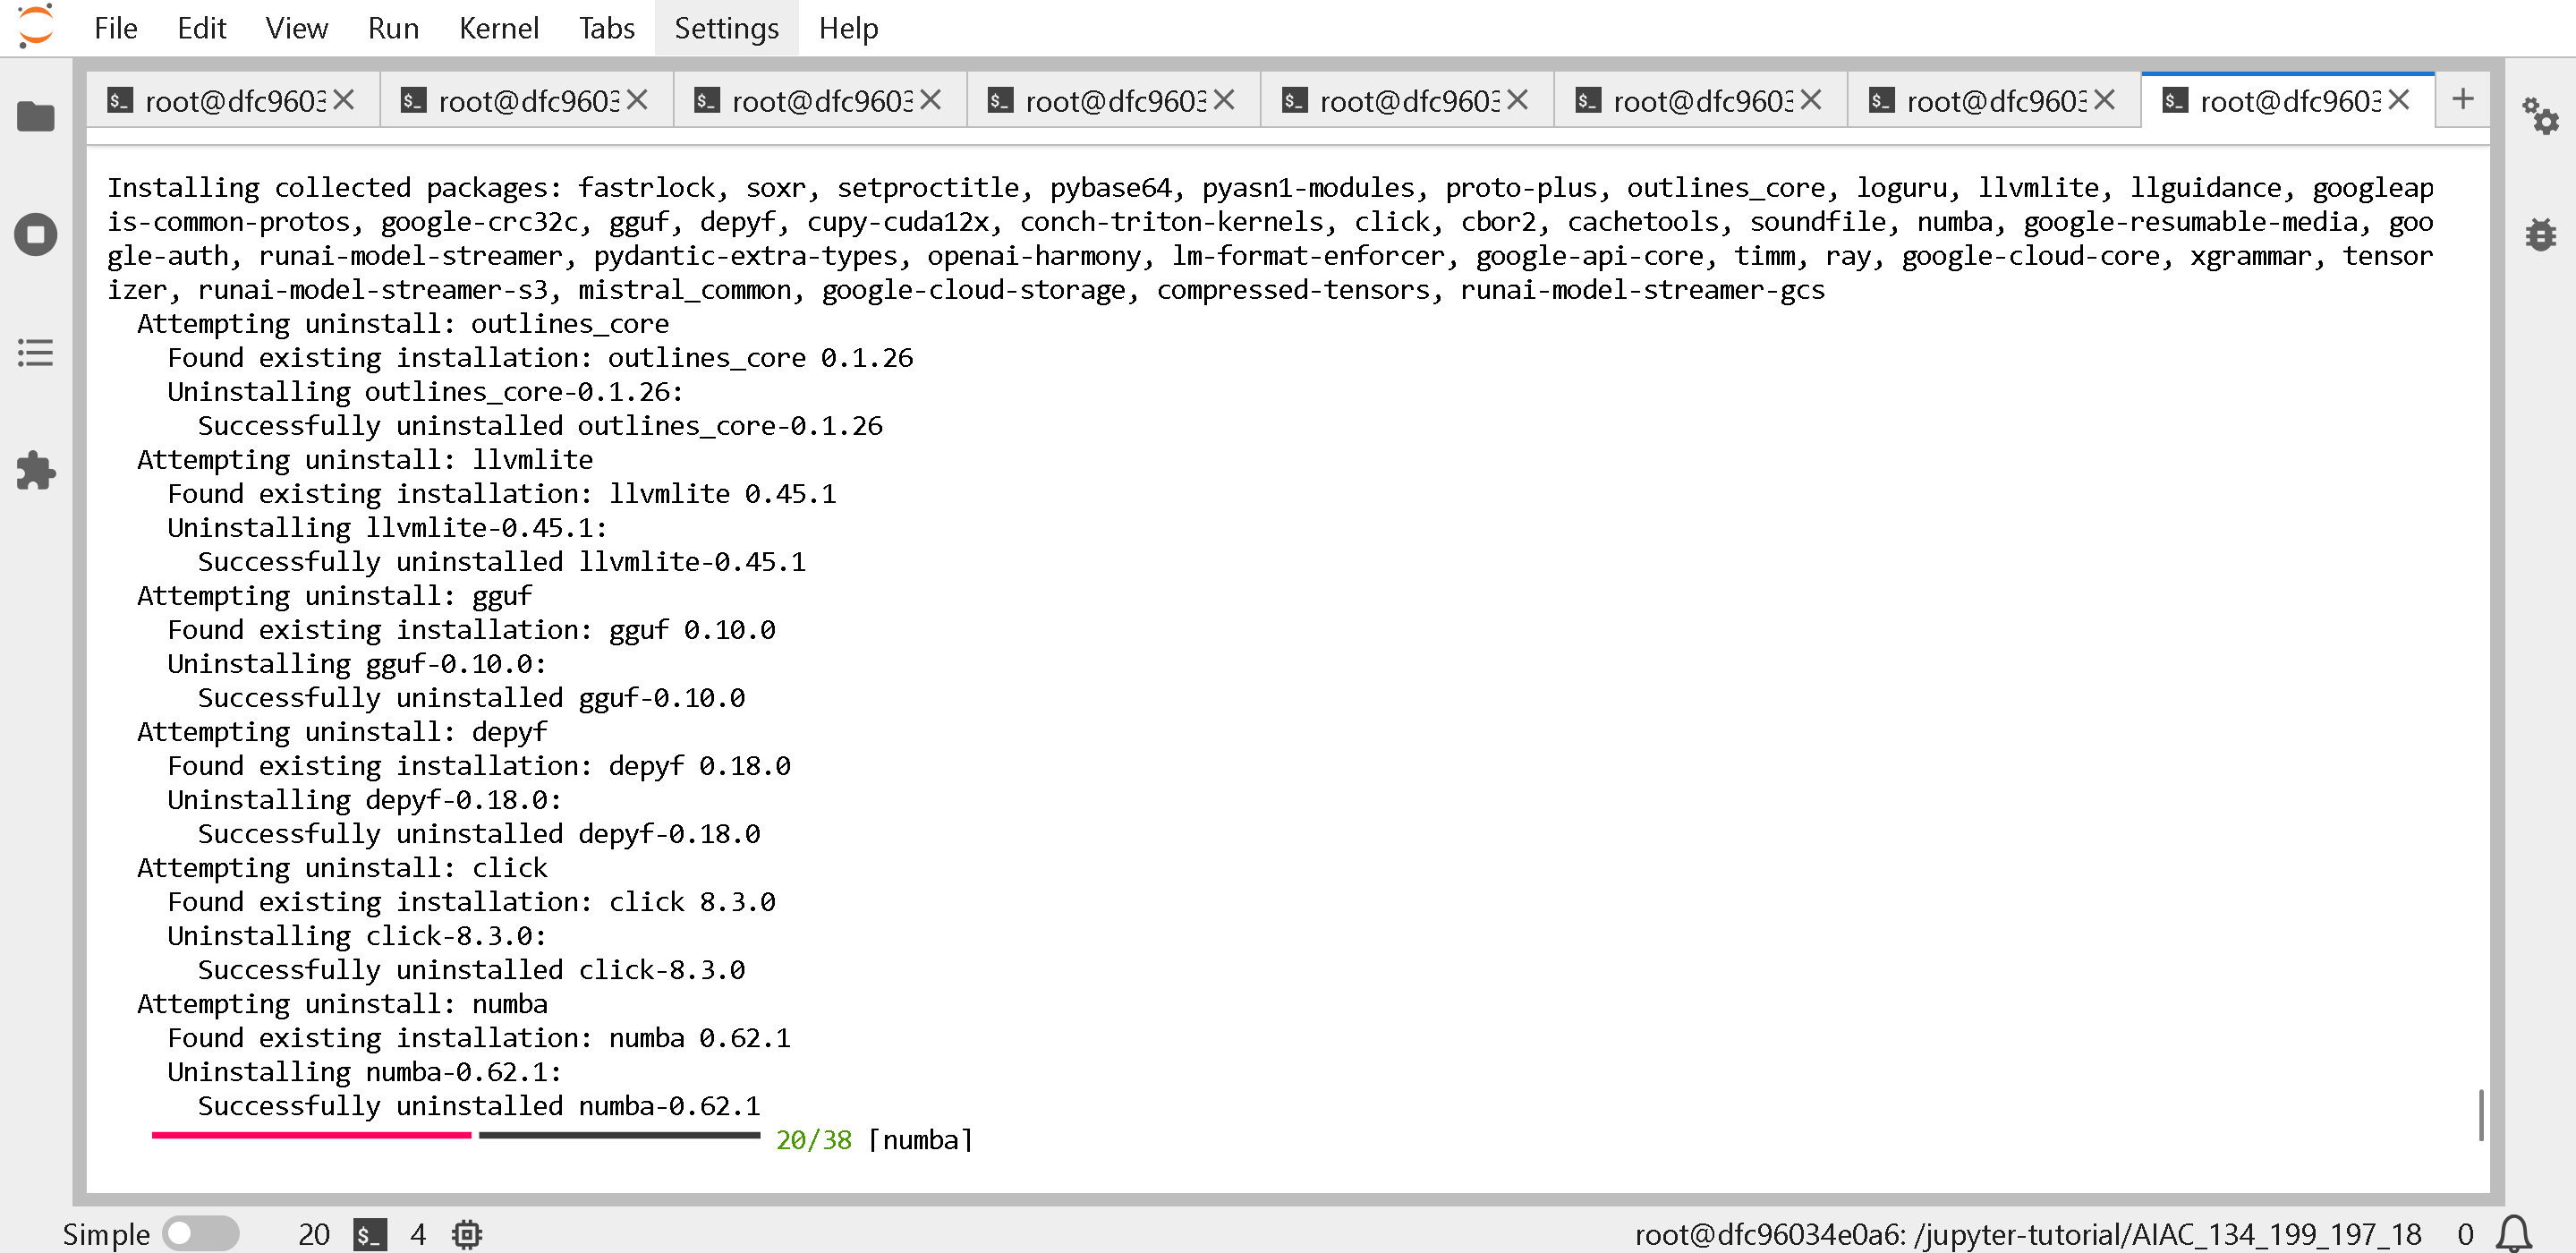
Executing the above will render (reminder to shut down all processes using the GPU first! See [#how-do-i-free-amd-gpu-memory](#how-do-i-free-amd-gpu-memory "mention"))
(OPTIONAL Collapsible code) To build Flash Attention via (this will take 30 minutes to 1 hour) So this is optional if you do not want to wait 30 minutes to 1 hour! I would skip this process generally. Expand this cell if you want to install Flash Attention.
{% code overflow="wrap" %}
```bash
# ********OPTIONAL********* You might have to wait 1 hour!!
# ********OPTIONAL********* You might have to wait 1 hour!!
git clone https://github.com/Dao-AILab/flash-attention.git
cd flash-attention
git checkout 1a7f4dfa
git submodule update --init
# ********OPTIONAL********* You might have to wait 1 hour!!
# ********OPTIONAL********* You might have to wait 1 hour!!
ARCH=$(rocminfo | grep -m1 -oE 'gfx[0-9]+[a-z]*')
echo "Detected GPU arch: $ARCH"
GPU_ARCHS="$ARCH" python3 setup.py install
cd ..
# ********OPTIONAL********* You might have to wait 1 hour!!
```
{% endcode %}
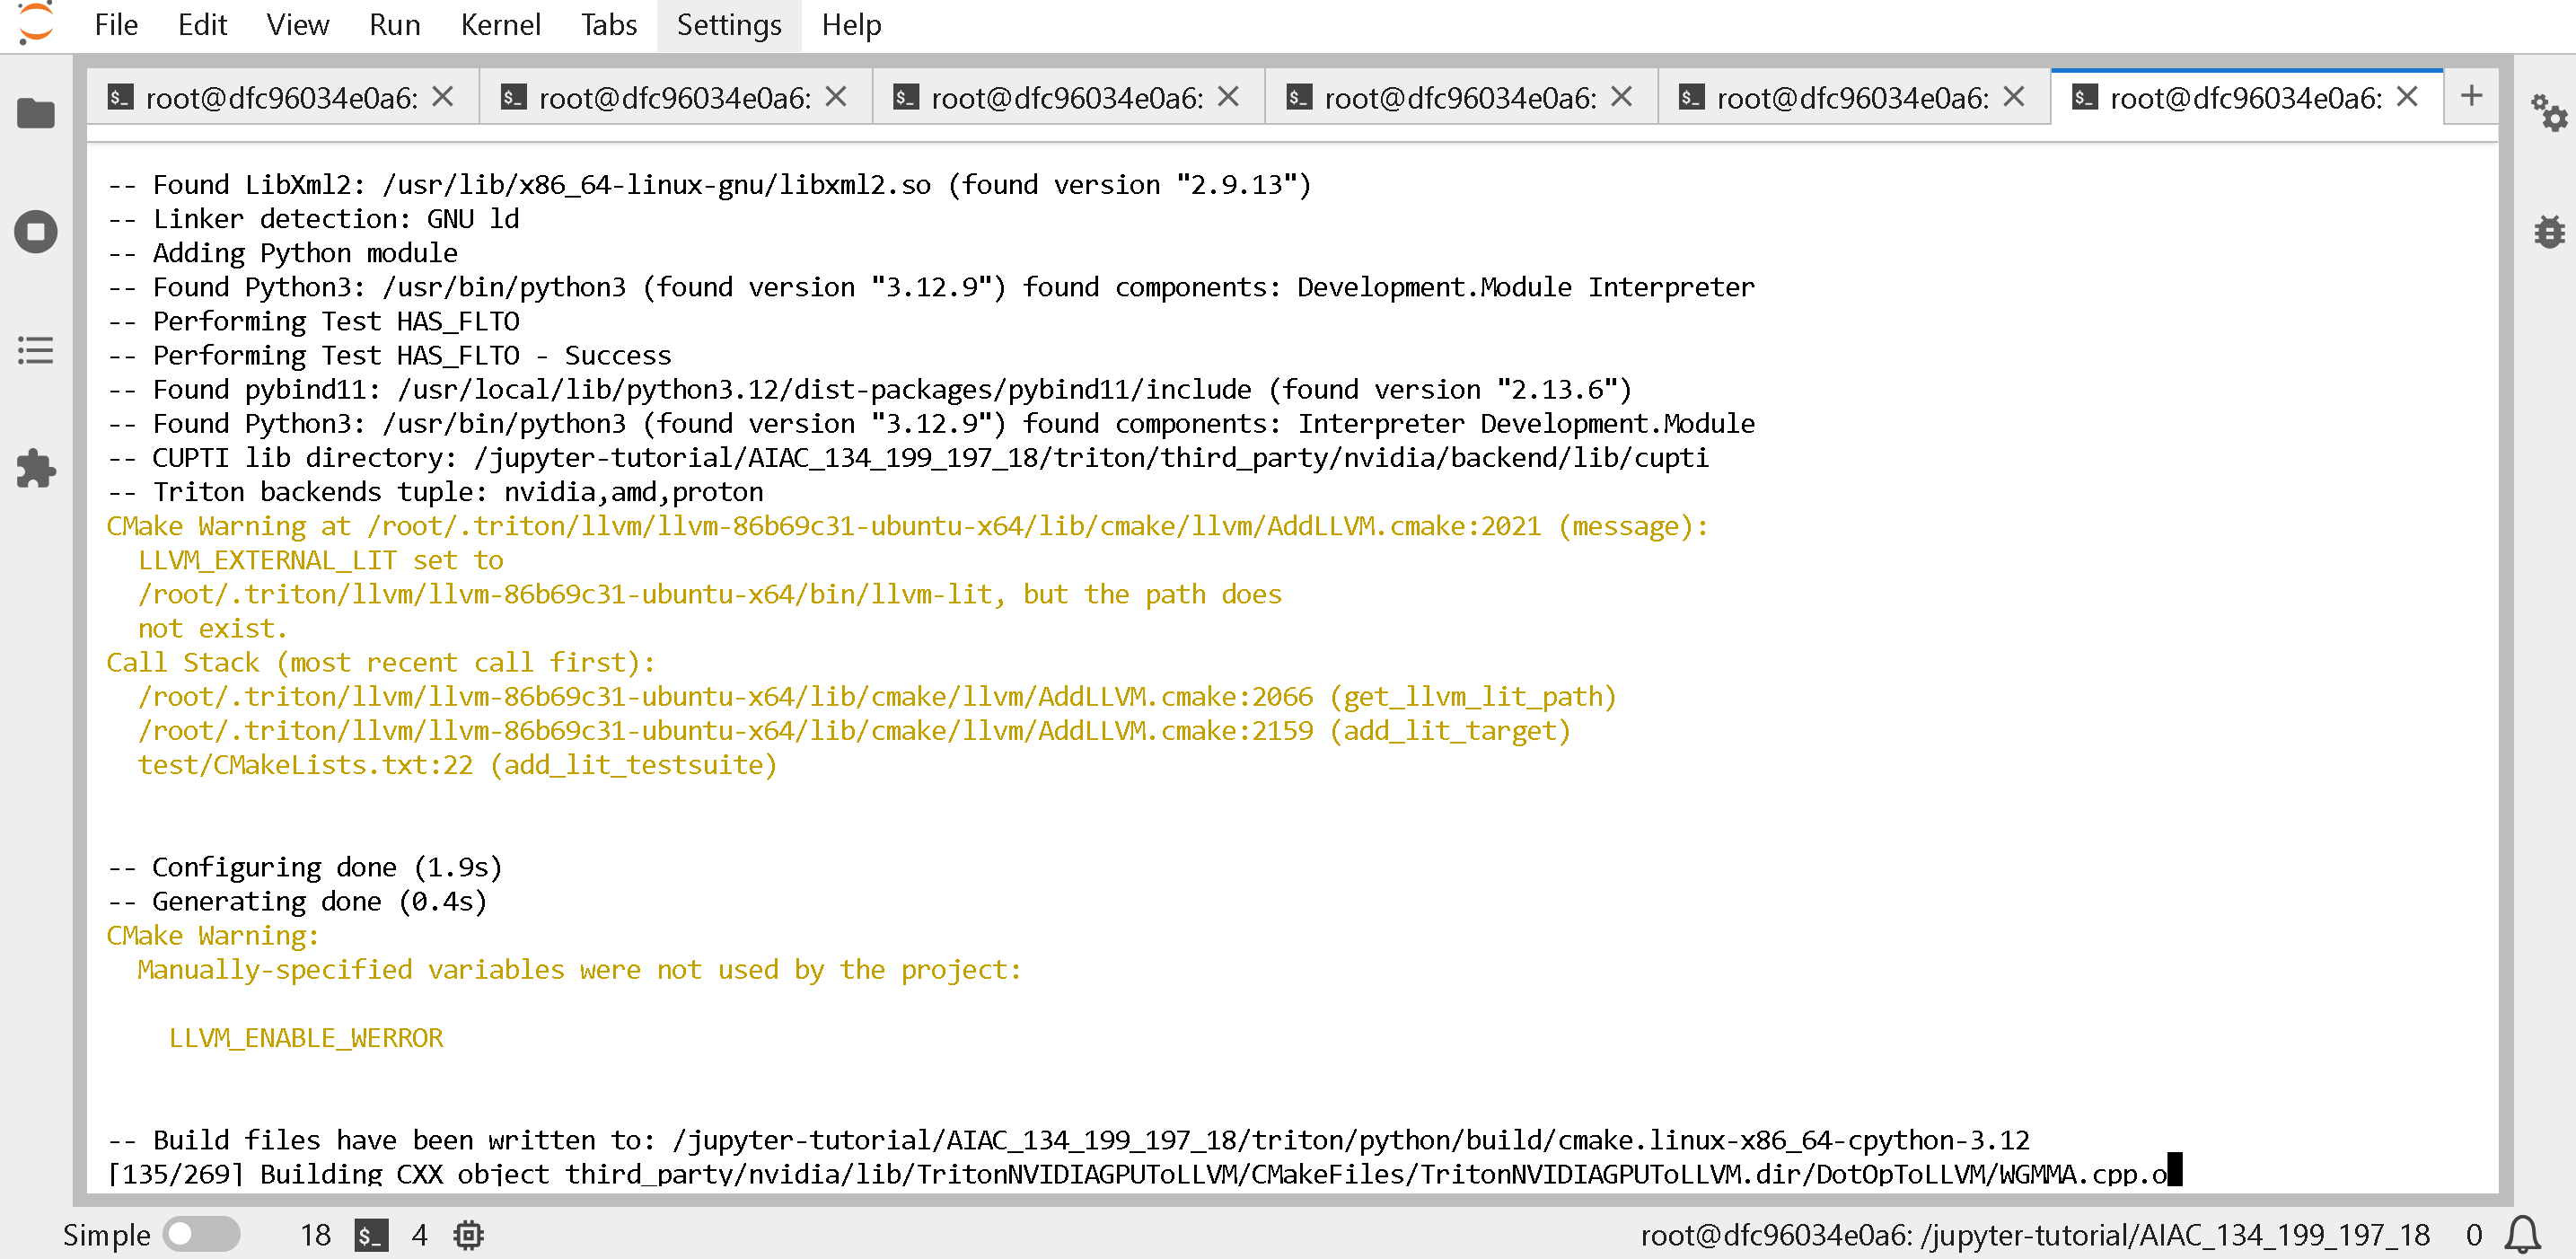
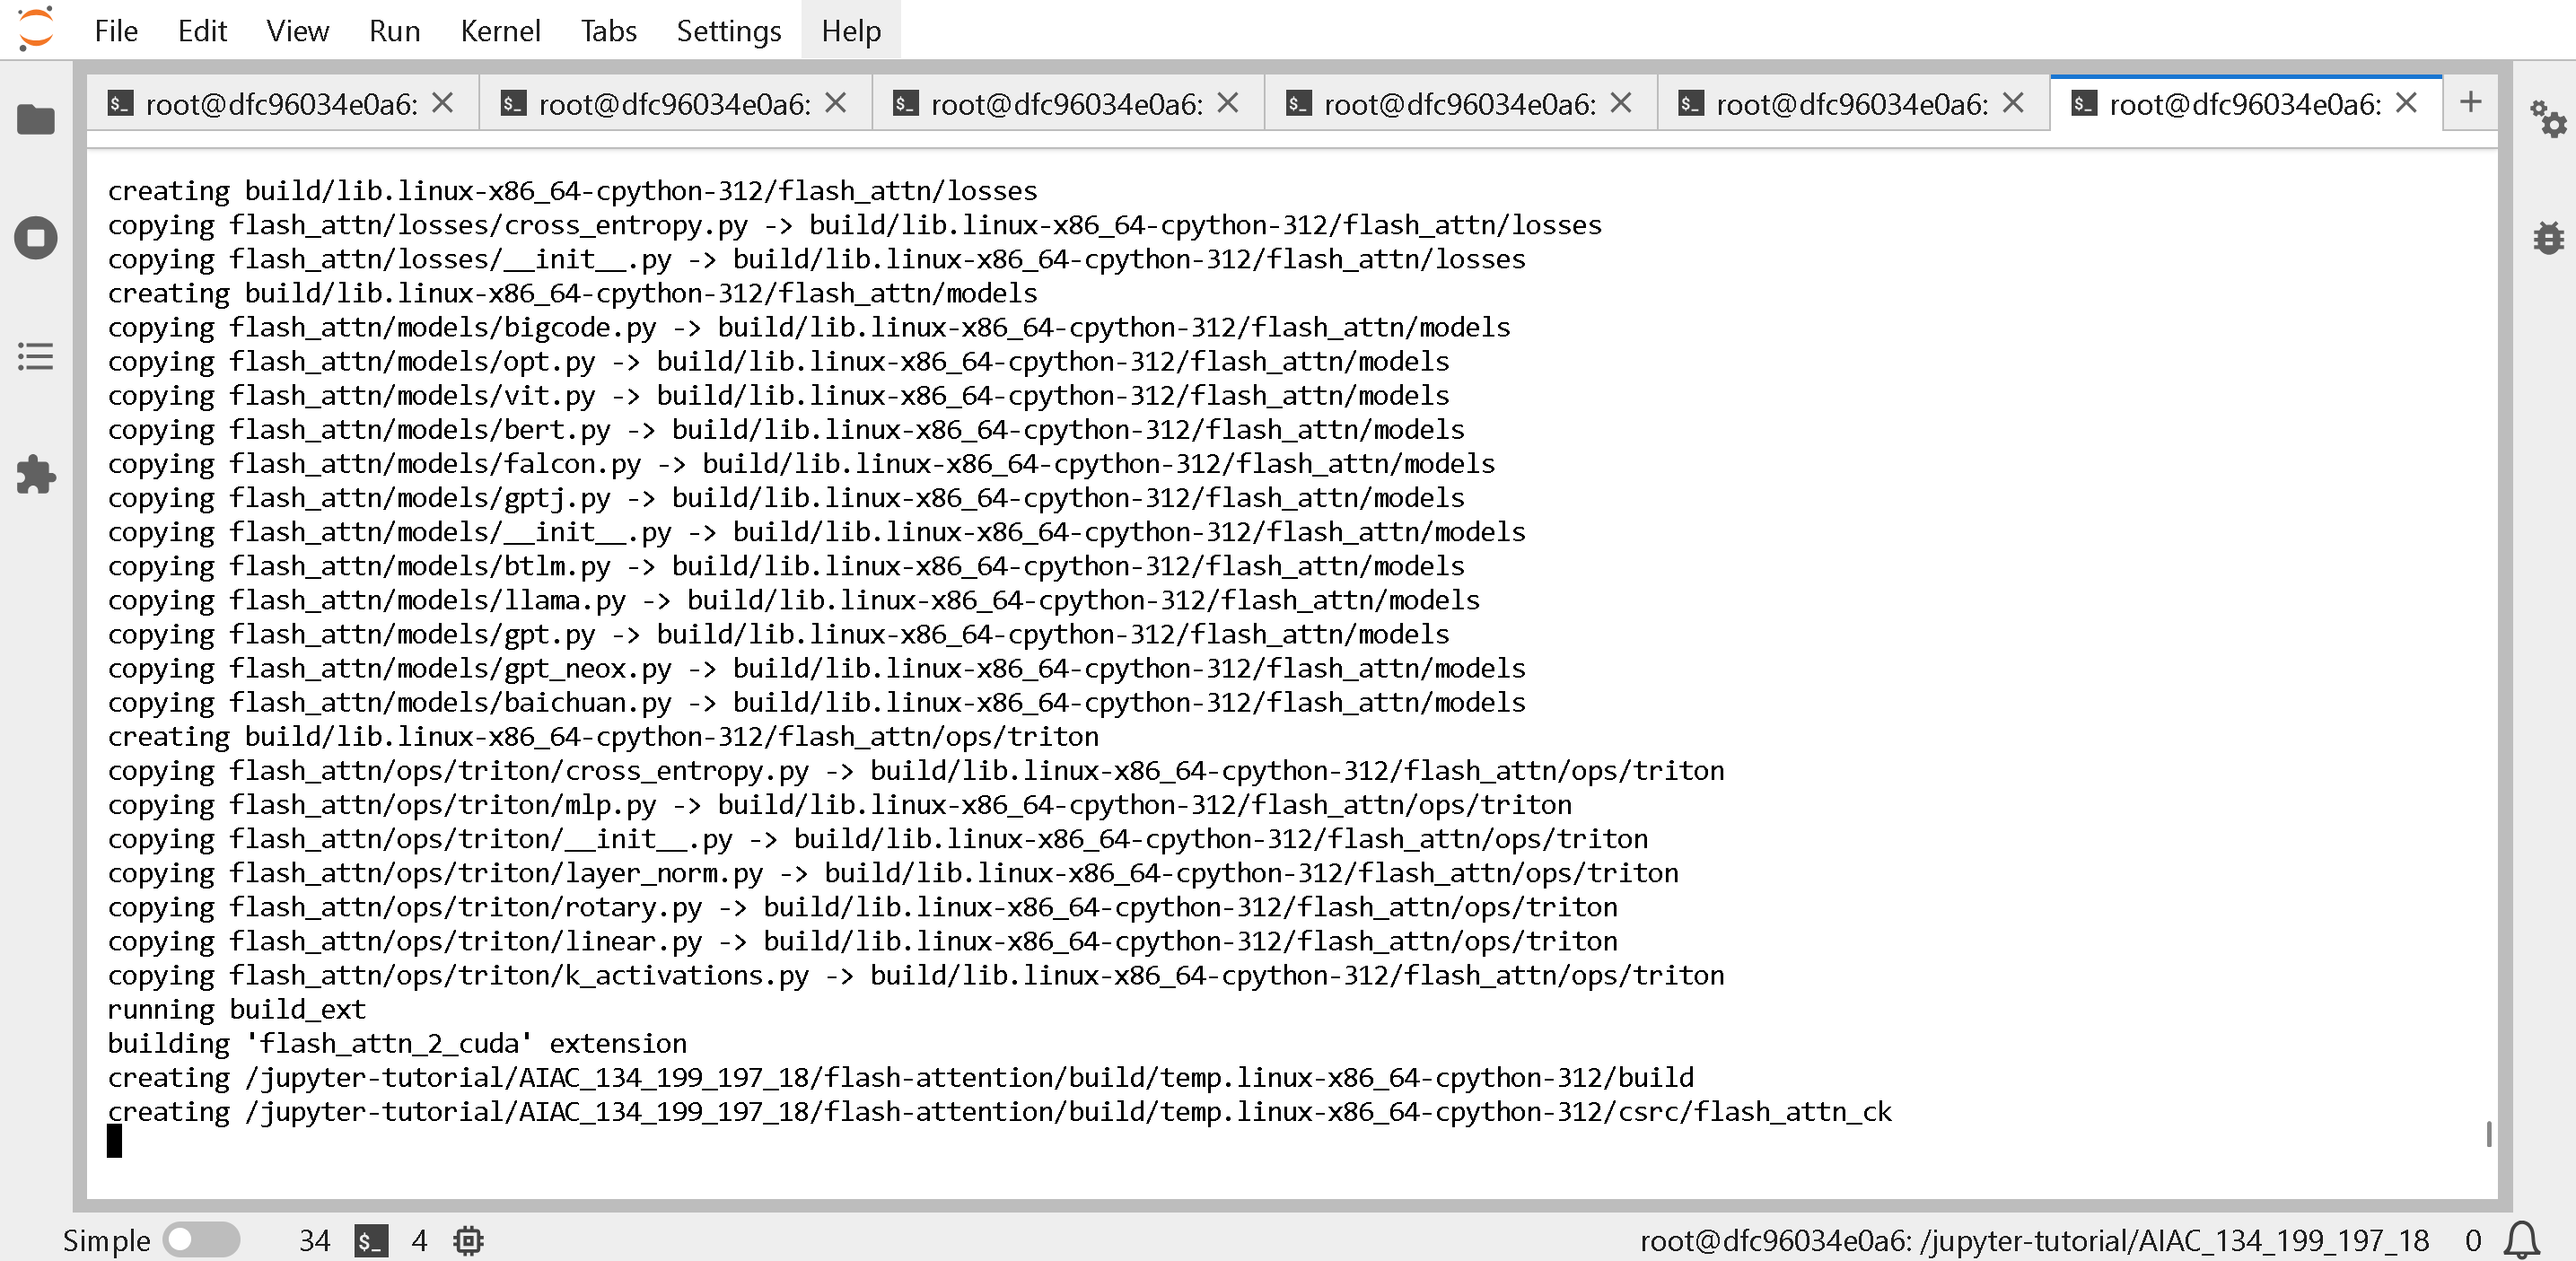
You will see:
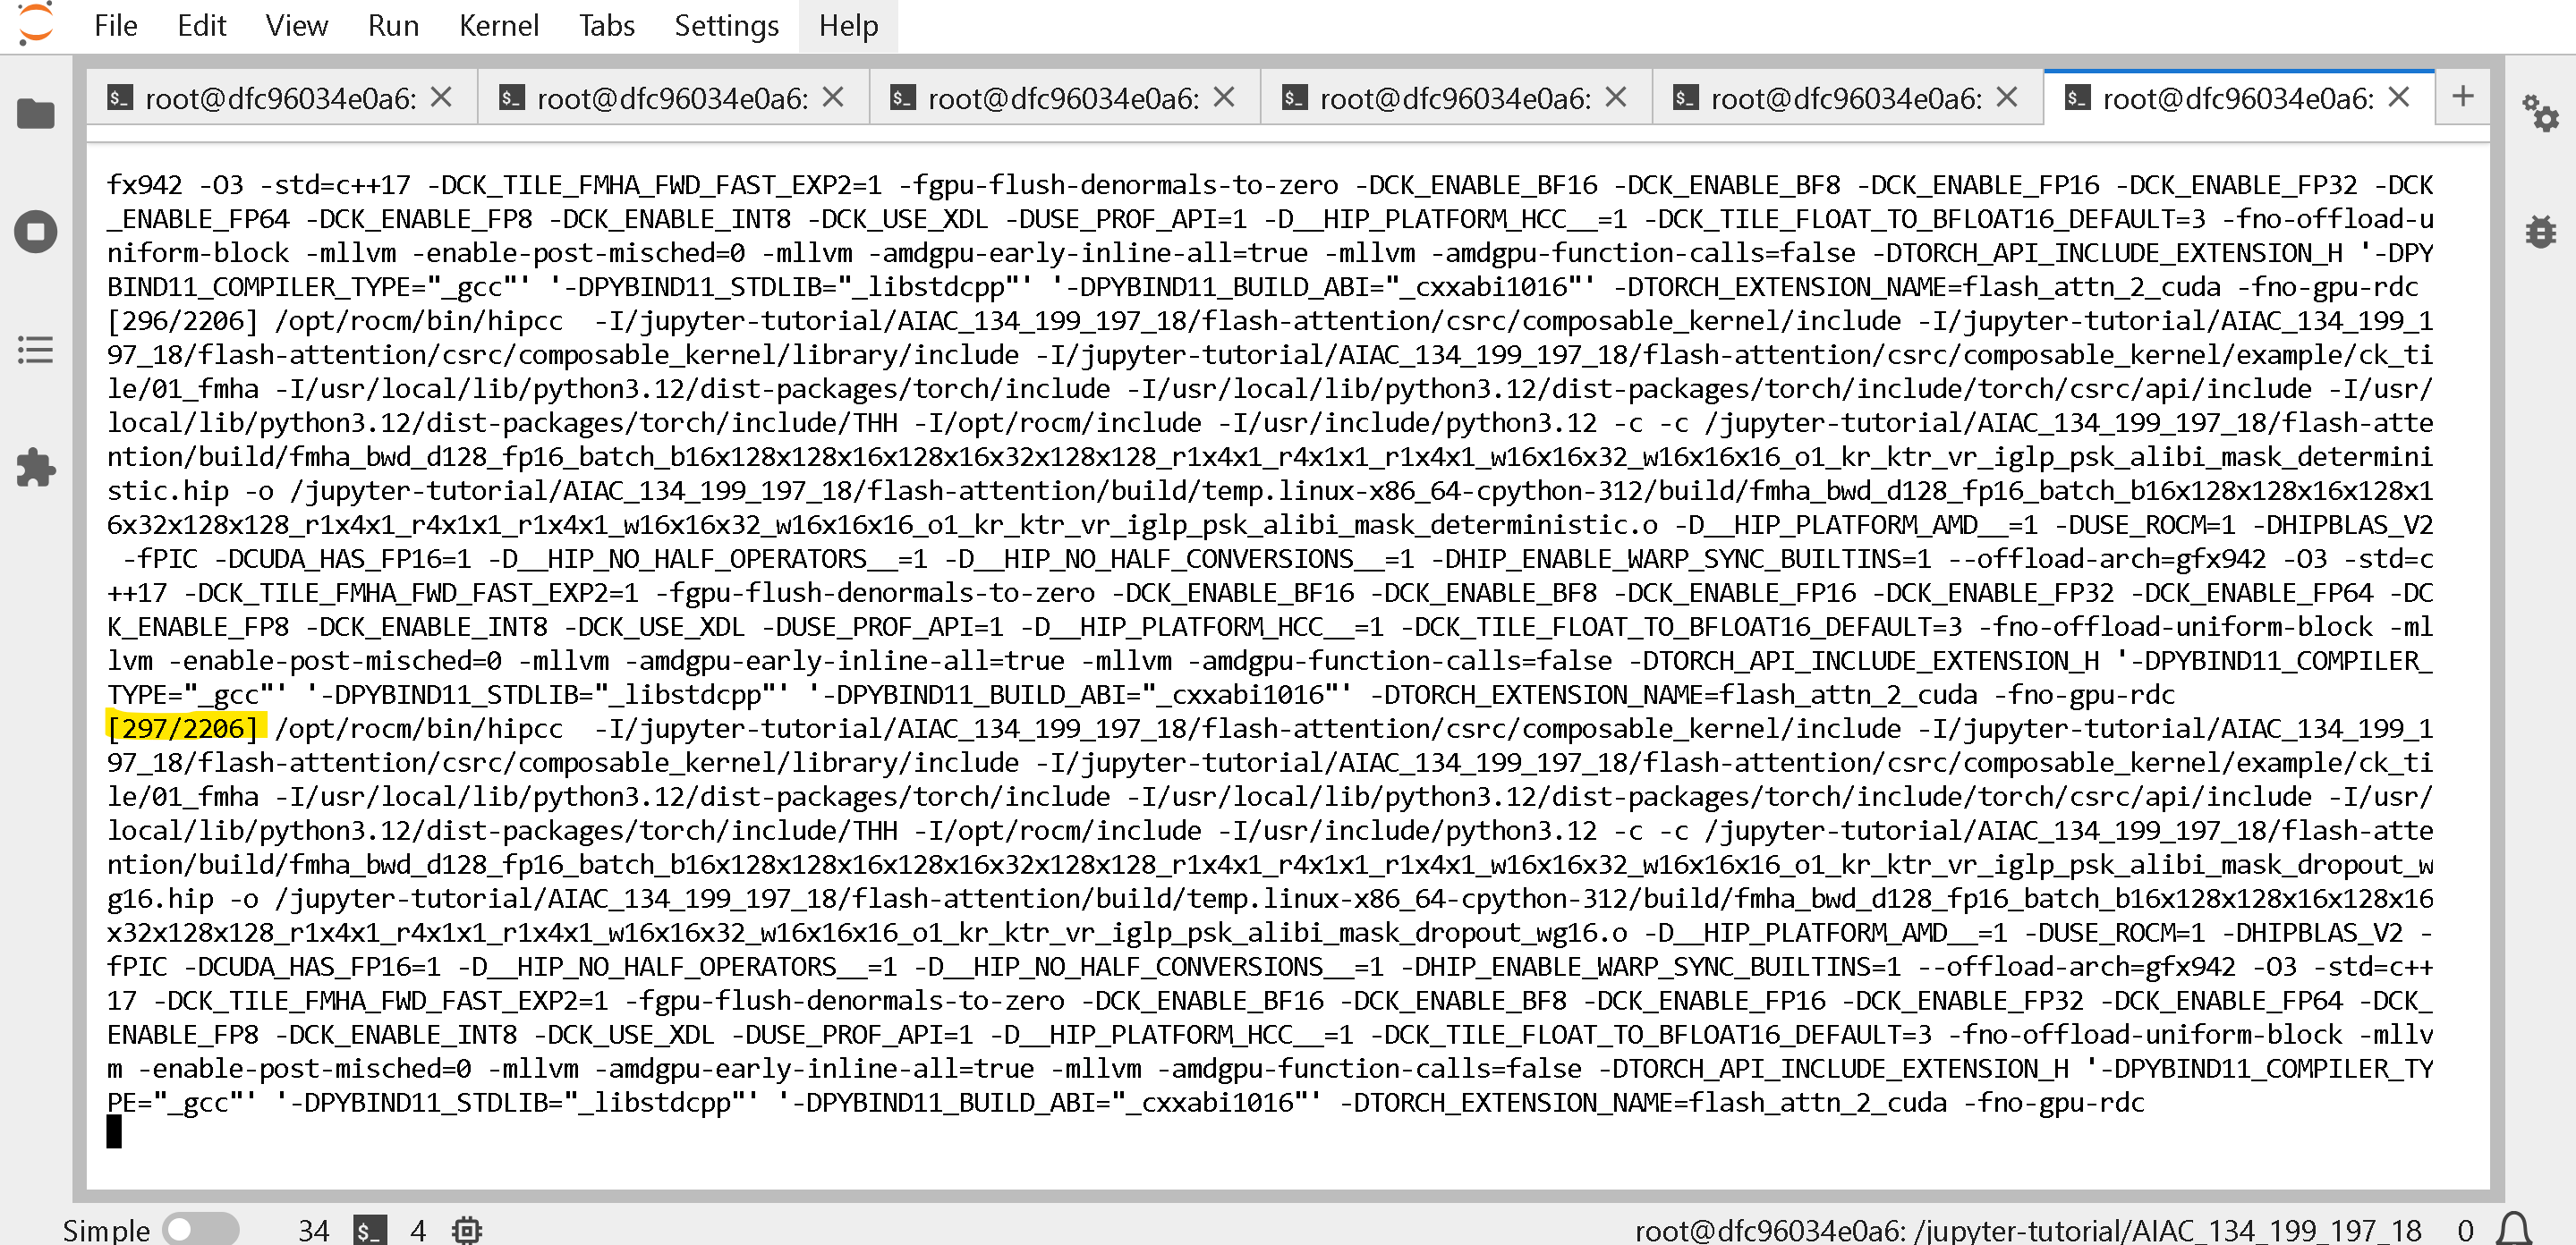
To monitor the progress for Flash-Attention (which might be very long), watch for the \[296/2206] progress.
**(NOT OPTIONAL)** Then build aiter [AI Tensor Engine for ROCm](https://github.com/ROCm/aiter) (this will take 5 minutes)
{% code overflow="wrap" %}
```bash
python3 -m pip uninstall -y aiter
git clone --recursive https://github.com/ROCm/aiter.git
cd aiter
git checkout $AITER_BRANCH_OR_COMMIT
git submodule sync; git submodule update --init --recursive
python3 setup.py develop
cd ..
```
{% endcode %}
**(NOT OPTIONAL)** Then build vLLM:
```bash
pip install --upgrade pip
pip uninstall vllm -y
pip install --upgrade -qqq --no-cache-dir --force-reinstall --no-deps unsloth unsloth_zoo
pip uninstall bitsandbytes -y
pip install "unsloth[amd] @ git+https://github.com/unslothai/unsloth"
# Build & install AMD SMI
pip install /opt/rocm/share/amd_smi
# Install dependencies
pip install --upgrade numba \
scipy \
huggingface-hub[cli,hf_transfer] \
setuptools_scm
git clone --depth 1 --branch "v0.11.0" https://github.com/vllm-project/vllm.git vllm_build
cd vllm_build
pip install -r requirements/rocm.txt
# Build vLLM for MI210/MI250/MI300.
export PYTORCH_ROCM_ARCH="$(rocminfo | grep -m1 -oE 'gfx[0-9]+[a-z]*')"
python3 setup.py develop
cd ..
```
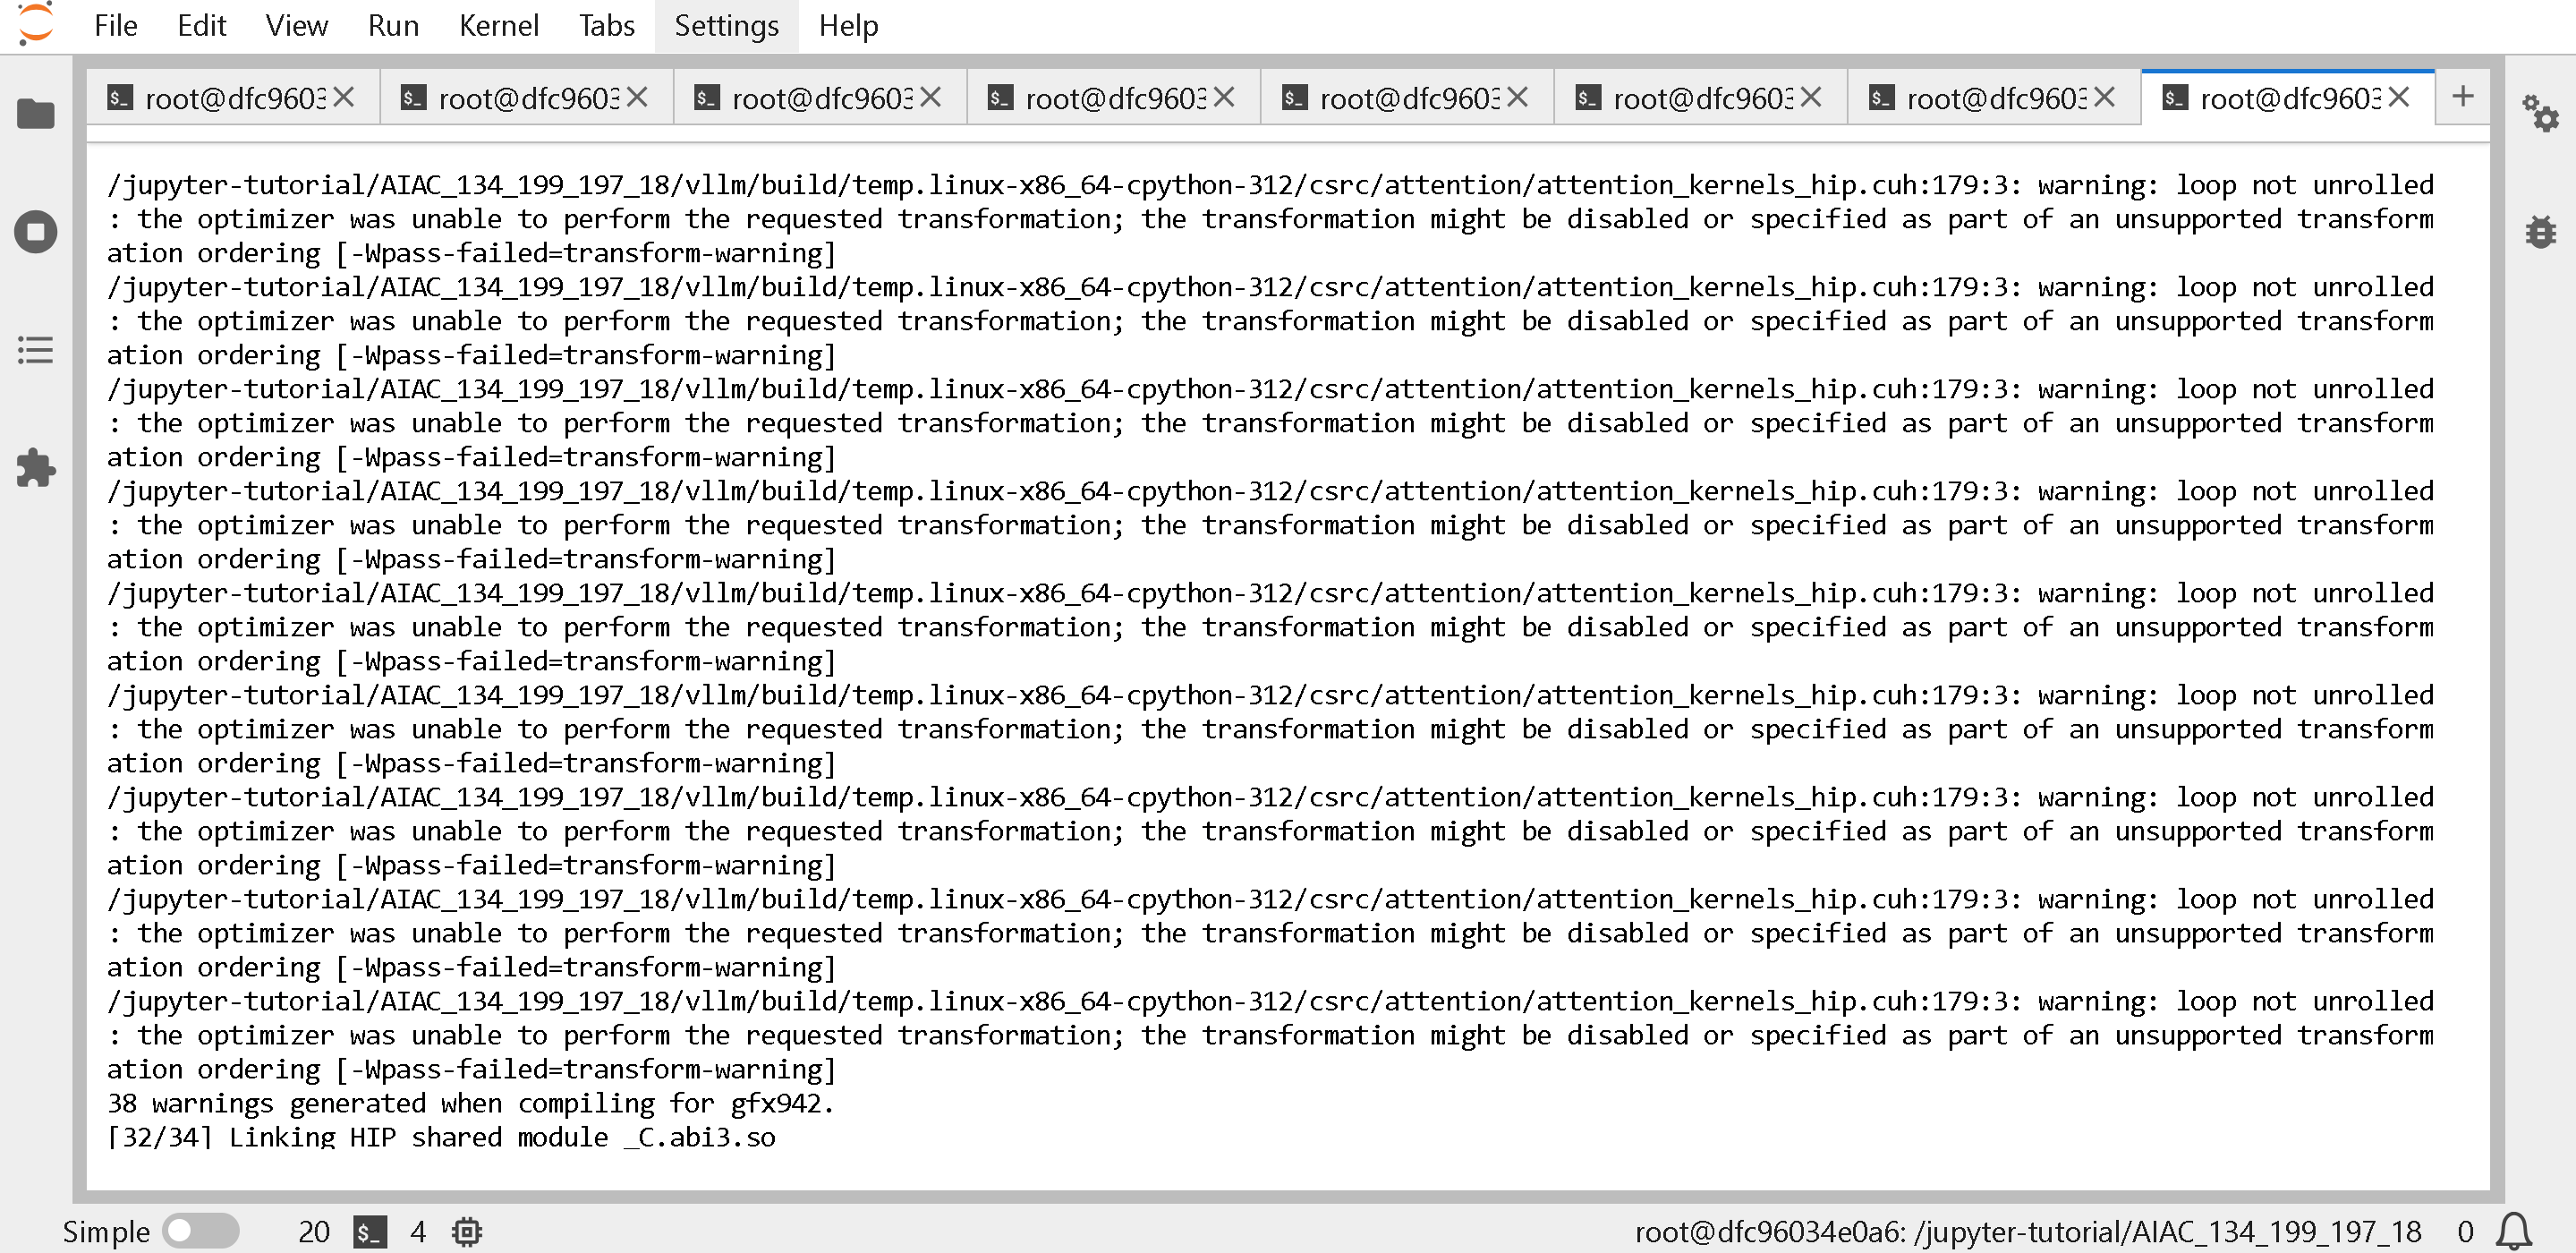
You will see the below (**please wait 5 to 10 minutes!**)
Confirm vLLM, torch got updated via
{% code overflow="wrap" %}
```bash
python -c "import vllm, torch, unsloth; print(vllm.__version__); print(torch.__version__); print(unsloth.__version__);"
vllm
```
{% endcode %}
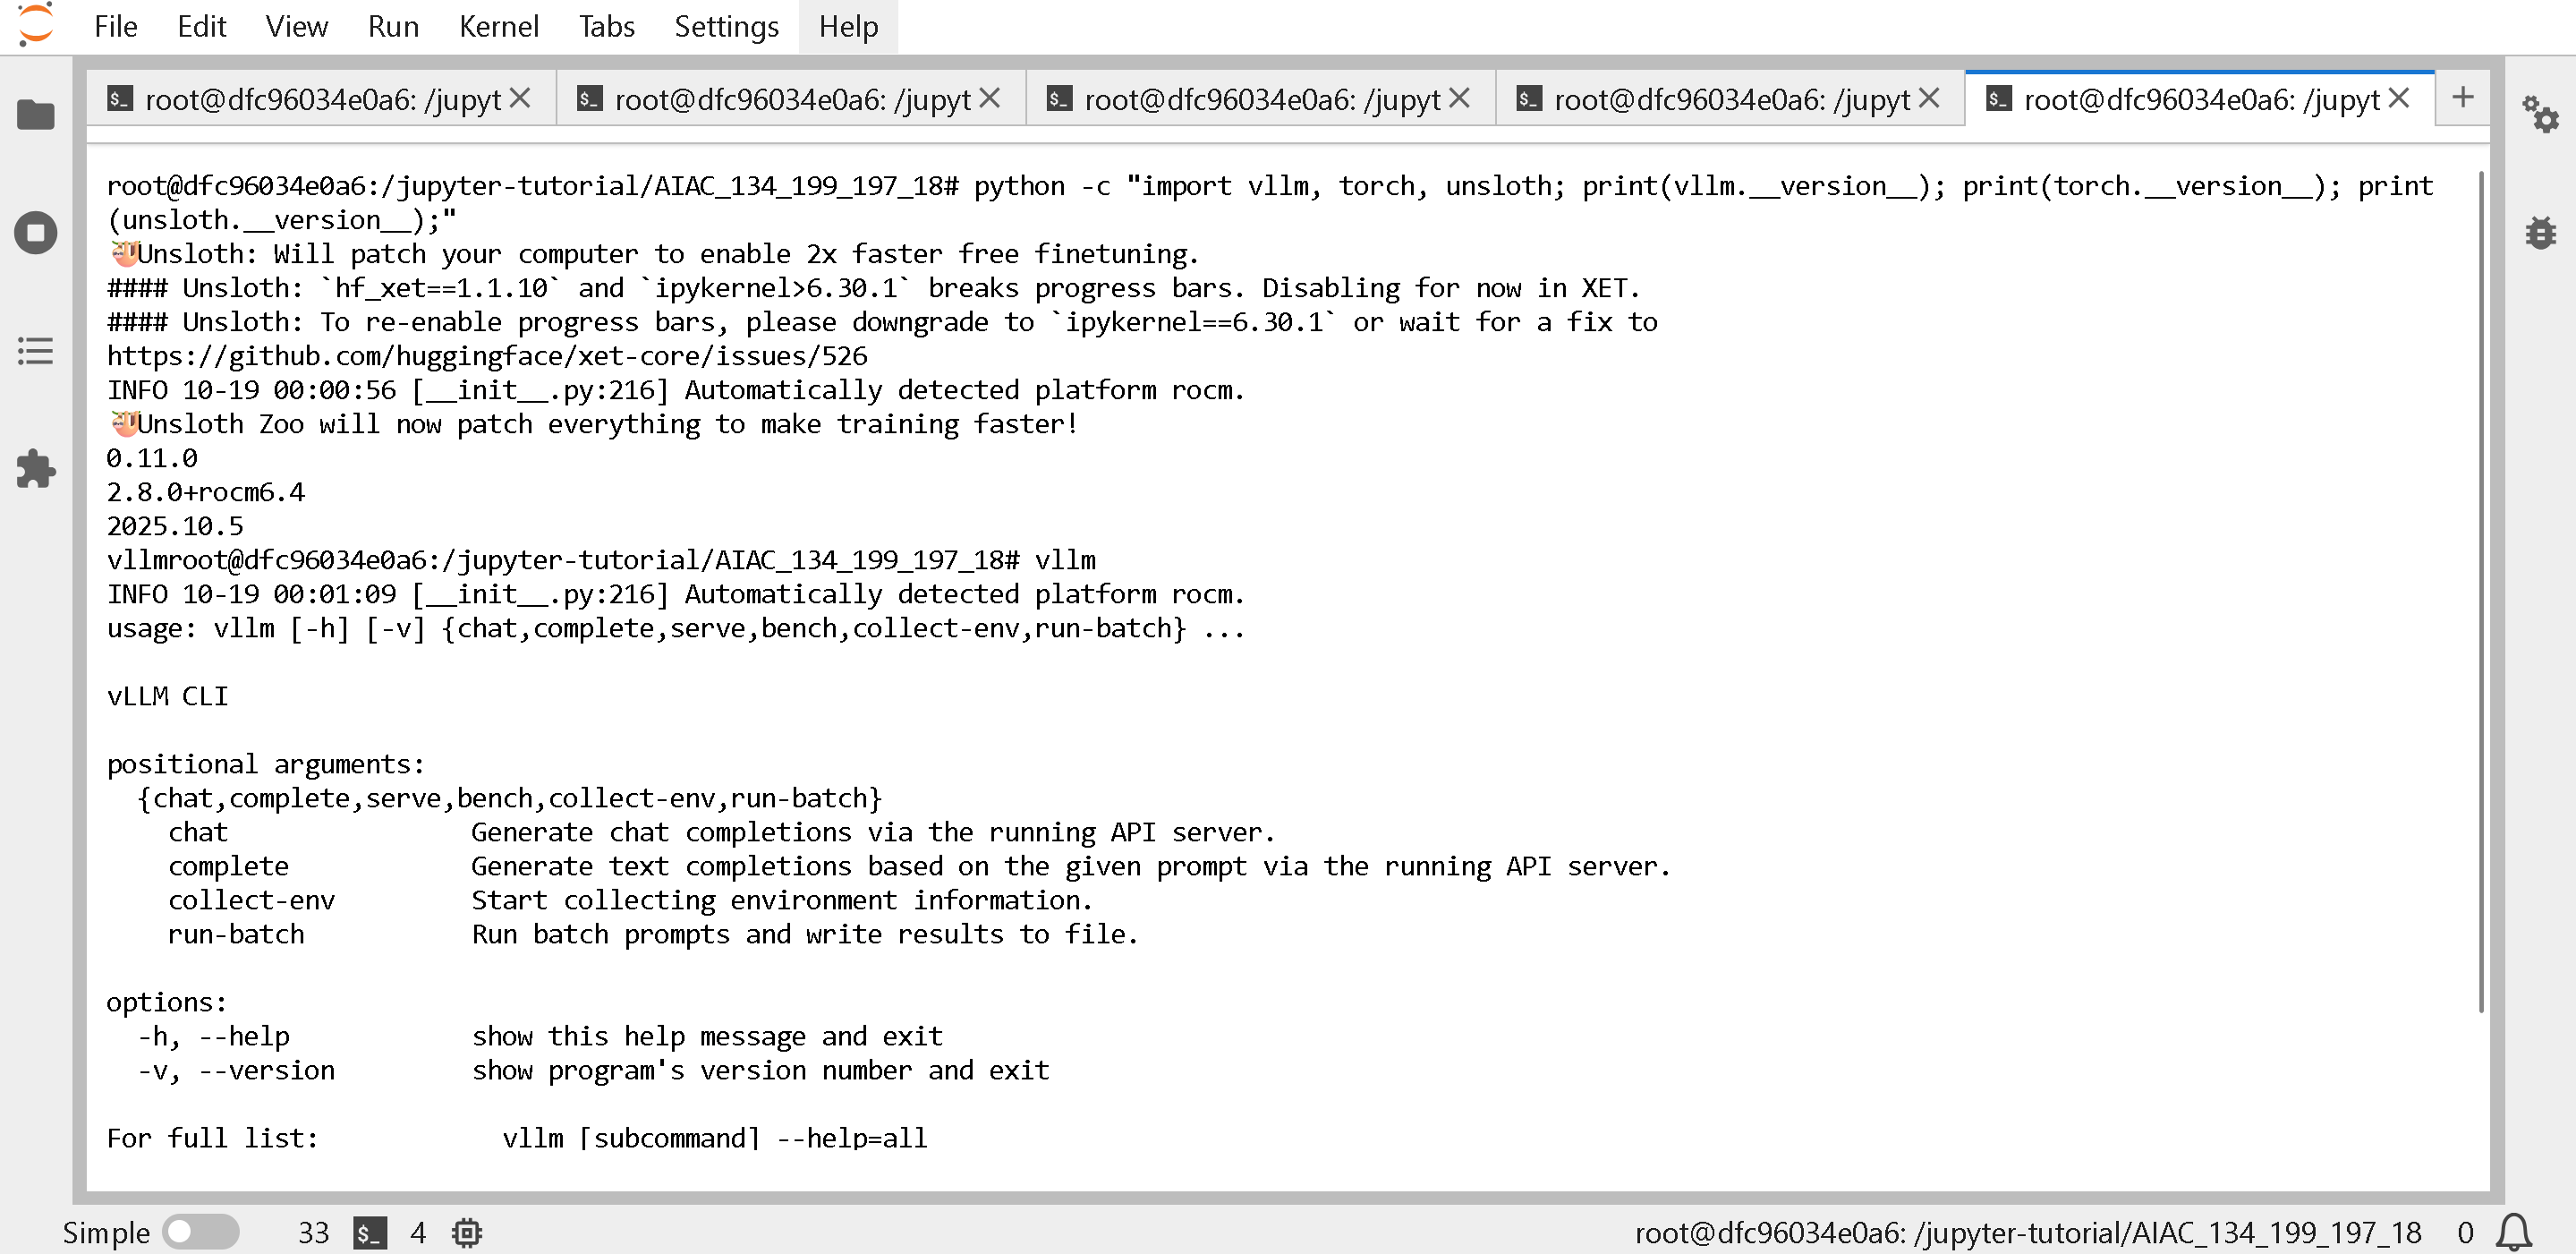
which should show vLLM is 0.11.0 or higher, and torch MUST be 2.8.0 as of October 2025. The type `vllm` to confirm vLLM works as expected.
```
🦥 Unsloth Zoo will now patch everything to make training faster!
0.11.0
2.8.0+rocm6.4
2025.10.6
```
### :book:Running unsloth/gpt-oss-20b in vLLM
{% hint style="warning" %}
**GPT-OSS cannot yet run in vLLM after building from source - for now please see** [**https://rocm.blogs.amd.com/ecosystems-and-partners/openai-day-0/README.html**](https://rocm.blogs.amd.com/ecosystems-and-partners/openai-day-0/README.html) **for Docker running gpt-oss - the hackathon cannot use Docker inside of Docker sadly. You might get the error:**
{% code overflow="wrap" %}
```
ImportError: cannot import name 'GFX950MXScaleLayout' from 'triton_kernels.tensor_details.layout' (/usr/local/lib/python3.12/dist-packages/triton_kernels/tensor_details/layout.py)
(EngineCore_DP0 pid=44662) Process EngineCore_DP0:
```
{% endcode %}
{% endhint %}
After updating vLLM via [#updating-vllm-to-the-latest-on-amd](#updating-vllm-to-the-latest-on-amd "mention"), you can run [gpt-oss-20b](https://huggingface.co/unsloth/gpt-oss-20b)! See [#optimal-vllm-commands-on-amd](#optimal-vllm-commands-on-amd "mention") for better optimal commands to run vllm on AMD GPUs (you might get faster inference!)
{% code overflow="wrap" %}
```bash
export VLLM_ROCM_USE_AITER=1
export VLLM_ROCM_USE_AITER_MHA=0
vllm serve unsloth/gpt-oss-20b \
--no-enable-prefix-caching \
--compilation-config '{"full_cuda_graph": true}' \
--port 8001 \
--max-model-len 48000 \
--gpu-memory-utilization 0.85
```
{% endcode %}
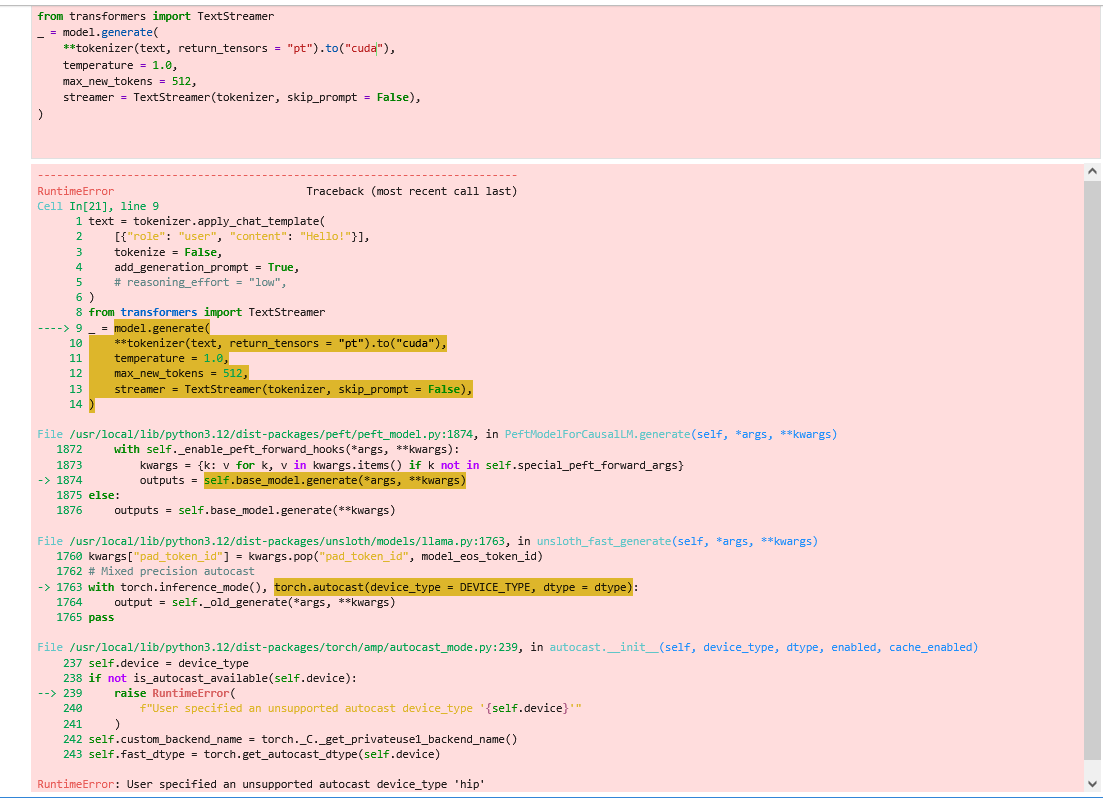
### :interrobang:RuntimeError: User specified an unsupported autocast device\_type 'hip'
**Please update Unsloth!** See below [#updating-unsloth](#updating-unsloth "mention")
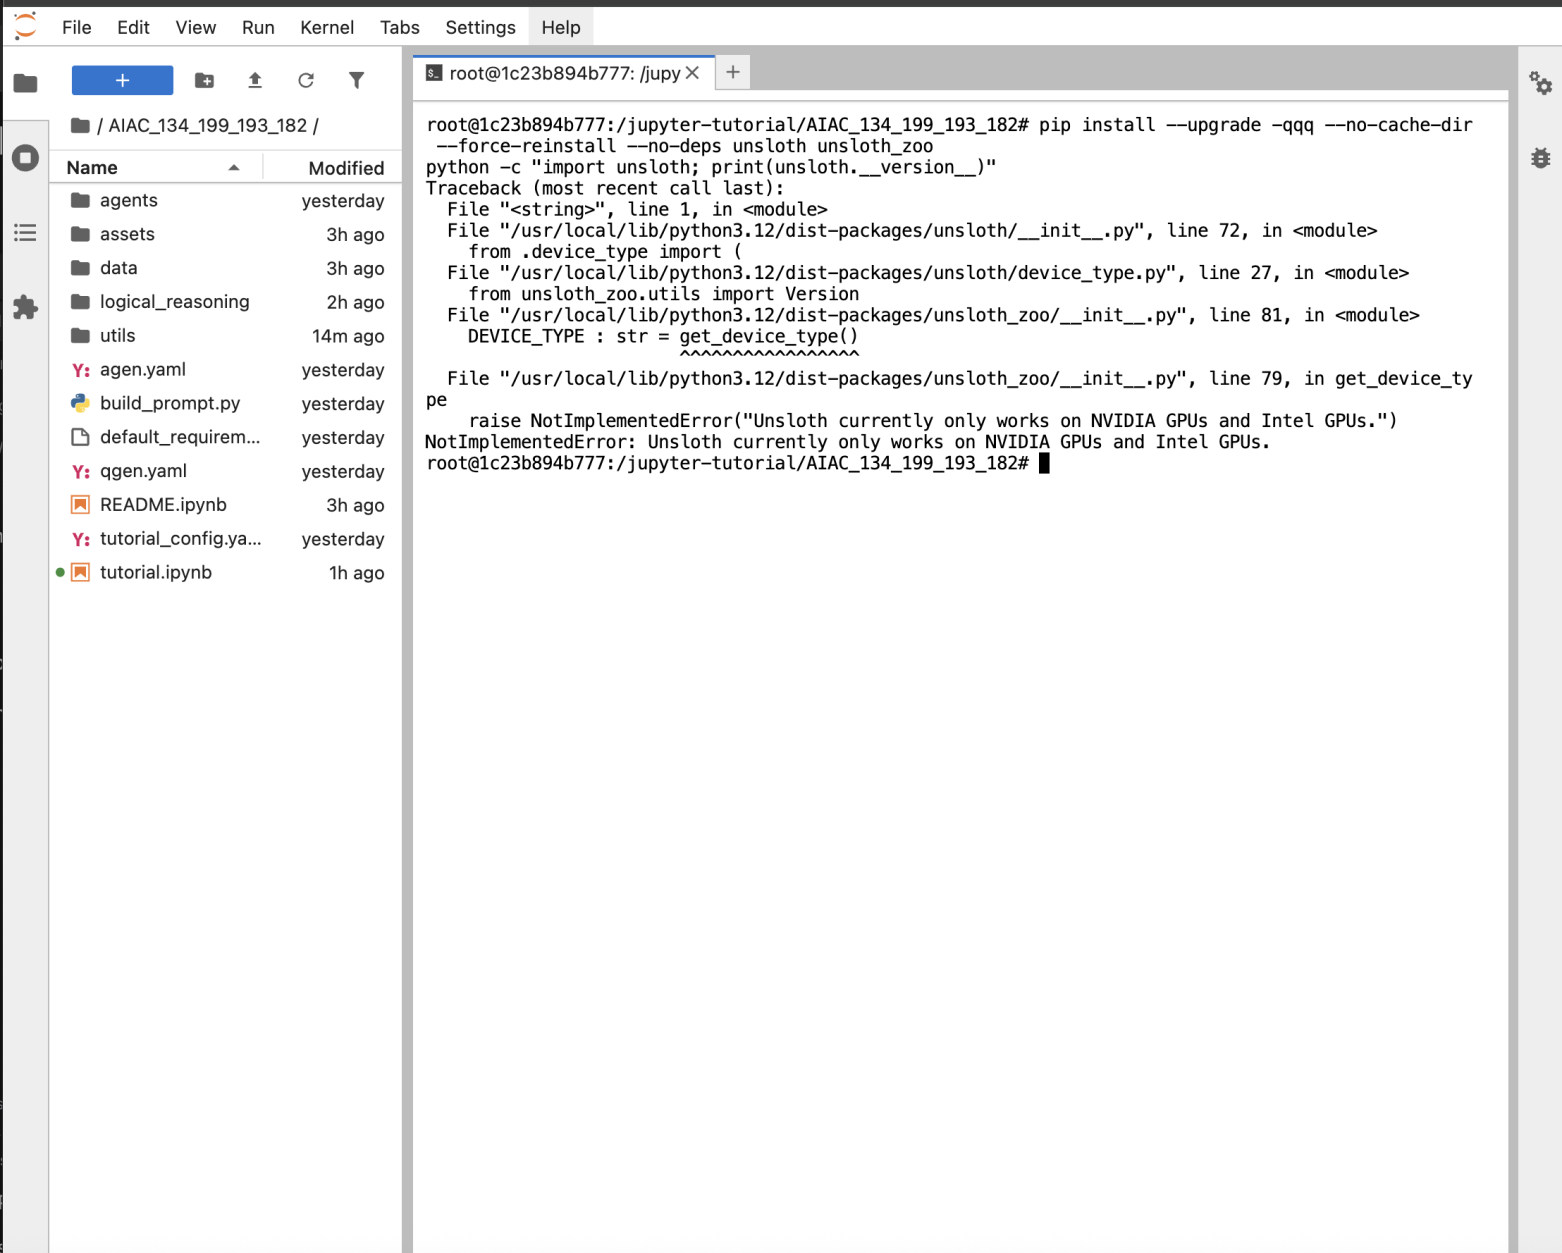
### :bug:NotImplementedError: Unsloth currently ok
### :new:Updating Unsloth
**First, update Unsloth** and confirm everything works as expected - click on **Terminal**
Then run the below in the **Terminal** to update Unsloth - **ensure the version is 2025.10.5 or higher.**
```
pip install --upgrade -qqq --no-cache-dir --force-reinstall --no-deps unsloth unsloth_zoo
pip uninstall bitsandbytes -y
pip install "unsloth[amd] @ git+https://github.com/unslothai/unsloth"
python -c "import unsloth; print(unsloth.__version__)"
```
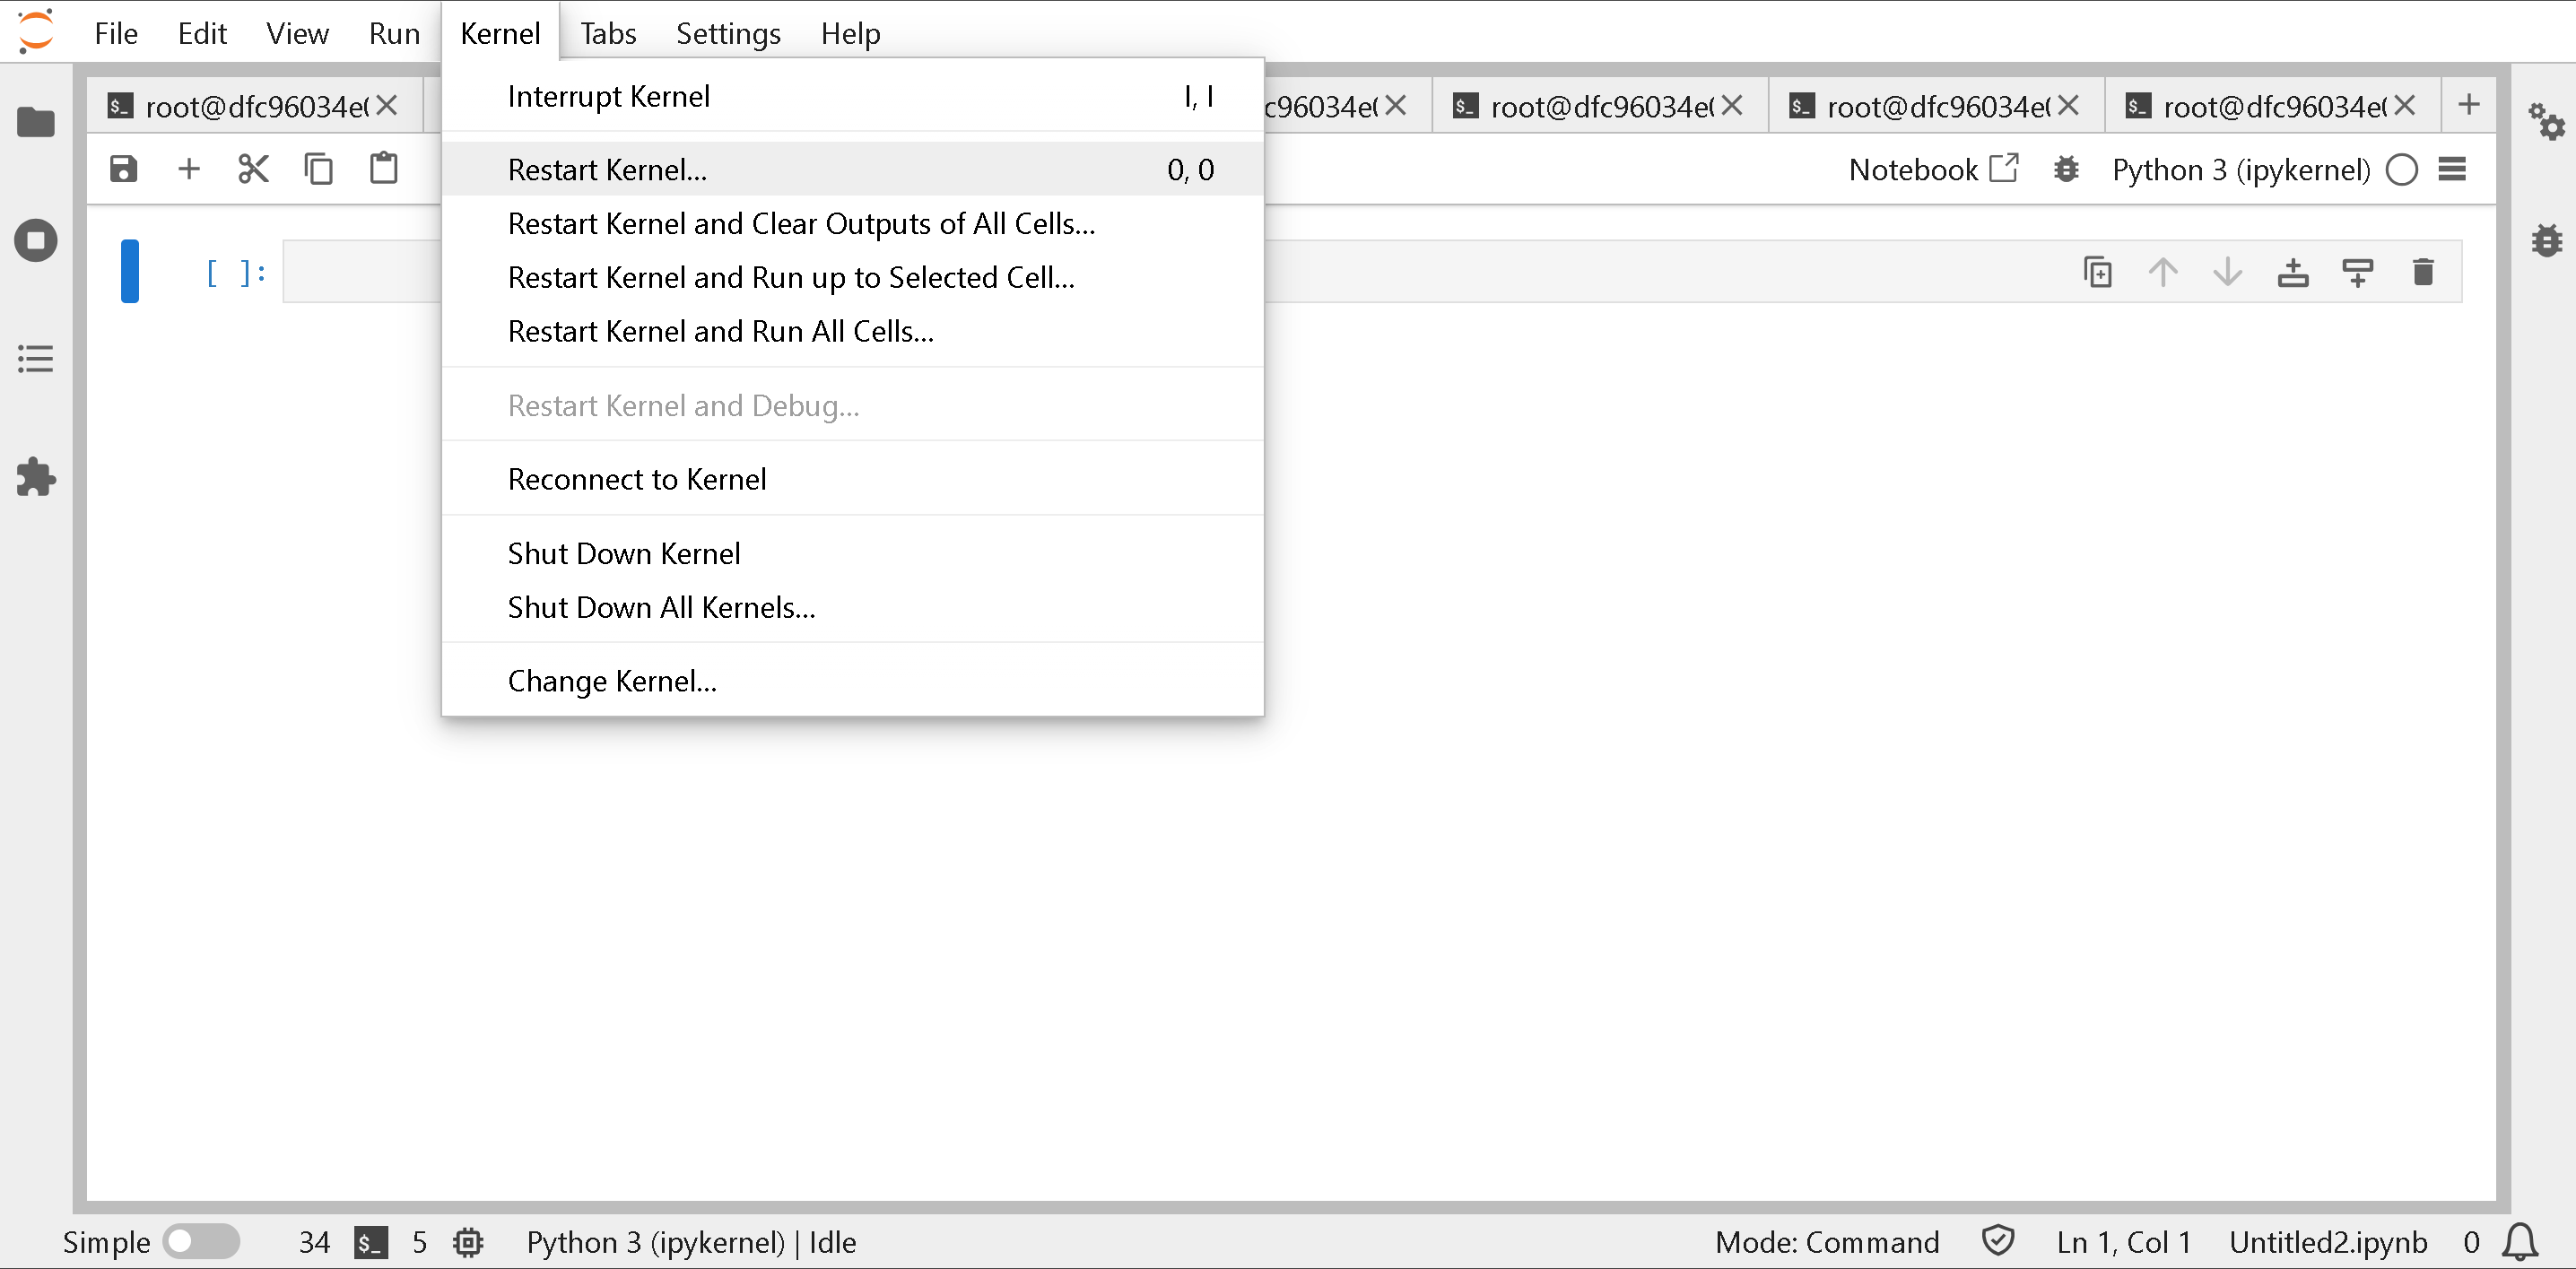
**You must RESTART the runtime as well**
### :interrobang:terminate called after throwing an instance of 'std::logic\_error' what()
Please verify you are on `torch==2.8.0`. Rerun the below:
{% code overflow="wrap" %}
```bash
pip install --upgrade torch==2.8.0 pytorch-triton-rocm torchvision torchaudio torchao==0.13.0 xformers --index-url https://download.pytorch.org/whl/rocm6.4
```
{% endcode %}
### :question:System has not been booted, Failed to connect to bus
You might see the below:
```
root@270fa7fa9157:/jupyter-tutorial/AIAC_129_212_183_103/assets# reboot
System has not been booted with systemd as init system (PID 1). Can't operate.
Failed to connect to bus: Host is down
Failed to talk to init daemon.
```
Please message us so we can reboot the machine!
### :bug:Configured ROCm binary not found - get\_native\_library()
This indicates bitsandbytes is not installed correctly like below:
{% code overflow="wrap" %}
```
Traceback (most recent call last):
File "/usr/local/lib/python3.12/dist-packages/bitsandbytes/cextension.py", line 313, in
lib = get_native_library()
^^^^^^^^^^^^^^^^^^^^
File "/usr/local/lib/python3.12/dist-packages/bitsandbytes/cextension.py", line 282, in get_native_library
raise RuntimeError(f"Configured {BNB_BACKEND} binary not found at {cuda_binary_path}")
RuntimeError: Configured ROCm binary not found at /usr/local/lib/python3.12/dist-packages/bitsandbytes/libbitsandbytes_rocm64.so
```
{% endcode %}
Please see [#updating-unsloth](#updating-unsloth "mention")to update bitsandbytes and Unsloth!
### :exclamation:NotImplementedError: Cannot copy out of meta tensor; no data!
This means you are out of memory. See [#how-do-i-free-amd-gpu-memory](#how-do-i-free-amd-gpu-memory "mention") for freeing GPU memory.
{% code overflow="wrap" %}
```
--------------------------------------------------------------------------
NotImplementedError Traceback (most recent call last)
Cell In[18], line 8
5 tokenizer.pad_token_id = tokenizer.eos_token_id
7 # Setup trainer with ROCm-friendly settings and proper data handling
----> 8 trainer = SFTTrainer(
9 model=model,
...
--> 235 lm_head_bad = lm_head_bad.cpu().float().numpy().round(3)
236 from collections import Counter
237 counter = Counter()
NotImplementedError: Cannot copy out of meta tensor; no data!
```
{% endcode %}
### :thought\_balloon:Failed to import from vllm.\_C with ModuleNotFoundError("No module named 'vllm.\_C'")
Please re-install vLLM. Use `vllm_build` as the folder you are git cloning into and not `vllm`. [#updating-vllm-to-the-latest-on-amd](#updating-vllm-to-the-latest-on-amd "mention")
### :hushed:ModuleNotFoundError: No module named 'vllm'
Please do not `rm -rf vllm_build` the folder which you built. Or reinstall vllm via [#updating-vllm-to-the-latest-on-amd](#updating-vllm-to-the-latest-on-amd "mention")
### :ledger:ipykernel>6.30.1 breaks progress bars.
If you see the below:
{% code overflow="wrap" %}
```
🦥 Unsloth: Will patch your computer to enable 2x faster free finetuning.
#### Unsloth: `hf_xet==1.1.10` and `ipykernel>6.30.1` breaks progress bars. Disabling for now in XET.
#### Unsloth: To re-enable progress bars, please downgrade to `ipykernel==6.30.1` or wait for a fix to
https://github.com/huggingface/xet-core/issues/526
```
{% endcode %}
For now ignore it - you just won't see progress bars for downloading models and uploading.
### :bug:AssertionError: No MXFP4 MoE backend
If you are running gpt-oss-20b and see this during vLLM, please reinstall vLLM via [#updating-vllm-to-the-latest-on-amd](#updating-vllm-to-the-latest-on-amd "mention")
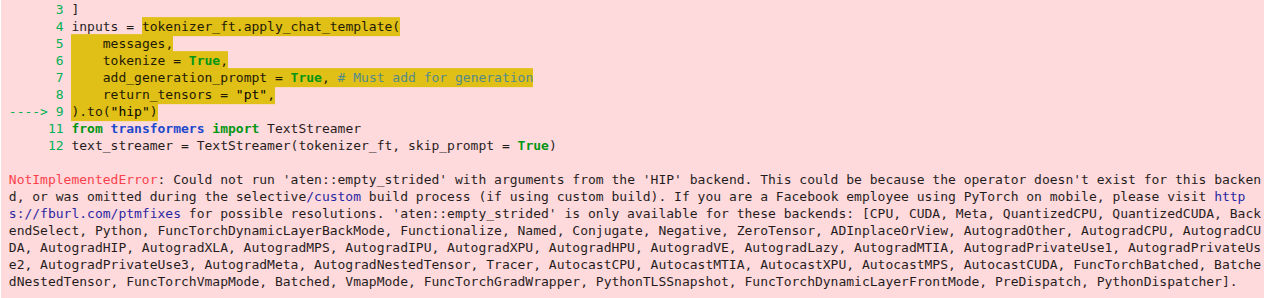
### :head\_bandage:NotImplementedError: Could not run \`aten::empty\_strided\`
Please use `.to("cuda")` and not `.to("hip")` Also update Unsloth [#updating-unsloth](#updating-unsloth "mention")
### :bug:NotImplementedError: Could not run 'aten::empty.memory\_format'
Please see [#updating-unsloth](#updating-unsloth "mention")to update bitsandbytes and Unsloth!
---
# Agent Instructions
This documentation is published with GitBook. GitBook is the documentation platform designed so that both humans and AI agents can read, navigate, and reason over technical content effectively. Learn more at gitbook.com.
## Querying This Documentation
If you need additional information that is not directly available in this page, you can query the documentation by asking a question.
Perform an HTTP GET request on the following URL with the `ask` and `goal` query parameters:
```
GET https://unsloth.ai/docs/blog/unsloth-amd-pytorch-synthetic-data-hackathon.md?ask=&goal=
```
`ask` is the immediate question: it should be specific, self-contained, and written in natural language.
`goal` is what the user is ultimately trying to achieve, the reason they need the answer. Sharing it helps GitBook give you a better, more relevant answer. A goal is most helpful when it describes the outcome the user wants rather than restating the question. For example, with `ask=how do I create an API token`, a goal like `automate deployments from our CI pipeline` lets GitBook tailor the answer to that use case.
The response will contain a direct answer to the question and relevant excerpts and sources from the documentation.
Use this mechanism when the answer is not explicitly present in the current page, you need clarification or additional context, or you want to retrieve related documentation sections.
%20(1).png?alt=media)
%20(1).png?alt=media)